


How to Decoupage Napkins on a Glass Vase
It is easy and inexpensive to transform boring glass vases and jars into stylish pieces of home decor. When you know how to decoupage napkins on glass, you will find yourself wanting to upgrade all of your glassware!
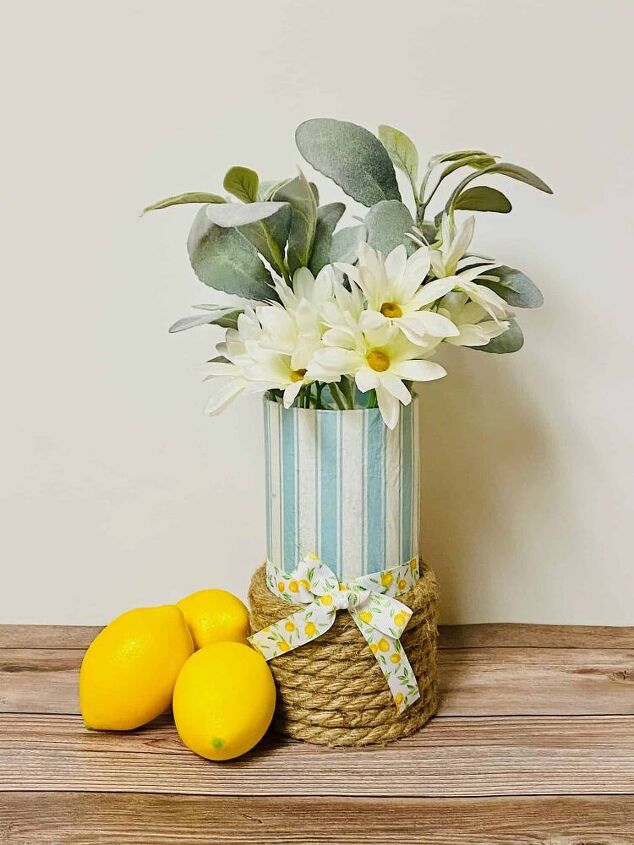
This tutorial shows you how to make a farmhouse-style vase using Dollar Tree items. It looks more expensive than it really is because the simple glass cylinder is decoupaged with a paper napkin.
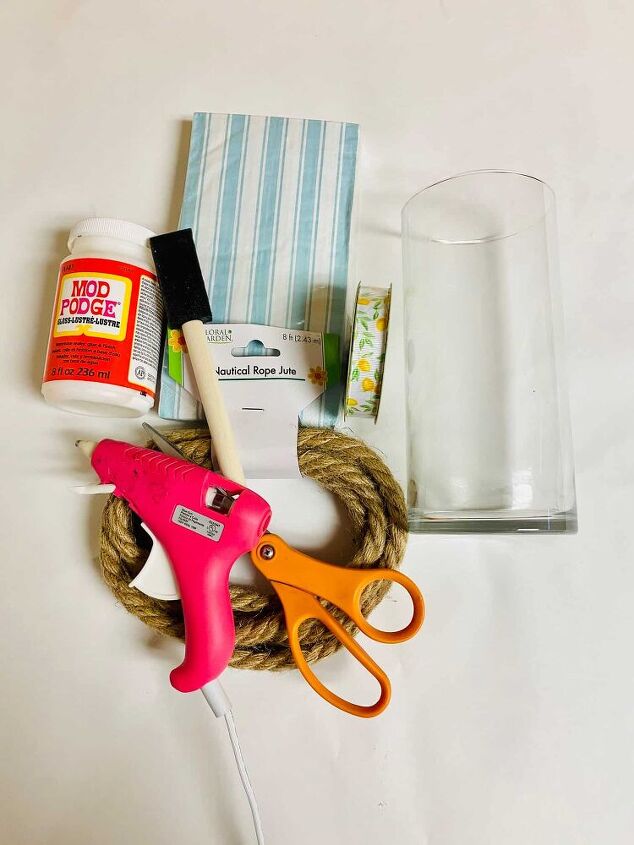
Supplies
- Tall Glass Cylinder Vase
- Paper Napkins
- Mod Podge
- Paint Brush or Foam Brush
- Jute Nautical Rope
- Ribbon
- Scissors
- Hot Glue Gun
Instructions
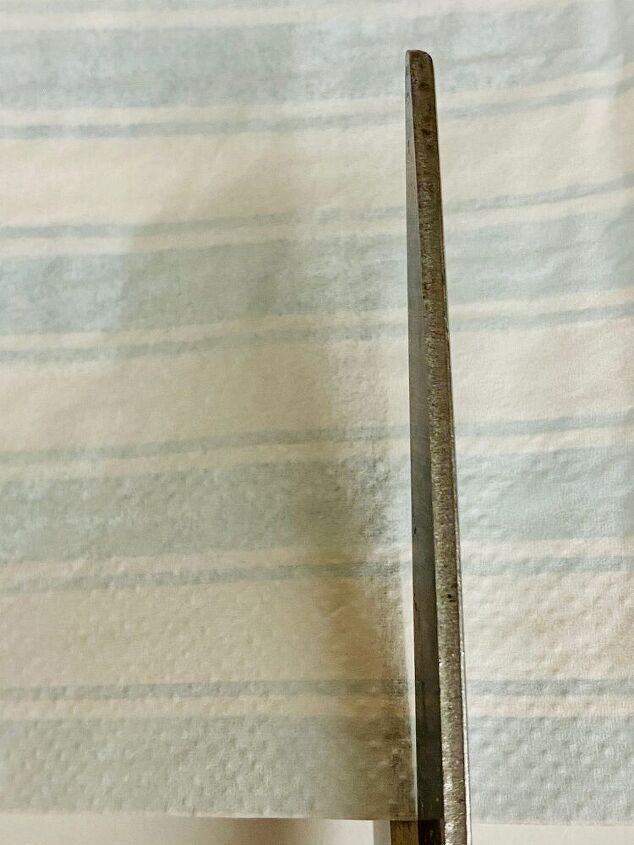
Step 1
Unfold a paper napkin. Cut along the fold line to cut the napkin in half.
If you are using large napkins, you might just need one layer of paper napkin. If you are using cocktail napkins, you might need to use several different pieces in order to cover up the glass vase.
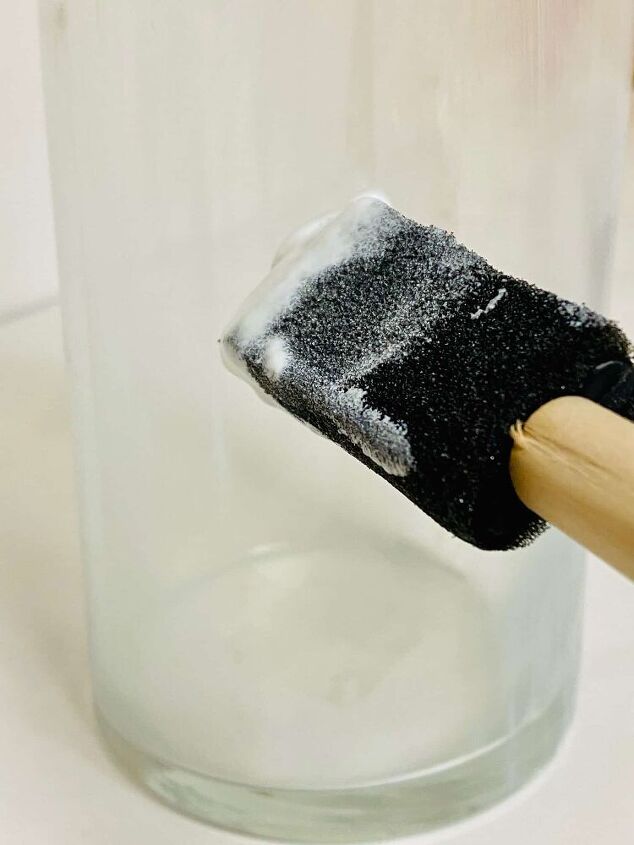
Step 2
Apply a thin layer of Mod Podge to the vase. You can use a foam brush or a bristle brush. Just make sure that it is a thin layer and not too gloopy or thick.
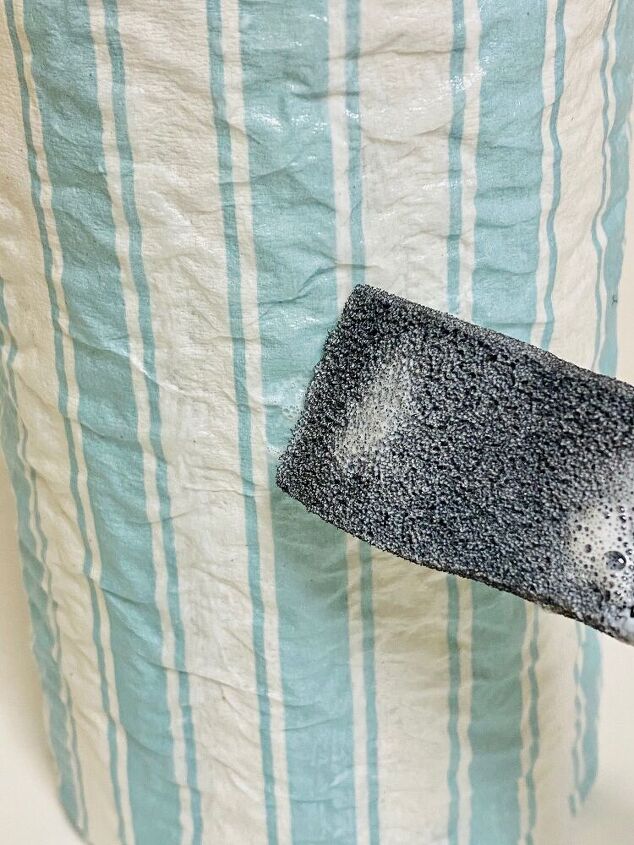
Step 3
Place the napkin gently on the glass and smooth it out all the way around the vase. Make sure to pull snuggly when applying it so that you create a nice smooth surface with no bubbles or wrinkles. Gently smooth out any bumps or wrinkles, or lift the napkin up gently and reapply.
If your paper napkin is bigger than the glass vase, you can trim it to fit. For this farmhouse vase, I actually folded over the excess napkin into the inside of the vase and added some Mod Podge on the inside to secure it.
If your napkins are small, you can layer the napkins to cover the glass. Either match up the pattern or layer with alternate patterns for a patchwork look.
Step 4
Once the napkin has dried, add another thin layer of Mod Podge over the napkin to seal it.
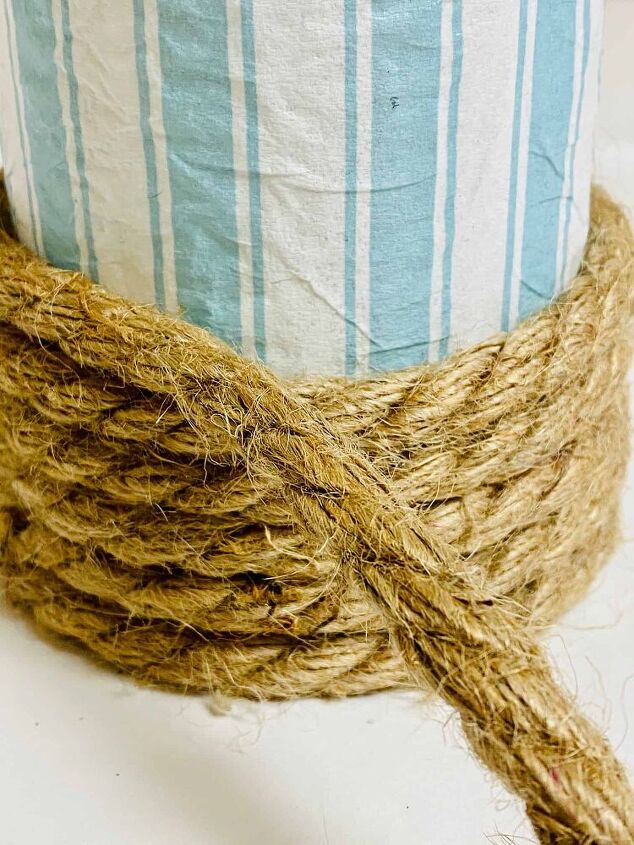
Step 5
Once the Mod Podge layer is completely dry, add a thin strip of hot glue to the bottom of the vase. Press the end of the jute rope into the hot glue and start to wind around the vase with the rope. Keep adding hot glue and then pressing the rope into it until you are about 1/3 up the vase. Cut the end of the rope and add a few dabs of hot glue to the end to keep it from unraveling.
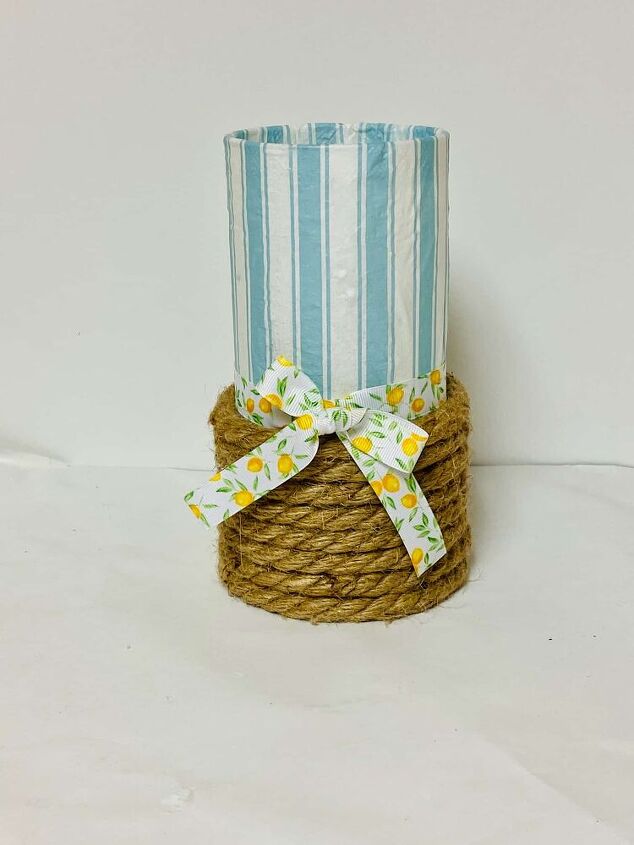
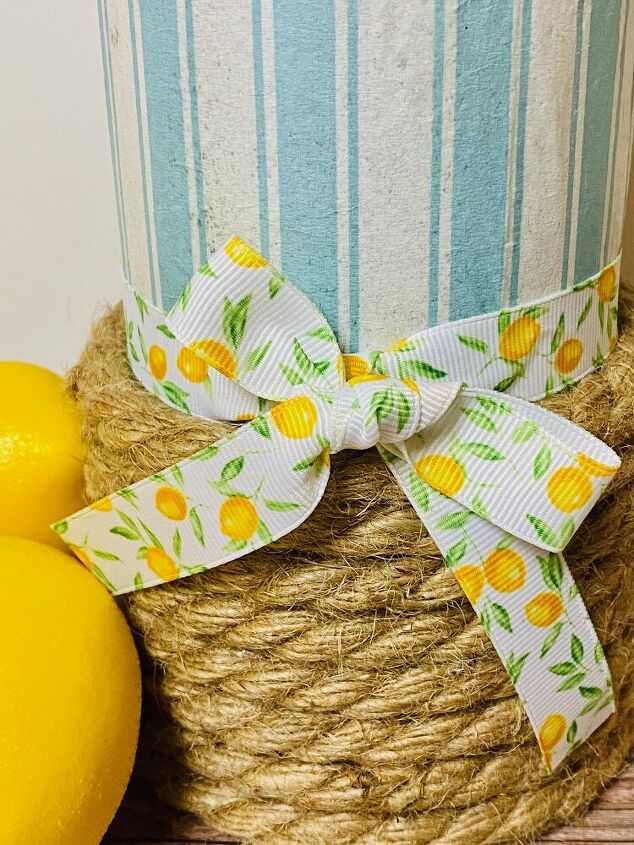
Step 6
Add ribbon around the vase and make a bow.
If you’re looking for more easy and inexpensive DIY Projects, you’re in luck!
Check out all of my Dollar Tree craft ideas.
Like to use Mod Podge? Then you'll love my Tin Can Wind Chimes!


Comments
Join the conversation
-
So pretty!
-
I do have a question! In step 5 it says to use a bit of glue under the vase and add the rope to the bottom and go up from there.
I keep thinking the bottom won’t sit level and will wobble?
i do LOVE this project and have so many vases!


Frequently asked questions
Have a question about this project?