


How to Transform a Plain Photo Frame With Mosaic

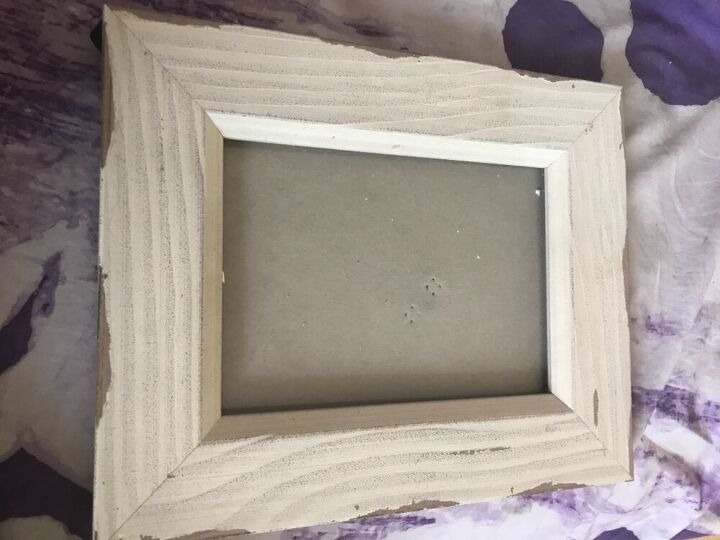
I love to add some pizazz to plain photo frames to really draw attention and add colour to a room. I found this charity store uninspiring frame just ripe for a makeover!
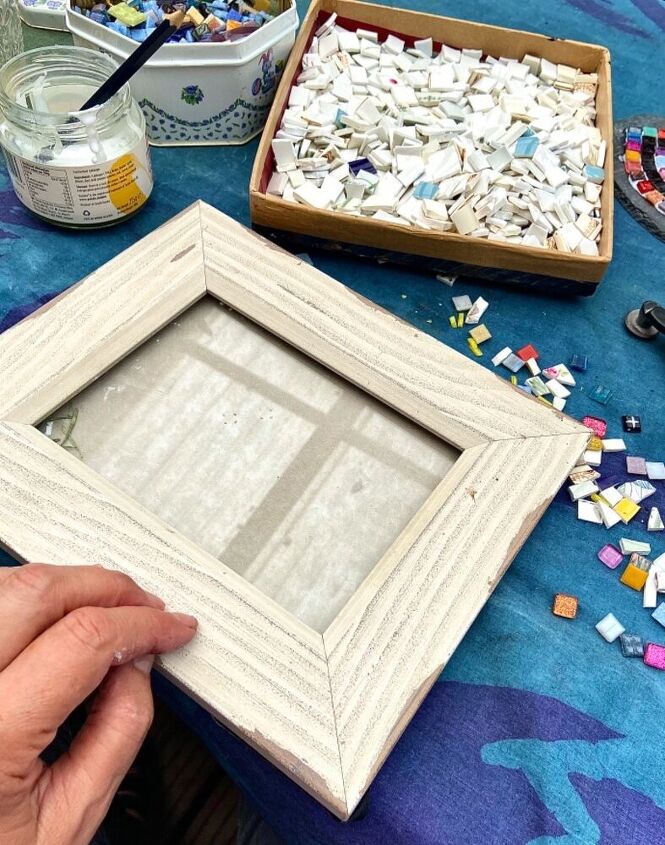
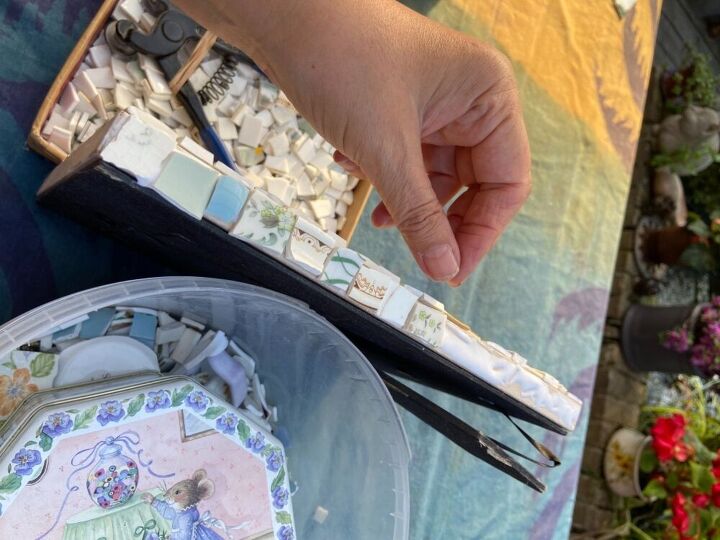
I decide which colours and tiles to use. I have a mix of vitreous glass and vintage ceramic table ware cut pieces to add textures and interest.
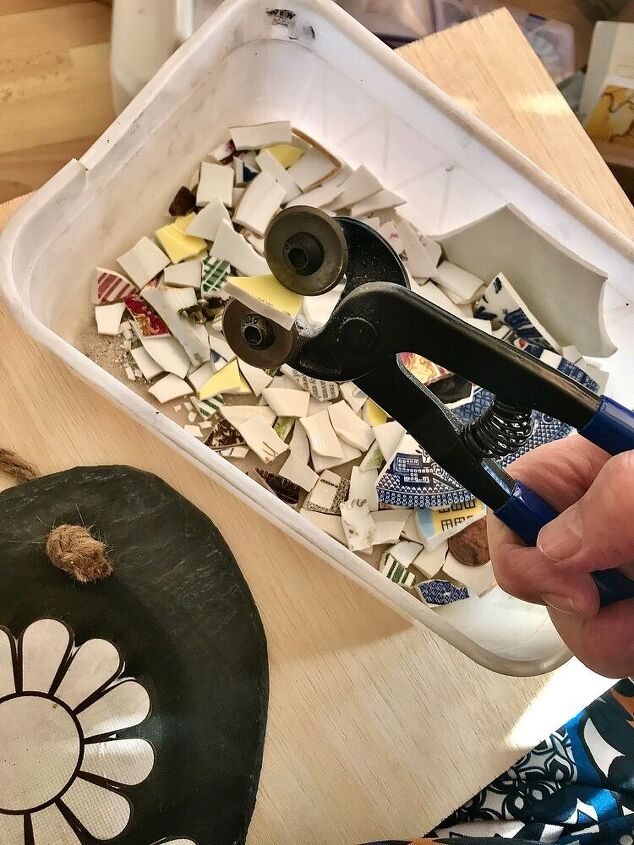
I use a mix of cut ceramic which I use wheeled tile nippers for cutting into small square shapes. Remember to wear safety goggles.
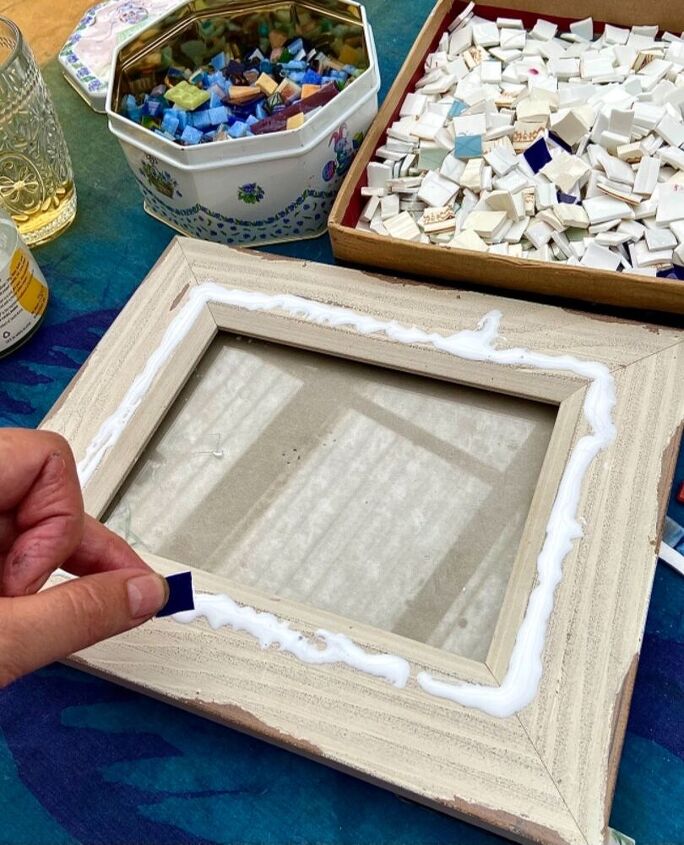
I mix and match the colours and begin with PVA glue around edge to stick ceramic tiles to.
In straight lines alternating colours and textures. I build up the tiling letting each row dry before adding next.
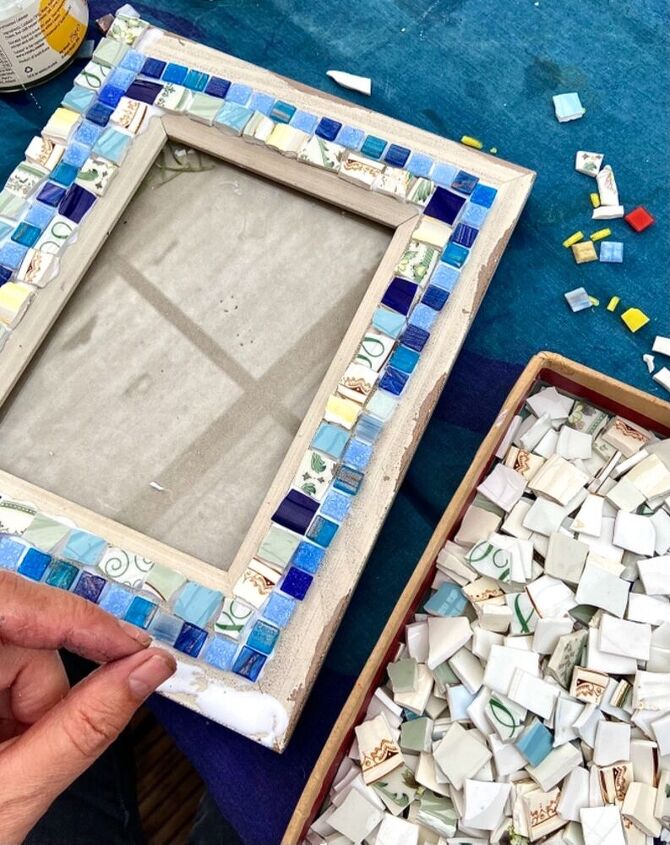
It begins to come together well. I also add some tiles to the sides and let each side dry before the next. It only ends up with tile slips otherwise!
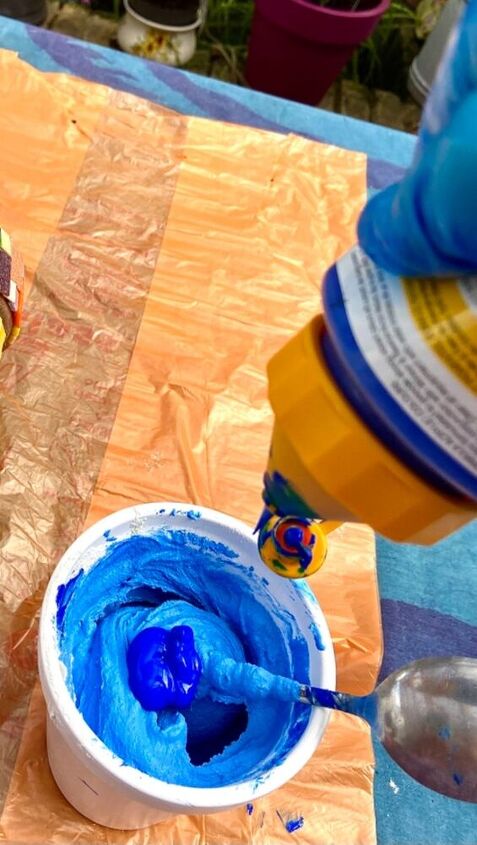
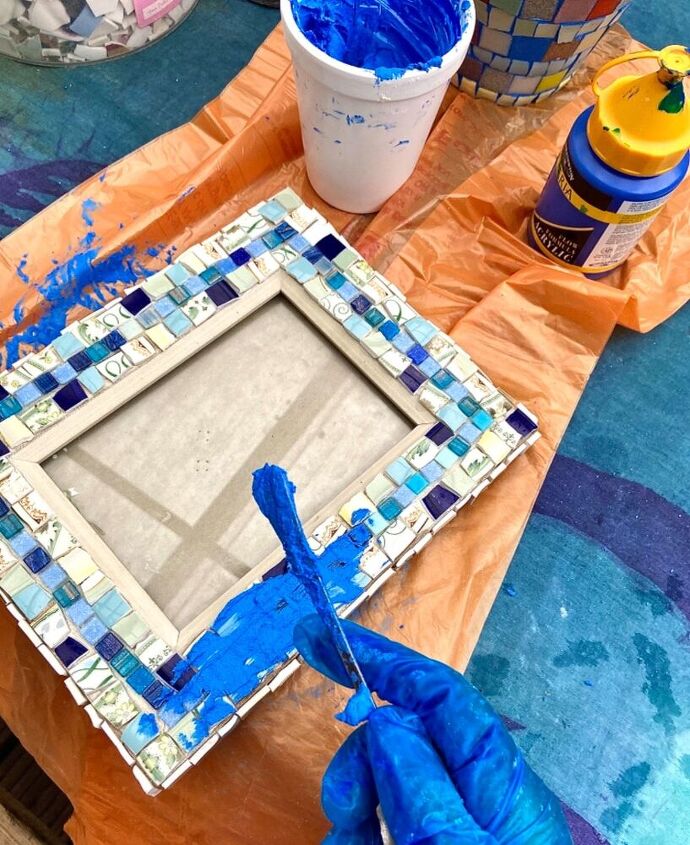
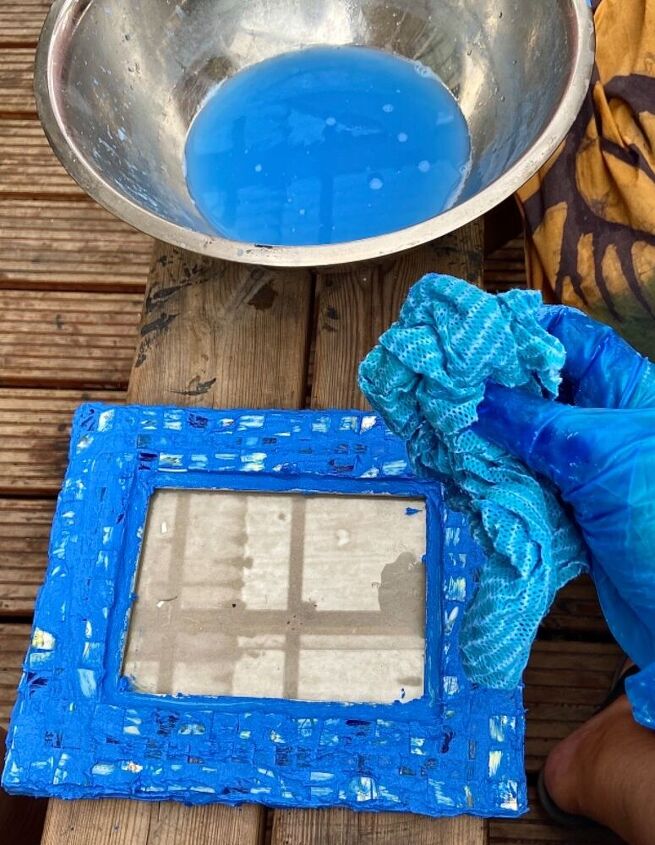
I then let the whole piece dry over night before grouting with coloured grout. I use a blue acrylic paint to mix into the white powder and it’s a nice complimentary colour.
Spreading the grout carefully into all the gaps and cracks and taking time to fill in the edges and corners especially.
Then is the next part to wipe off the excess grout to reveal the lovely tiles.
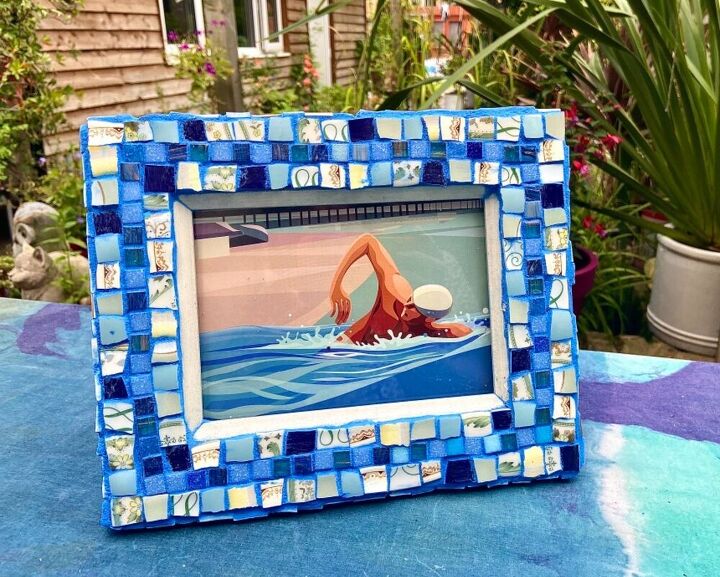
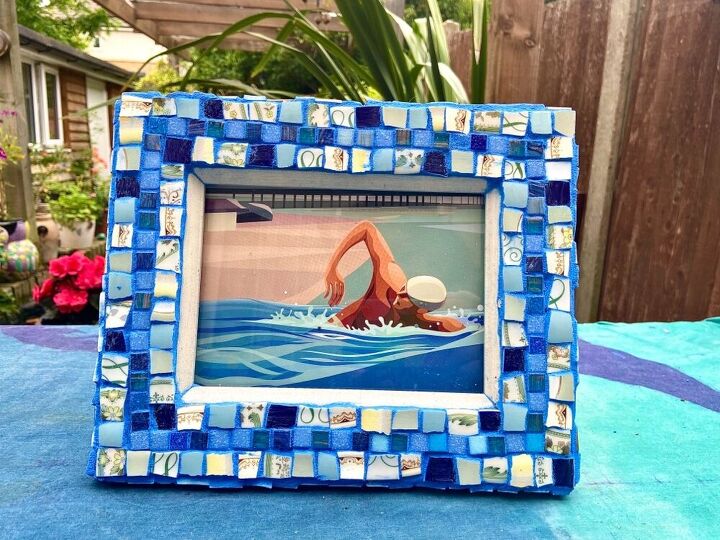
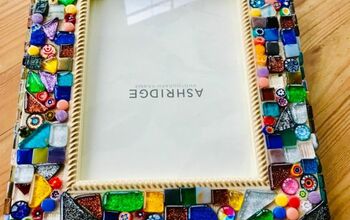
I’m so pleased with the bright blue grouted mosaic photo frame …so unique and eye catching 💙
Resources for this project:
See all materials


Comments
Join the conversation
-
Beautiful and looks fun to do!
-
Is the piece in your fun and fabulous frame a painting someone did? Love it and all the colors work so well together.


Frequently asked questions
Have a question about this project?
How did you get the china pieces into square shape.