


Tiktok Approved Hanging Planter

Any Gen Z will tell you that a TikToker's room always has at least one hanging planter (if you can locate it through all the stuff) and lots of fake vines. Non-negotiable. So Ma, drop the modern farmhouse and craft some cluttercore.
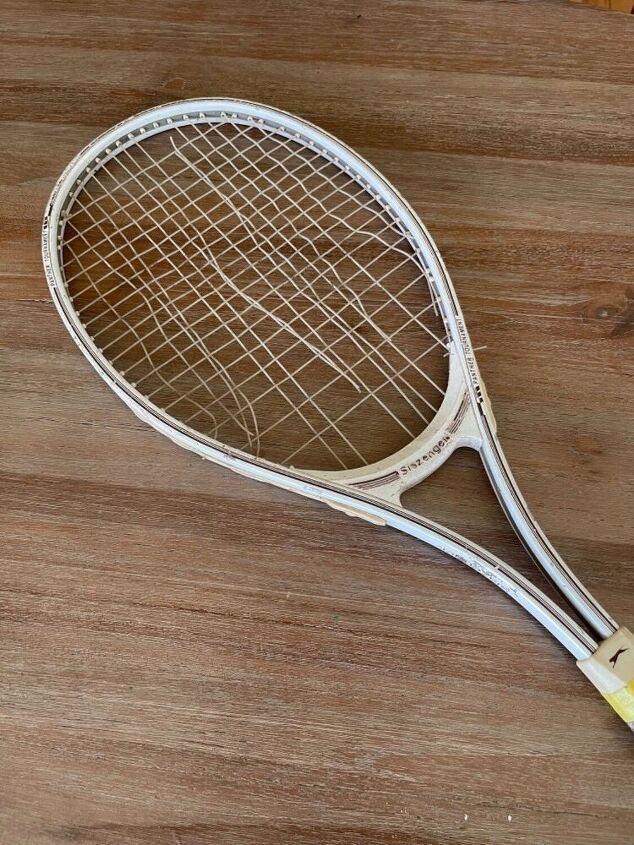
And so I was tasked by my Gen Z'er to craft a planter, a macrame planter. But since I am a Gen X'er that was just old enough to see the dusty, faded end of the last macrame craze and just impatient enough to get nothing but my knickers in a knot when it comes to double half hitches, I will graciously step aside for other crafters to make rope macrame planter tutorials. Instead, I will resort to the more environmentally unfriendly materials that my generation is constantly being guilt-tripped over - plastic light fittings and metal tennis rackets. In my defense, I am repurposing. And fake vines also don't bio-degrade too well either.
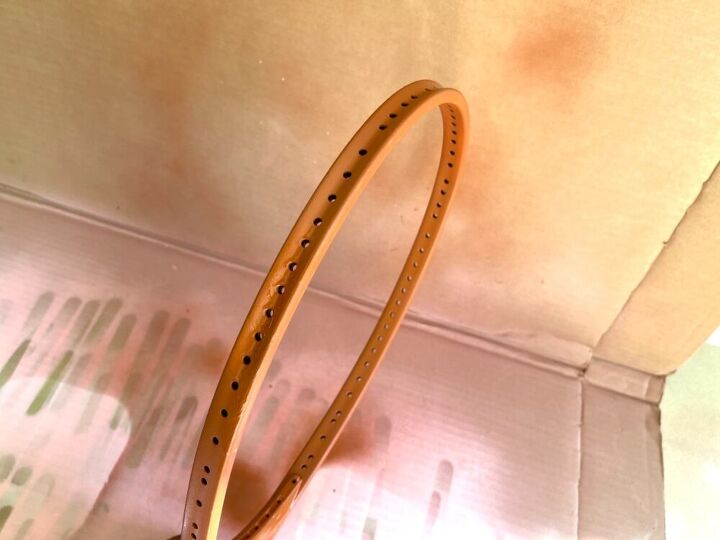
Remove all the parts of a tennis racket
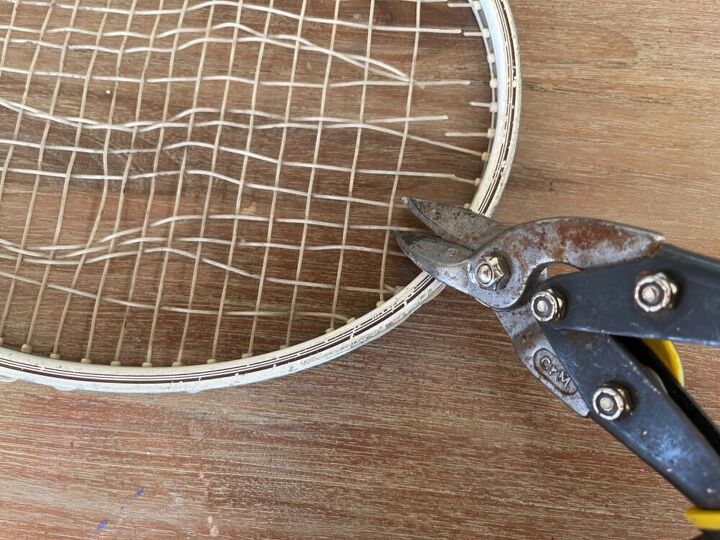
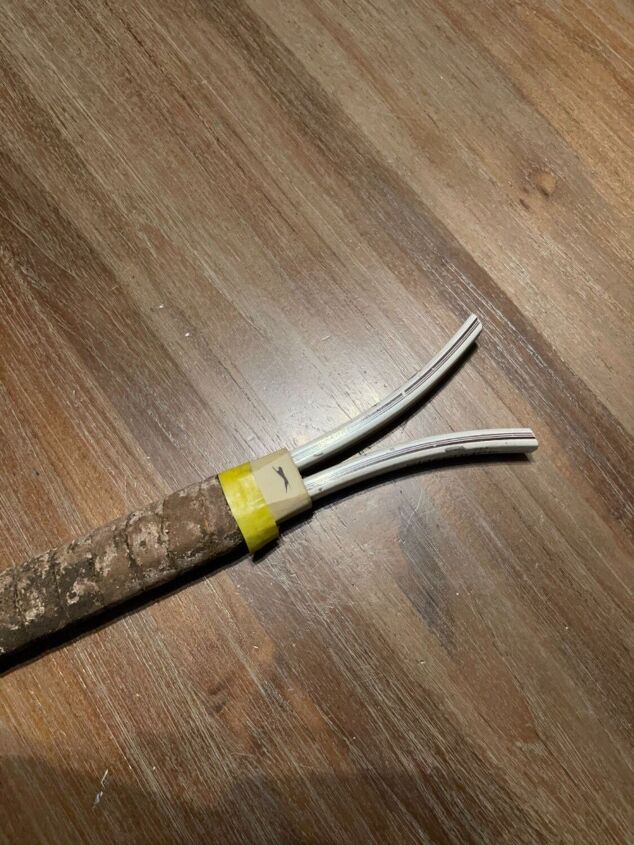
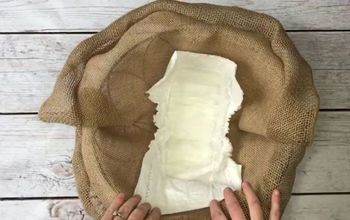
Considering that the whole crafting world has cottoned on to repurposing wooden rackets, metal ones are far cheaper and more readily available. I found one and cut through all the strings with a tin cutter and removed them. Pictured below is the part that was left of the grip after I cut it off with a hacksaw.
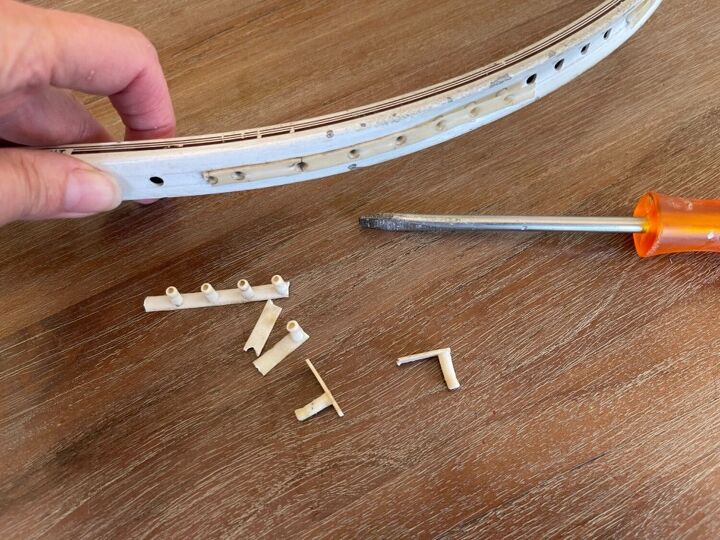
The grommets and grommet strip can easily be removed with a screwdriver.
Spray the frame
After scrubbing the racket with soap, water and a brush, it was ready to be painted. This one received 2 coats of Rustoleum American Accents in Terracota. I was going to paint the pot terracotta but somehow lost the plot - must be the Gen X's age. Remember to let it dry very well after each coat.
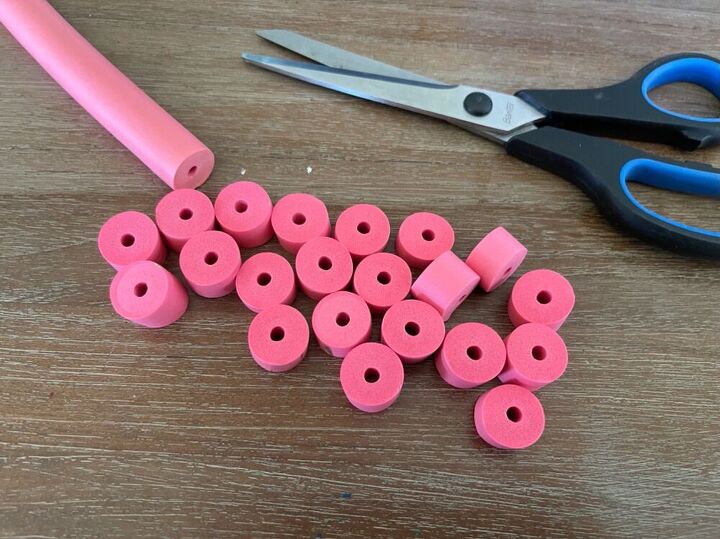
Cut a perm-roller into pieces
First remove the wire core of a hair perm-roller (another Gen X relic) and then cut little rings. The rings are not perfectly even but boy, the satisfaction of cutting through the soft foam with scissors...
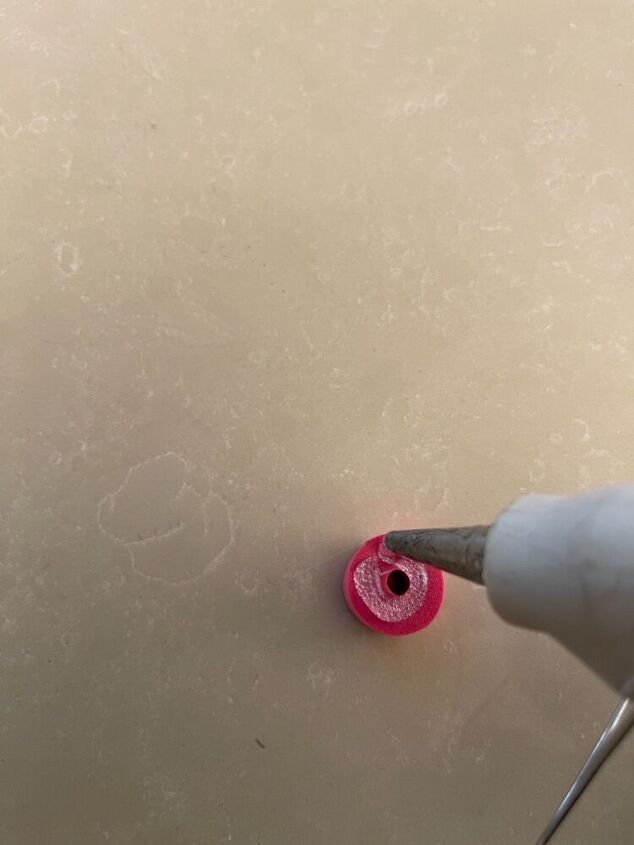
Stick the rings to a plastic light cover
Here I used a small glue gun and added quite a lot of glue, to the point where some of the glue squelched out when I stuck it. I prefer squelched glue to dealing with shadowy gaps that you only notice when the whole thing is already painted and it's too late.
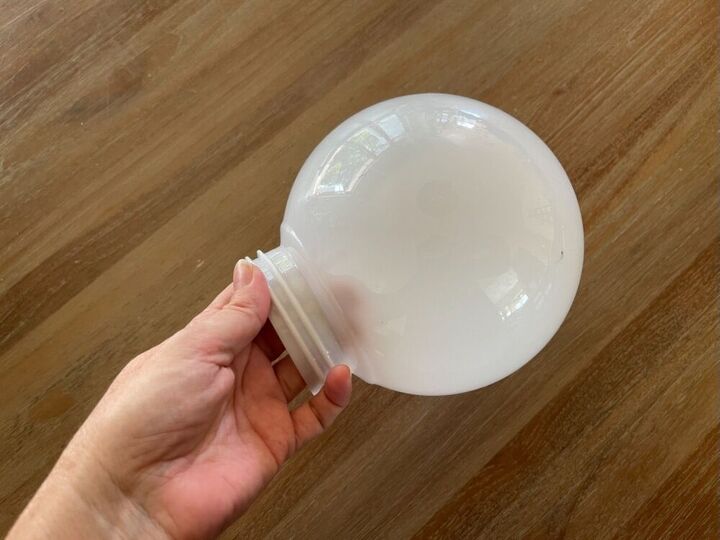
This small, round plastic light cover is actually very trendy.
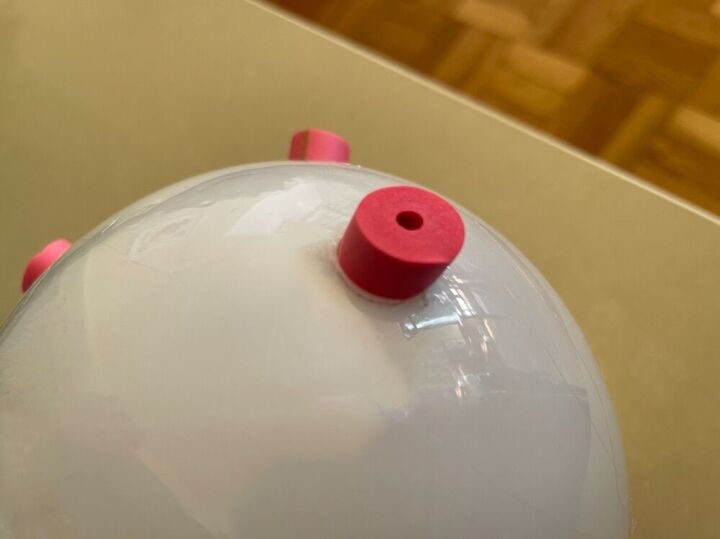
Above is how the foam roller looks like once it is stuck. Just plan ahead - the light cover will have to sit flush to the racket frame, so make sure that the rollers don't interfere with that line. And get rid of all the hot glue strings before you paint. They are masterfully camouflaged and extremely irritating.

Paint the 'pot'
Initially I used spray chalk paint but found that a tin of paint and a brush worked better to get into all the crevices. The end result is anything but smooth but I like the rough texture. I didn't hide the thread at the neck but you could always wrap rope around it.
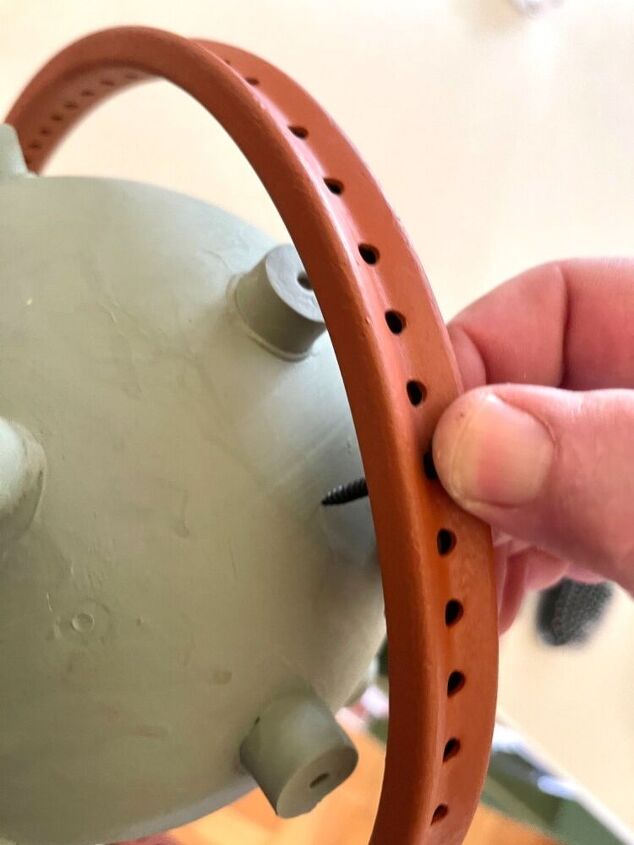
Mark a drill-spot on the pot
Using a screw and finding a path for the tennis racket frame, I marked a place where a screw could be sunk.
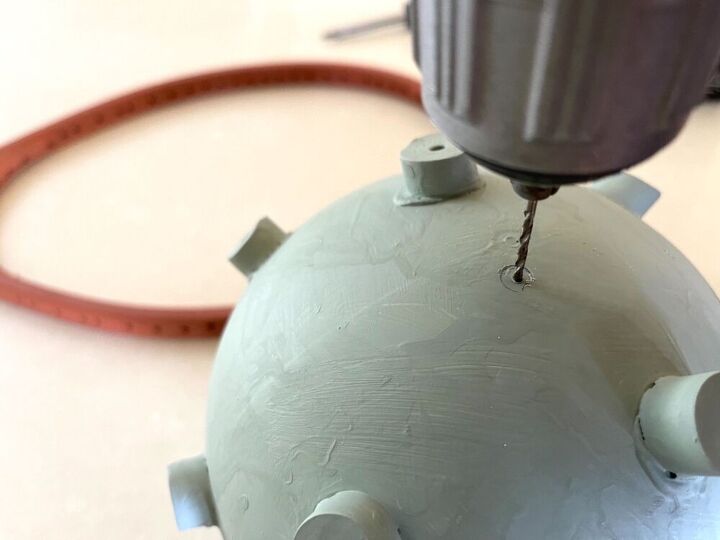
A small pilot hole makes inserting the screw much easier.
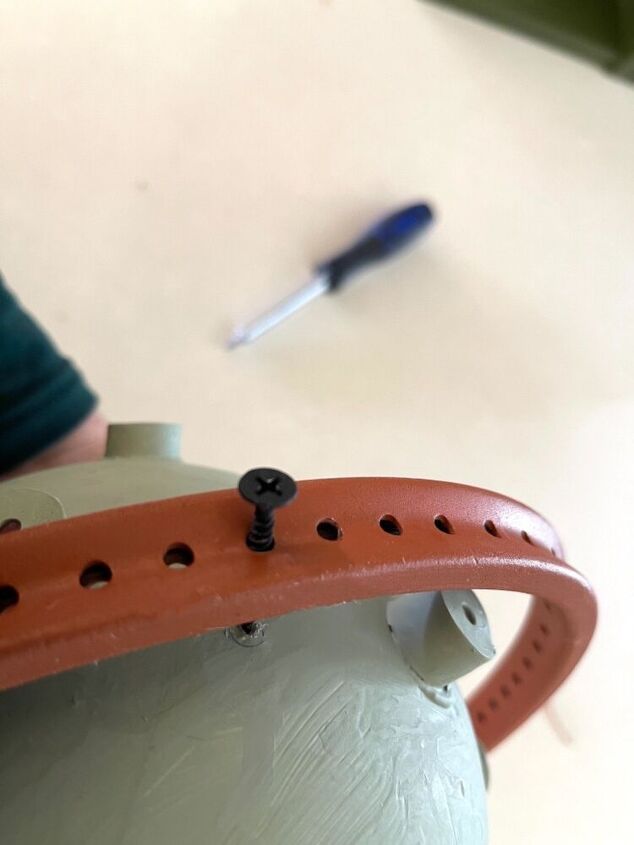
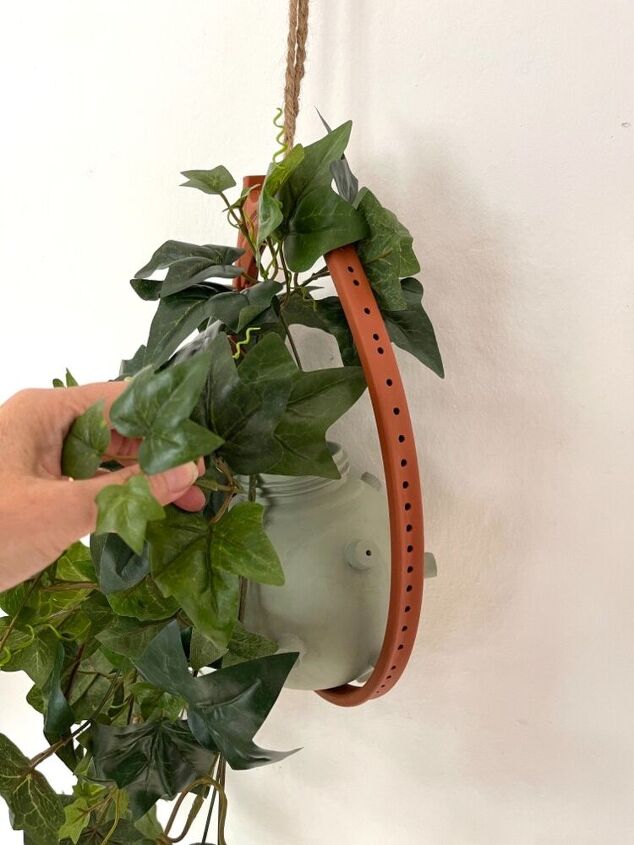
The screw then goes through the frame and into the pot.
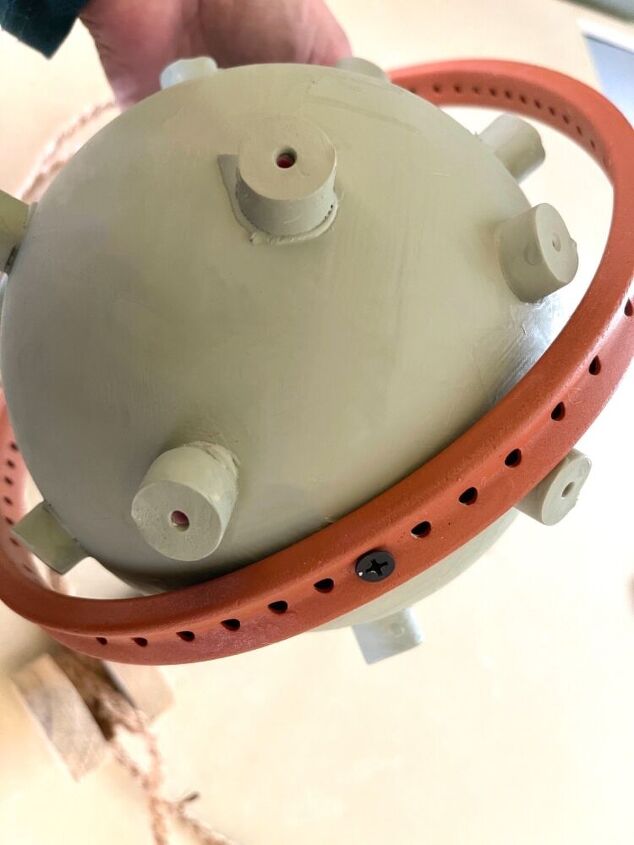
Because the pot will not house a real plant, you don't have to make provision for the frame to carry a heavy weight. I didn't even add a nut. If you were planning to use this for a real plant with soil, you would have to add some more screws, drainage holes and perhaps use waterproof paint.
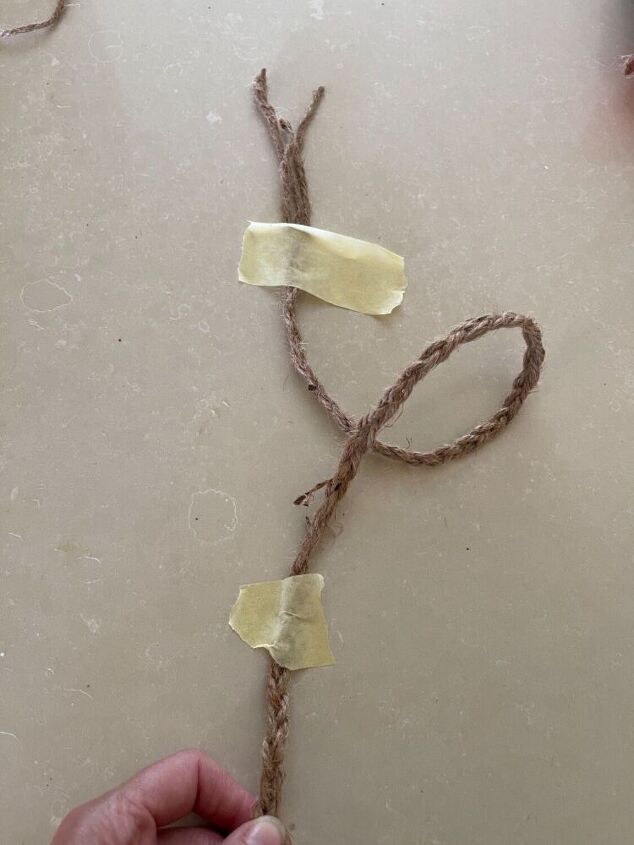
Plait a rope
As mentioned, I am not into macrame but there is no reason why you couldn't. My rope consisted of some natural twine in a simple plait, twice the length of the intended hanging height. You can see that I added a second piece of tape when the plait got too long and I didn't want to follow my ever-lengthening plait away from the kitchen counter to the middle of the dining room. Once it is long enough, fold the rope double and make a knot that incorporates all the loose ends.
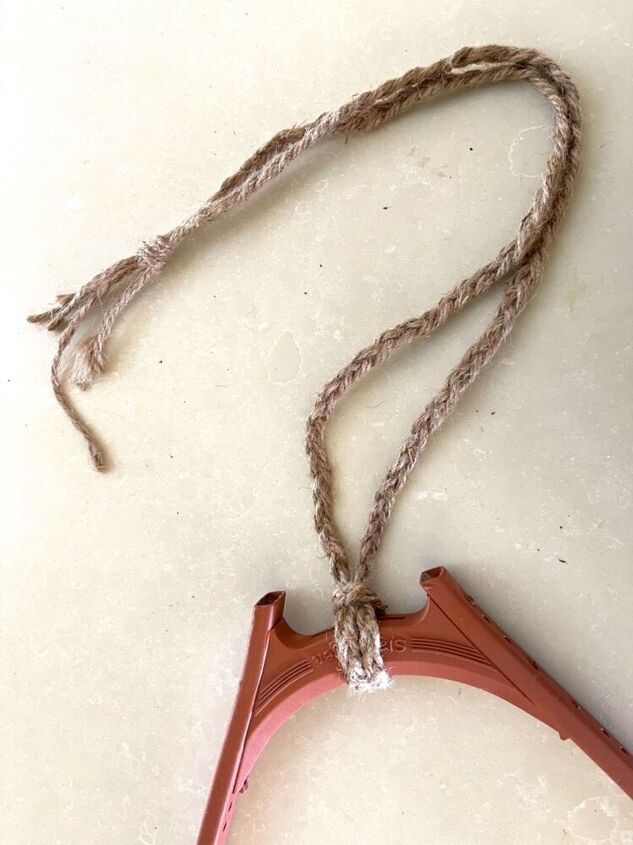
Tie the rope to the frame
After tying the rope to the frame (a lark’s head knot, I now know) and adding the vine, the planter could be hung.
Here's a guide on how to hang a plant from the ceiling without holes.
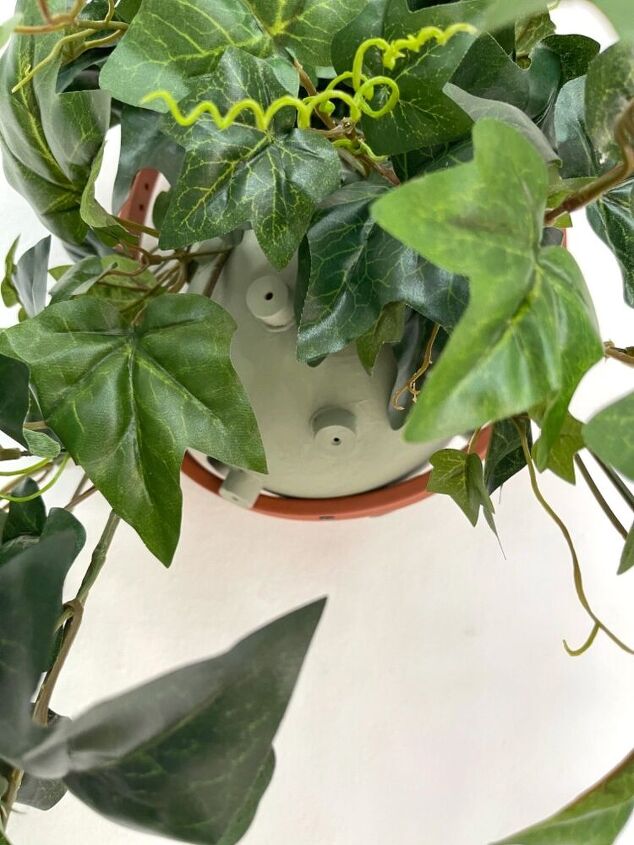
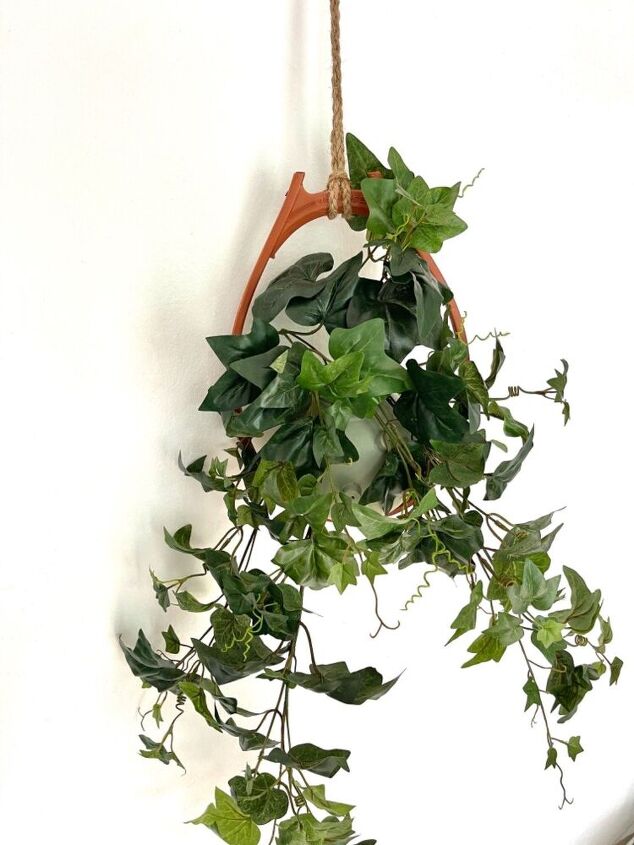
You may have guessed that this picture was not taken in the Gen Z's bedroom. If you know cluttercore you would understand why.
It's difficult to get an idea of the pot with all the lush foliage.
Resources for this project:
See all materials


Comments
Join the conversation
-
WOW! I love it! Very inspiring! I'm going to try it , but leave the handle on. I can always cut it off later, right
-
This is adorable thank you for sharing. My first though when I saw what you were doing is that it looked like Sputnik and that gold or silver painted skewers should be glued inside the sliced rollers. :)


Frequently asked questions
Have a question about this project?