


How to Make a Toy Car Track

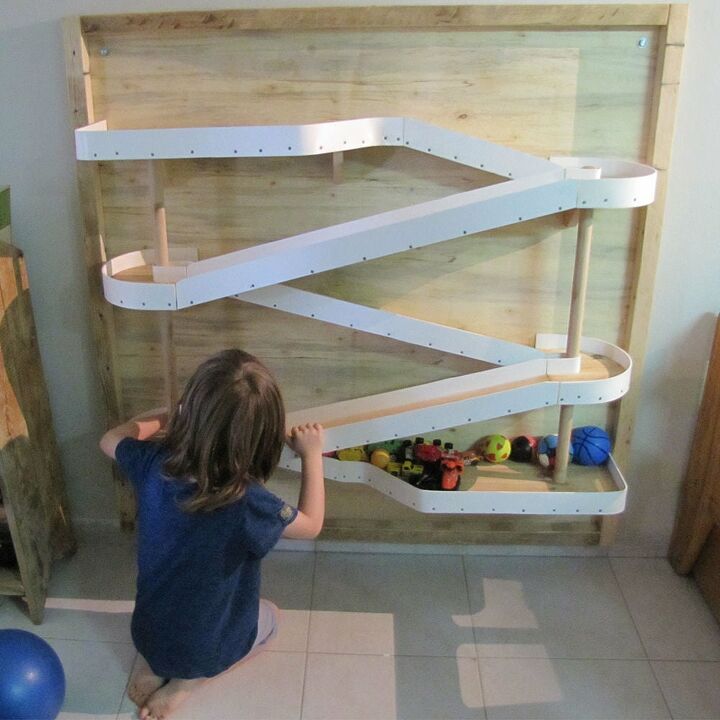
This project was created for my sons 4th birthday.his birthday marks the beginning of summer, just a month before the summer vacation.During summertime the days are very warm and I wanted him to have the option of playing inside the house with his friends. This game is fun for both kids and adults !Concept: A children's game plus a parking lot / storage space for the parents.
Design:Before I started building, I did some general hand sketches of my vision and Then I designed it all in 3D software.The software was used to determine the dimensions and geometry of the parts.I printed two-dimensional sketches of the complex parts in the A4 printer.Working with the software also helped with precision, parts easily manufactured and excellent assembly drawings.I chose a wooden surface that I've found (dimensions of 1.10x1.10 meters) as the basis for the whole project.Hope you will like this project, and if you have any comments, Please write to me. Thank you!
you're invited to subscribe to my YouTube channel and follow all of my projects.
https://www.youtube.com/channel/UCkNrUodcQbCM8FDGpFouOrw?sub_confirmation=1 Facebook: https://www.facebook.com/kultakaladesign/ New stuff coming soon !

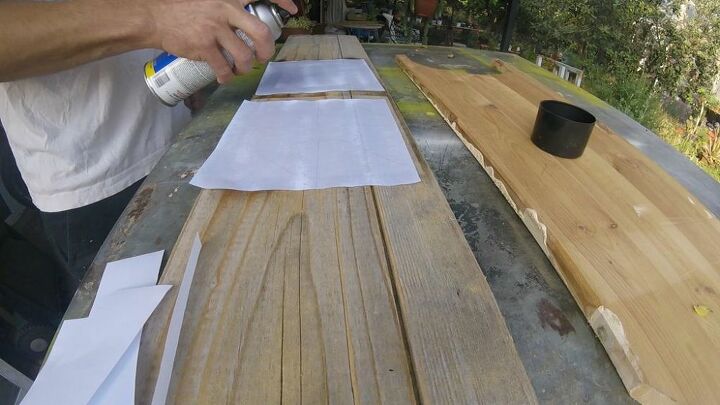
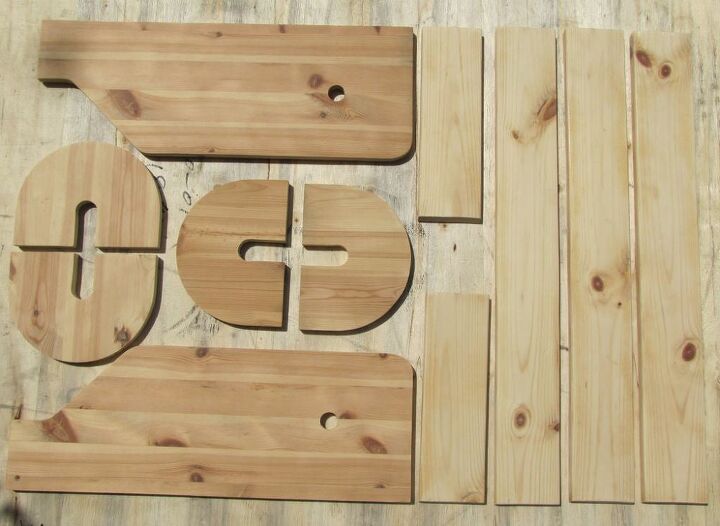
I've printed the sketches (1:1 scale).than I attached the paper to the wood using a glue spray.
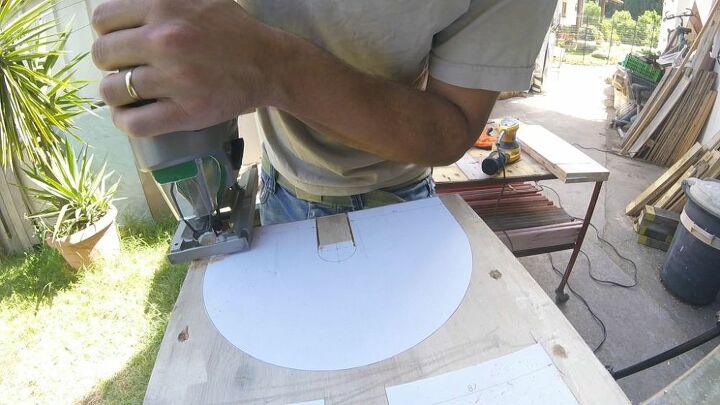
When the glue dried off, I've began cutting the shapes using a jig saw.
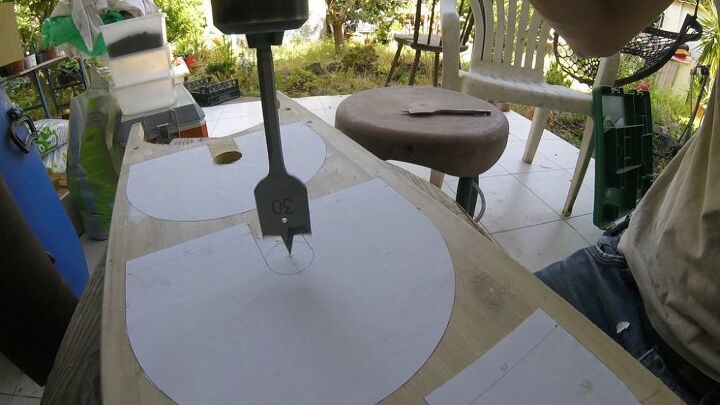
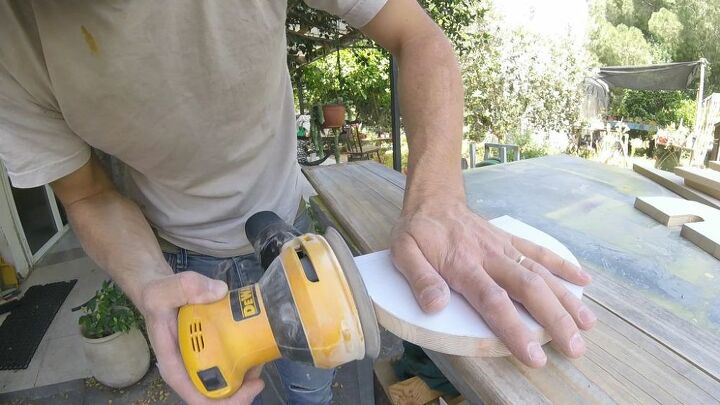
To make a hole in the center of the part, I used a 30mm wood drill.After finishing cutting and drilling, I've peeled off the papers and sand off the leftovers.

For the slopes I've chosen a standard width board (90 mm) and cut it to needed length.In order to reach the slopes angle, I've cut the wood edges to an angle of 15 degrees.
I've checked all of the parts to make sure that the dimensions and angles are correct.


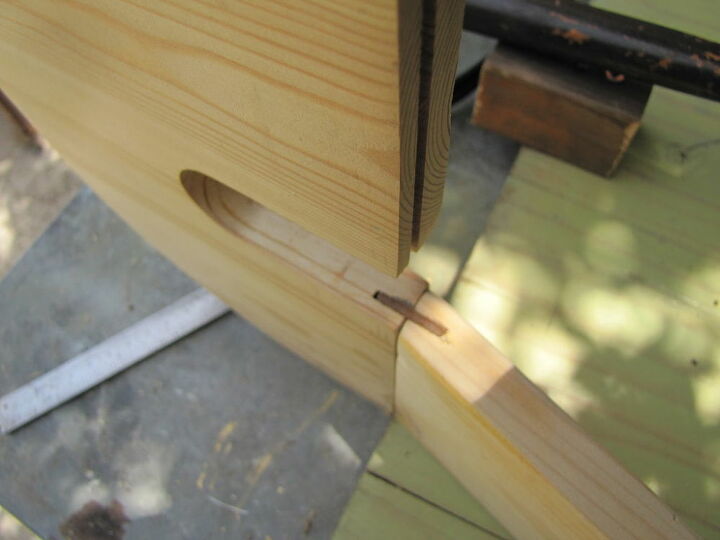
Cutting a groove using a table saw. the groove will be the connection between the parts.Plywood will be inserted into the grooves. the plywood size is matching the saw blade thickness.After one attempt I've realized that there were 2 different locations to place the grooves, I had to change the saw position and carefully cut each part and check myself all the time.
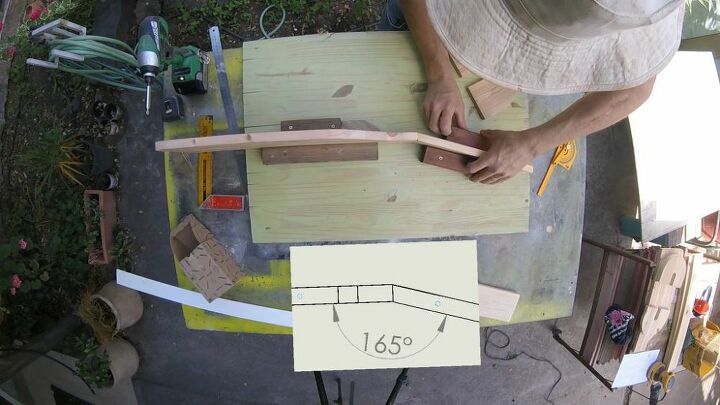
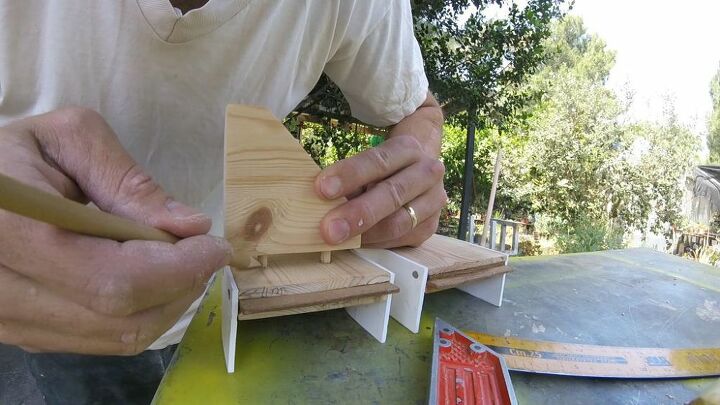
I've made a jig to help me connect the parts at the right angle.I drew the slopes on the board.I've connected four pieces of wood on the marked lines using screws,They helped placing the glued parts together in the right position.
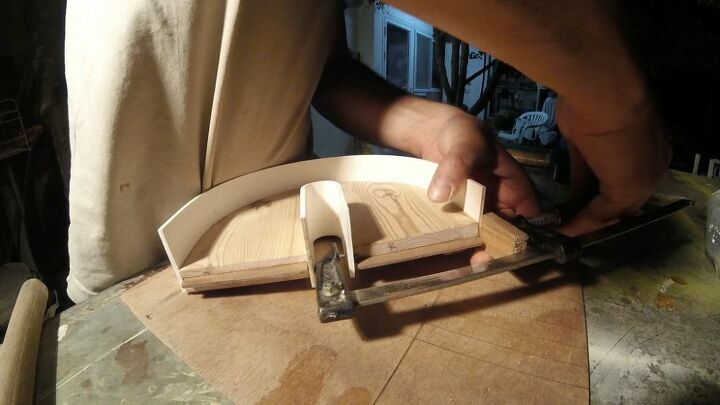
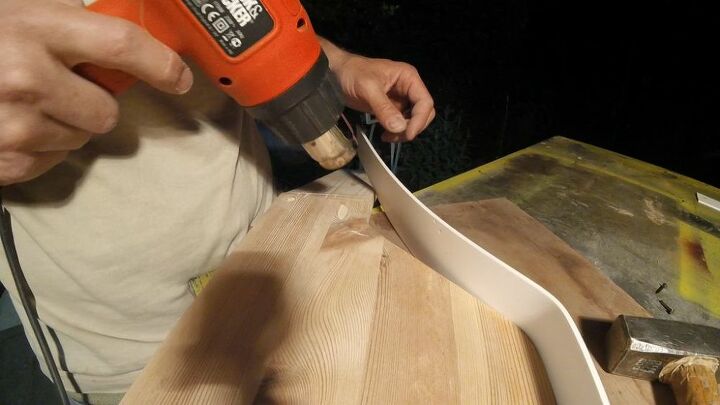
I've sliced Foamed PVC strips (5 cm wide) and attached them with nails.I've used a hot gun to soften the PVC in the sharp curves area. (CAREFUL: do not overheat or it may burn)I've connected two nails to the narrow parts of the U shape using a clamp because I was unable to use a hammer.
I've drilled using an eight mm drill. I used a masking tape to make sure I reach the right depth.I've sawed the wooden sticks (4-5 cm long) and smoothed the edges, than I've attached all of them together using glue.I've added "triangles support" to make sure its strong enough for a kid to lean on.similar technique is used for shelves.
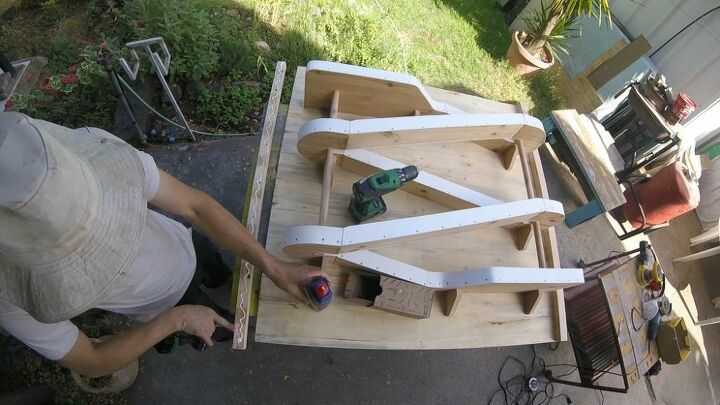
I've laid the parts on the board and marked their place.I've drilled the board and connected the parts using wooden screws.I've attached the game to the wall using 4 screws (10 cm above floor.)
Game over for me , game on Kiddo


Tool List:
Jig SawHammer Drill and Impact DriverCircular SawAngle GrinderOrbit SanderSDS Hammer DrillHeat GunDigital caliberDrill PressL-SquarePencilTape meter3 mm drillProtective glassesGlovesBreathing maskEar protectors Most of the materials used in the project are recycled materials that people threw away.

Comments
Join the conversation
-
Toda raba
, thank you ! -
That’s awesome! My boys would have loved that when they were younger! Very nice and what fun! Tfs! ❤️💜💚


Frequently asked questions
Have a question about this project?