EASY Thanksgiving Pumpkins!

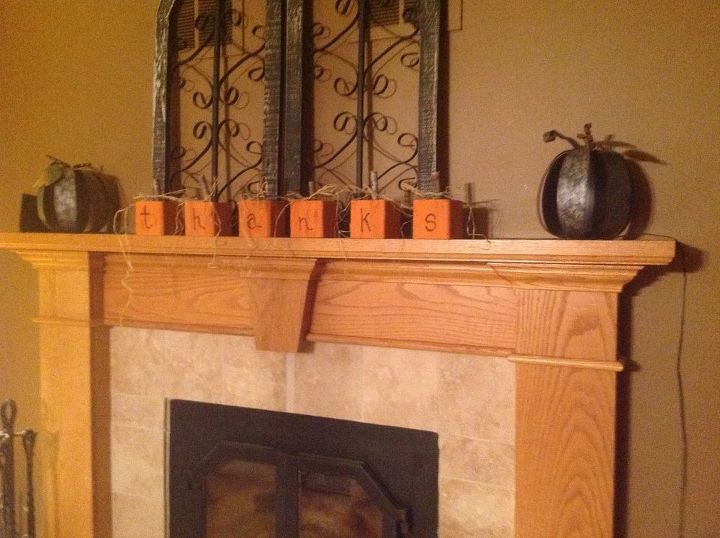
I can't take credit for this idea. There are lots of creative people posting similar projects. Here's my spin on this Thanksgiving mantle piece. I used leftover 4x4 posts. Please make sure that you don't use pressure treated lumber inside. I finished this in one evening!
My husband cut 6 blocks and sanded them for me. I put 2 coats of orange craft paint on each block. Once the blocks dried, I dabbed my brush in water, then removed the excess with paper towel. I put a few brown strokes on each block. Let dry.
I painted the letters "thanks" on each block using the brown. You could purchase all kinds of letters wood, metal, MDF if you don't want to paint them.
My husband used a 5/8 drill bit to make a hole in the centre of each block.
I used some florist's wire to add a little greenery to each pumpkin. That' s the largest wooden spoon I own. If you want smaller details, you can use a pencil. This piece of wire is about 12 inches long. Each pumpkin is unique so no need to measure too much.
Cut with snips. My husband says these are "overkill" but they did the job.
I used some fallen branches from the backyard and my husband cut them various lengths 3 to 5 inches. I attached the florist's wire and added a raffia bow.
Pop the stem in and you're done! You could add leaves too!
My husband cut some cute little pumpkin leaves. I painted them Shamrock green.
I attached them the same way and used a pencil to curl the edges. Happy Thanksgiving!
Discover More DIY Pumpkin Ideas
Enjoyed the project?
Suggested materials:
- 6 cubes (Leftover wood we had)
- Branches (In backyard)
- Orange and brown paint (Dollar Store)
- Drill
- Raffia (Dollar Store)
- Florist wire (Dollar Store)
- Snips
- Saw











Frequently asked questions
Have a question about this project?