


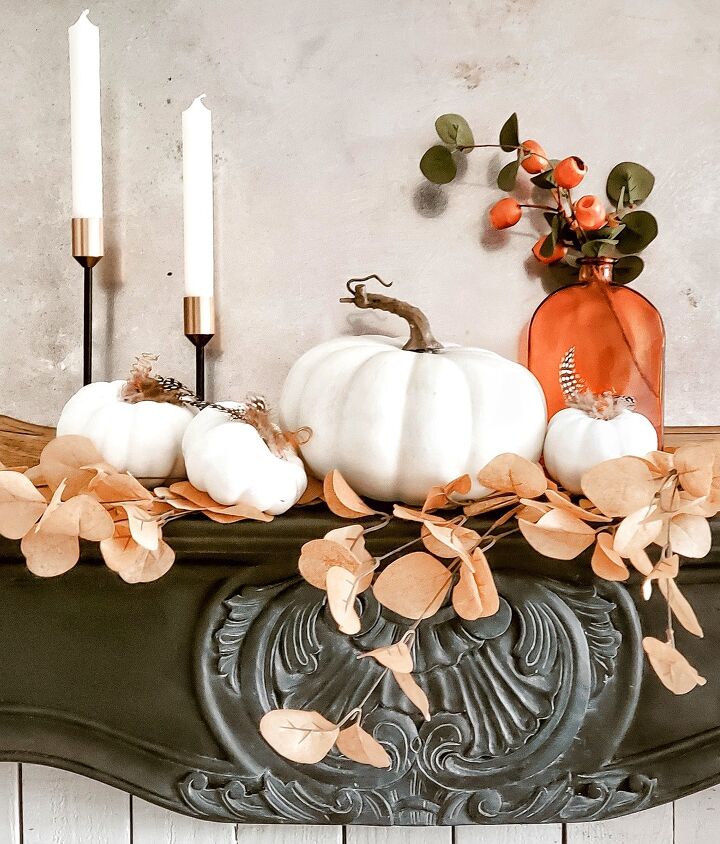
Craft Pumpkin Makeover for Thanksgiving Decor

You can find plenty of cheap foam pumpkins at the Dollar Tree store, as well as other stores. They are typically a bright orange color, which doesn't always mix well with my neutral decor palette.
With a little paint, craft feathers, and metal wire, I'm going to show you how to give those pumpkins the perfect Thanksgiving makeover.
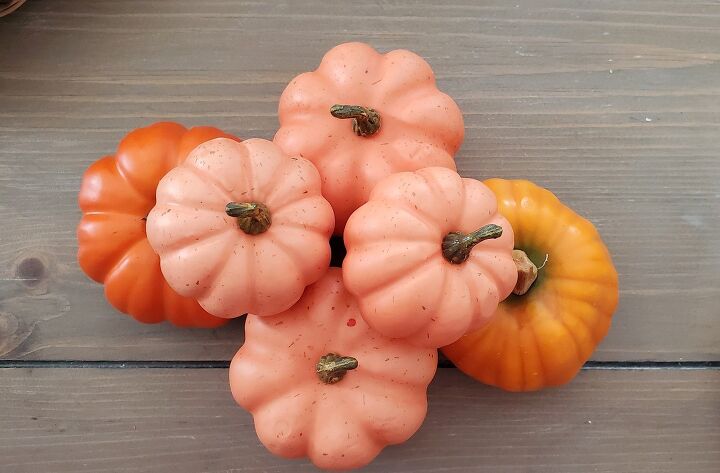
You can find these pumpkins easily during fall season. I already had these on hand
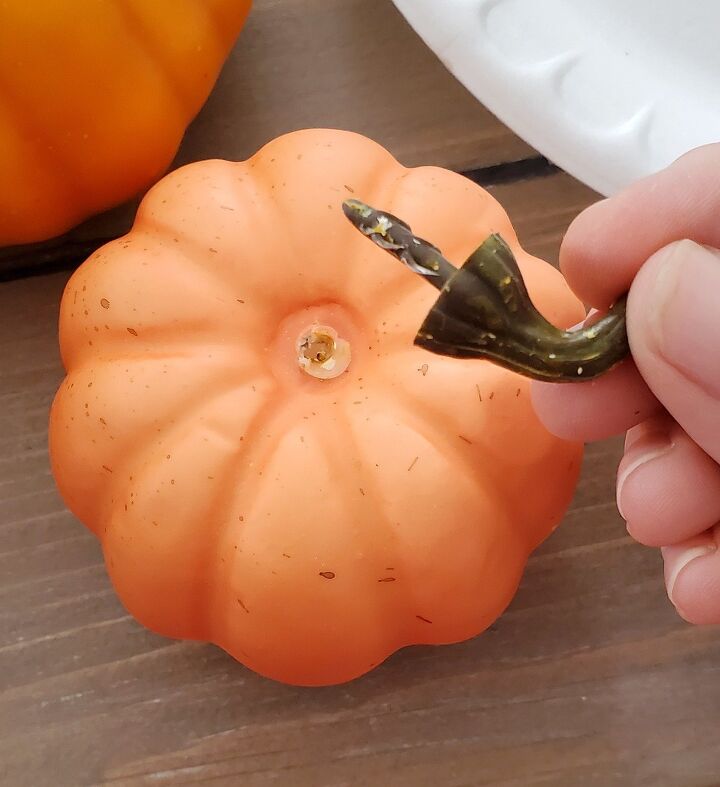
I started by removing the stems. They should easily pop out with a little twist.
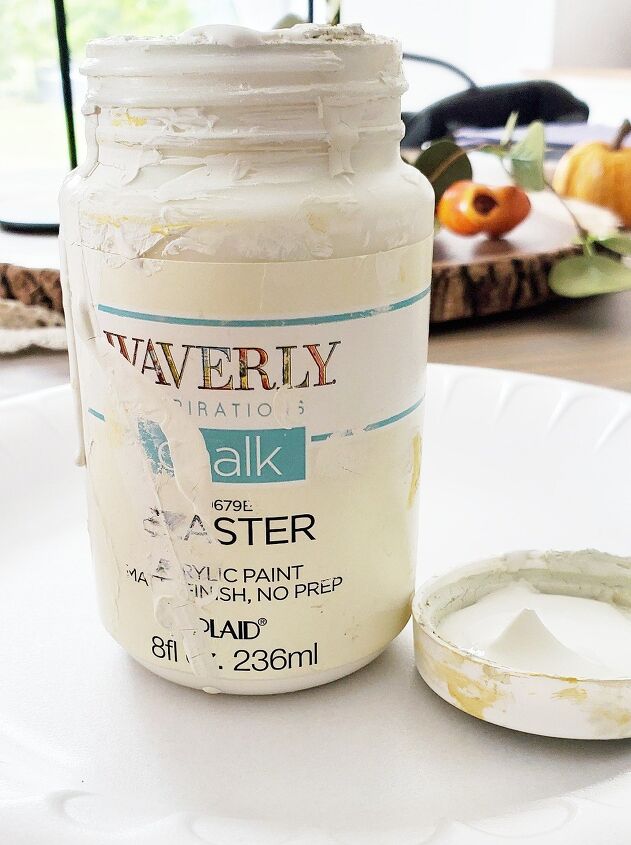
I used this chalk paint, which I already had on hand. This is the Waverly brand, in the color Plaster. You can find it at Walmart.
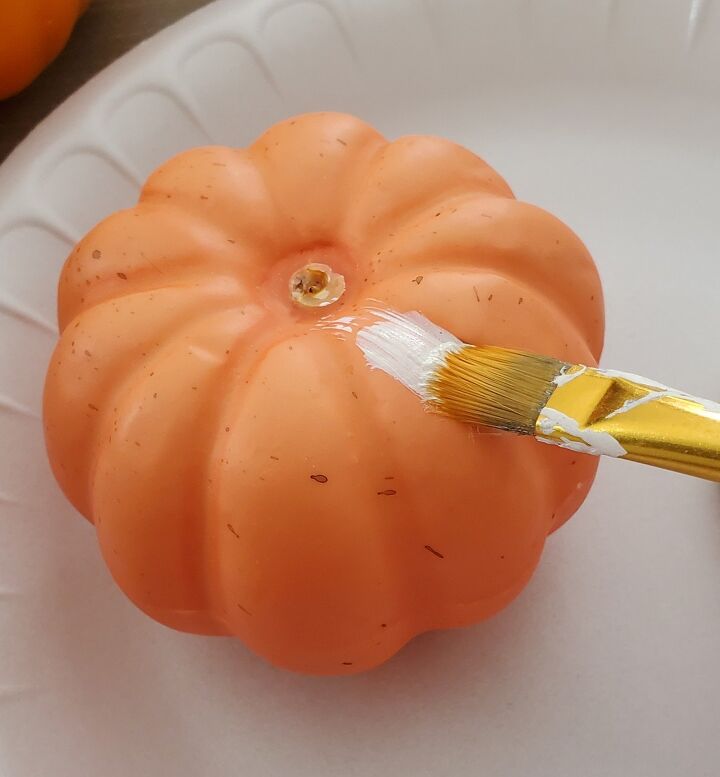
I simply brushed the paint on. It took about two coats.
Once my pumpkins were painted and dried, I started working on my coil stems. You can always replace the original stem; but I wanted to make it a little different
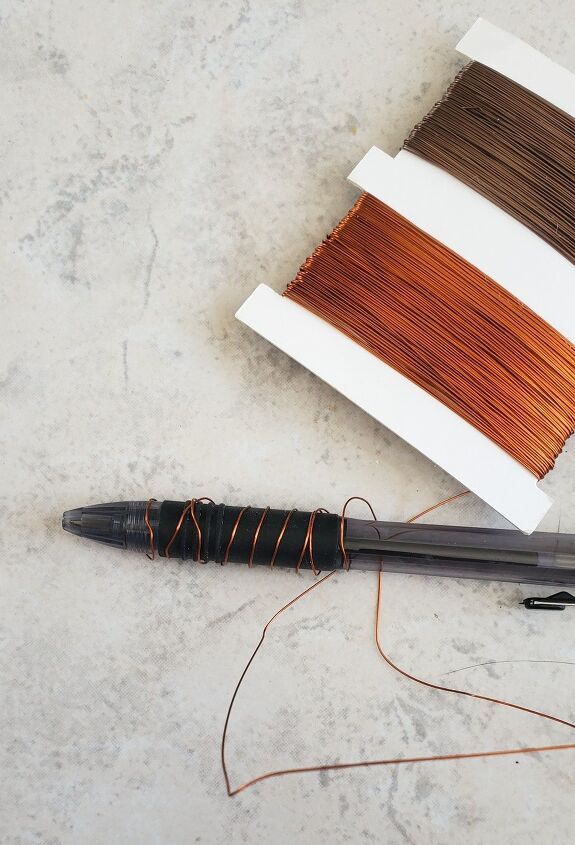
I found this metal wiring at the local craft store. It was the perfect color too! I just wrapped some around the base of a pen to create the stem.
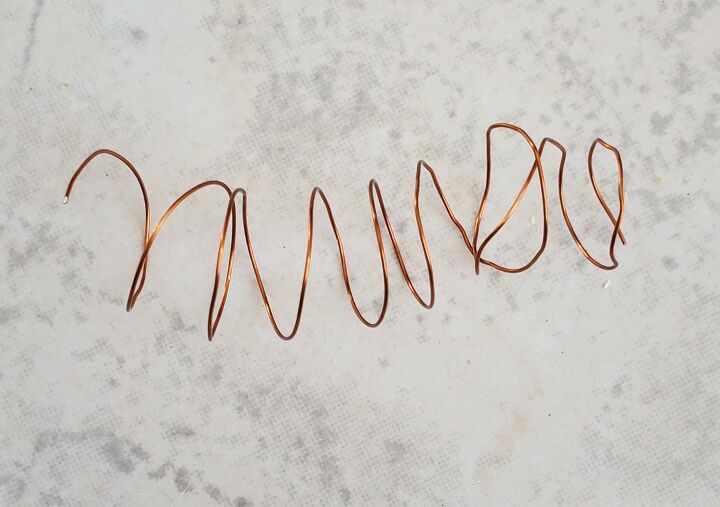
Your wire should look like this after you remove it from the pen.
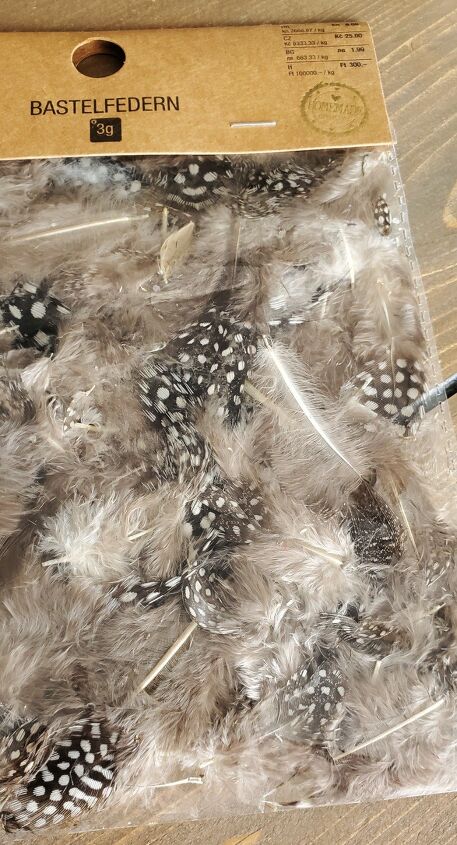
For the leaves, I found this bag of craft feathers. They reminded me so much of Thanksgiving time!
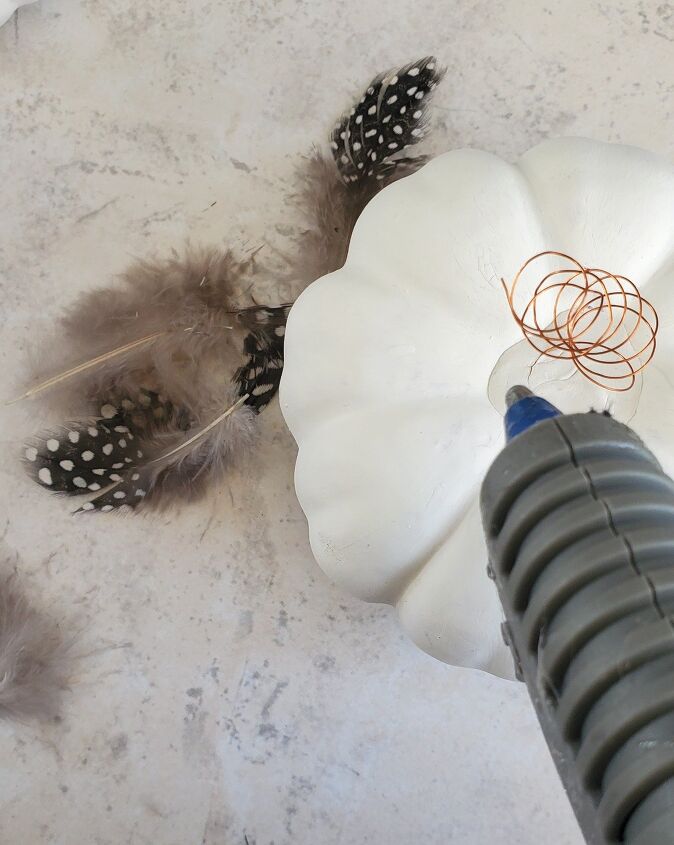
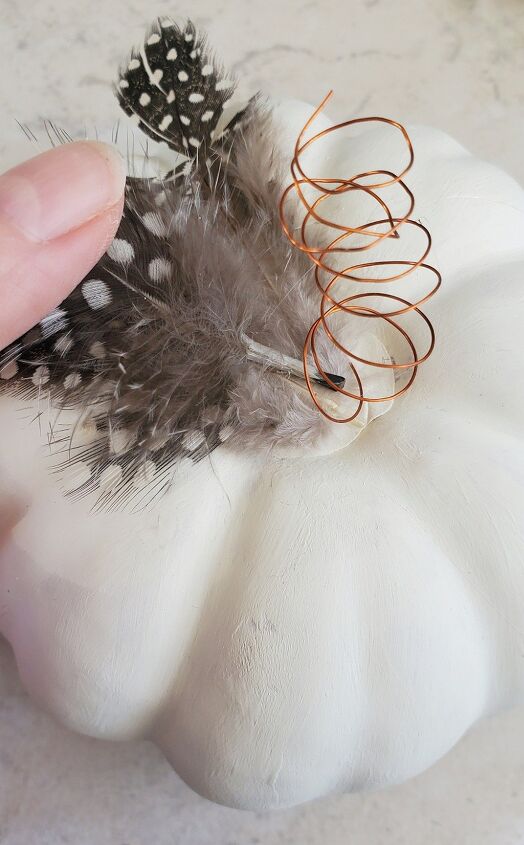
I used a little hot glue to apply the coiled wire and feathers.
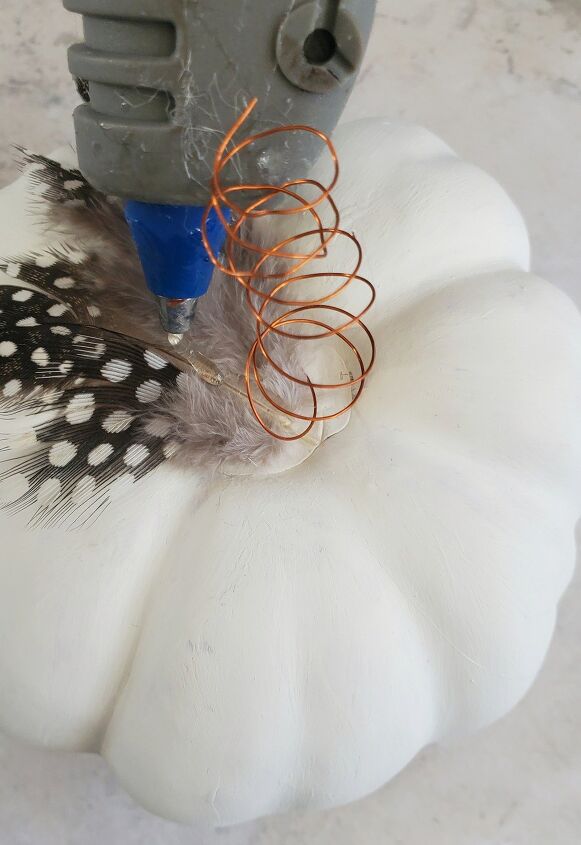
I used about three feathers per pumpkin. After placing the bottom two feathers, I added a small amount of glue on top of them to add another feather.
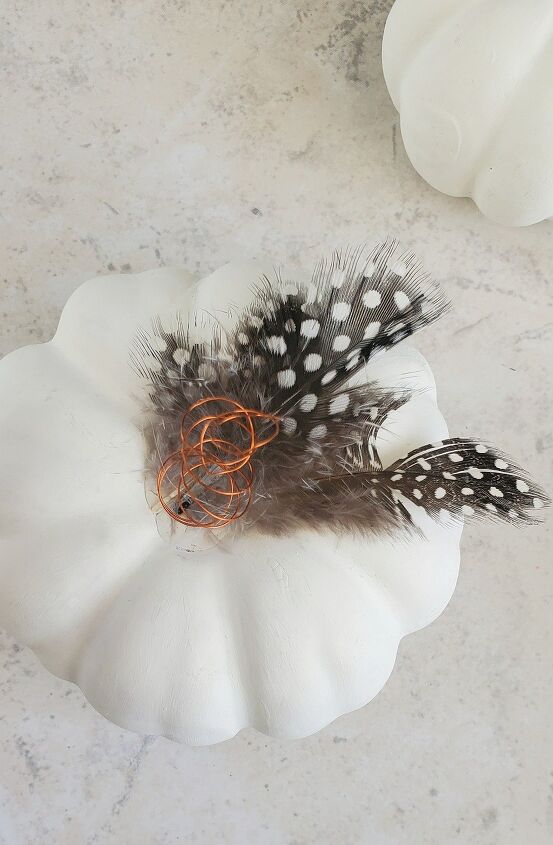
This is how it looked once finished.


Frequently asked questions
Have a question about this project?