


Thanksgiving Pumpkin Centrepiece

Thanksgiving has come and gone here in Canada, we celebrated it last weekend. For those of you who have not celebrated yet I wanted to share with you this quick and easy centrepiece you can make. It won’t cost you a lot of money and everything can be recycled and used again.

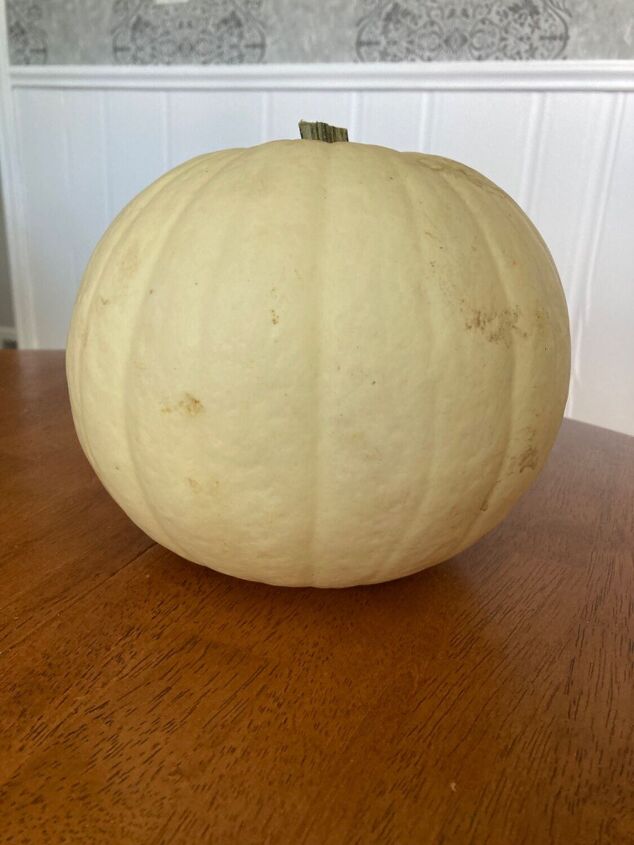
My inspiration for this project was a pumpkin. I love pumpkins! There is just something about seeing pumpkins that make me smile. For this project I chose a white one but feel free to use orange. I paid $2.00 at my grocery store.
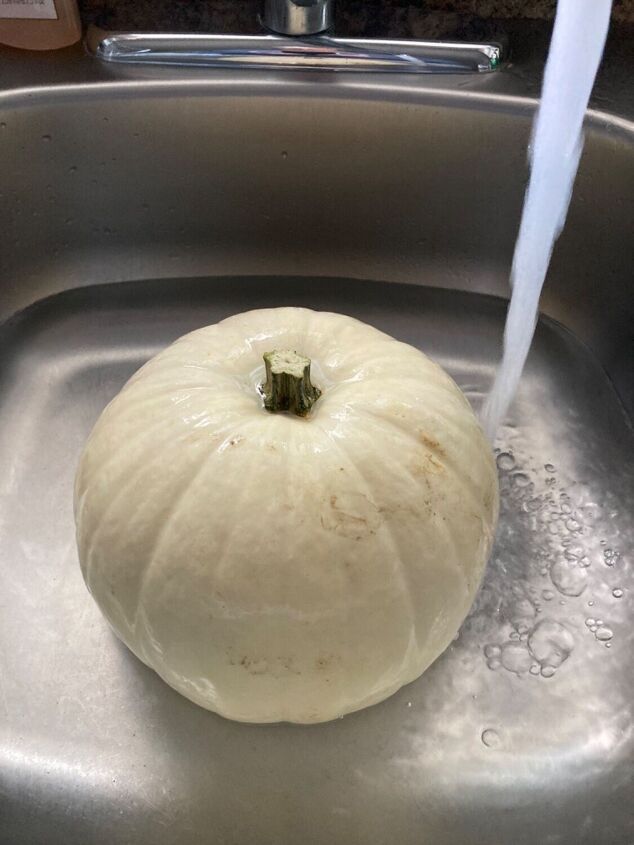
First step is to give your pumpkin a bath. Fill your sink with water and add either vinegar or bleach to your water and let your pumpkin sit for 30 minutes. This will help your pumpkin last for a few months in your house without rotting. The vinegar or bleach act as an anti fungal. If you only want to keep it a week or two skip this step.
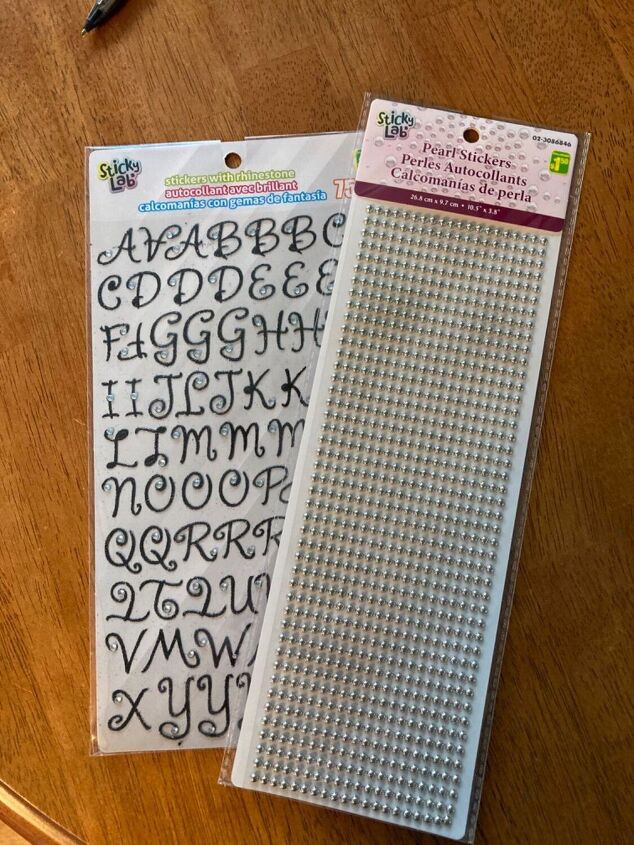
After I got my pumpkin, I went browsing my Dollar store for some stickers for my pumpkin. I settled for some pearl dots and some black lettering with rhinestones. The choice is yours, Dollar stores carry a large variety of these types of stickers.
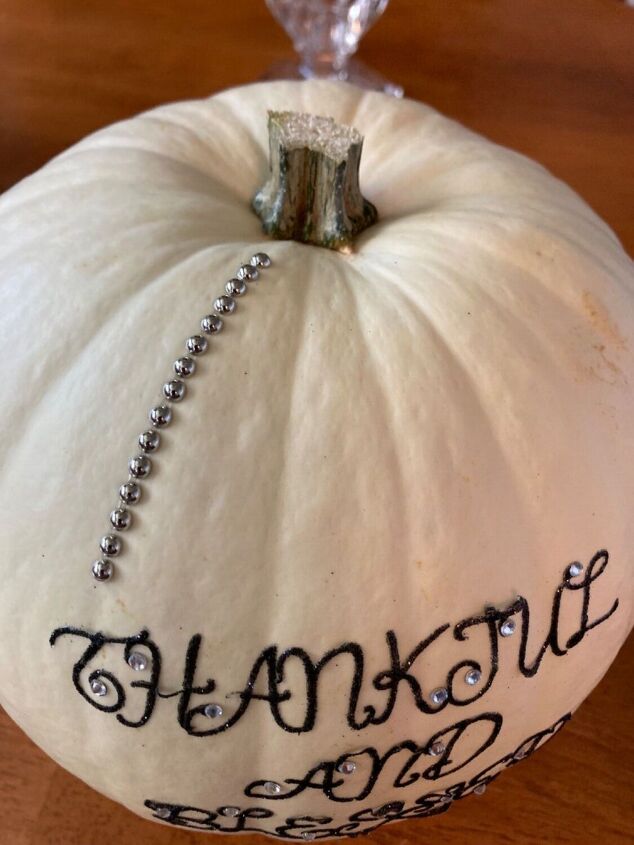
Once my pumpkin was dried I removed my lettering from the packaging and got to work. I already knew what I wanted on my pumpkin.
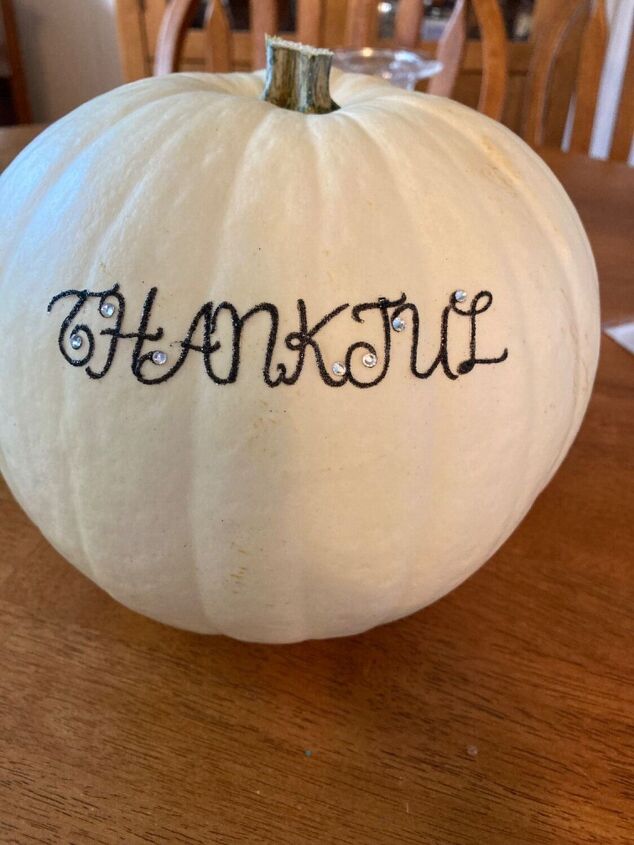
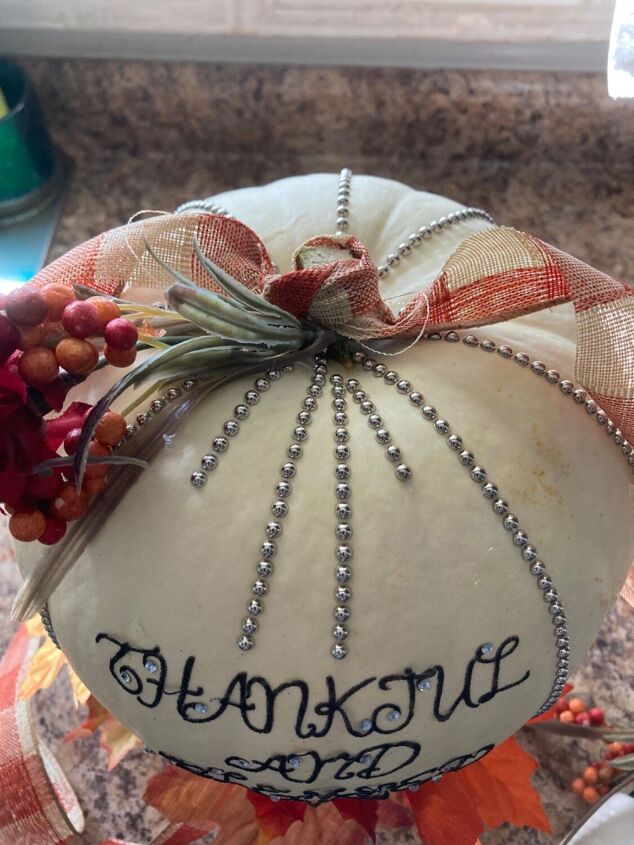
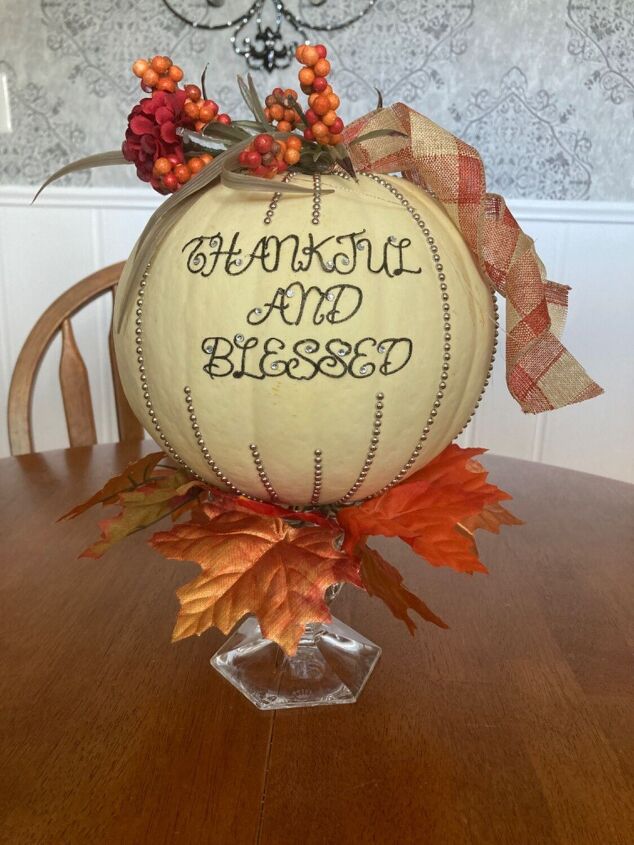
Carefully removing the lettering I placed them on my pumpkin. It says Thankful. I then completed the rest of my lettering.

Here is my lettering complete. Thankful and Blessed. You can choose to put your own words on it. Things or people you are thankful for. Options are endless, make it your own.
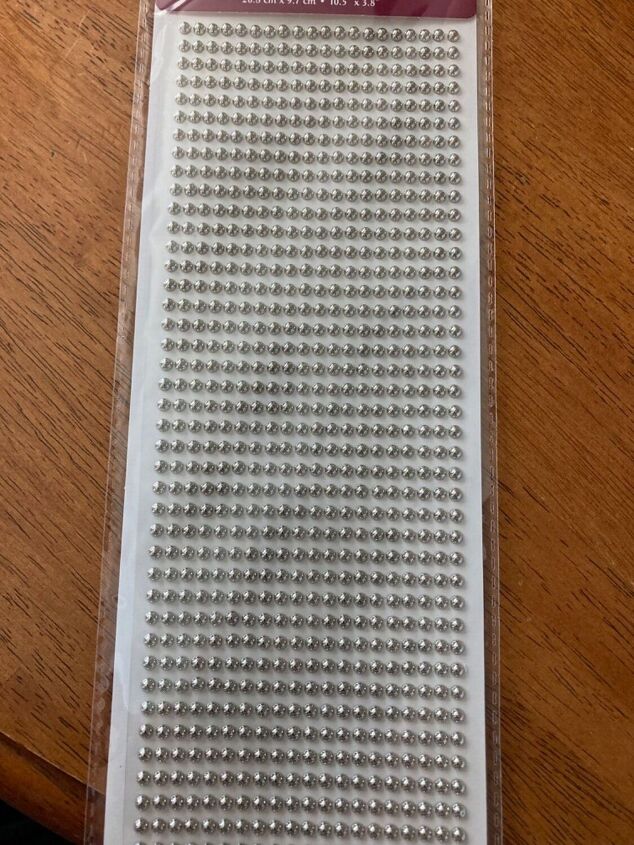
Next I took my little pearl dots in silver and removed from the packaging.
I started removing strips and placing them on my pumpkin.

I continued placing the strips around my pumpkin following the natural lines of the pumpkin .
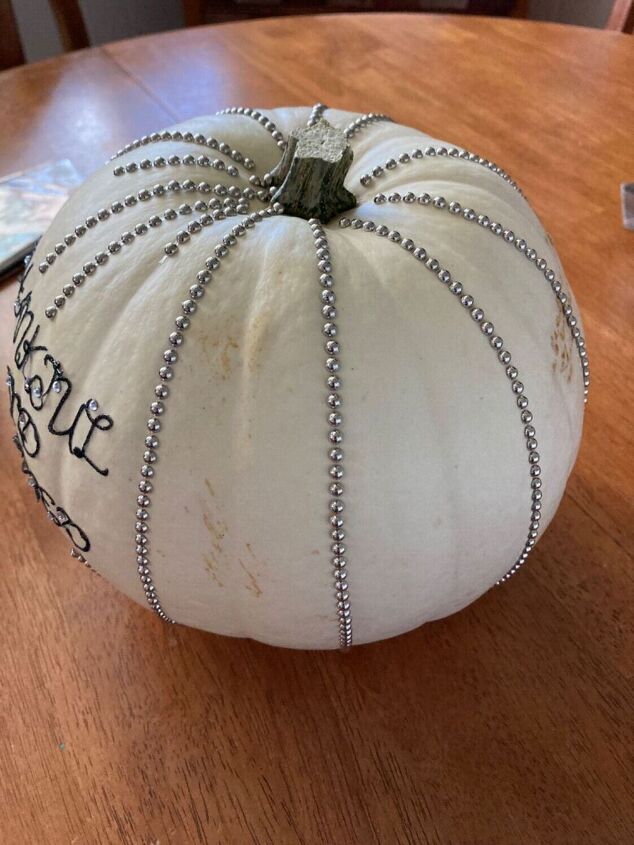
I spaced out my lines, but again the choice is yours.
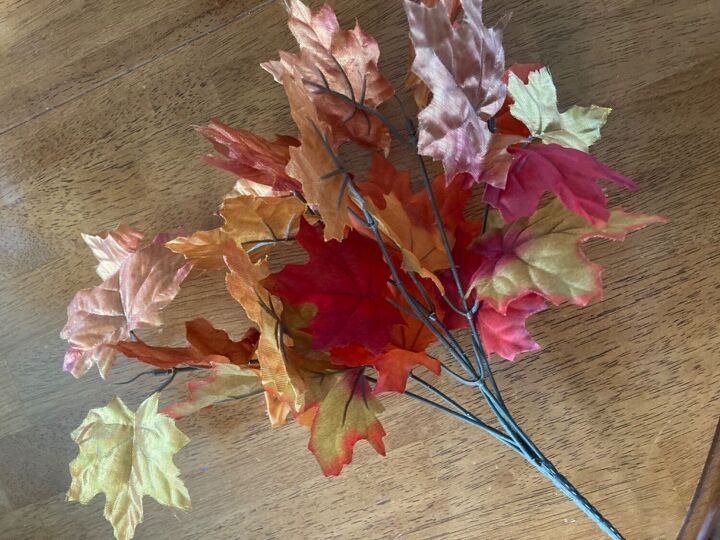
Once my pumpkin was complete, I took a bunch of fake leaves I had and cut them into individual branches.
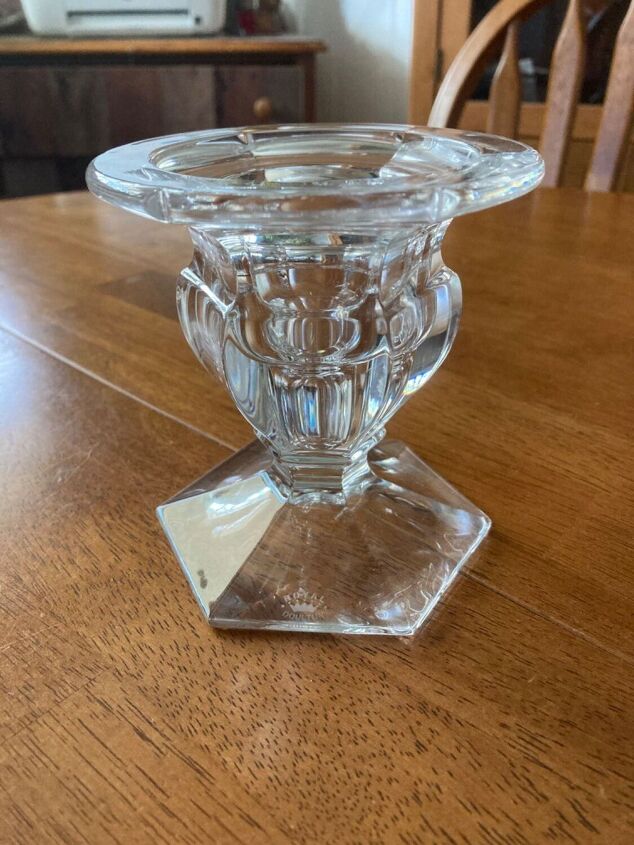
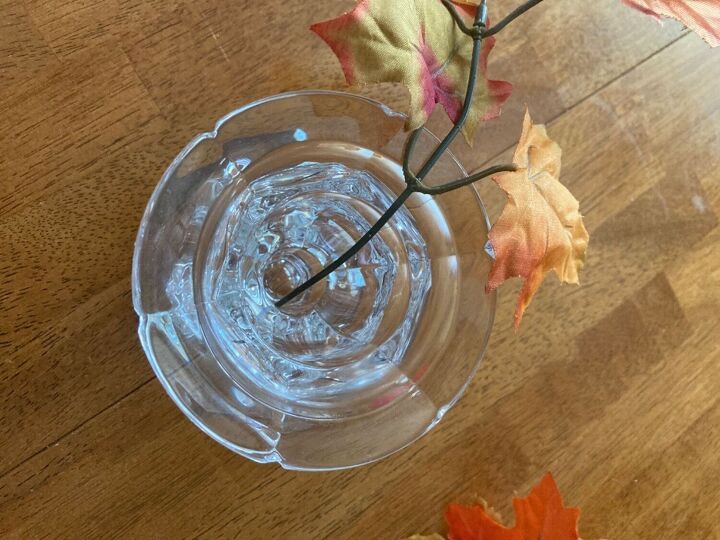
Next I dug out this crystal pedestal candle holder we received as a wedding gift 23 years ago that I have never used.
Taking the branches I cut, I bent the ends and began placing them in the middle of the candle holder.
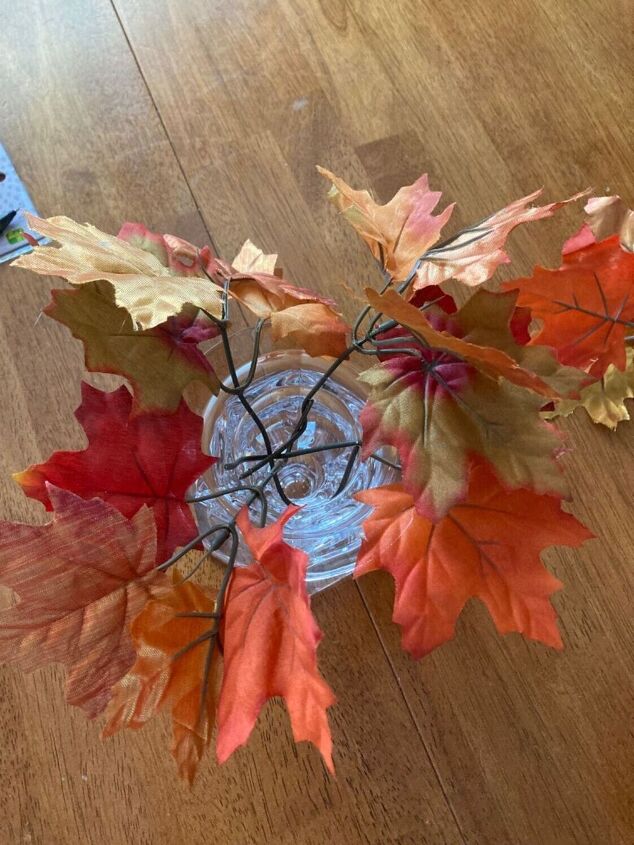
Here are my four branches.

Next I took my pumpkin and placed on top of the holder and leaves. You can leave your pumpkin as is or read on to see what I did next.
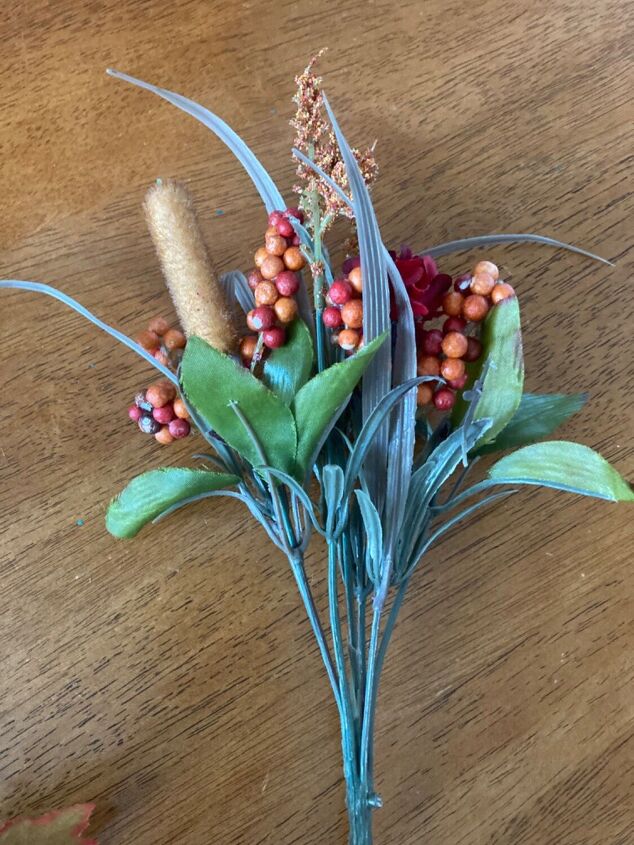
Next I took another bunch of fall greenery and cut it up. I have alot of these different bunches. If you don’t head to your Dollar store.
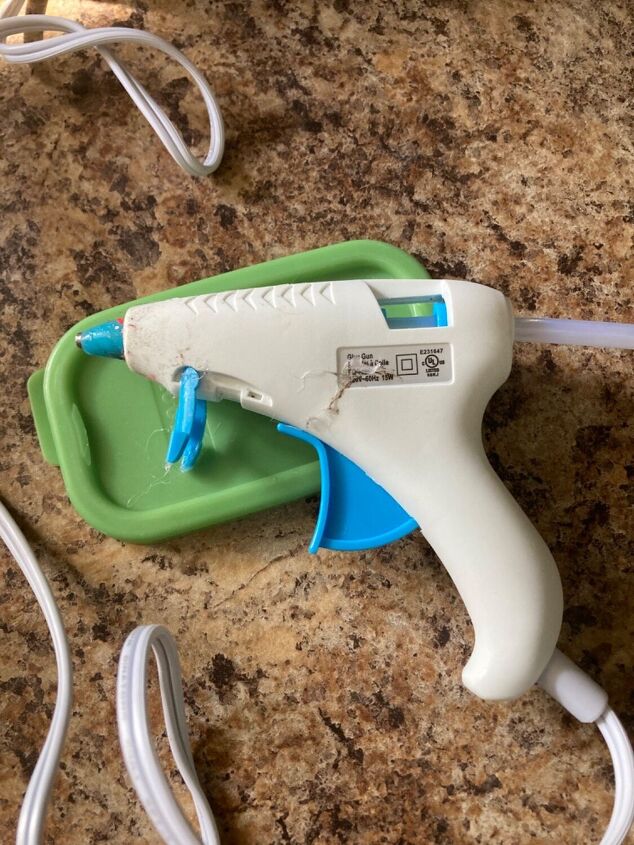
Next step was to heat up my glue gun.
Using my glue gun I began randomly attaching my cut stems. I also took a piece of ribbon and tied it to the pumpkin stem.
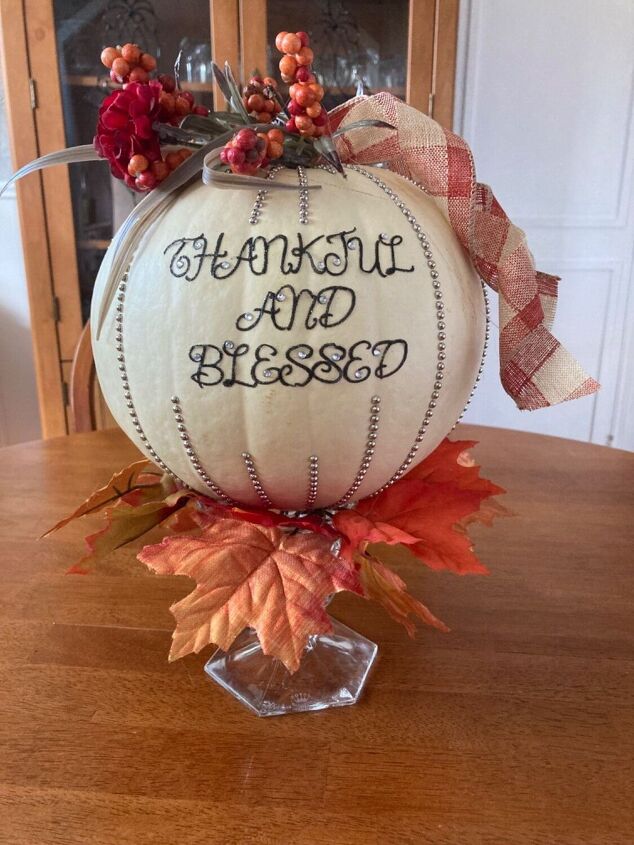
Here is my centrepiece complete!
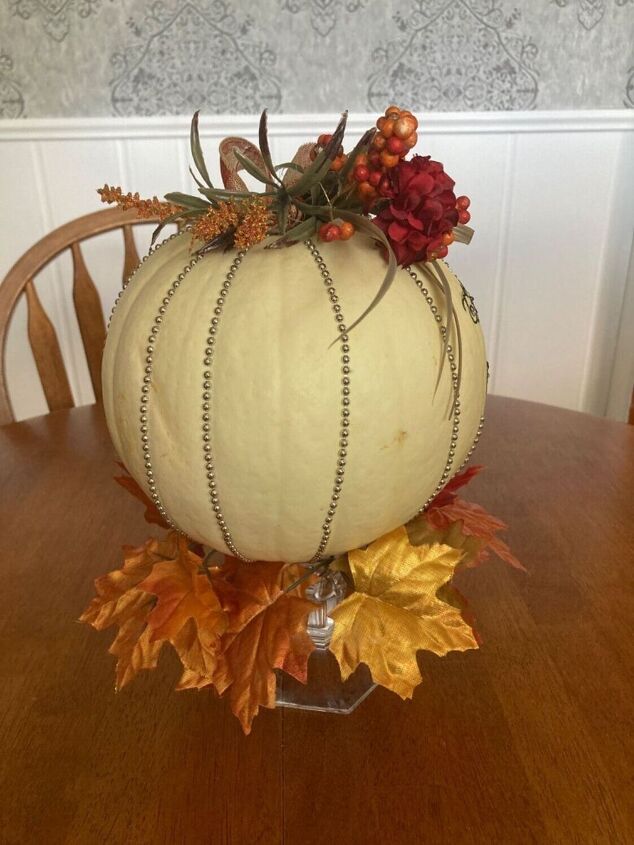
Here is a side view of my project.
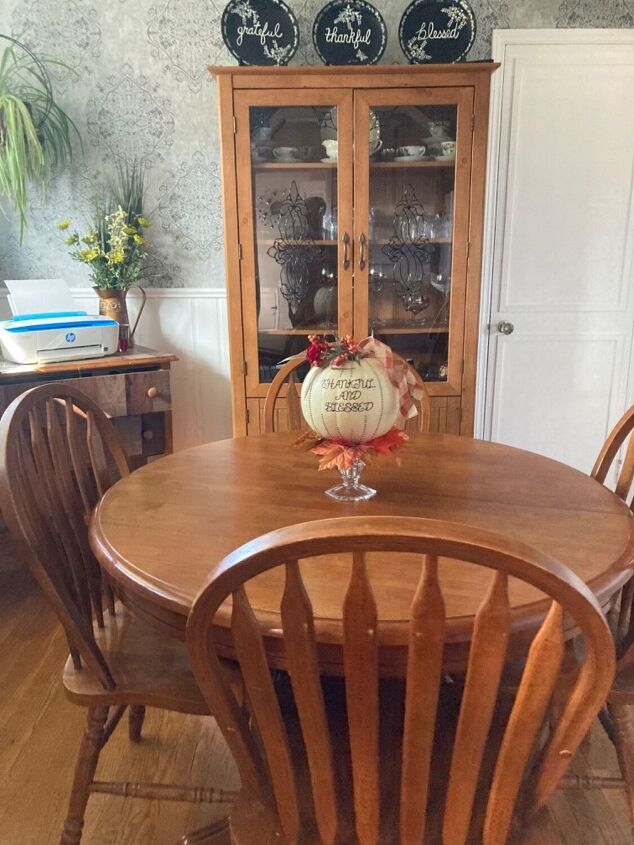
This project was super easy to make. I don’t have a large table so the pedestal candle holder works perfect and doesn’t take up space. If you have a larger table you could do 3 different size pumpkins and holders or do a large pumpkin on a cake stand. Options are endless.
Once you are ready to get rid of your centrepiece simply remove your stickers and place back in the packaging to reuse. The same with your leaves and ribbon. I take my pumpkins and let them decompose in my gardens. Wishing you a Very Happy and Blessed Thanksgiving!


Frequently asked questions
Have a question about this project?