


Want a Glam Gold Frame Gallery Wall? Here's How to DIY It

If you like big frames and you cannot lie, you’re going to love today’s episode.
I have a glamorous makeover coming up where I’m going to be creating a gold frame gallery wall. But, instead of spending money on gold, gilded, filigreed frames, we are going to DIY gold frames the cheap way!
Here's how to make a cheap gallery wall.
Tools and materials:
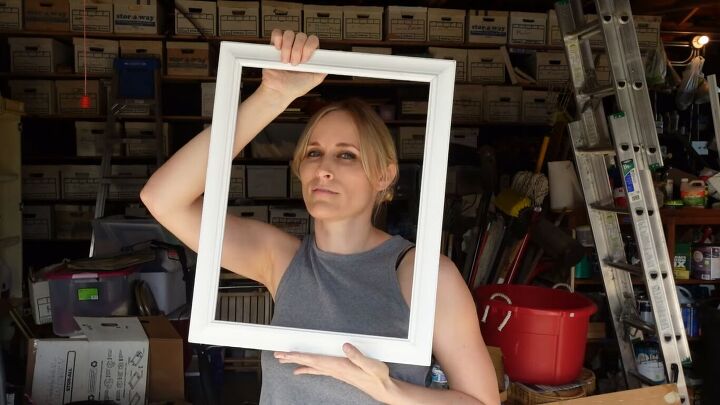
- Thrifted frames
- E6000
- Embellishments from the dollar store
- Tweezers
- Gold spray paint (Rustoleum)
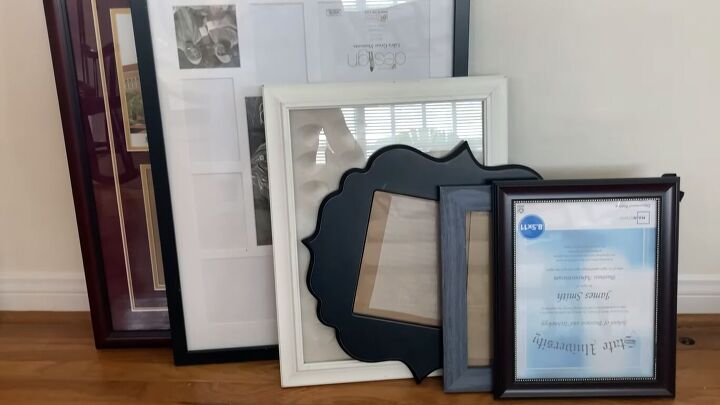
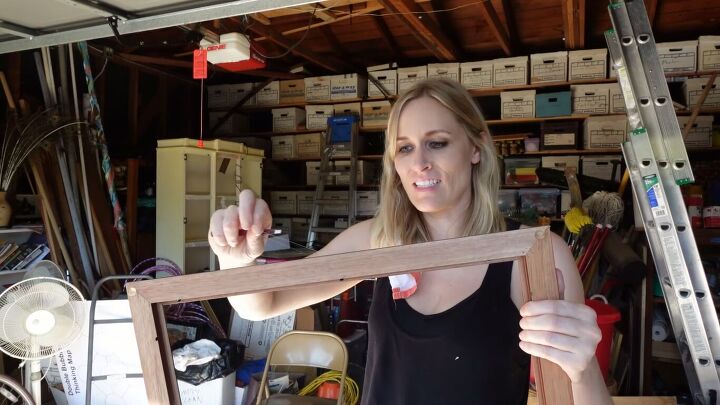
First, I went to the thrift store and got all the variety of frames I needed. I chose these frames because they were simple—flat, with minimal detail— because we’re going to jazz them up with supplies from the dollar store.
1. Wash the frames
First, clean everything.
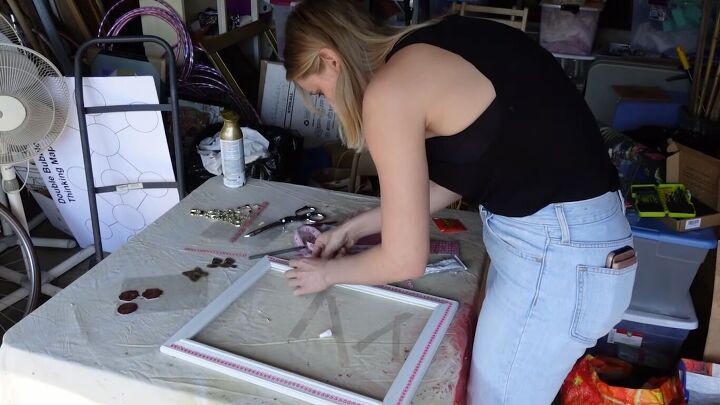
2. Glue your embellishments
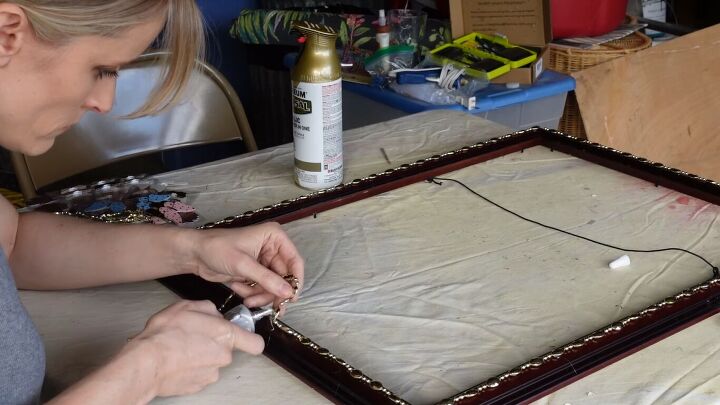
Garlands
For my first frame, I’m using this gold garland from the dollar store and sticking it along the frame with E6000 glue. Make sure the beads are laying the right way, then let the frame dry overnight.
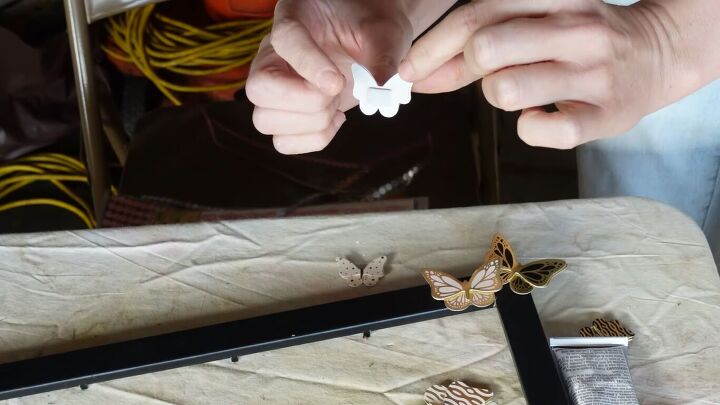
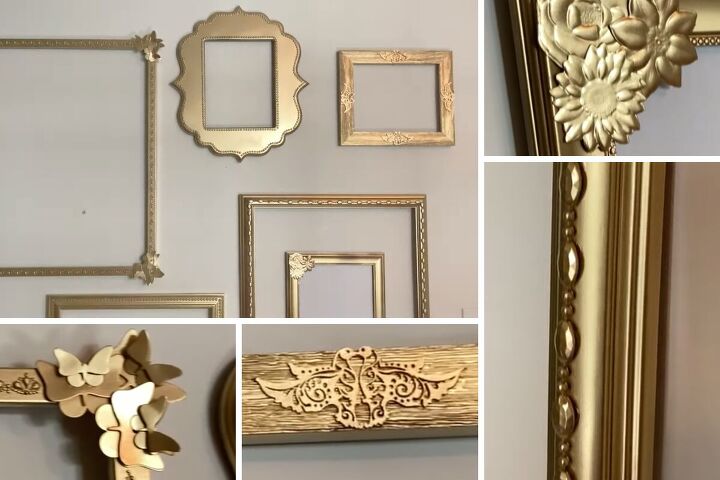
Butterflies
For my next frame, I’m embellishing the corners with these butterfly stickers. They’re layered cardboard with foam stickers on the back, which is great for height and dimension, but I’m still going to adhere them with E6000.
I’m layering a few of the big butterflies on first, then using the smaller butterflies to fill in the gaps.
Crowns
For a little more pizzazz, I’m using these crown stickers on the sides. I’m only using E6000 on the ends, as they already have glue on them.
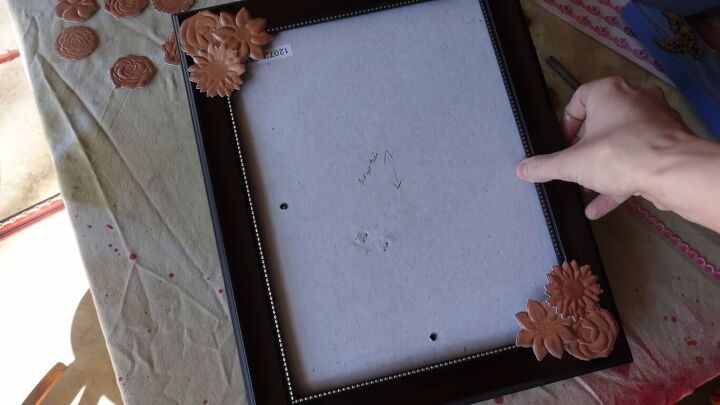
Flowers
The third frame already had some detail, but I wanted to add some more feminine flair. So, I’m adding some of these metal flowers from the dollar store to each corner.
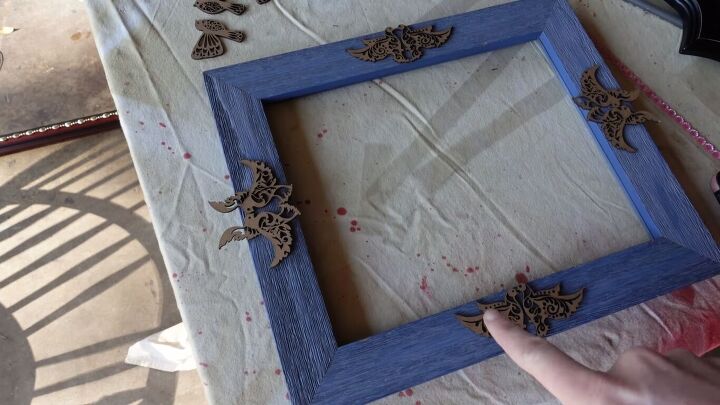
Birds
Next up, I’m creating a design with some wood-cut birds. I’m gluing matching birds symmetrically so that it creates a medallion effect. The wings are quite delicate, so I’m going to cut them off where they overlap the edges of the frame.
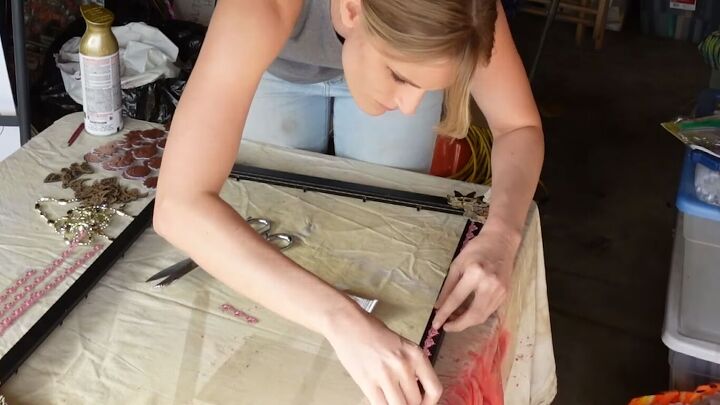
Rhinestones
For this frame, I’m using similar stickers to the crowns, but these are rhinestones.
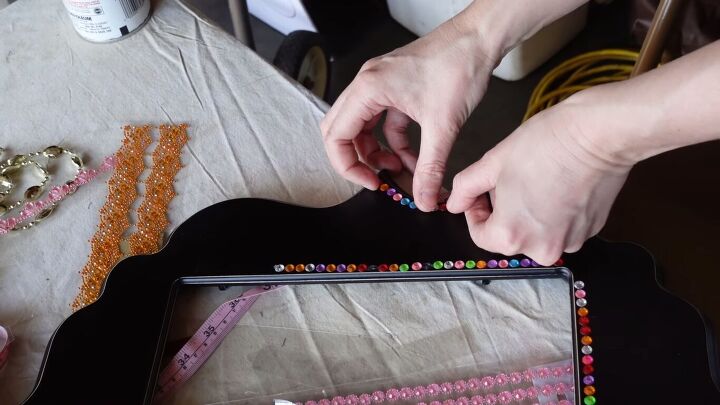
Larger rhinestones
This frame already has an interesting shape, so I’m just adding a bit of texture with these larger rhinestone stickers.
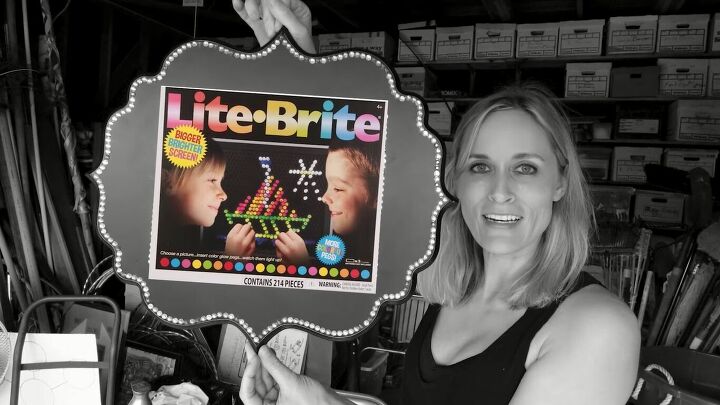
How much does this look like one of those old Lite-Brite boards?
3. Remove the cobwebs
Whenever you’re working with E6000 or hot glue, there are always little “cobweb” strands left behind. So, I’m just removing them with tweezers before painting.
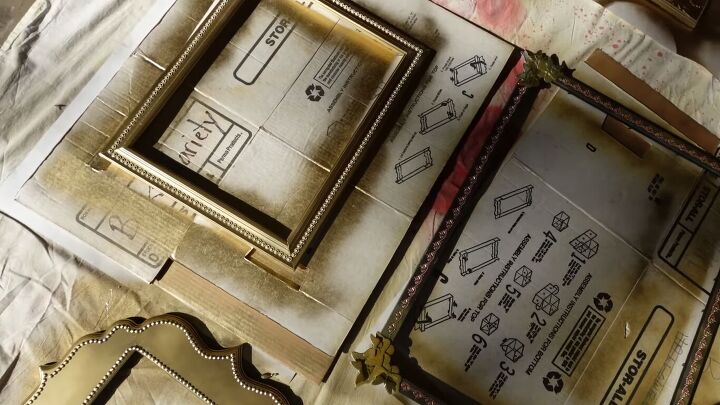
4. Spray them gold
Now it’s spray time! Spray-paint all the frames gold.
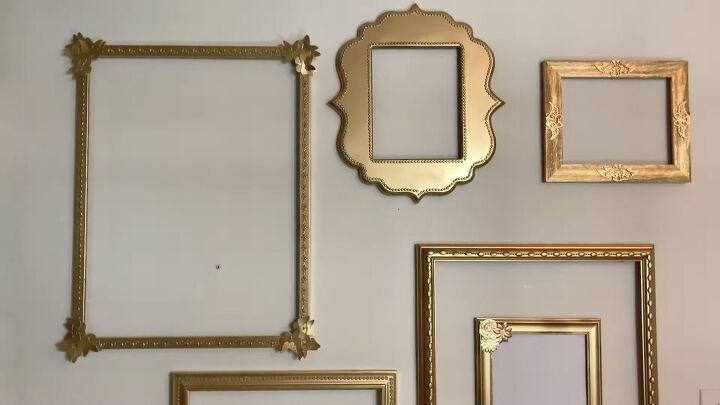
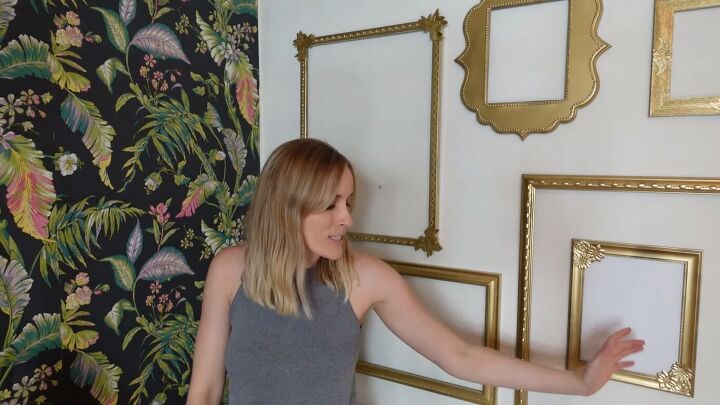
DIY gold frame gallery wall
Here’s the final reveal! This is a very easy, very simple, very cheap craft to do. This gold frame gallery wall lives here for now until I move it to my future makeover room.
I love how the frames turned out. What do you think of the result? Let me know in the comments below.
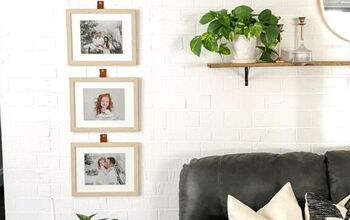
DIY home decor using old picture frames
Resources for this project:
See all materials


Comments
Join the conversation
-
STUNNING!!
-
i love it.....i have been putting up pictures everywhere in my home. painted bulletin boards and such with whole family photos. NOW i am going to do a wall like yours. but i will use silver paint. thank you for your hard work .....


Frequently asked questions
Have a question about this project?
you are putting photos in the frames right?
I really love the gold and all of your ideas to make the frames unique on their own but tie them together with the gold paint. Great idea. Now I just need to know where that stunning wallpaper came from?