


Repurpose Dresser to Specialty Kitchen Cabinet

My sister had a "hole" in her kitchen that she wanted a special function cabinet and look. She wanted to repurpose an old dresser and use in that spot. We took a dresser and cut it down to fit in the space. But unbeknownst to us - the dresser isn't really wood - it's early American chipboard and plastic parts - YIKES!
But we did it - we cut the dresser down, removed the plastic embellishments, built a shelf where the top drawer used to be, built some doors, put wheels on a drawer, and shopped for some beautiful knobs.
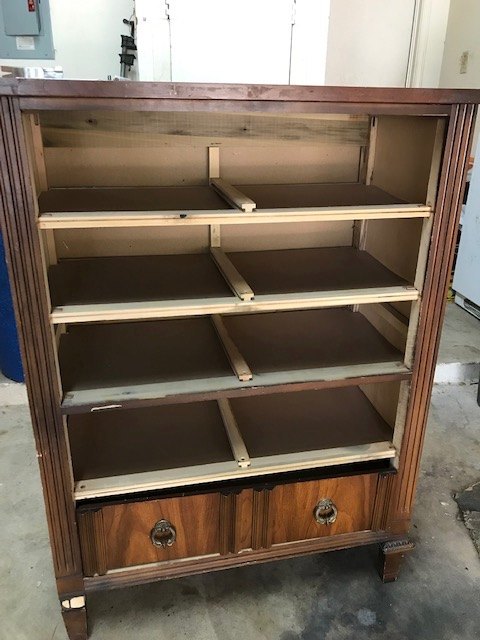
We started by removing all the drawers but one and knocking out the most of the drawer middle slide/support. We removed the top drawer support and replaced with a support for the future shelf.
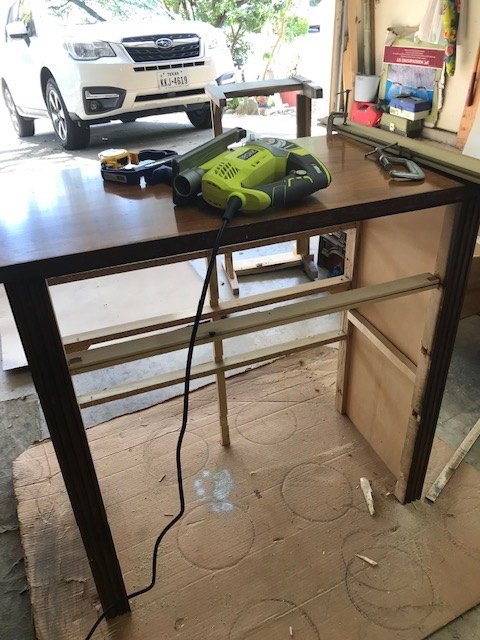
We measured about 10 times the space that the finished piece would slide into ... we had to cut it down and cut a sliver off the top. We used a jigsaw. Don't ask why - it just worked...heh.
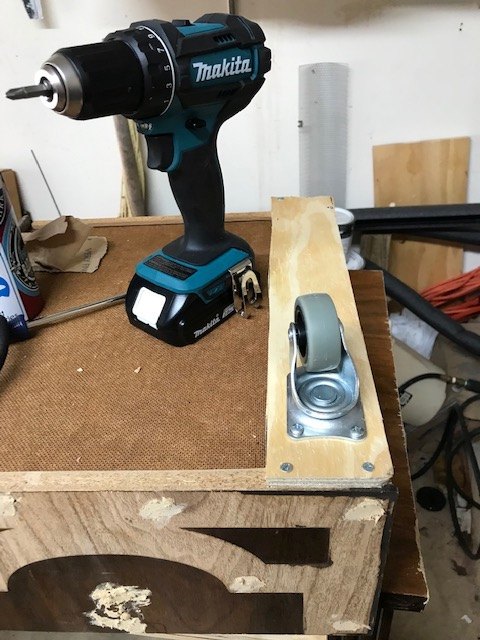
We used some scraps of 1/4" plywood to create a base for the wheels. The plan was to use the drawer on the floor to roll in and out. It will hold the recycling and trash cans.
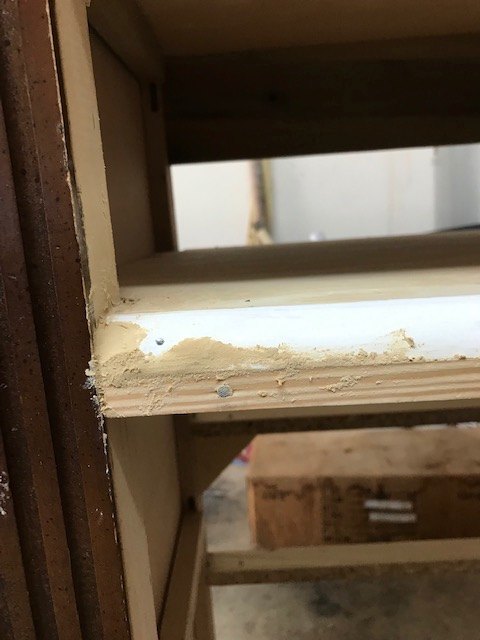
We measured and cut a shelf - we had to cut and place two pieces (a center seam was filled with wood putty and sanded to camouflage the seam. With a gap of about an inch and a depth of about an inch, we used a square piece of lumber (on the bottom of the gap) and a quarter round trim. Measured to length, glued and nailed into place, and then wood putty used to fill the seams. Allowed to dry and then sanded with 180 and then 220 grit sandpaper. I used a palm sander. Also, sanded the plywood shelf to remove any rough spots.
For me, this was the hardest part - I have never done something like this before so it was a learning experience from the start. I measured the opening between the bottom of the shelf trim and the top of the drawer to get the measurement of the two doors. I probably should have allowed a 1/4" so that the fit wasn't so tight but lesson learned...sigh.
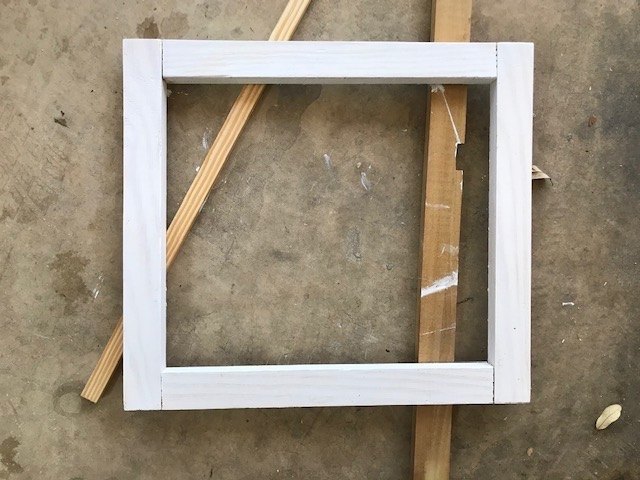
I cut the slats - I think they were 1 1/2" wide, 1" depth - and used picture frame angles to piece together as inn the photo. Then used a primer and then two coats of paint. We used 1/2" screening, spray painted with a copper paint and then nailed to the back side.
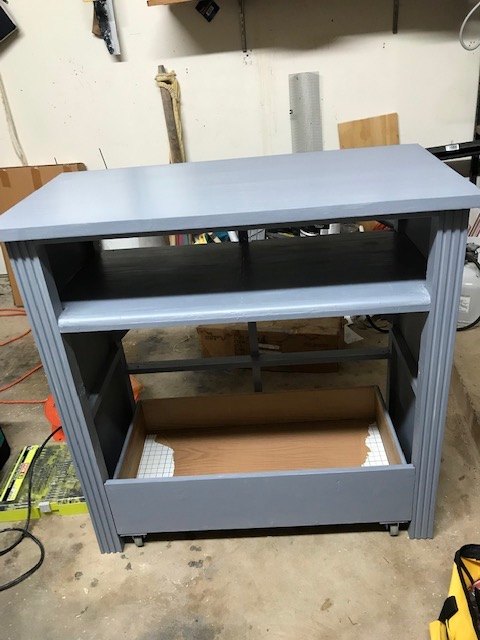
I sanded the veneer top lightly with 220 grit sandpaper to rough up the surface and then applied a primer. This was followed up with two coats of paint. The paint is from Sherwin-Williams - a dark gray.
A light sanding again with 220 grit after a 24 hour drying time after the last coat of paint. Then I applied 5 coats of polycrylic. Apply a coat, let dry thoroughly, lightly sand and then apply another coat. I wanted at least 5 coats on the top because it will get moderate to heavy use. The rest of the piece and drawer received three coats of polycrylic.
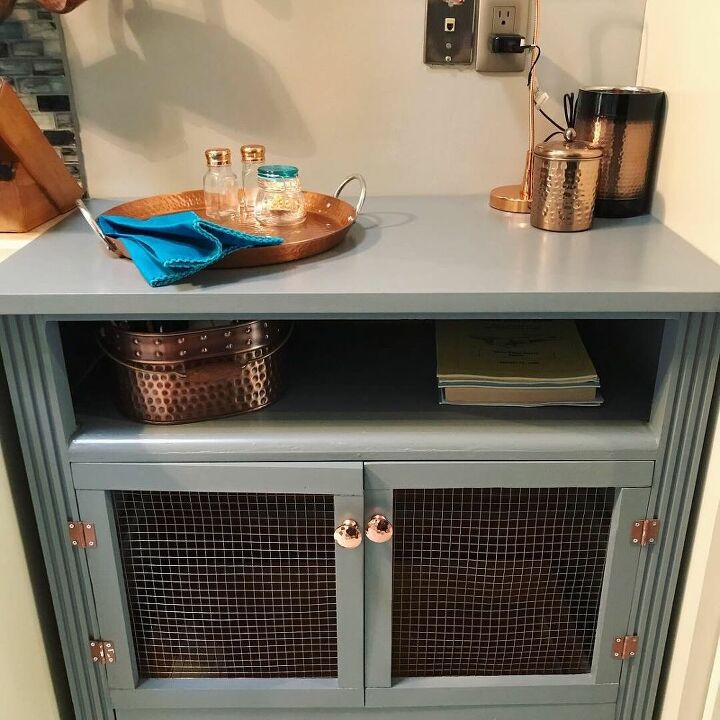
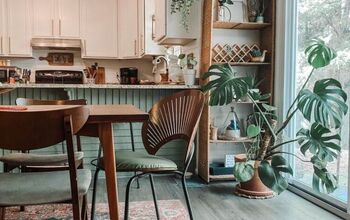
The finished piece in place. We used copper knobs to match the decor of the kitchen that is done in the same gray and copper.
Comments
Join the conversation
-
WOW! That turned out beautifully! I have a kitchen cart that is very boring, and I’m going to use some of your ideas to make it more unique looking.
Thanks for sharing Your project!
-
Wow! This came out really nice. Great idea for an empty corner!


Frequently asked questions
Have a question about this project?