


Dramatic Incense Holder

Use a cast of your hands to make the coolest incense burner around.
Hometalk Recommends!
Want to save?
Get your 30-day free trial of Amazon Prime today before the biggest sales of the year start July 16th-17th!
Before we even open this kit up, you will want to practice hand positions to figure out exactly how you want to pose your hands. Practice this a few times and after you finally figure out what you would like to pose your hands as then you can open your kit.
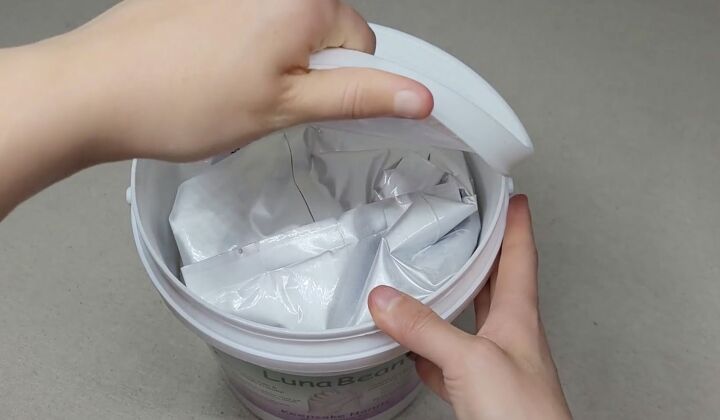
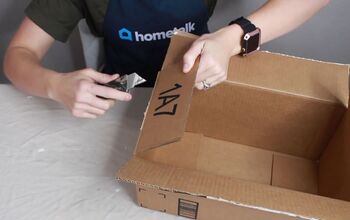
Open your kit and take out all of the packaged materials and read exactly what they are.
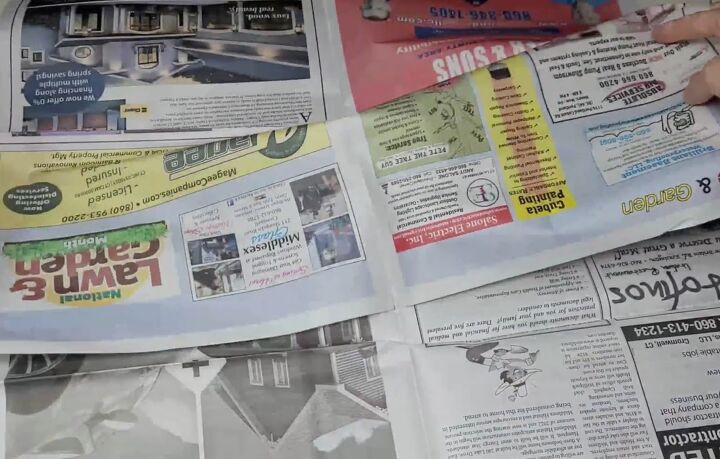
Put down newspaper before you go and mix anything to protect your work surface. You don't want to make a huge mess. Also, make sure to do this in a well-ventilated area or do this outside. There's going to definitely be some powder that gets into the air.
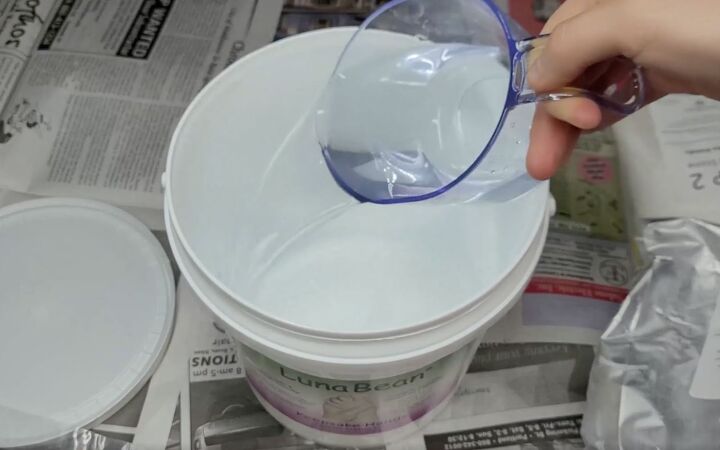
My kit called for about twelve cups of cool water for one part of the kit. Your kit, however, may be a bit different and call for more or less water.
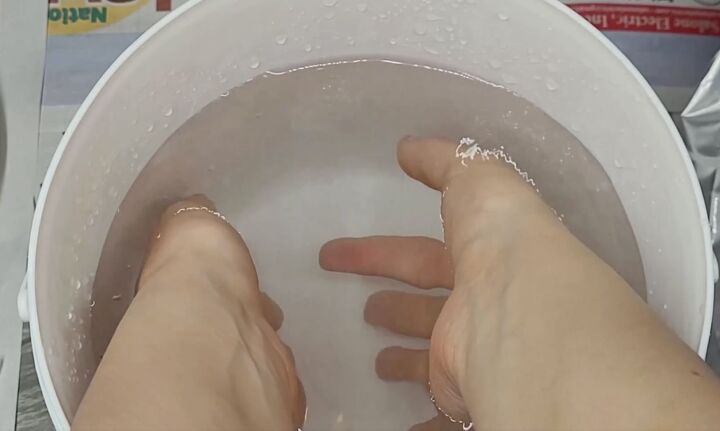
Pose your hands in the water again and figure out how you want them.
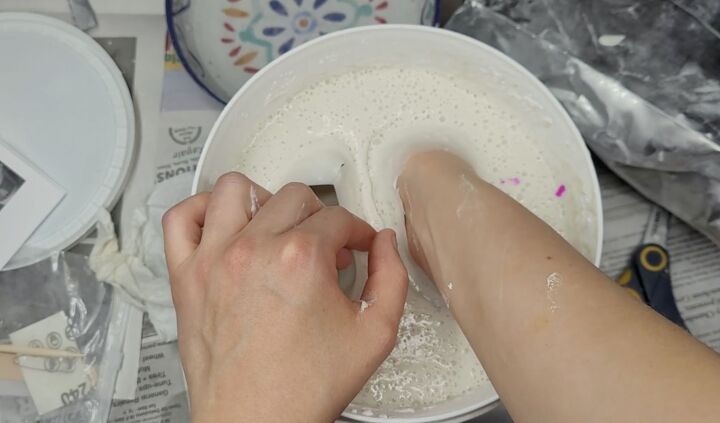
Have a bowl of water to the side to dip your hands in before putting them in the mixture.
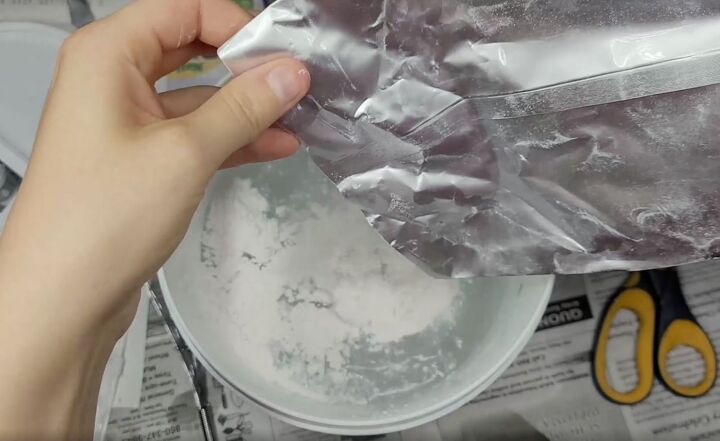
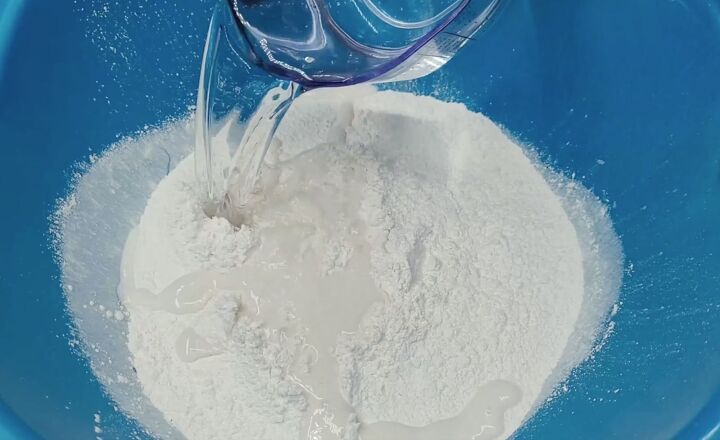
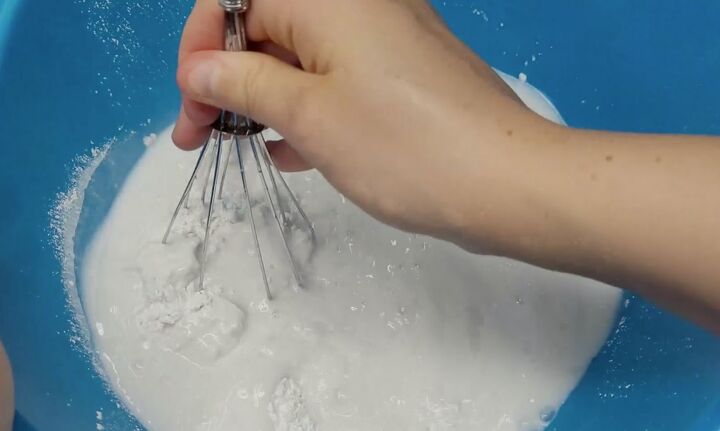
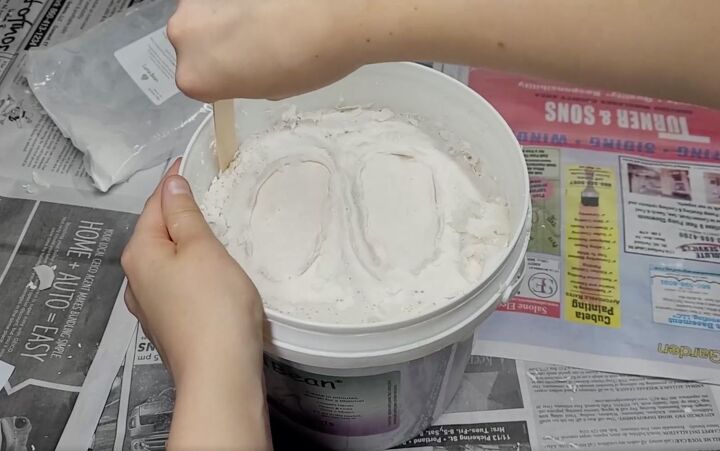
Before you mold them, add part one into your bucket. You want to mix this in a well-ventilated area. As you add powder, it will get everywhere and will become very dusty.

Keep in mind this mixture will become harder to mix if it starts to get pale in color. You need to put your hands in the bucket before it fully sets.
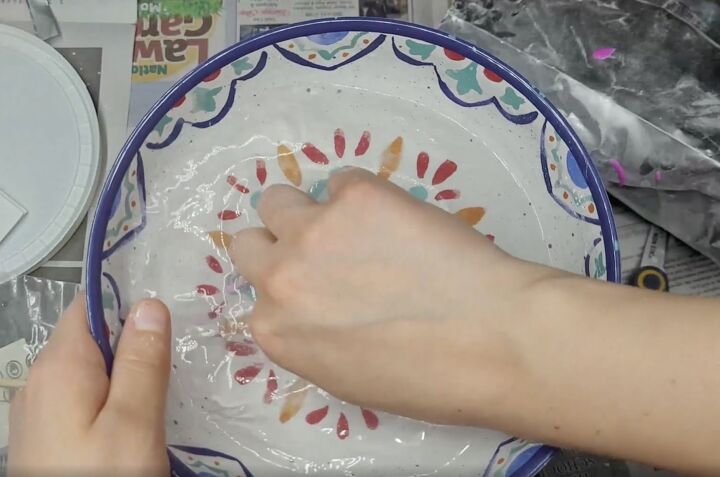
Next, wet your hands and place them into the bucket in your desired pose. You will have a little bit of time to move your hands around, but as it starts to lose color, you want to make sure your hands are ready.
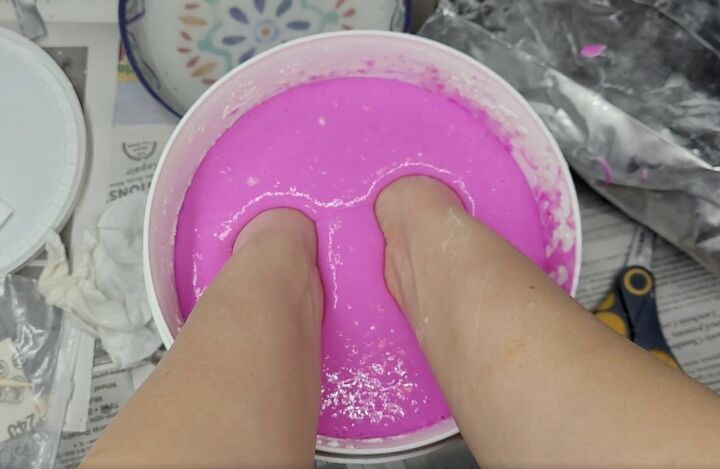
Make sure not to touch the sides of the bucket or have your hands together unless it's the pose that you want. If your hands are touching the sides, you're going to go and lose some of that detail from them.
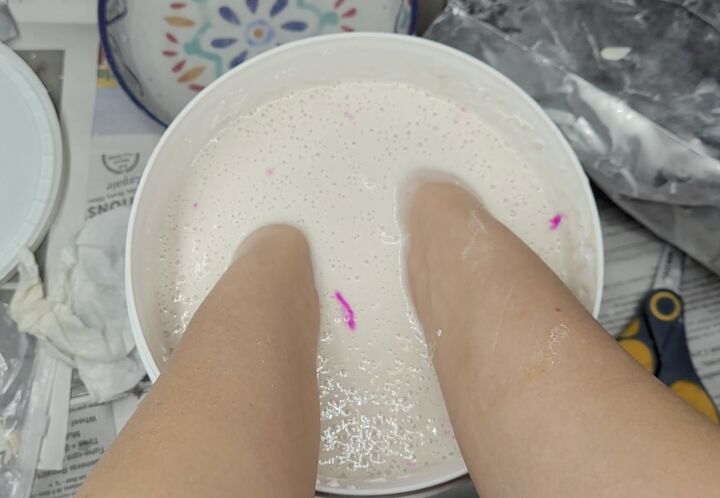
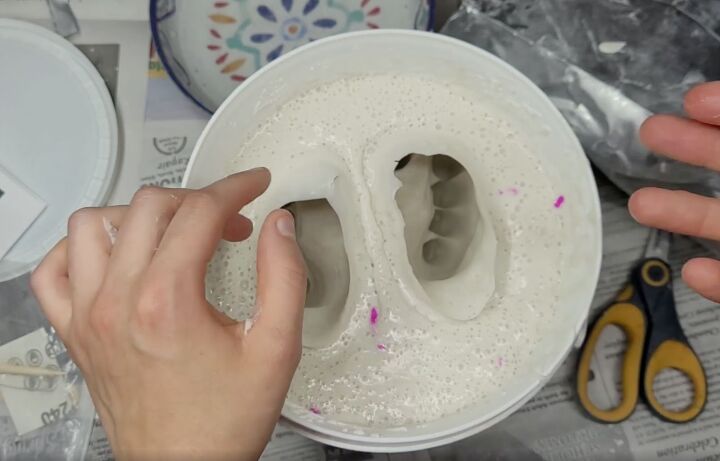
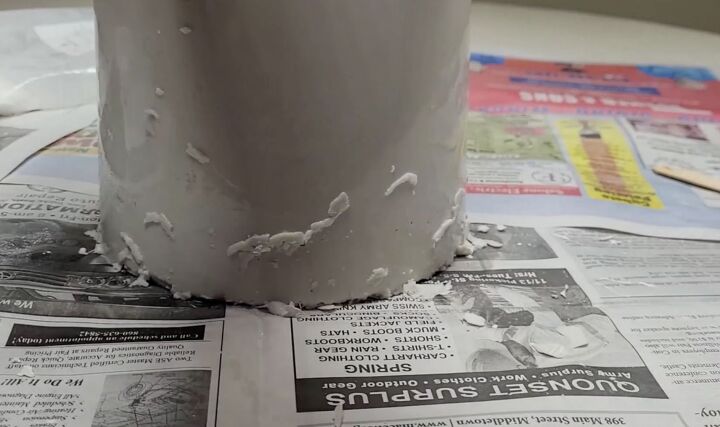
Let the mold set. It will slowly become white to an off gray.
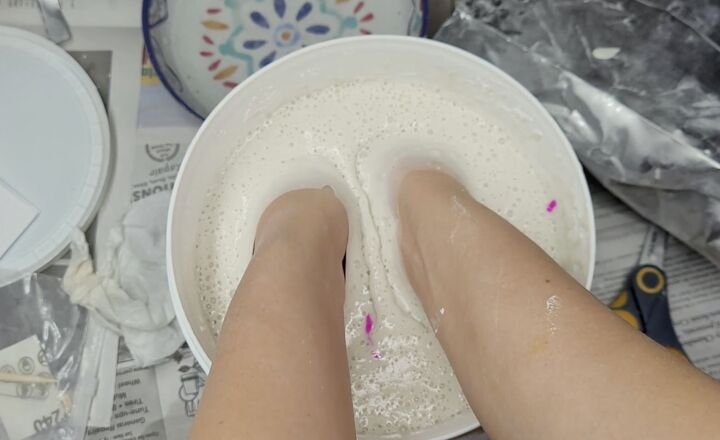
Once fully set, slowly wiggle your hands.
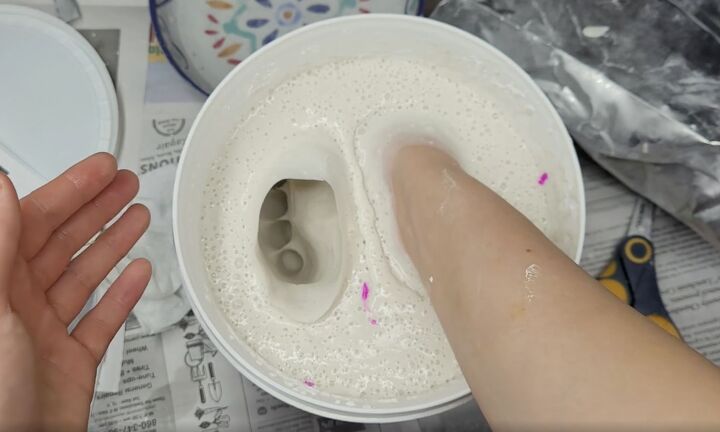
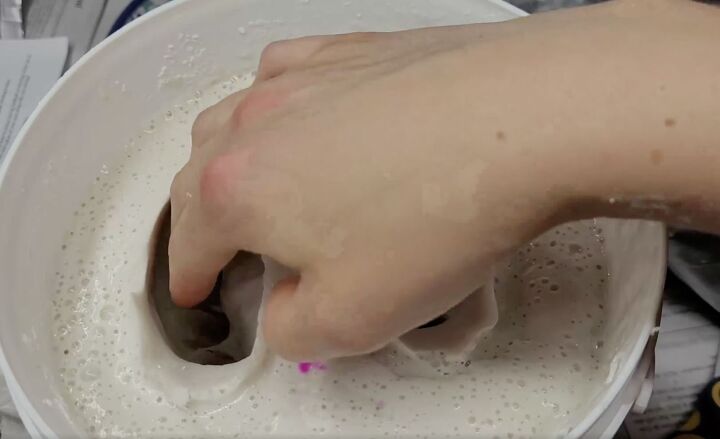
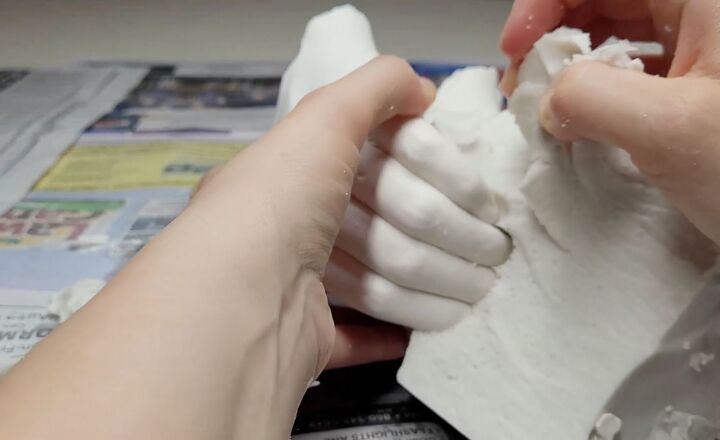
Remove one hand at a time.
Let your first hand dry slightly and then use it to peel any molding that is connected to your wrist on the other hand.
Remove your second hand.
Remove any extra material on the sides and clean up the inner mold.
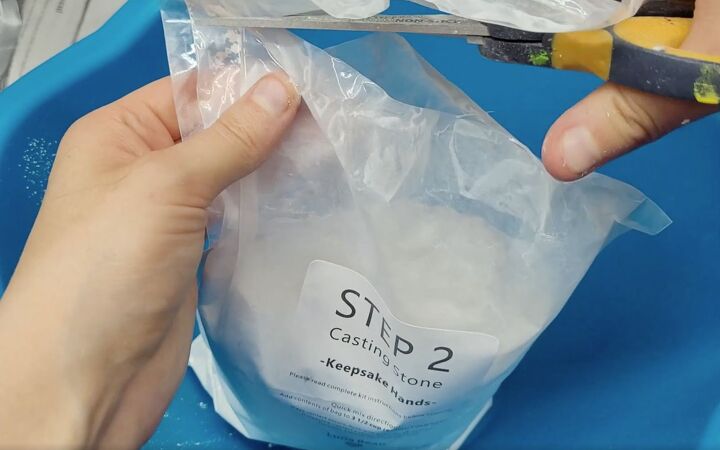
Mix up the plaster. Mine called for three and a half cups of water, but yours may be different. Start off with the powder. Leave some powder to the side to fix up any holes or missing plaster.
Then gradually add the water after.
Mix the plaster after the water is added. Start slowly getting gradually faster.
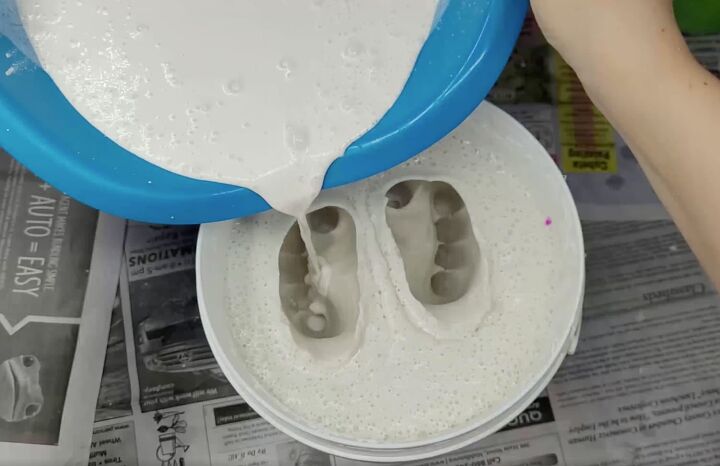
Once all the clumps are dissolved, pour the plaster into both hand holes.
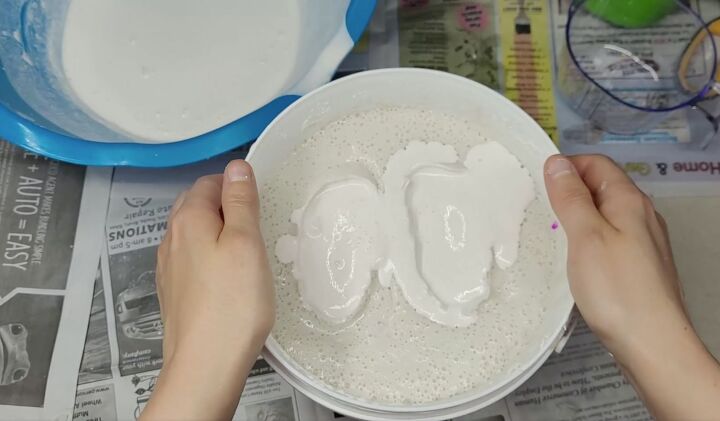
Slowly tap the bucket to get any air bubbles out.
Let the plaster fully harden. It might take a few hours; in my case, it took about an hour and a half. Use a popsicle stick to remove the mold from the bucket.
Flip the bucket over and the mold should just slide right out.
Slowly remove pieces of the mold.
Slowly remove pieces of the mold so that you can release the first plaster hand.
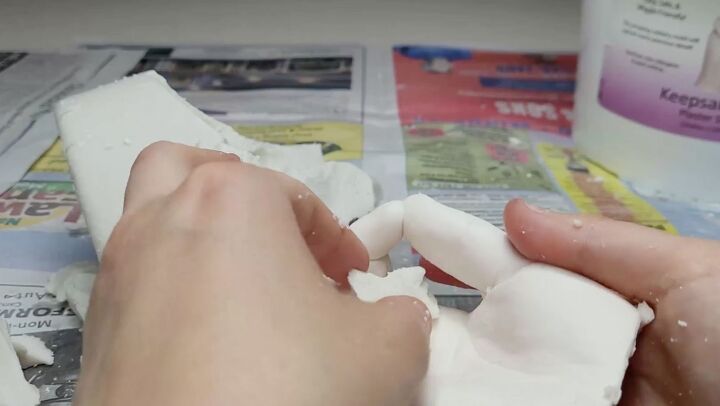
Slowly remove the other hand.
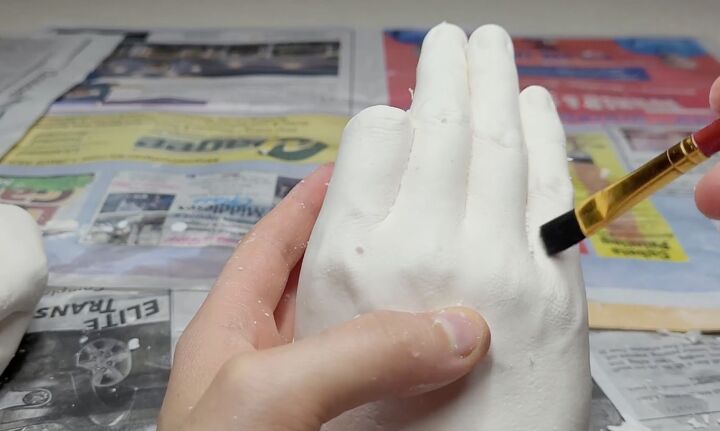
Clean up any extra molding that is left. At this point, you can fill in any holes in the plaster if there are any that are left behind or you can also make slight modifications to it.
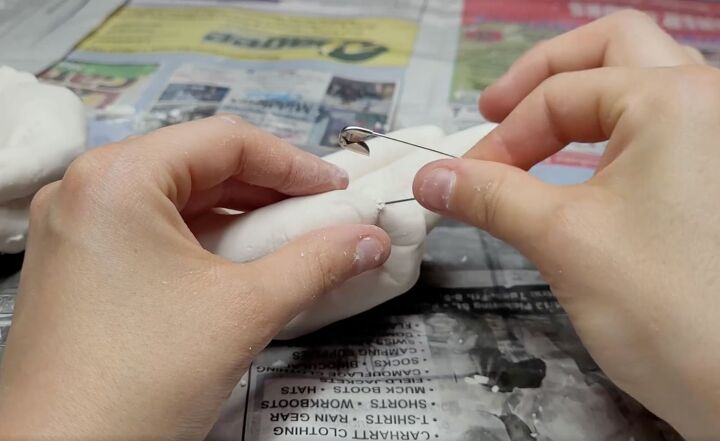
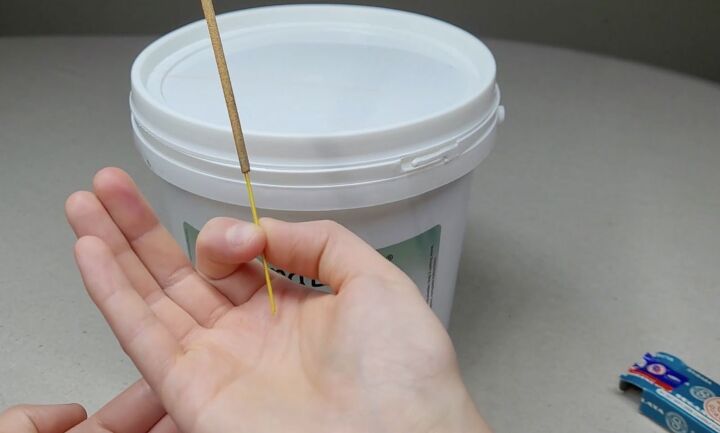
Take a safety pin and slowly create a hole in the pinched fingers of the hand for the incense.
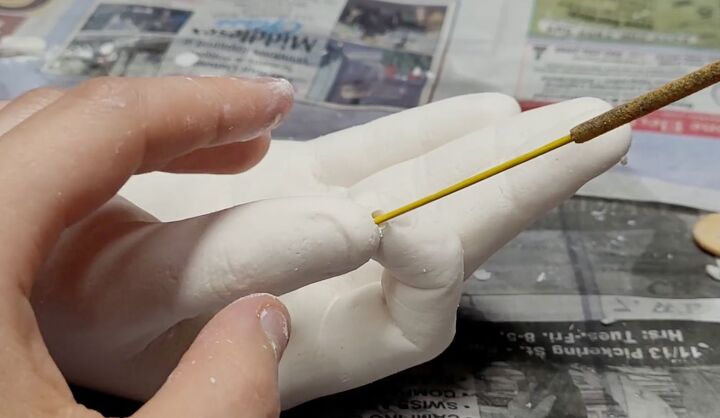
Make sure the incense slides in and out easily.
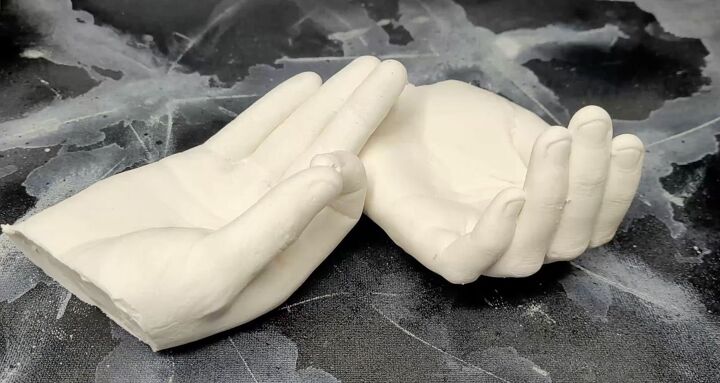
Place your hands in your home or in the perfect spot.
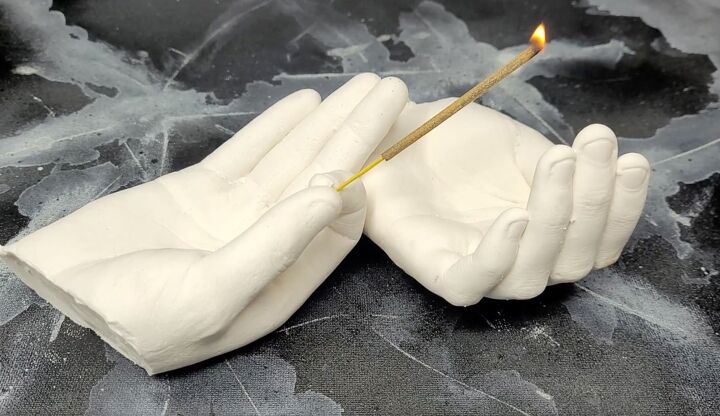
Light the incense and enjoy this interesting incense burner.
Resources for this project:


Comments
Join the conversation
-
This is a lot of expense, time, and work. You can buy similar even with the wrists for $4.00-8.00 at just about any store that carries home decor.
-
Love this idea! Yes you could always just buy some generic at store but these are molds of YOUR hands! Or use grandkids etc...priceless memory! Thanks for sharing! Gonna have to try this 🙂


Frequently asked questions
Have a question about this project?
Where do you purchase this kit
What's the deal with the feet?
How long do you have to sit with your hands in the bucket?