


How to Make Chunky DIY Pool Noodle Photo Frames

In this tutorial, I'm going to show you how to make DIY photo frames out of pool noodles.
Why pool noodles?
Gallery walls are a great way to showcase your favorite photos, artwork, and graphics. They are constantly on-trend and I've always wanted one in my own home.
But, with three little kids running around and not enough time to properly hang them securely, I worry about one of the heavy, glass-paned frames crashing down onto someone.
Alas, this great idea for picture frames made out of pool noodles allows me to create safer versions in ANY custom size, color or style.
Cover them with fun contact paper prints, and you've got a budget-friendly photo frame in no time!
Love this project? You can buy your own by clicking the link below. Just so you know, Hometalk may collect a small share of sales from the links on this page.

Tools and materials
- Pool Noodle (I'm sure you can find this at any store in the summer, but if no one is selling them yet, you can order on Amazon.)
- Adhesive Contact Paper (wood & stainless steel finish)
- Hack Saw
- Miter box (if you don't have a miter box, I recommend you get one, they make perfect angled cuts.)
- Tape Measure
- Hot Glue Gun
- Glue sticks
- Scissors
- Sharpie Marker
- Scotch Tape
More Pool Noodle Ideas
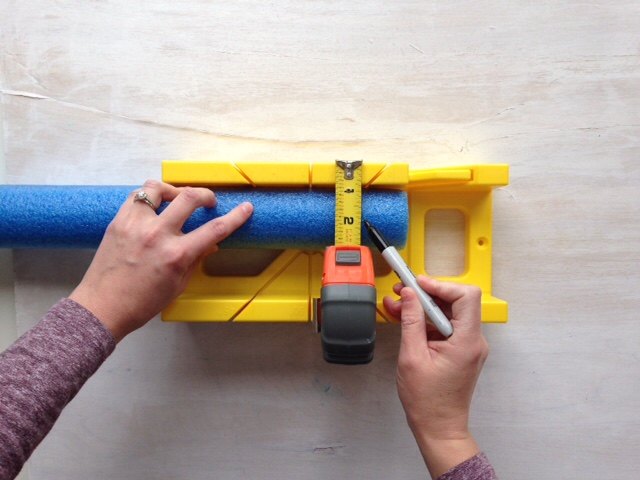
Step 1: Measure & Mark
Determine what size frame you would like to make. Measure 2" down from the top of your miter box and mark it.
It is very easy for your noodle to roll while cutting, so these lines will act as a reference point to keep your noodle straight.
Continue marking 2" down across the entire length of your pool noodle.
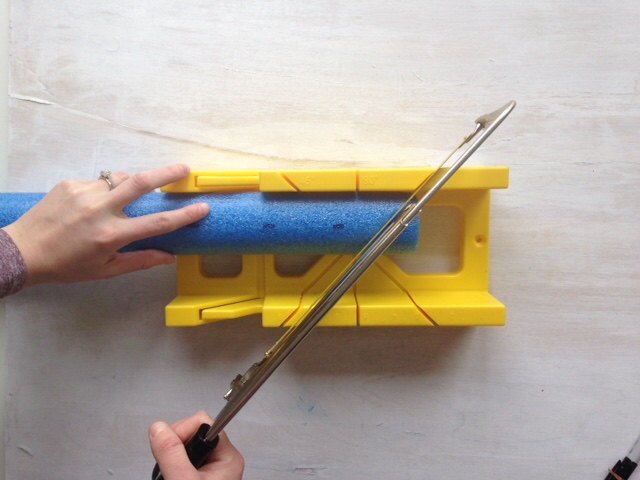
Step 2: Cut your pool noodle
You will be cutting four different pieces to create a photo frame. Each piece will have angled cuts on either end.
On the first end, cut a 45-degree angle. This is why a miter box is so useful. There is no way I would be able to get those sharp, angled cuts without one
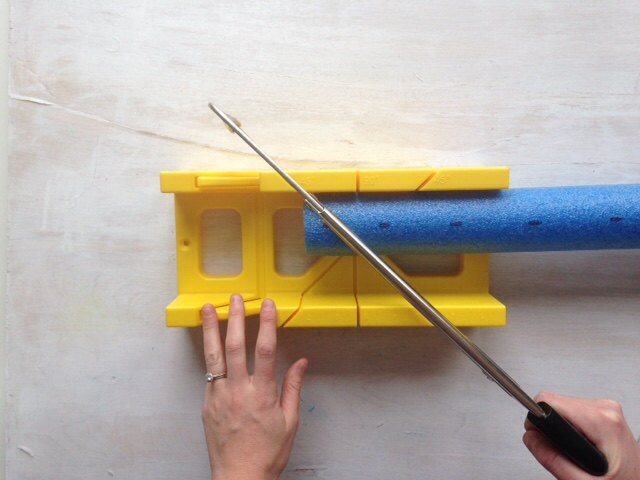
Step 3: Cut the other side.
Slide your noodle down and make another 45-degree angle cut going in the opposite direction. Continue doing this until you have four pieces to form the photo frame.
Note: If you are making a larger frame, you may need to use more than one pool noodle.
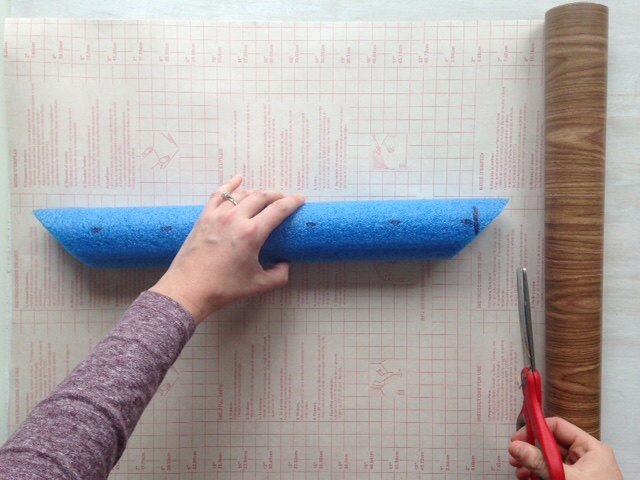
Step 4: Cut your contact paper
Cut a piece of contact paper large enough to wrap around your first noodle piece.
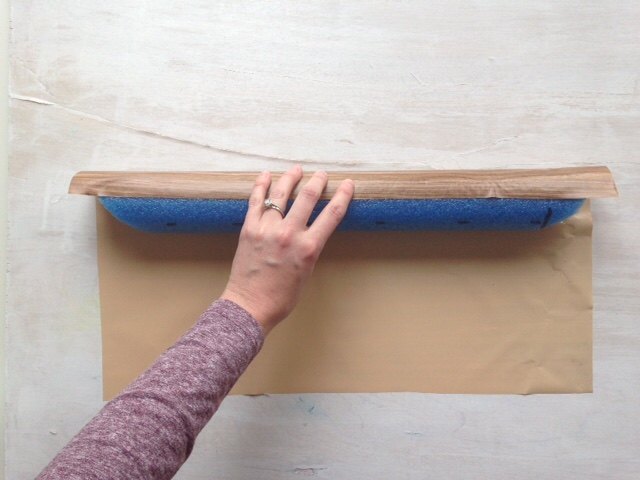
Step 5: Apply the contact paper
Roll and stick the piece of contact paper around your first piece. Be sure to flatten out any bubbles or wrinkles as you go along.
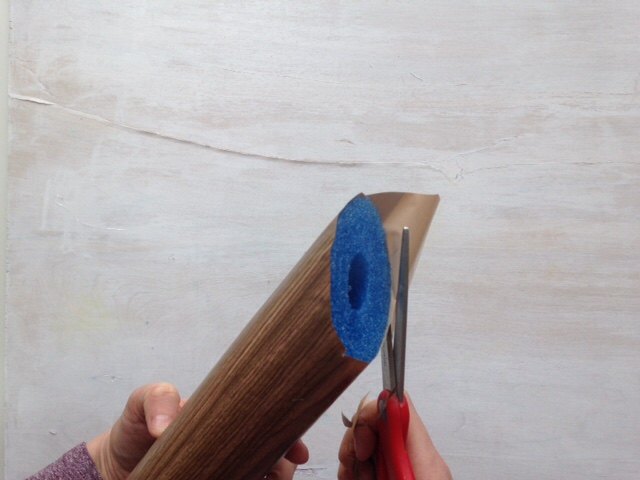
Step 6: Trim the contact paper
Cut around the ends of your first piece. Leave a small amount of overhang (1/2cm) so the contact paper hides the pool noodle when all of your pieces are glued together.
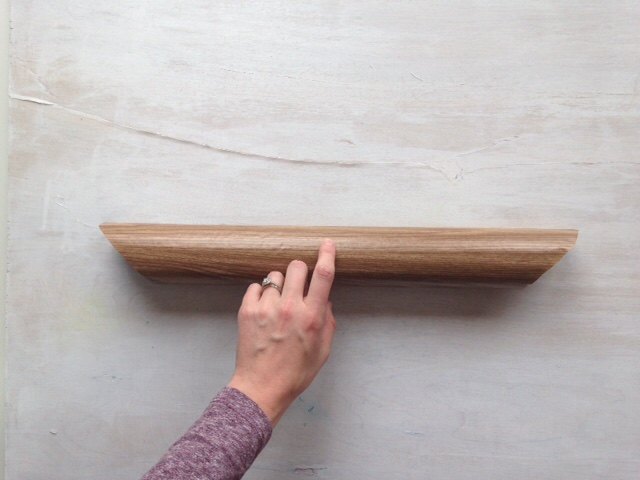
Your pool noodle should look like this once it's wrapped and cut! Do this for all four pieces of your pool noodle.

All four pieces of your pool noodle will look like this when finished.
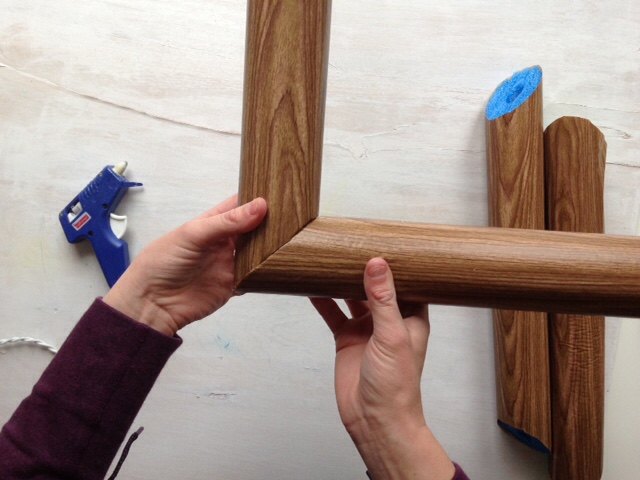
Step 7: Align & glue your pieces together
Using your hot glue gun, carefully glue your pieces together.
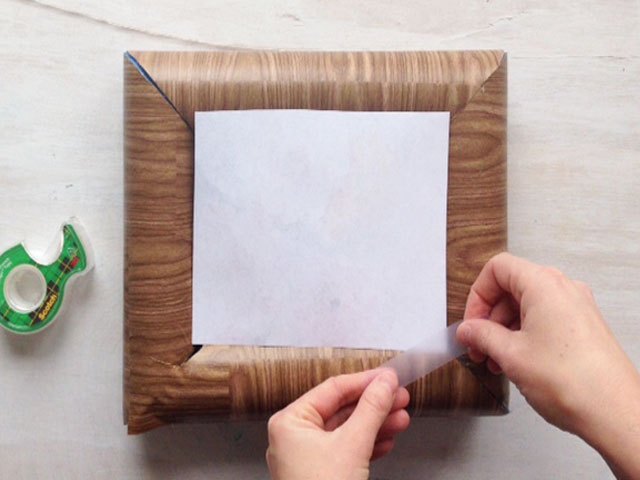
Step 8: Add your photo to the back
These pool noodle frames have some major thickness to them, so I chose to tape my photo onto the backing of the frame using scotch tape.
If you are feeling more adventurous, you can play around with wedging the photo within the middle of the frame. If it's the right size, it should stay well!

Step 9: Hang it up
Flip it over and view your beautiful finished product! So lightweight and easy to handle.
When it comes to hanging, you can poke a hole right into the backing (good ol' soft foam) of your frame and hang it onto a nail in the wall.
Or, if you'd like a more damage-free option, use 3M Command strips for simple hanging.
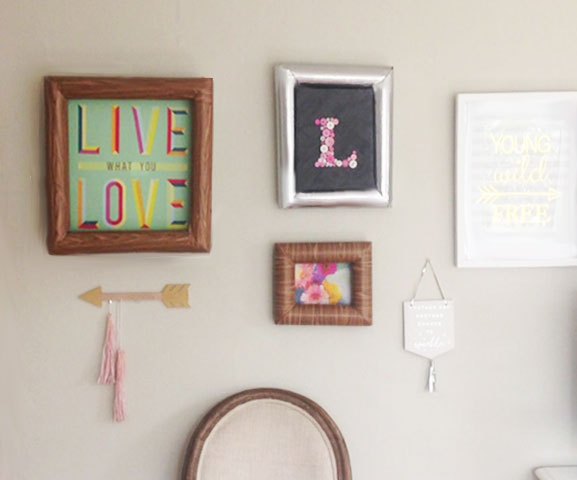
DIY pool noodle photo frames
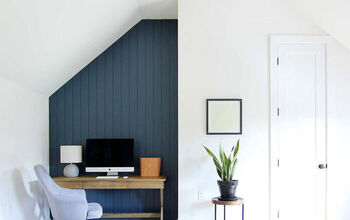
Here is my mini-gallery wall. I plan on adding more to it over time, but this is a great start!
I loved mixing the faux wood contact paper with their stainless steel version. They add the perfect amount of impact in our family room!
Comments
Join the conversation
-
Yes, and I like the 3D effect that the round noodle gives.
-
I would suggest that the contact paper be applied with the wood grain in the long direction like real wood would be.


Frequently asked questions
Have a question about this project?
Why didn't you cut the noodles in half longwise?