


Craft a Bulletin Board to Share Your Christmas Cards/Photos All Year!
Easy
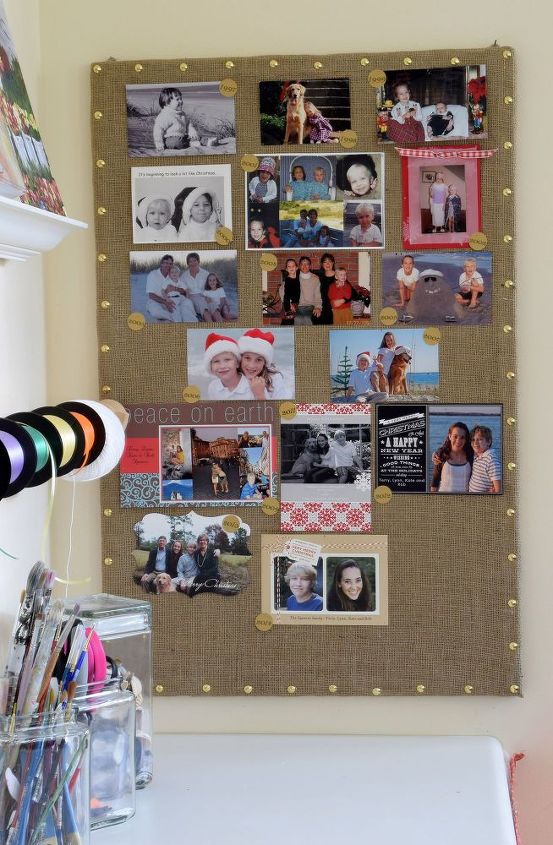
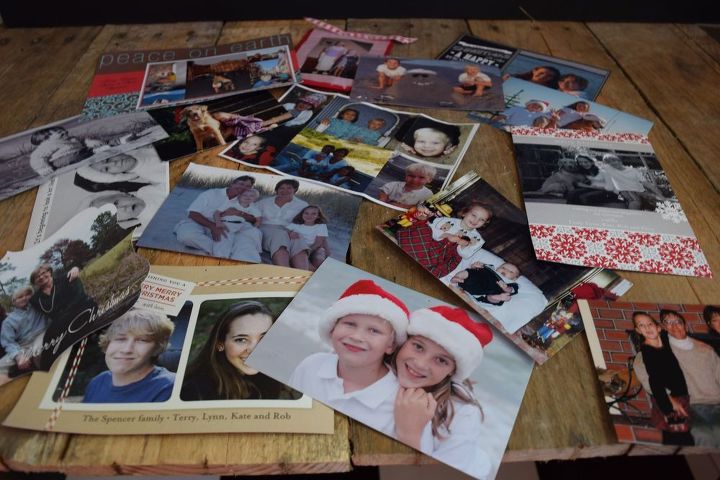
I have this very clever and creative friend named Jane. One foot inside Jane's home and you're awed by all the impressive decor of her home, all done by Jane. Heck, she Venetian Plastered her foyer...ALL.BY.HERSELF!! We met while volunteering at the middle school library, but quickly realized we were creative kindred spirits. The first time I went to Jane's home, I spied a bulletin board that she kept in her laundry room which was populated by all the photo Christmas cards that they had sent out featuring their family or children. It was a great annual snapshot of how much her beautiful children had grown from year to year. Not being bashful on adopting/borrowing/stealing another's great idea, I promptly came home, rummaged through my photos and keepsake boxes and collected the Christmas cards or Christmas card photos since my when my oldest was a wee one.
My next challenge was to find an appropriate collection space for these annual snapshots. Ever since refinishing the storage cube for my daughter's dorm room, I've been looking for another project to use nailhead trim on. Creative Kismet! I love it when two ideas collide to make one fantastic project.
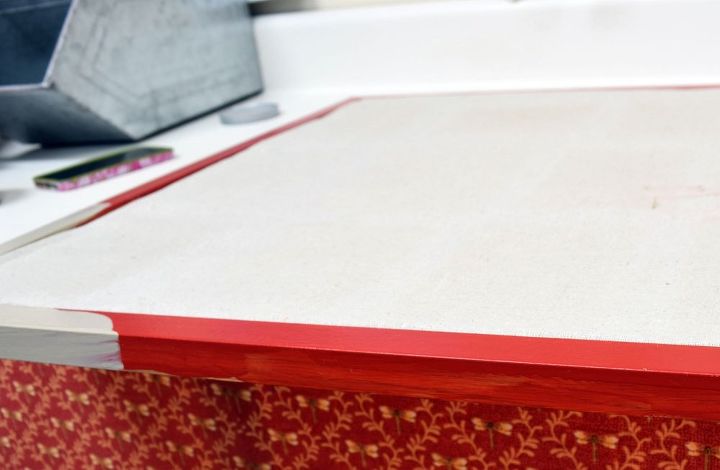
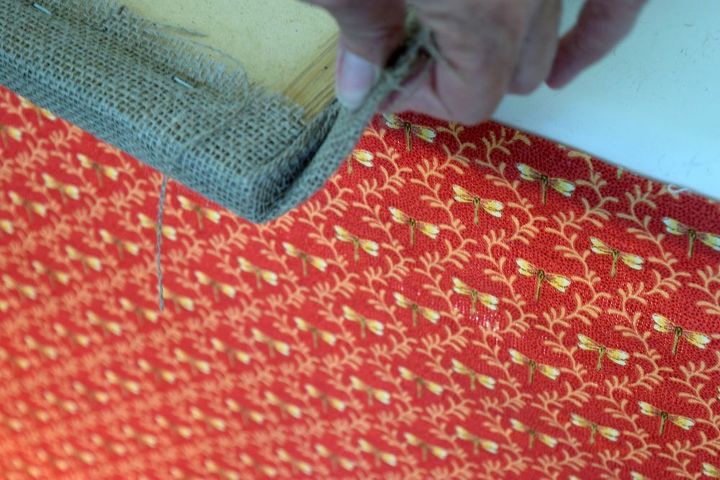
I cut my burlap so that would cover the wood frame, with about 1 extra.
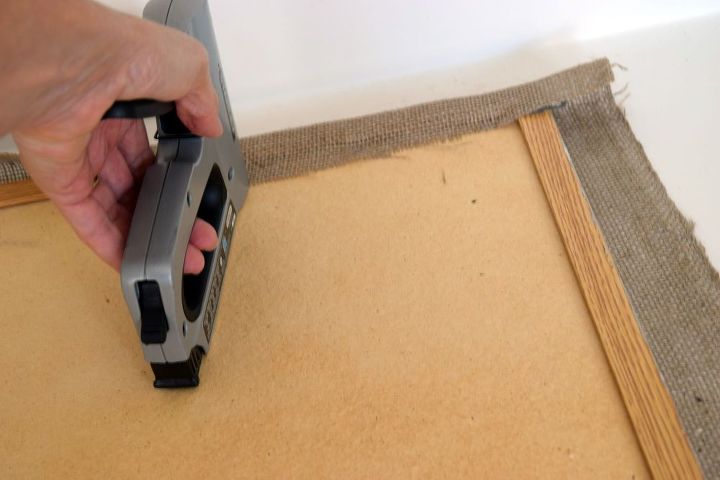
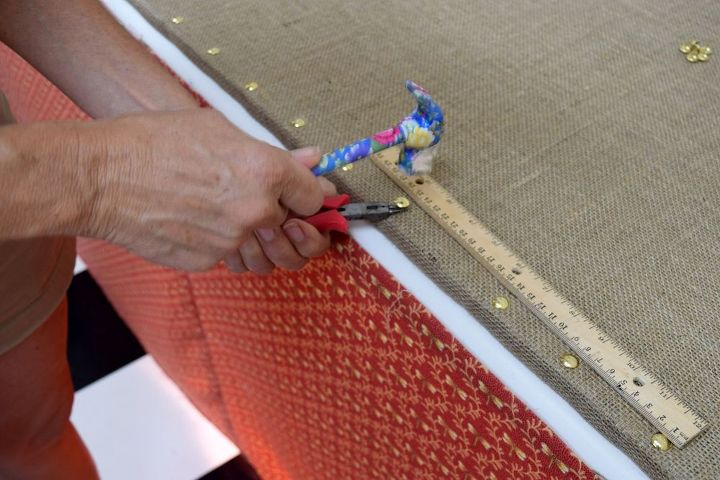
Corners are always tricky. I wish I could tell you exact step by step instructions, but it is a function of minimizing the fabric that will be in the fold by cutting away as much as possible, but not too much that you see frayed edges on the corner. Then I always resort to my training as a present wrapper at Sears during college...make your corners as sharp as possible and your folds as crisp as possible. Here's how I do it.
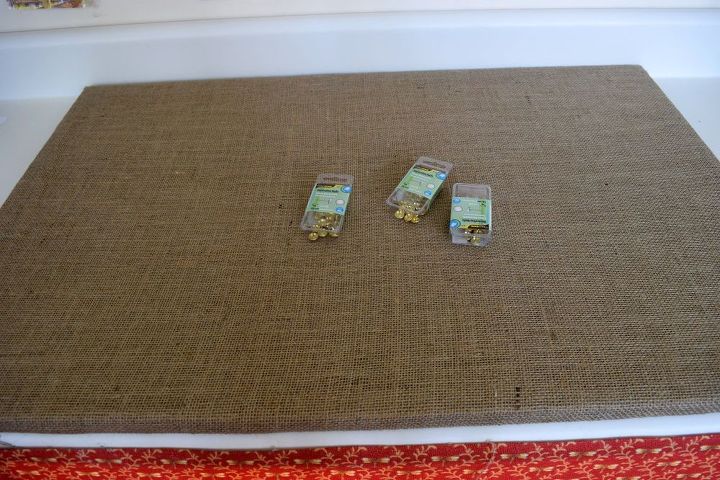
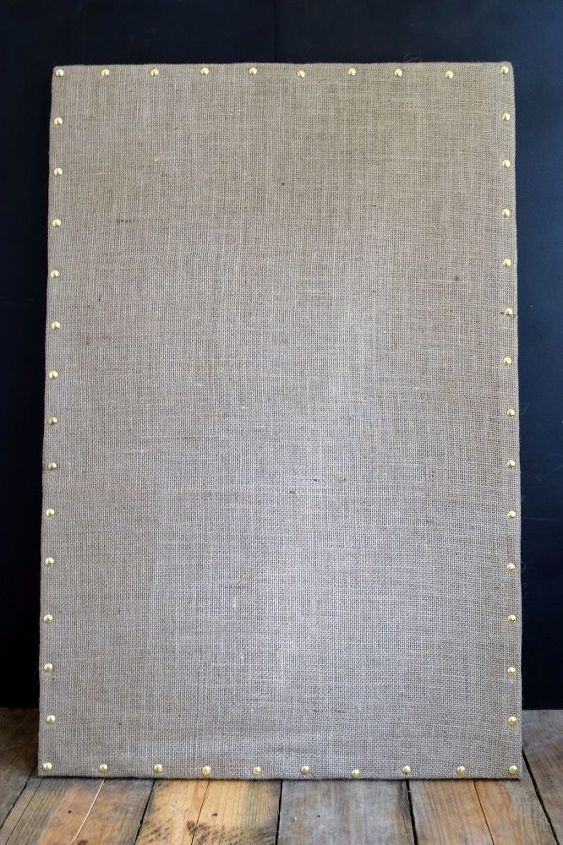
Ready to put the nailhead on
This is where you need small pliers. I think mine are actually jewelry pliers as they have a very small nose, which was perfect for this job.
What I used to display my Christmas Cards on the Nailhead Burlap Bulletin Board:

I used a 1 paper punch to make the circle year tags. I did print up and punch out the years up to 2019 so that I can easily add the new cards to my board in the same font and with the same paper. I put the future years in an envelope that I've taped to the back of the bulletin board.
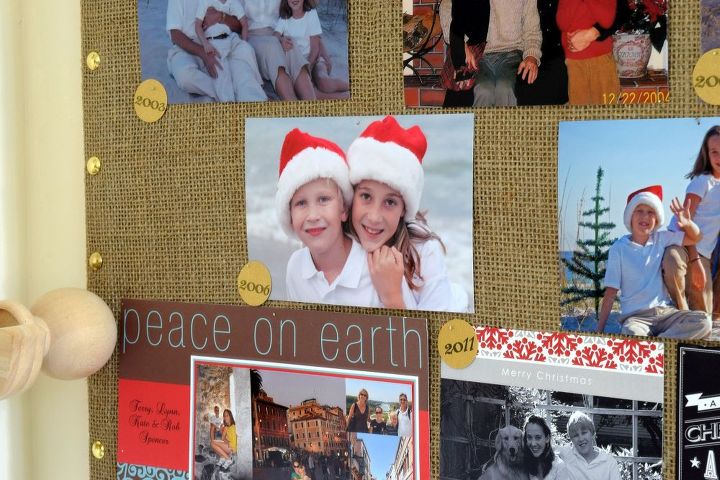
I have room for a few more annual Christmas Cards...and then I guess I'll have to make a second board!

Want more details about this and other DIY projects? Check out my blog post!
Comments
Join the conversation
2 of 3 comments
-
Thanks Hannah! I love having it in my office and seeing how my babies grew each year.
-
Wow! Very simple and yet memorable! I'll definitely do this!


Frequently asked questions
Have a question about this project?