Frugal Four Season Burlap Wreath

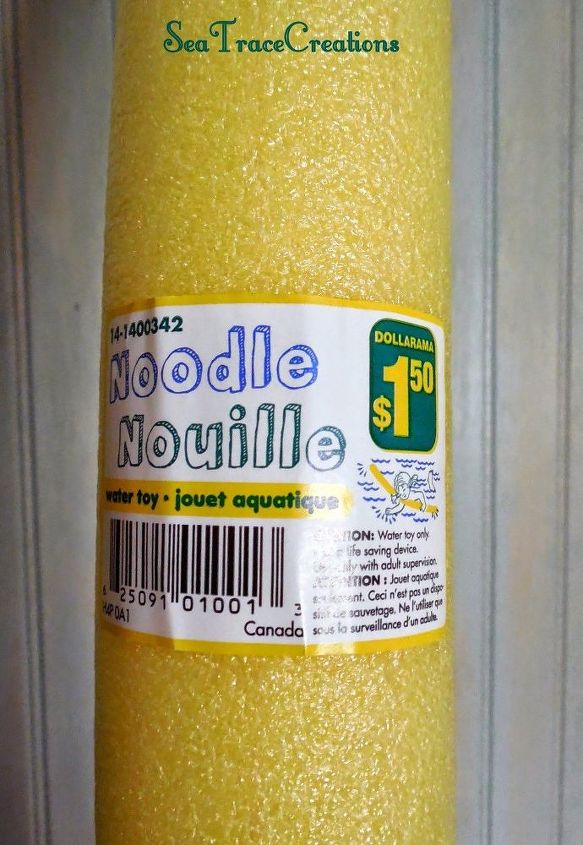
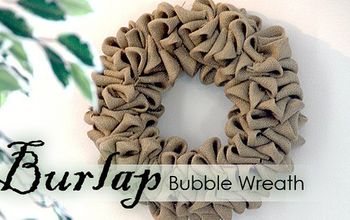
Need a cheap, quick and versatile wreath? This one's for you! All you'll basically need is a pool noodle, glue gun, burlap, and a needle and thread to make a few easy stitches.
To create a DIY burlap wreath you'll need:
- Burlap
- Pool noodle
- Wreath accents (feel free to get creative here)
- Glue gun
- Scissors
- Needle and thread
- Twig
- Masking tape
- Gardening wire
- Safety pin
More DIY Pool Noodle Ideas
Measure the Burlap
First I measured off the amount of burlap I'd need to cover the noodle, and a little extra width to create a fringed edge as seen below.
Glue Burlap Seams
Laying the burlap strips end to end I secured the seams with a glue gun to create one long continuous strip. The strip should roughly be 1 1/2 to 2 times the length of the pool noodle to allow for gathering.
Wrap the Pool Noodle with the Burlap
Next, I wrapped the burlap around the noodle to get the measurement for the seam I would be sewing. This makes a tube shape to slide over the noodle.
Sew the Burlap Together
I hand stitched with a simple running stitch the entire length of the burlap strip.
Slide Burlap over the Pool Noodle
Once the seam was finished I could slide the sewn tube over the noodle and give it a scrunched look.
Glue Ends Together
The ends of the pool noodle were cut on an angle for a better fit when joined. I added a twig from outside to the center hole for extra gluing surface and secured all pieces together with a glue gun.
Tape Ends
I used gardening wire to wrap around and create what would become the hanger at the back for my wreath.
Create a Hanger for Your DIY Burlap Wreath
I used gardening wire to wrap around and create what would become the hanger at the back for my wreath.
Add Seasonal Decor
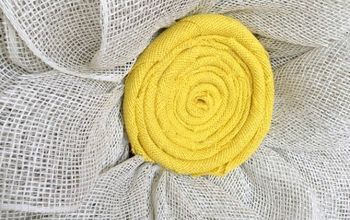
I made a boutineer of sorts and added a safety pin to it as a means to swap it out with the seasons.
I made a simple burlap bow and glued it as a permanent look to my wreath but the snowflakes are a temporary seasonal accent as is the boutineer.
A summer look was a butterfly accent and a bright tulip boutineer.
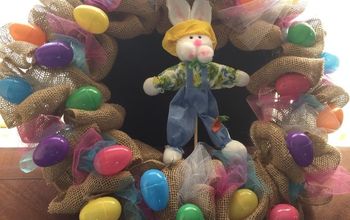
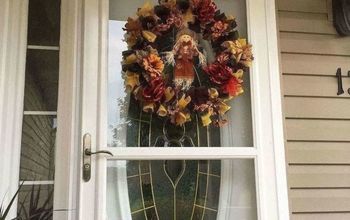
Fall? An owl and autumn leaves of course and spring? I'm thinking....eggs in a nest and tree buds about to burst open. The options are endless...I love the versatility of this project!
I thought I'd share my easy 2017 update! I love trying new looks so here I simply stuck in the winter boutineer again and hung a pair of little girls skates that I purchased for decor purposes only. The DIY ideas are endless when you have a blank wreath to play with!
I've just completed a new 2019 version of this versatile wreath seen here:
I'm sure you have some great ideas for seasonal wreaths. Let me know in the comments below!
Enjoyed the project?
Resources for this project:
See all materialsComments
Join the conversation
-
-
 Skilled Thrifty Creatives
on Jul 23, 2022
So sweet of you to say, thank you and it makes my crafting all the more worthwhile!
-
-
-
 Katen
on Dec 06, 2023
Very pretty. My problem with burlap it doesn’t care for direct sun (my home). After not to many weeks yellowed something fierce. Ok for spring and maybe fall but yellow misses for Christmas/winter to me
-
 Skilled Thrifty Creatives
on Dec 06, 2023
I understand and I agree which is why mine is strictly for inside my home
Thanks for checking out the project too.
-
-











Frequently asked questions
Have a question about this project?
So I sewed the strips together but when I tried to pull through the noodle, it tore right up to where the fringe is and fell apart. What an I doing wrong? How did you create your fringe?
So I sewed the strips together but when I tried to pull through the noodle, it tore right up to where the fringe is and fell apart. What an I doing wrong? How did you create your fringe?
Could you show how to make one of the boutineers?