


Prep Like a Pro: How to Properly Prep a Previously Painted Surface

4 Materials
$20
10 Minutes
Easy
This post will show you and clearly demonstrate how to properly prepare a previously painted surface for new paint for optimal adhesion.
You hear a lot of no prep - no prime - no sanding ~ this is not what the pro's do!
The professional painting community believe the so-called products that require no prep to your substrate are inaccurate and limiting. These manufacturers do not know what project you are doing, what you're painting, and what look you're trying to achieve. This is one of the reasons why you see only small pieces of furniture or so-called upscaling projects and they all look the same with the same application technique and overall the same look. The only difference might be the colors. And since these products are fairly new to the market it's just a matter of time before this fad ends because eventually these finishes will fail. This is another reason why these finishes are usually a distressed finish. When using "no-prime, no-sand" products with a distressed finish, the failure is not noticed as much. It's easier to hide imperfections with distressing.
For optimum performance you always want to do these basic things to properly prep. If you skip steps it may look okay for a short time, but over time the paint may start separating and not give you the long lasting look you want. Further, the time you have invested in painting and finishing as well as the money you spent to paint the surface may be lost by inaccurate prep and a failed finish.
We highly suggest following these steps to ensure you get the most wear and professional look when applying new paint to a previously painted surface. It's a short time investment to give your projects a longer wear. You are also able to do any finish - smooth or distressed. You are not limited to one finish that covers up blemishes. For an extra 10 minutes of proper prep you are able to get creative and do amazing professional finishes.
The key element to any successful finishing job is the proper preparation of the surface.
{
"id": "3899748",
"alt": "Prep like a Pro!!",
"title": "Prep like a Pro!!",
"video_link": "https://www.youtube.com/embed/strCG-D8rFk",
"youtube_video_id": "strCG-D8rFk"
}
{
"width": 634,
"height": 357,
"showRelated": true
}
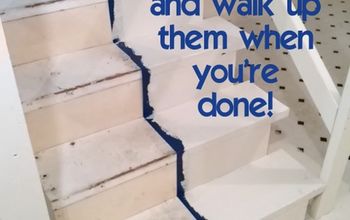
Step 1: Watch the video for a clear demonstration of how to prep like a pro!
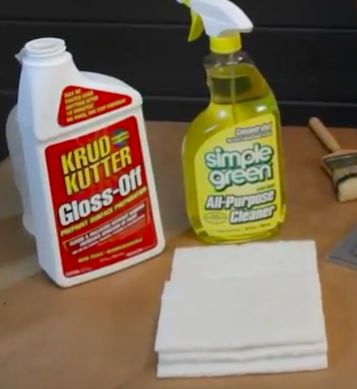
Step 2: Clean the surface first. Do NOT sand first. You will push the debris into the wood grain. Also cleaning continually with Pledge is not good. It leaves an incredible build up on wood. It is essential to remove that for optimum adhesion.
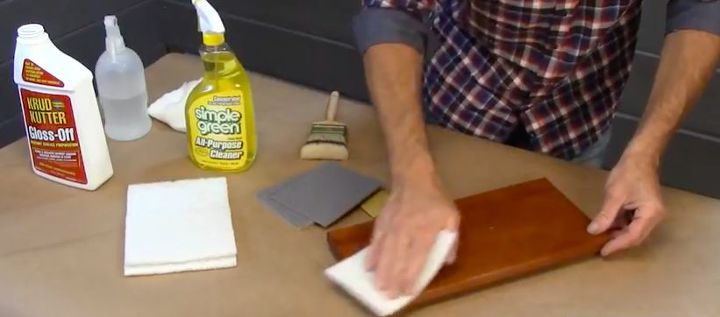
We use either Krud Kutter Gloss Off or Simply Green. Get the entire surface wet and clean it off.
Spritz with water to remove any remaining cleaner.
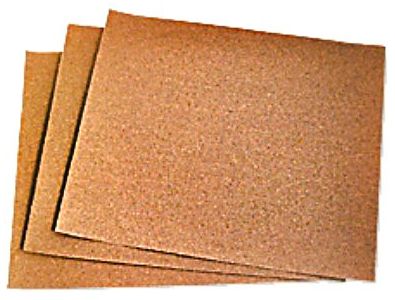
Step 3: Once the surface is dry, sand with 150 grit sand paper. Scuff up the surface to give it some tooth. Go with the grain. It will make it dull and remove any build up and give it some tooth for the new paint layer to adhere.
Wipe it again to remove the dust. Or if it's a larger surface, you can vacuum it.
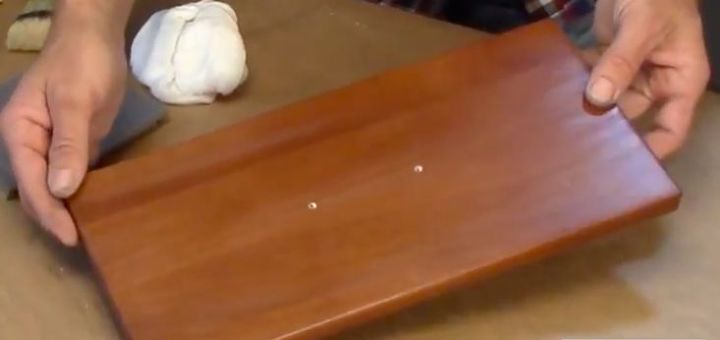
You now have a porous surface for new paint for amazing adhesion and a long wearing finish.

Step 4: Priming! Ideally you would want to use a sealer/primer that is designed for your specific project. Our favorite is a shellac based sealer/primer. Once you apply a couple coats of shellac and then lightly sand the surface it will be perfectly smooth surface and will take any topcoat that you choose to use. You can do a smooth and not distressed look for a gorgeous adhered smooth finish!
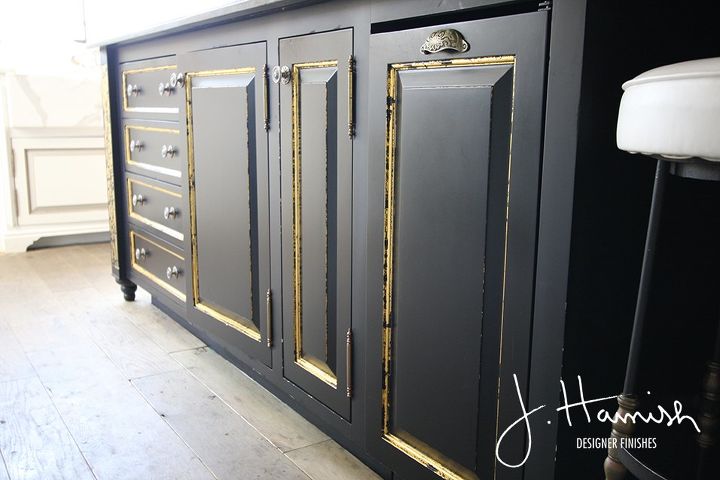
Happy Painting!!
Please subscribe to our YouTube Channel for more DIY painting videos: https://www.youtube.com/channel/UCRoqIYhQVUa-XUygNYitf1Q
Connect with us!
Facebook -- [facebook.com/craftsmanfinishes]
Instagram -- @craftsmanfinishes
Pinterest -- [pinterest.com/craftsmanfinish]
Comments
Join the conversation
2 of 10 comments
-
Great instructions.....I am now going to paint my cuboards
-
I was wondering about the new "no prep, no prime paints", figured they were too good to be true.


Frequently asked questions
Have a question about this project?
Thanks for listing the steps so well. Can this procedure also be used for kitchen cabinets which, I think, are stained rather than painted?
Thanks!
Have you ever used steel wool after sanding to get all small dust particles out?
Is the process the same for oak cabinets that I plan to gel stain?