


Easy to Make Coastal Wall Art!

by
Jennifer
4 Materials
1 Day
Easy
I saw the coolest coastal/beachy wall decor when I was looking for inspiration to make a big welcome sign for the front porch, it was so cool I decided to make a couple for myself!
This is 21" tall and 17" at its widest part.
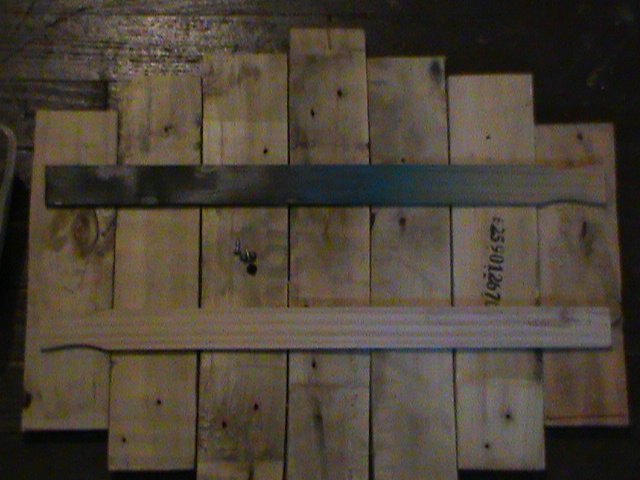
I started with some pallet board cut offs from previous projects I've finished. I staggered the boards together then used two paint stirrers for braces on the back along with Loctite instant adhesive between the boards.
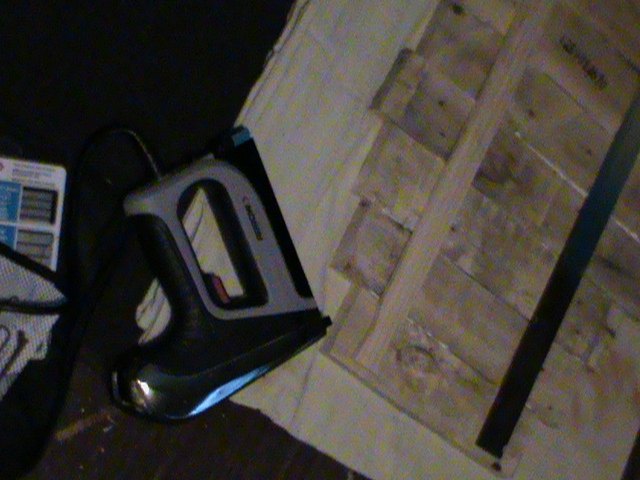
I used my new Arrow staple gun to attach the stirrers to the back! Two staples per board and the same to the other stirrer.
Next...
This one is 27" wide and 11 1/2" tall.
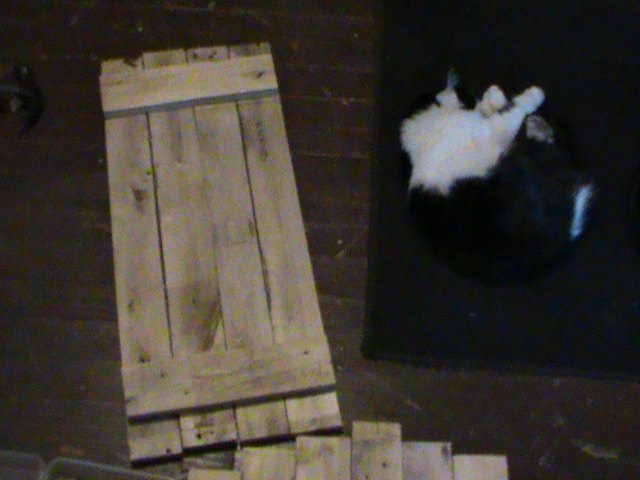
I making 2 wall hangings, this is the other one. I used wood screws in this one, 4 screws for each board = 8 screws. That took about 30 minutes!
Next...
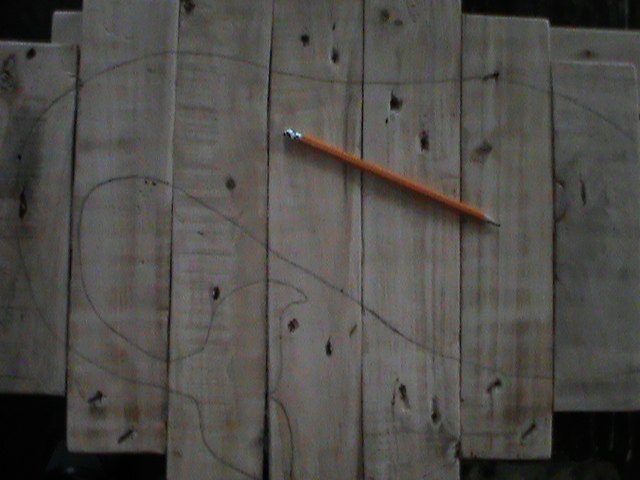
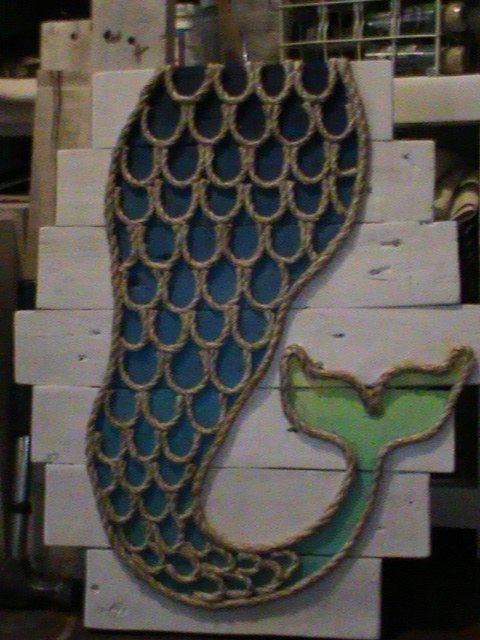
Mermaid tail
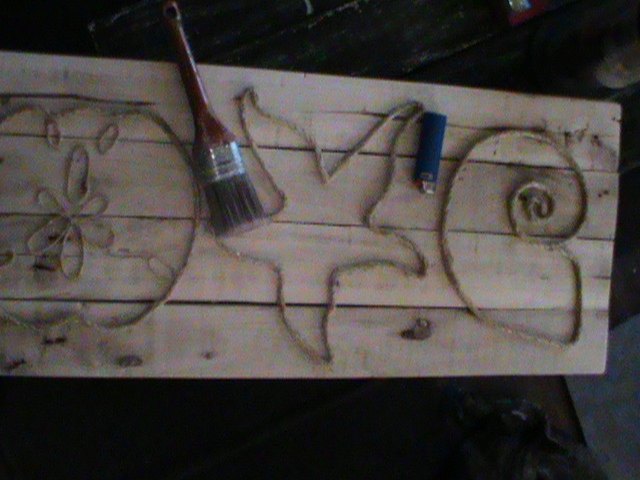
I drew out the image I wanted. I rarely use stencils or trace things, just by sight alone works for me. Sometimes I will make points or marks to draw out an image but the ones I'm doing here are very easy to draw. The drawings I did in about 30 minutes.
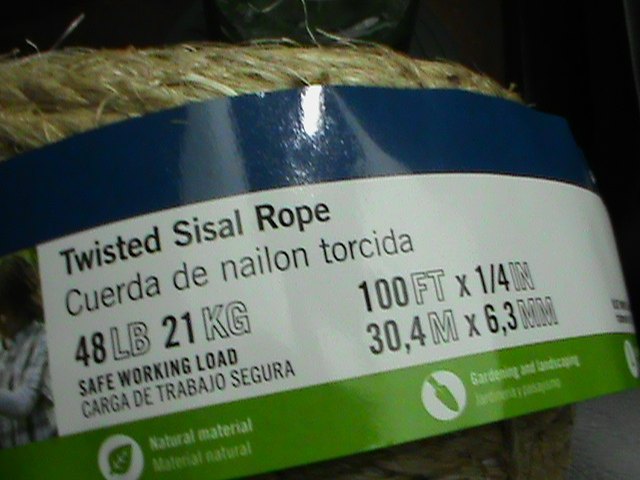
Plain ol' sisal rope!
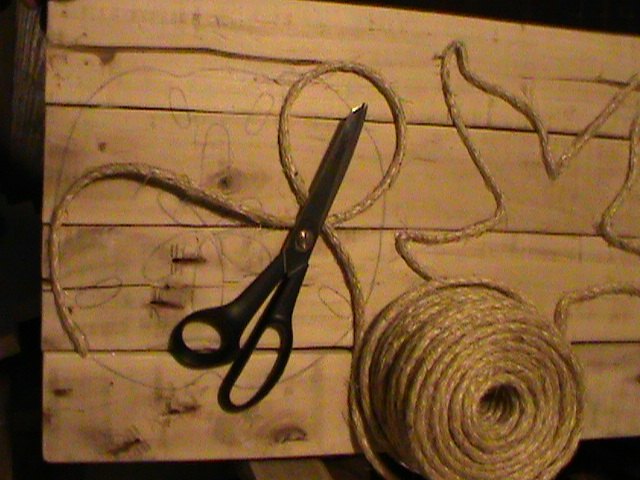
I used hot glue and slowly laid the rope down on the glue. Just follow the lines of the drawing.
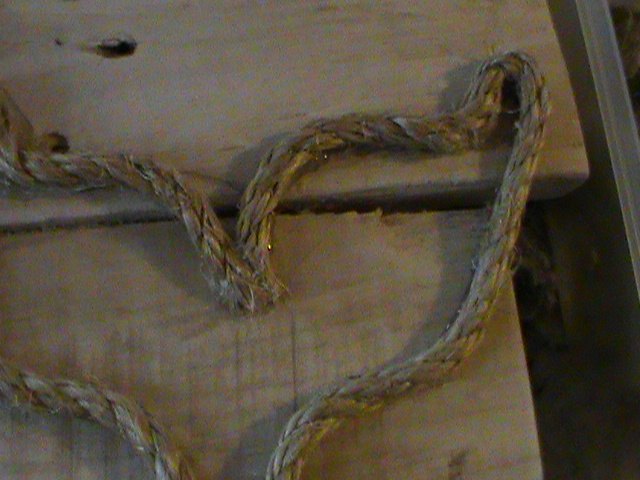
I started here on the fin and ended on the fin. Just follow your pencil line. When I came to a point, I would pinch the rope and twist it at the same time, then hold it on the hot glue for a few seconds before I continued.
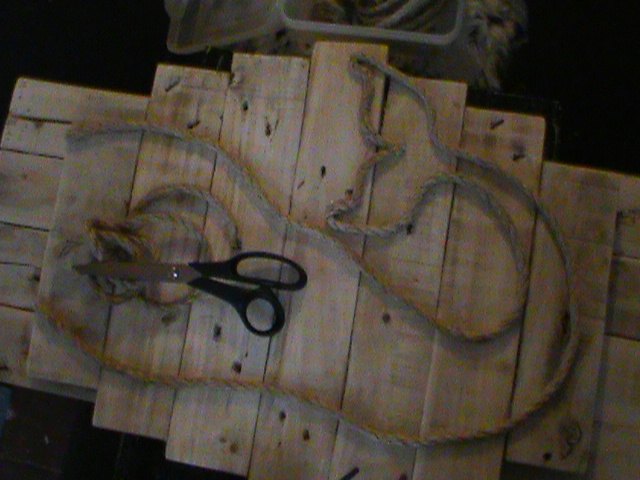
I outlined the drawing with the rope before painting.
I was asked how I dealt with fray from the rope, I really didn't have a problem with that but I did have a little fray on this one. I started to cut them off, then I got smart  and burned them off with a lighter by skirting the rope with the flame. Not too much you don't want to burn the rope just those little pieces that are hanging around! I used a soft paint brush to brush off the little burnt pieces!
and burned them off with a lighter by skirting the rope with the flame. Not too much you don't want to burn the rope just those little pieces that are hanging around! I used a soft paint brush to brush off the little burnt pieces! Next...

Painting!! I'm not thrilled with the starfish It kinda looks like it's strutting down the street
 ! Turquoise and white paint for this one and finished! Now onto the mermaid tail!
It kinda looks like it's strutting down the street! Turquoise and white paint for this one and finished! Now onto the mermaid tail!
This is easy to do with a blending product. I started with admiral blue at the top then added navy blue with some blend on the paint brush. Blending the colors slowly to the next color then the next color and so on. Admiral blue, navy blue, laguna, aquamarine and canary yellow were the colors I used.
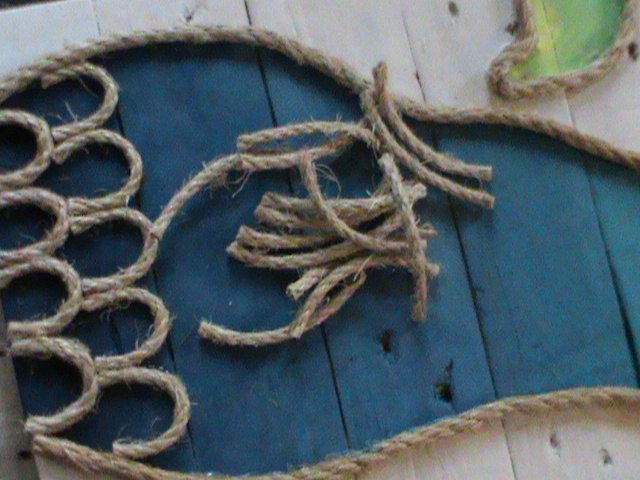
To make the scales I cut the rope at about 1 1/2" pieces. I held a piece of rope between my thumb and index finger bent it into a "u" shape, put the hot glue on the rope while I was holding it then put on the board.
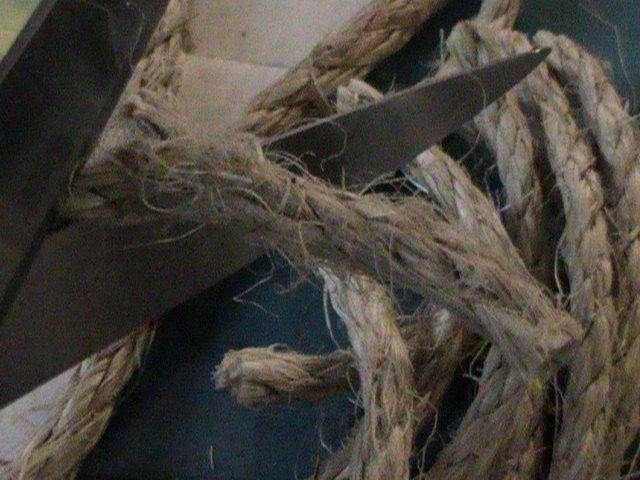
A knotted nest! Cut that off, looking for smoother rope than that!
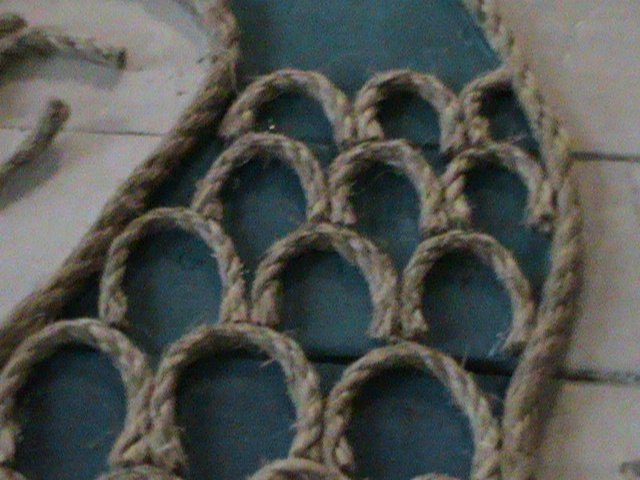
When I was getting close to the bottom I cut the rope pieces shorter which makes a smaller "u" shape. I put "D" rings on the back of both for hanging on the wall.
Finished!!! Oh I love it!! I know I will be making another one, maybe a full mermaid or an anchor or a rose would be really cool! I might paint or stain the rope next time! That was easy art! I made both of these in two days not that it took that long to make, I was just being lazy should have only taken about one day for both.
I know I will be making another one, maybe a full mermaid or an anchor or a rose would be really cool! I might paint or stain the rope next time! That was easy art! I made both of these in two days not that it took that long to make, I was just being lazy should have only taken about one day for both. Anyone could make this type of wall art decor! All you need is some wood, rope, glue, paint and a little bit of time!
Any questions or comments are always welcomed! Thanks for looking!!
Comments
Join the conversation
6 of 34 comments
-
Ooooh.. I love anything “ Beachy”.. gotta try these! Great ideas!
-
Ooo so cute. You Did a fantastic job.


Frequently asked questions
Have a question about this project?
Why didn’t you paint after you drew the shapes on? Before the rope was glued on? It would be much more of a clean job for me. I would get paint all over the rope!