


Rag Rug to Ottoman
I picked up this ottoman a few years ago. It was supposed to be an “occasional use” piece but it has ended up being one of the most used seats in the house. Although structurally it is fine, the fabric is awful and the nail head trim has come off. It has looked like this for a while.
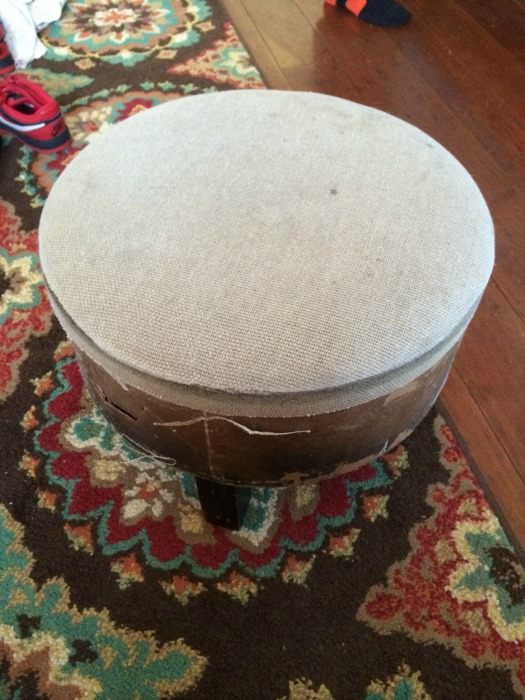
First I removed the fabric from the side of the ottoman. It was glued on and peeling and fraying. The sides were just covered in chip board so I left it alone. I can’t believe the ottoman held up as well as it did and no one put their foot through it. As much time as the kids spend sitting on it, that’s how much time they spent trying to balance on its’ side.
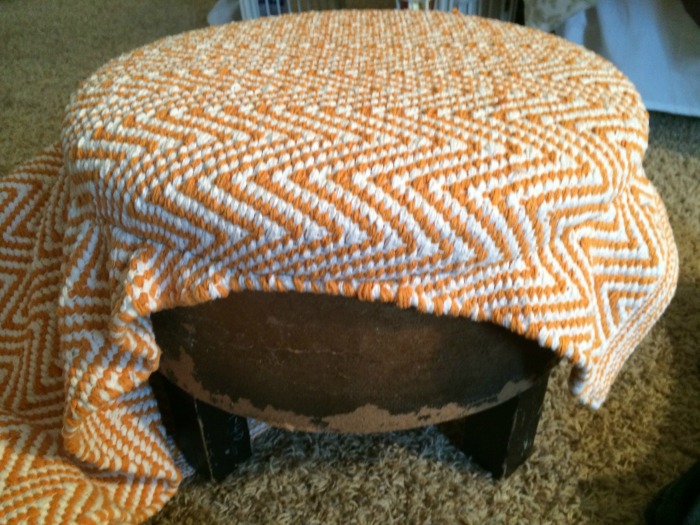
I also left the top intact. One thing I have learned with upholstering is if it doesn’t need replacing, leave it alone. So that is what I did.I placed the rug over the top of the ottoman and let the rug hang over the edge. I tacked one side and then cut a strip the length of the rug to use for the side of the ottoman.
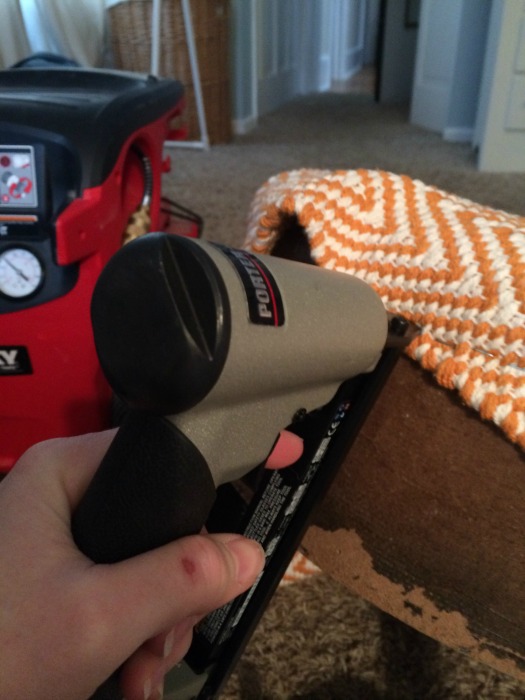
I was able to avoid any wrinkles in the top because I had extra fabric around the sides. I would just work any wrinkles out with my fingers and staple.
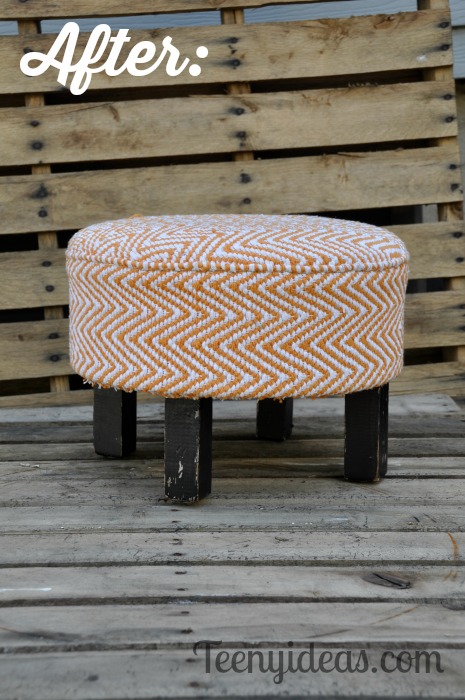
The ottoman turned out so well, that it made me want another one.

Want more details about this and other DIY projects? Check out my blog post!
Comments
Join the conversation
3 of 28 comments
-
Rugs are for feet.....foot stools are for feet.....you did it girl and it is a beauty.....Bless you and your feets......lol.

-
Nice result. Wish there were more pictures of the process.


Frequently asked questions
Have a question about this project?