


How to Make Budget Acrylic Paint Pour Art! Part1

by
Jennifer
7 Materials
1 Hour
Easy
I have done several paint pours before and I just love the abstract results but it can be a bit pricey
 ! I'll try to break down some of the types and some of the reasons for using them along with the results you get on canvas and yes paper too! There are several types of pouring mediums like a high end product would be Golden or Liquitex, in the middle would be floetrol (Flood from Walmart) and the budget way is Elmer's glue! Elmer's is good for beginners to practice pouring without it costing so much.
but it can be a bit pricey! I'll try to break down some of the types and some of the reasons for using them along with the results you get on canvas and yes paper too! There are several types of pouring mediums like a high end product would be Golden or Liquitex, in the middle would be floetrol (Flood from Walmart) and the budget way is Elmer's glue! Elmer's is good for beginners to practice pouring without it costing so much.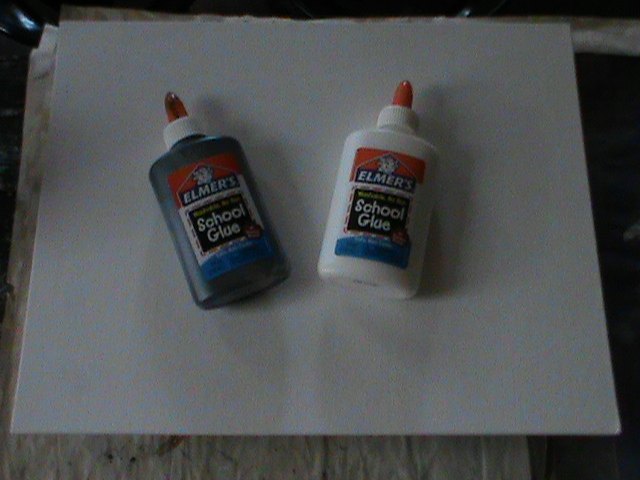
I will use an 11x14" canvas, Elmer's glue, acrylic paints, several little plastic cups, stir sticks and make sure you cover the surface area you will be working on with plastic because it will get messy!
That's it, all you need for this pouring medium project.
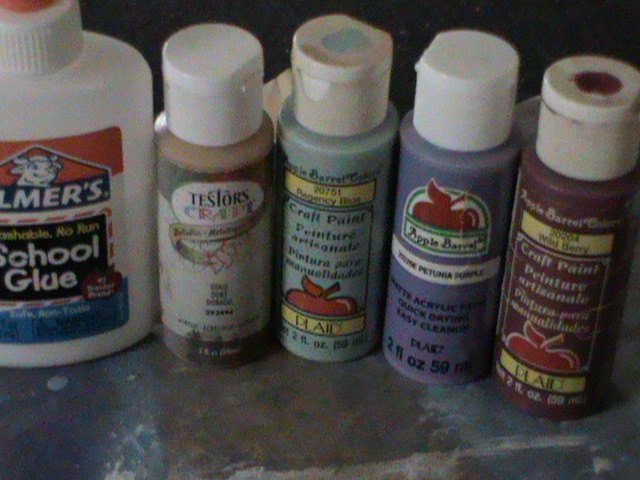
Pick out some colors and start mixing! This is the recipe I use, equal parts of acrylic paint and Elmer's glue.
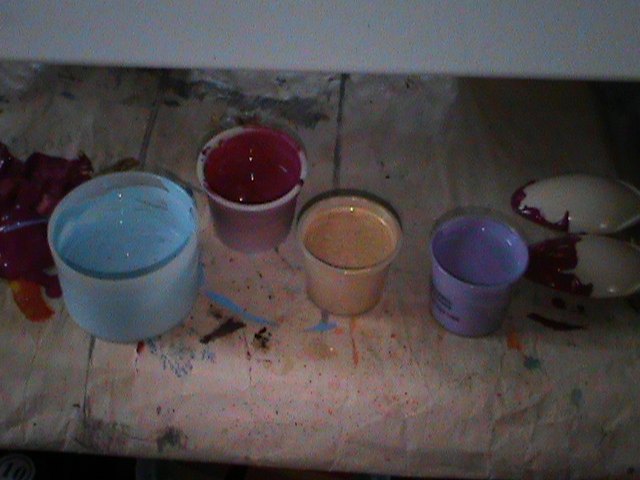
Mix well!!
You can pour, splatter, drip whatever you like! Play around with the colors !
!
!
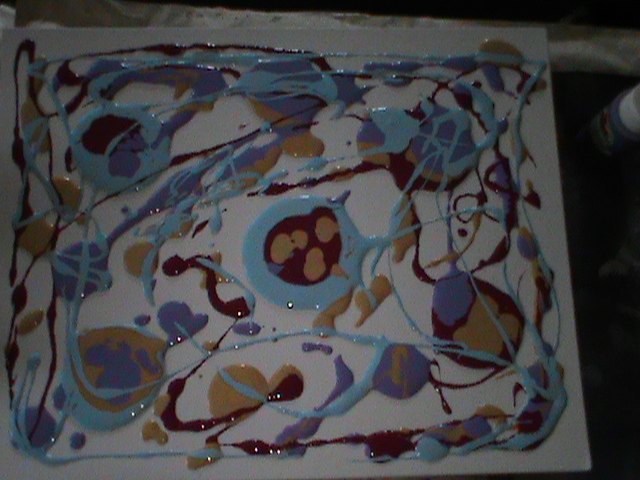
Pick up the canvas and tilt it from side to side, up and down until the whole canvas is covered. You can use a spatula, a cake frosting spreader ( plastic/rubber works better) or a hair dryer to push the pour around the canvas to cover all of it. These can be used in making a design too! I'm doing a straight pour no tools required!
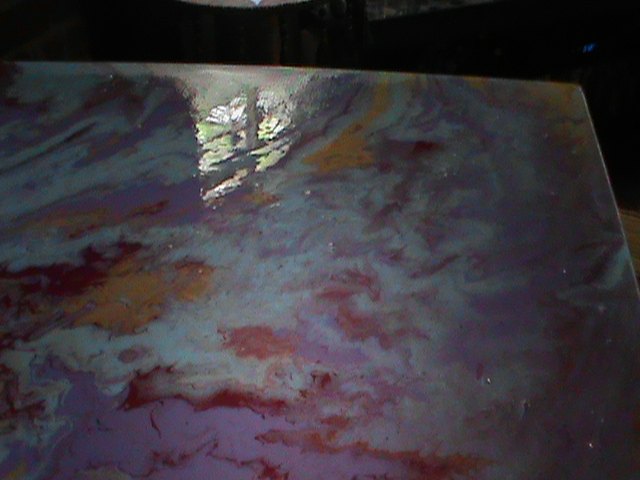
I leivatied this canvas with small paint jars to dry so it didn't stick to the work area.
Drying time for the Elmer's is still overnight! It drys faster than say the floetrol. Floetrol is the medium I use most! I find it easier to work with when mixing a powder color pigment or to make swirls, add diminish, dust glitter because it takes longer to dry.
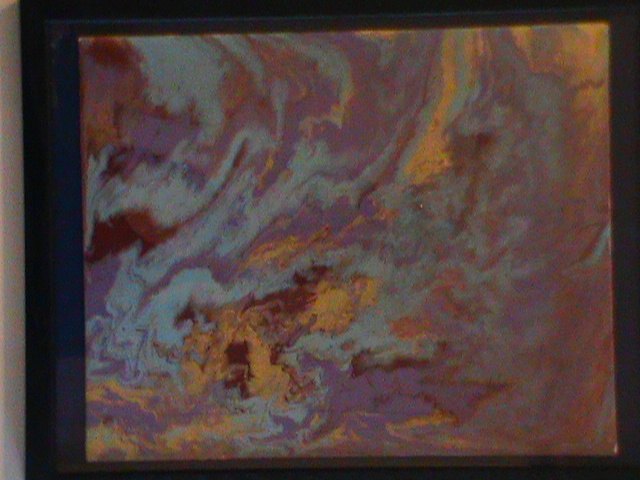
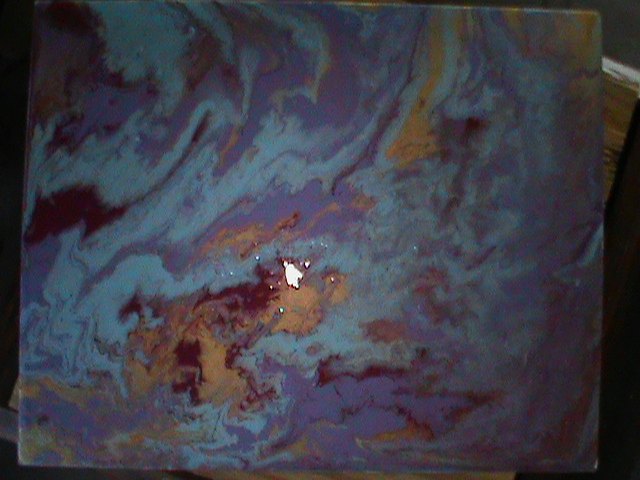
When it was dry I framed it. I might send it to my mom! Her favorite color is purple!
Wow less than an hour to complete except for that drying time! Ugh! I'm so impatient at times!! Drying time sucks!!
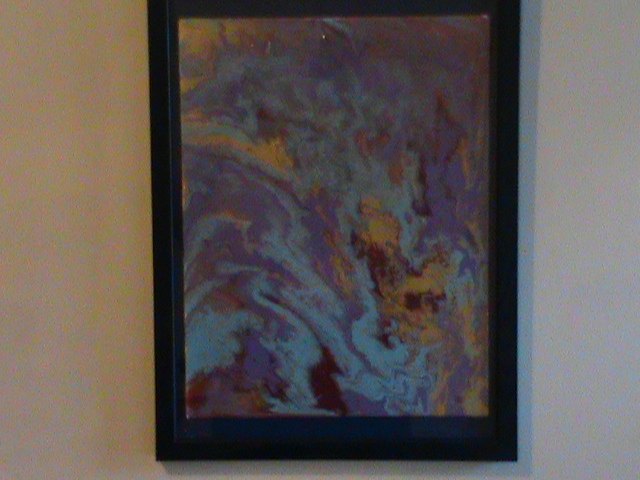
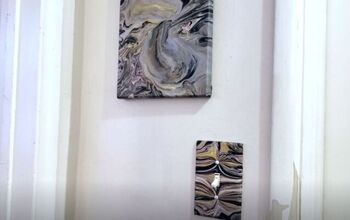
Hanging on the wall for now !
!
!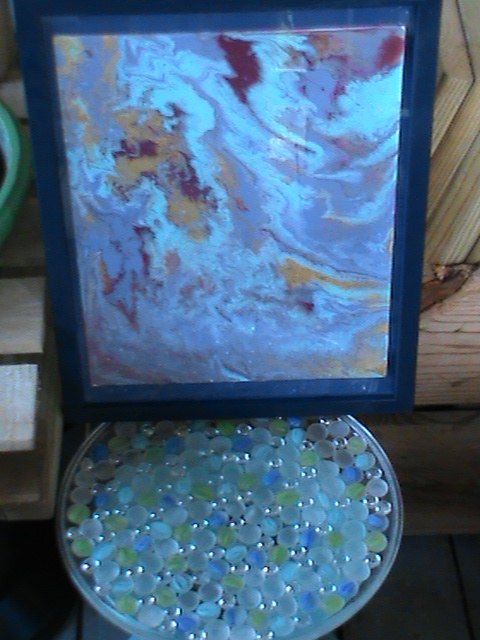
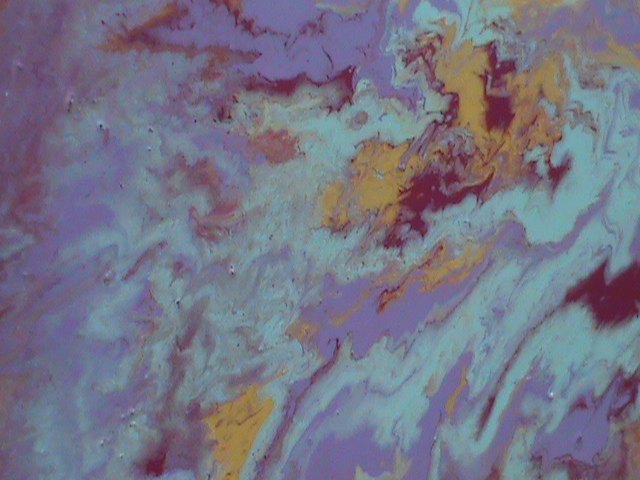
Here is a better picture! Okay a few things should be noted when doing the type of pour- this is glue but for beginners and the budget minded it is cost effective. Glue will eventually crack and it might yellow over time but I'm talking years for that to happen! This type of pour can also be done on paper like heavy stock or a picture frame mat will work just don't put it on too heavily because it will warp and you will have to bend it while it drys to make it flat. I don't think this is good for furniture but for quick abstract art it work great! 
Part 2 will be a pour over something and part 3 will be another canvas with a blow torch finish!
Well that is it and thanks for looking at my budget pour! Any questions and comments are always welcomed!! Bye and see ya' for part 2 coming soon!!
UPDATE- part 2 is posted here www.hometalk.com/diy/paint/pouring-acrylic-paint-part-2-texture-38883273
Resources for this project:
See all materials


Any price and availability information displayed on [relevant Amazon Site(s), as applicable] at the time of purchase will apply to the purchase of this product.
Hometalk may collect a small share of sales from the links on this page.More info
Comments
Join the conversation
3 of 21 comments
-
Wonderful, thank you for the idea! Can't wait to try it!
-
Wonderful, thank you for the idea! Can't wait to try it!


Frequently asked questions
Have a question about this project?
Have you tried pouring through a sink strainer or slotted spoon?
Hi! Would Mod Podge work the same as Elmer’s glue?
Would like very much to see a peak at part 2 as I am very interested in textures, where do I find part 2 preview? James