


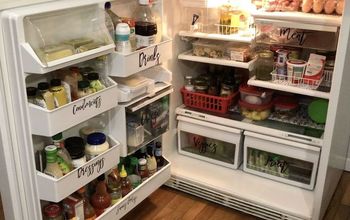
Kitchen Canister Labels to Help Organize Your Kitchen
If your canisters didn't come pre-labeled, it's hard to know what's in them. Or, if you want to start with something new, you can go get a set of the affordable clear glass containers and add your own labels!
You can see the full tutorial and labels for 20 different types of contents at: https://www.tracylynncrafts.com/kitchen-canister-labels.
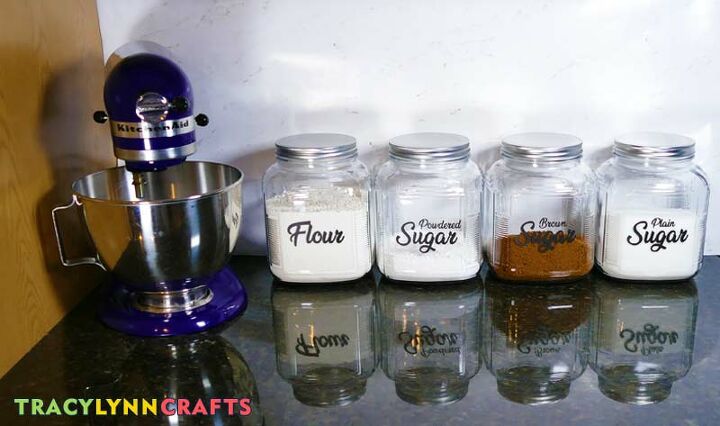
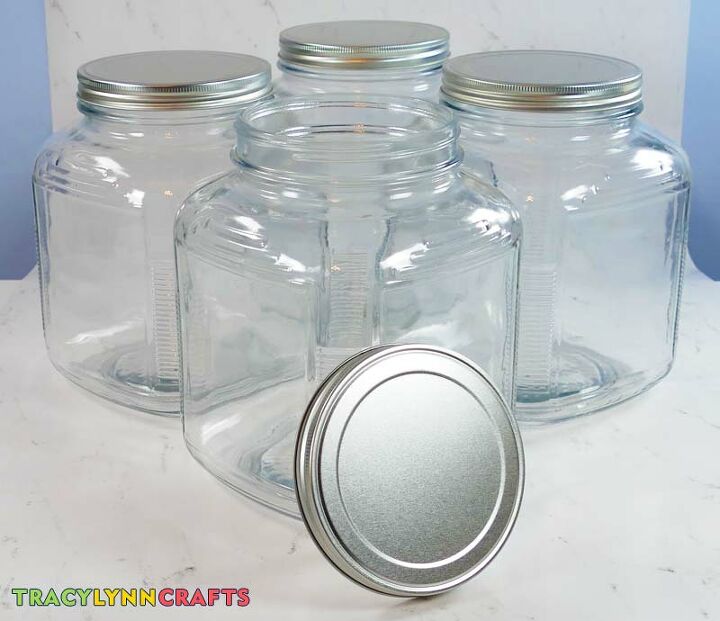
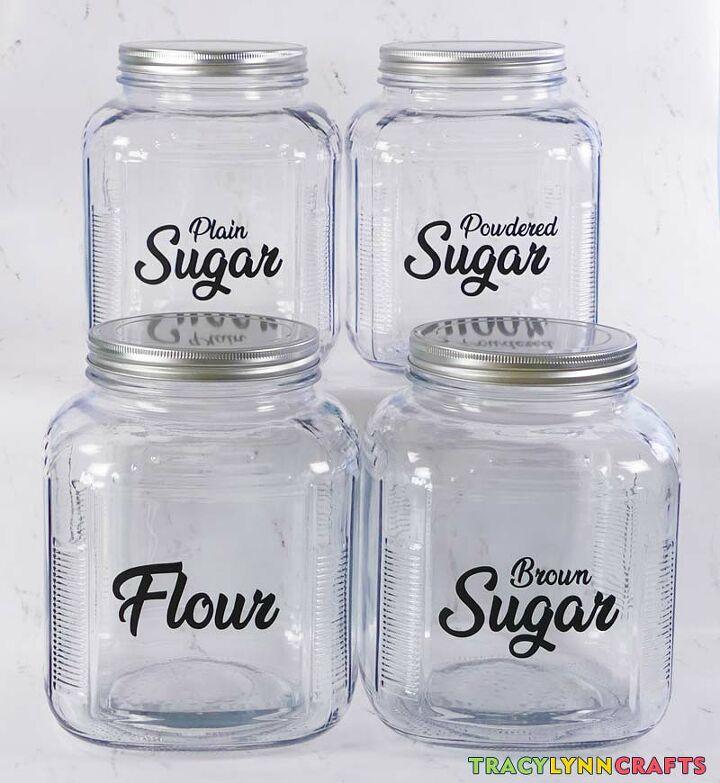
My daughter received these Anchor Hocking clear canisters (1-gallon "Cracker Jar") as a gift and asked me to make labels for her. I have a Cricut and can easily make vinyl labels for her.
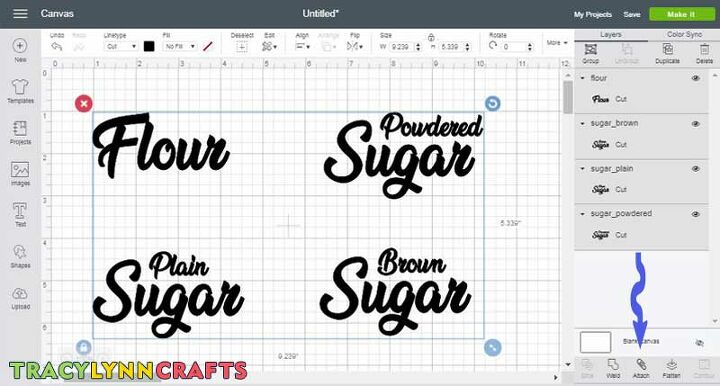
We started the project by looking for a font that she liked. Once she had that picked out, I set to work in Adobe Illustrator (though there are other vector illustration programs that people can use for free, such as Inkscape).
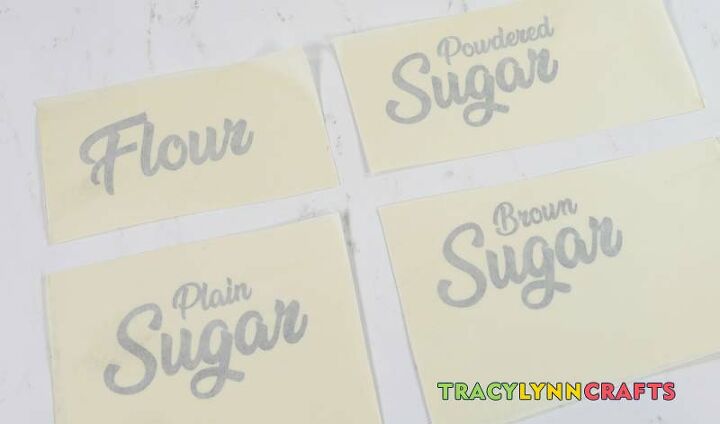
I created the four ingredients that she wanted: Flour, Powdered Sugar, Plain Sugar, and Brown Sugar. Because I was also going to write this up as a blog post, I created a total of 20 different labels that should cover most peoples' needs.
- Sugar
- Powdered Sugar
- Plain Sugar
- Brown Sugar
- Flour
- Almond Flour
- Bread Flour
- Coconut Flour
- Rice Flour
- Whole Wheat Flour
- Powdered Swerve
- Granulated Swerve
- Oat Flour
- Rolled Oats
- Steel Cut Oats
- Stevia
- Stevia Blend
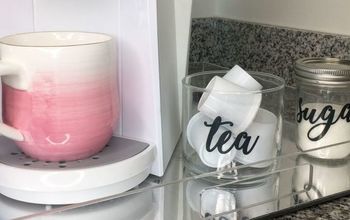
- Loose Leaf Tea
- Tea Bags
- Coffee
The ingredient labels fit a 4" x 4" space though they will scale in any craft machine application, such as Cricut Design Space.
Upload the design files to the craft machine application and cut from vinyl. I did not buy the vinyl I used in this project. I got it for free as a scrap from a sign shop. Sign shops generate scraps of vinyl that are often larger than home craft machines can cut. They just throw them away. If you want information about how to go talk to a sign shop to acquire their scraps, I have a post that walks you through how to do that at https://www.tracylynncrafts.com/vinyl-for-cricut.
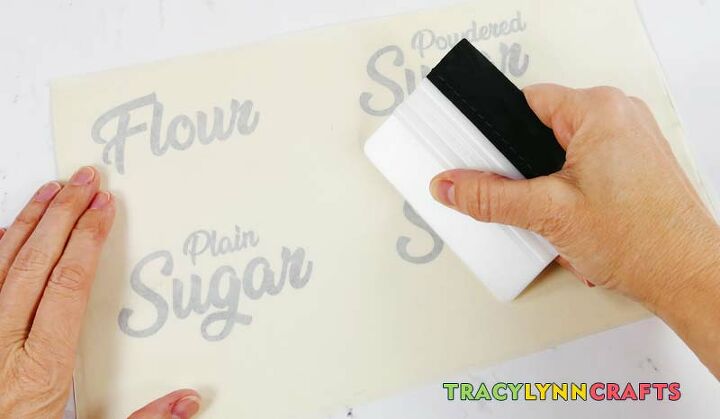
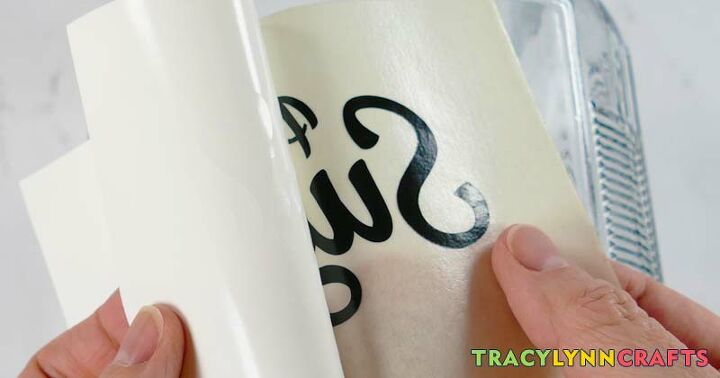
Cut the vinyl as you normally would for your craft machine then weed the vinyl, leaving only the words. Apply the transfer tape and set aside.
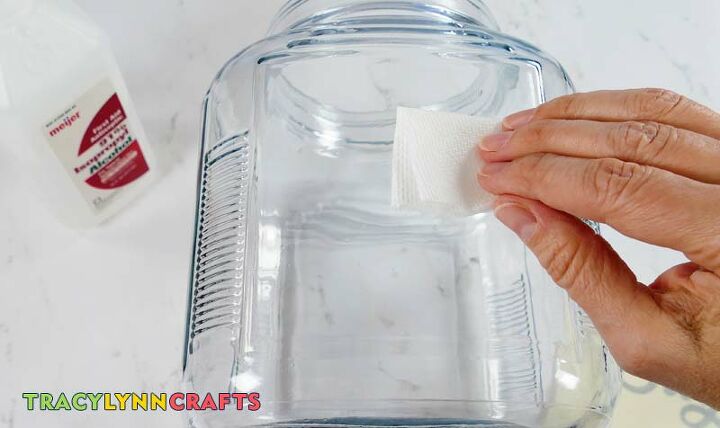
Before applying vinyl to a surface, you have to prepare the surface. For glass, wash thoroughly with soap and water then go over the surface with alcohol and allow to dry. Do not use products such as Windex because they leave a residue that can prevent vinyl from sticking well.
Separate the labels from each other so you can work with each one individually.
Start with your first one. Remove the carrier paper from the back of the vinyl.
Center the label over the area where the label is to be applied. Some people are good at just "eye-balling" this. Some need a guide. For details on one method to help center the labels, you can go read the full instructions at the link posted at the beginning of this post.
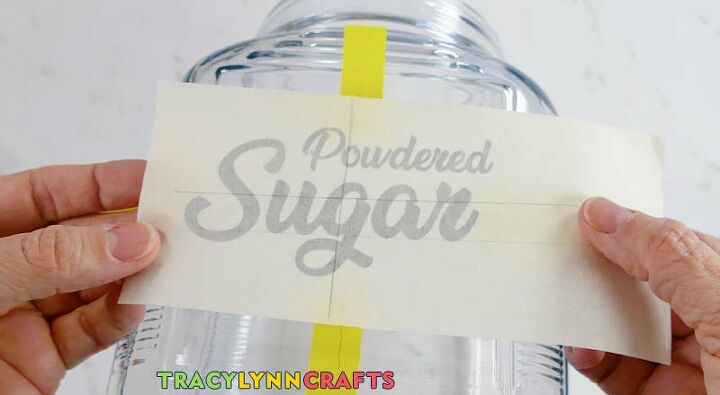
Using your vinyl squeegee, a burnisher, the edge of a credit card, the edge of a plastic spatula, or similar tool, squeegee the vinyl onto the glass. "Drag" the squeegee instead of pushing against it.
Think of the motion like you're painting. You don't push the brush toward the tips of the bristles. You pull toward the handle of the brush. Use this same dragging motion with your squeegee while pressing the vinyl firmly onto the glass.
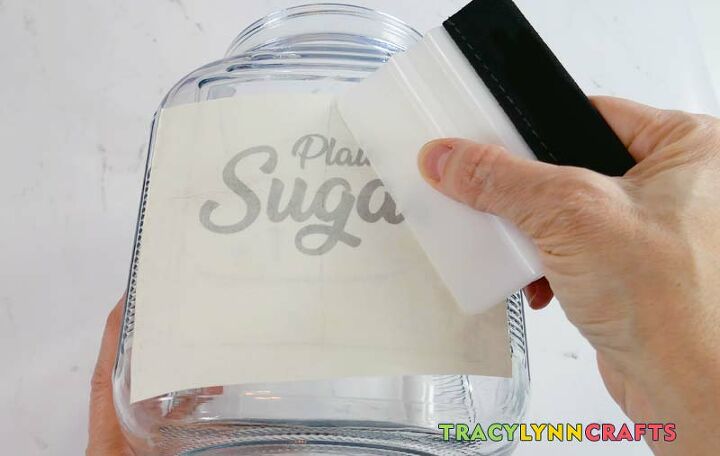
When you have finished, remove the transfer tape by pulling at a sharp angle. Pull almost parallel to the surface of the canister. Do not pull up. Pull "across" the surface. This has a better chance of not pulling up your vinyl.
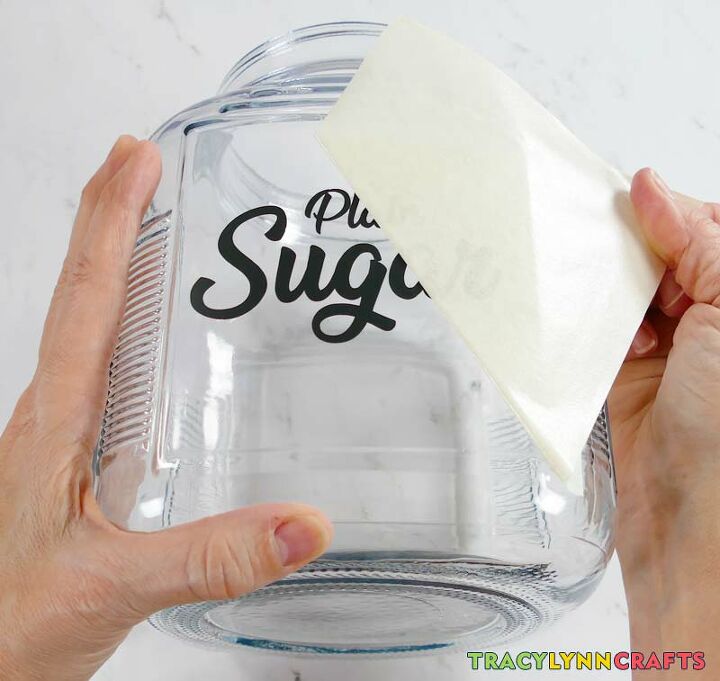
Repeat for the remaining canisters!
If you make a mistake, you can peel and/or scrape off the vinyl and start over. Mistakes are easier to deal with when the vinyl is free. Be sure to go back with alcohol and a paper towel and scrub off any adhesive residue before trying again.


Comments
Join the conversation
-
Love the project. Love the font. Can you please tell me the name of the font.
-
Love the font! Can you tell me the name?


Frequently asked questions
Have a question about this project?
Thank you so much! I love these! Do you have one for "Dog Treats"? Or possibly just the font so I can match your labels? Thanks again!