


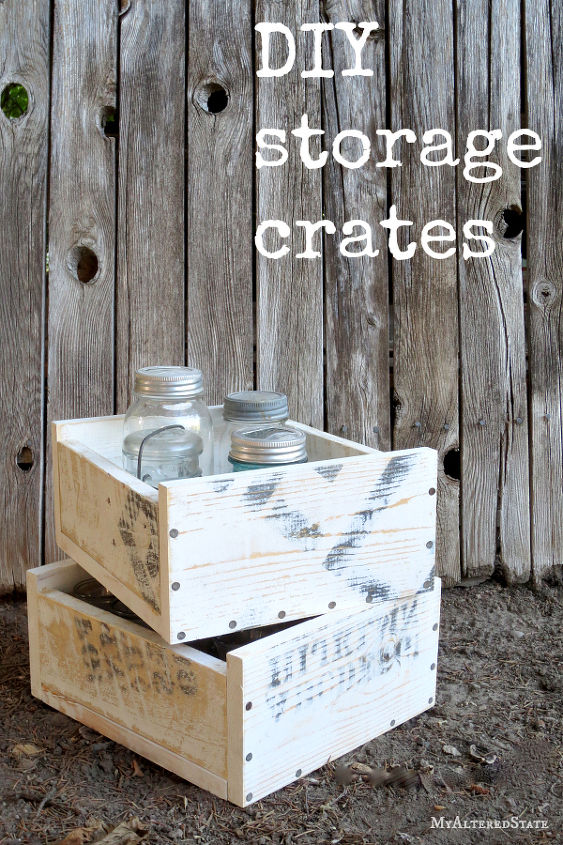
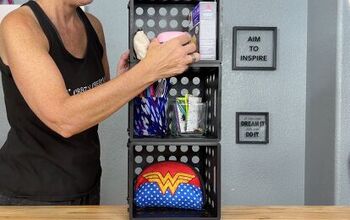
DIY Stackable Storage Crates
Do you know what kind of project feels good after you have finished one that stretched and strained your creative boundaries?
An easy one.
A project that you know like the back of your hand.
One you can do blindfolded.
Good old-fashioned storage crates.
Going back to my Etsy crate-building roots felt familiar.
Sort of like the feeling I get when I pick up a random softball or baseball bat and I automatically want to tap each foot, square my hips, and set my grip in a seamless stream of motion.
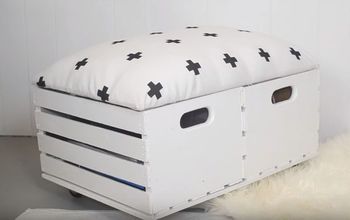
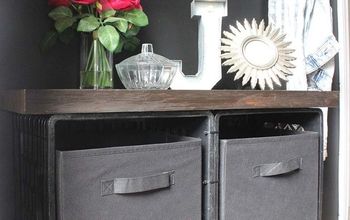
What I came up with was this:
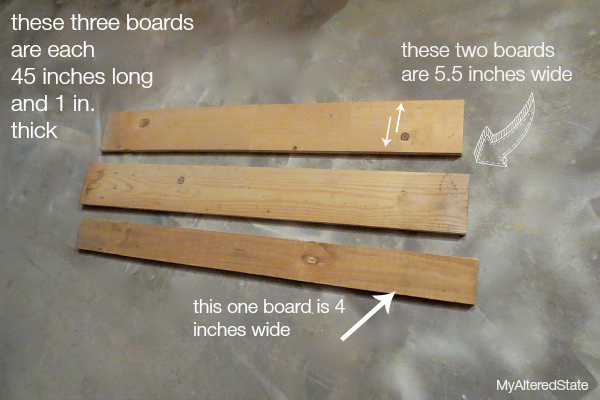
I used a calculator (it still hurts my head to talk math, even with a calculator) to figure out the length of cuts I needed to make.
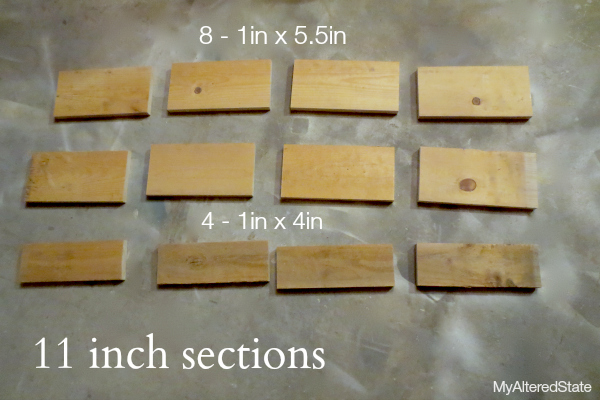
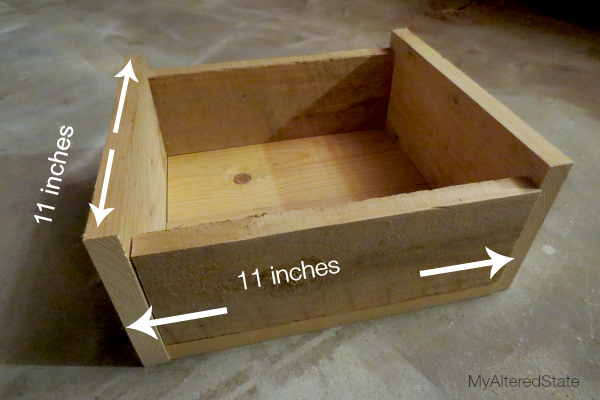
(I’m just going to mention those pieces above make two crates.)
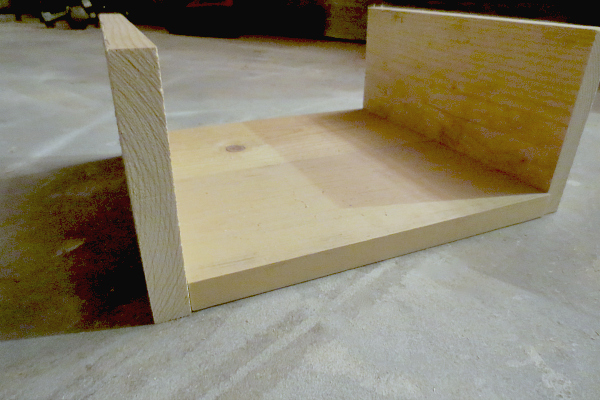
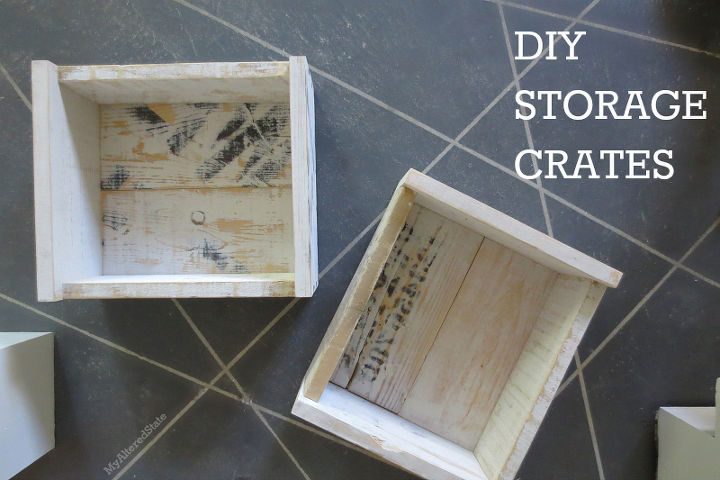
and then here’s the 4 in wide sides added (nothing’s put together yet in these two photos, I was just checking to make sure measurements met up…)
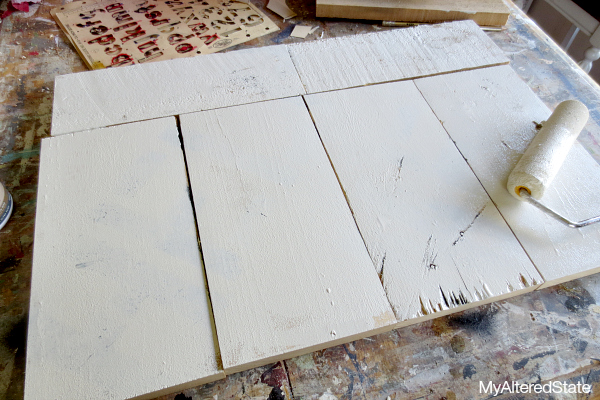
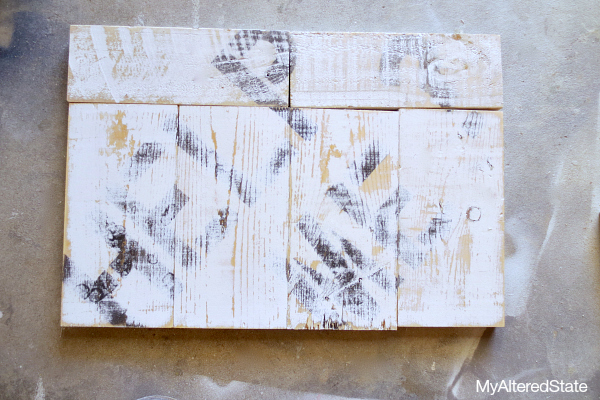
I wasn’t really worried about coverage because I was going to be taking a lot of the paint off.
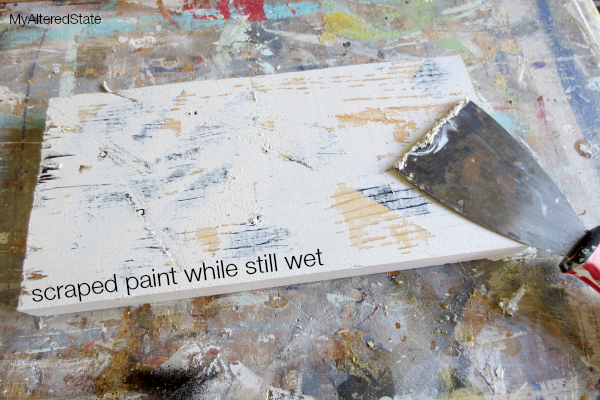
Then I did some scraping
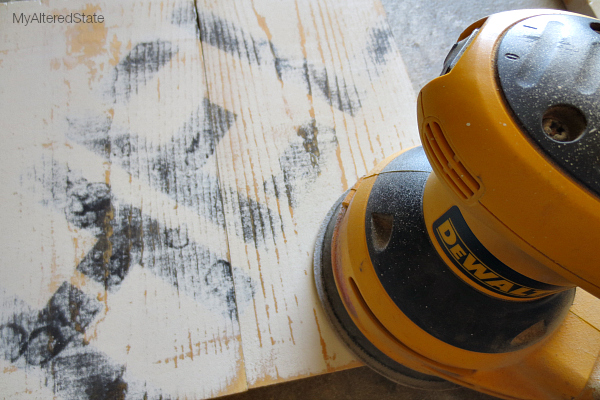
Then when it dried, I did some sanding because I like to double my efforts and waste time. Really though, I wasn’t impressed with the scraping results.
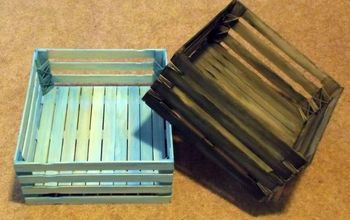
ta-da.
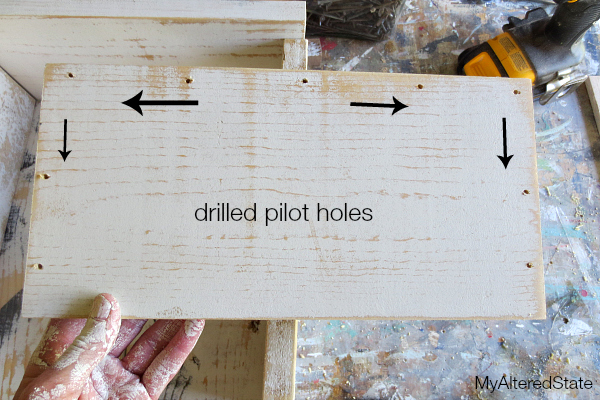
Next it was time to put it together.
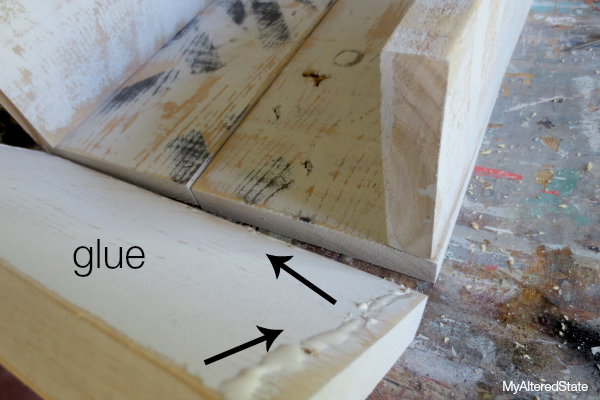
And glue. Don’t forget the wood glue.
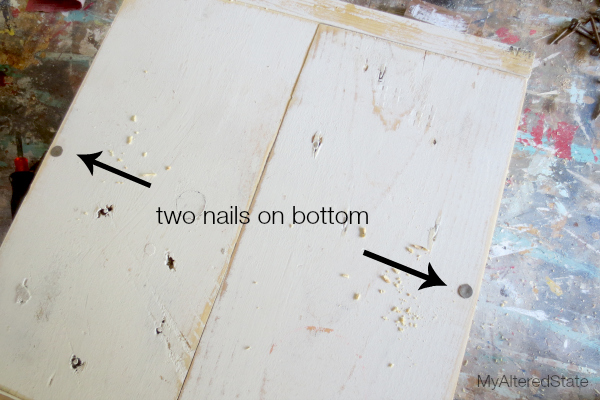
Then I flipped it over, pre-drilled, and drove a couple nails on bottom.

Want more details about this and other DIY projects? Check out my blog post!


Frequently asked questions
Have a question about this project?