


Lighthouse Gallery Wall (and Tips on Installing Any Gallery Wall)
I love lighthouses and I realized recently that I have taken A LOT of pictures of them over the years. Lighthouses are full of history and I find them beautiful, so if there is one anywhere near where we are visiting, we will seek them out so I can photograph them. What better way to show off all the ones I have photographed than in a gallery wall?
Obviously, if you want to install a gallery wall of your own, you can use any images you like.
Step 1, Find Your Images…..
To begin, I started by going through the thousands of photos I have on my computer. It is kind of embarrassing how many photos I take (and have a hard time deleting!!!) so it took a while to find what I was looking for. Luckily, I was able to find 8 good quality lighthouse photos.
Step 2, Print your Images…
Decide what size you want and have your images printed out. I used 8x10's.
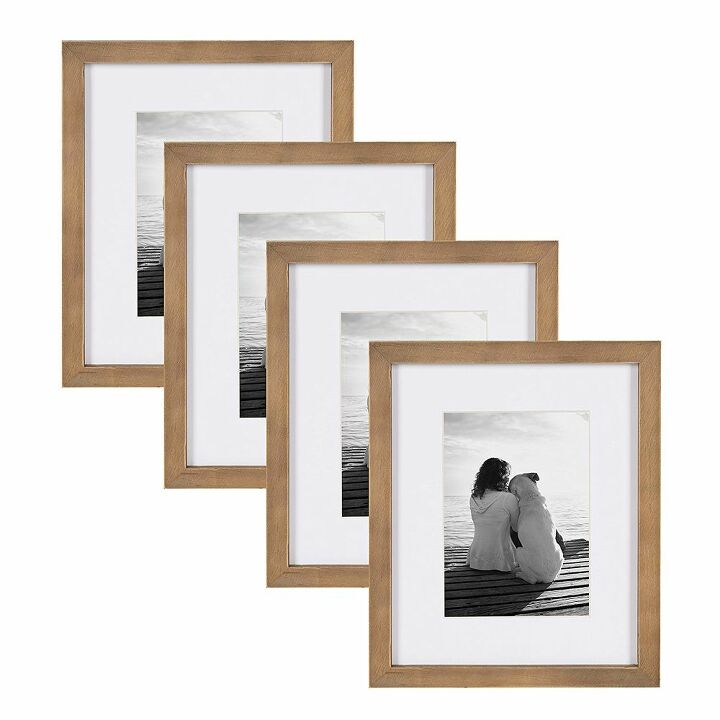
Step 3, Finding the Perfect Frames…
Next, I scoured Amazon to find frames that were perfect and not too expensive. I settled on these (see below) and they did not disappoint. For the price, they were better quality than I expected! They came in a box of 4, and since I ordered on Amazon they arrived just a few days later. The driftwood color is perfect for my beachy/coastal decor.
Step 4, How to Install the Gallery Wall…
Installing a gallery wall can be tricky! I found a good method that is (almost) foolproof. Here is how. (By the way, Amazon sells picture hanging tools if you want to make things really easy.)
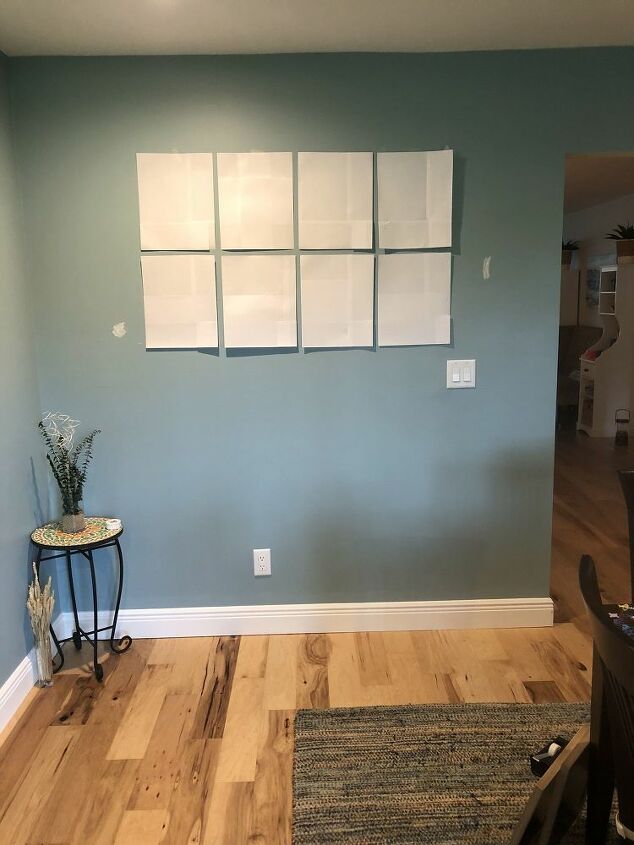
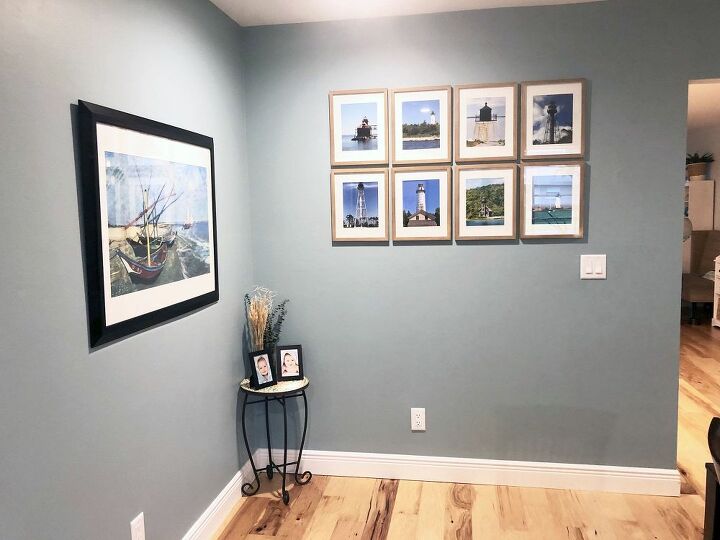
I didn’t have a picture hanging tool, so I here is what I did. First, I created 8 templates of the frames. Then I measured what would be the center of the wall and made a pencil mark. Next, I started arranging the templates on the wall until I was happy with the placement. I wanted them to be centered but the light switch was throwing me off. I had to place them a bit higher than I wanted or else the frames would have been on top of the switch. I suppose I could have moved them over and down, but then they wouldn’t have been centered and that might have driven me a bit crazy. Using the templates gave me a good visual of how they would look once the real frames were hung up.
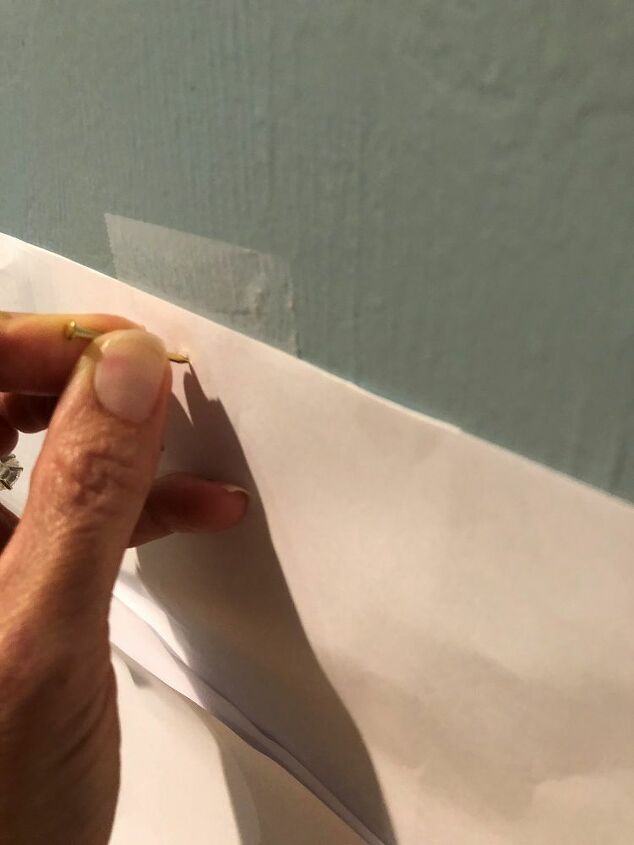
Once I had the templates on the wall the way I liked, I put the nail AND hook into the back of the frame and then measured how far down I needed to hammer the nail. You can see from the picture below, it measured 1/2 inch. Then I measured 1/2 inch on the template on the wall, and stuck the nail lightly into the paper, making an indentation into the wall. Once I took the paper off I had a visible mark to use to hammer in the nail/hook.

Rather than make all 8 nail holes and then hang them all at once, I hung each picture individually. After I hung each one, I took a level and made sure they were straight. Doing them one by one ensured that they were lining up with each other, and if they weren’t I could fix it right away.
Here I as half way done.
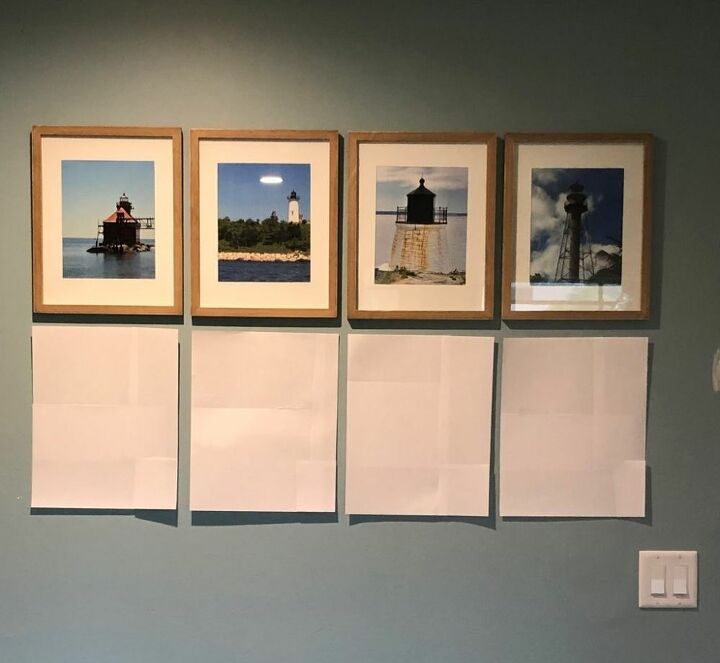
I made sure to measure the back of each frame and where the nail hole would go, before I hammered them into the wall. Most of the frames measured the same but a few varied about 1/2 inch from the others, so I’m glad I took the time to measure each one. It took a bit longer but was worth it. You know what they say, measure twice, cut once. In my case it was measure twice, hammer once. I did still manage to make 2 mistakes and was off just a smidge, but was able to fix them pretty easily. Here they are in all their glory…
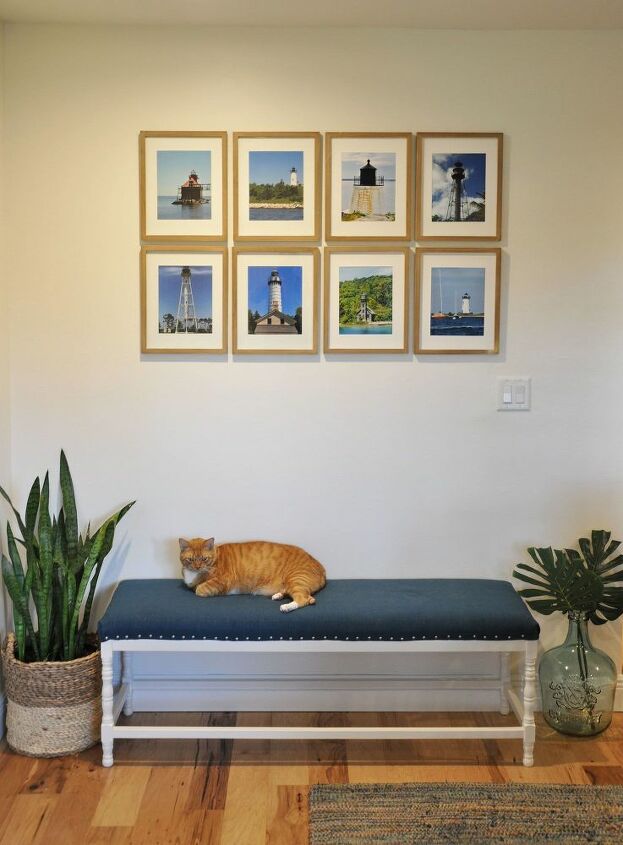
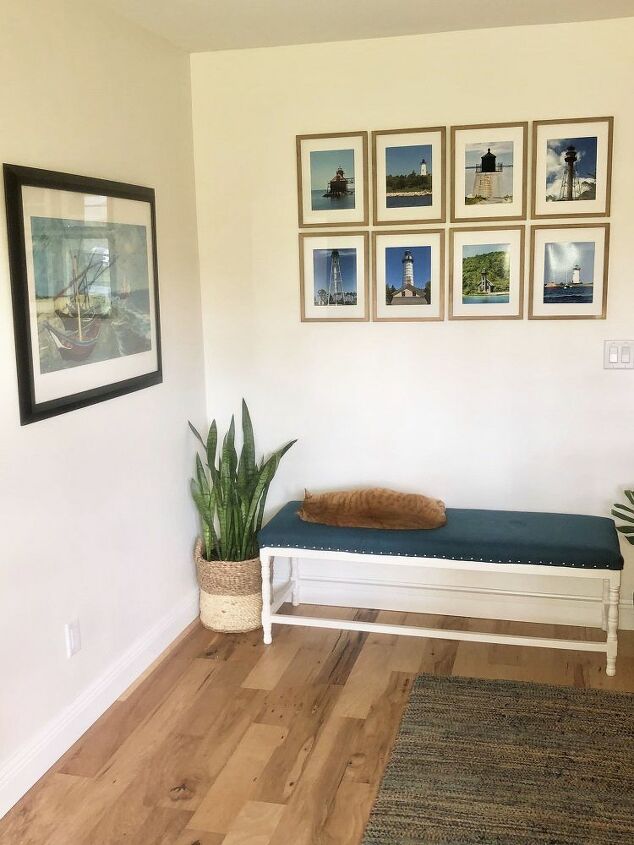
After I hung all these pictures I realized they would look so much better on white walls. I’ve been wanting to paint the walls white in this room for so long so I finally did it! Here is how it looks now...

Check out my blog for more DIY ideas.
Resources for this project:


Comments
Join the conversation
-
Just dropping by for a compliment. I like the Litehouse collage. I have a litehouse......I like 'em.!!
- See 1 previous


Frequently asked questions
Have a question about this project?
What size are your frames Been looking for frames for my lighthouse pictures that are not too expensive