


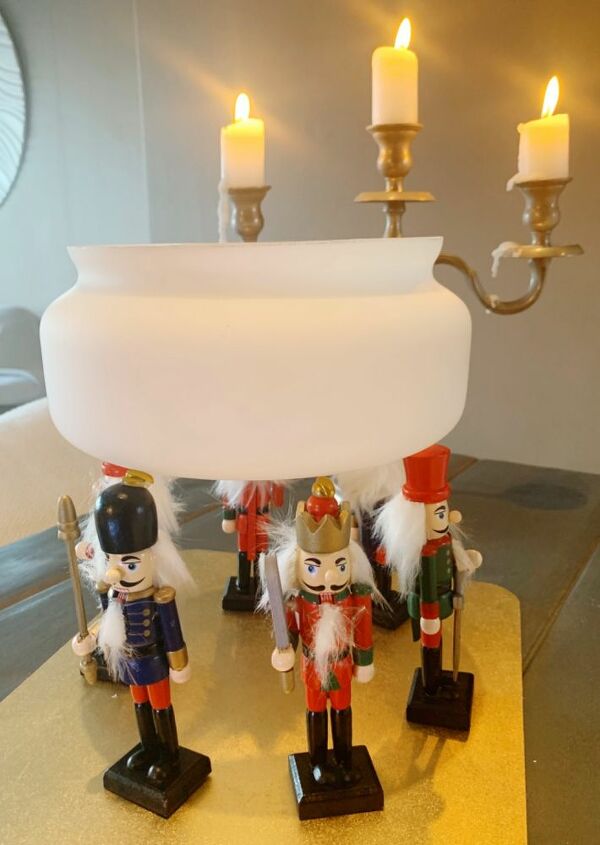
Seasonal Bowl From Nutcrackers and a Lamp Shade

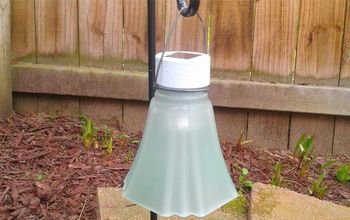
A glass lampshade is literally elevated to become a holiday centrepiece.
I discovered an unused bathroom light shade that we had bought a while ago. It had been a replacement shade but was too small for the fitting and was therefore languishing in an already crowded cupboard. Time to make it work.
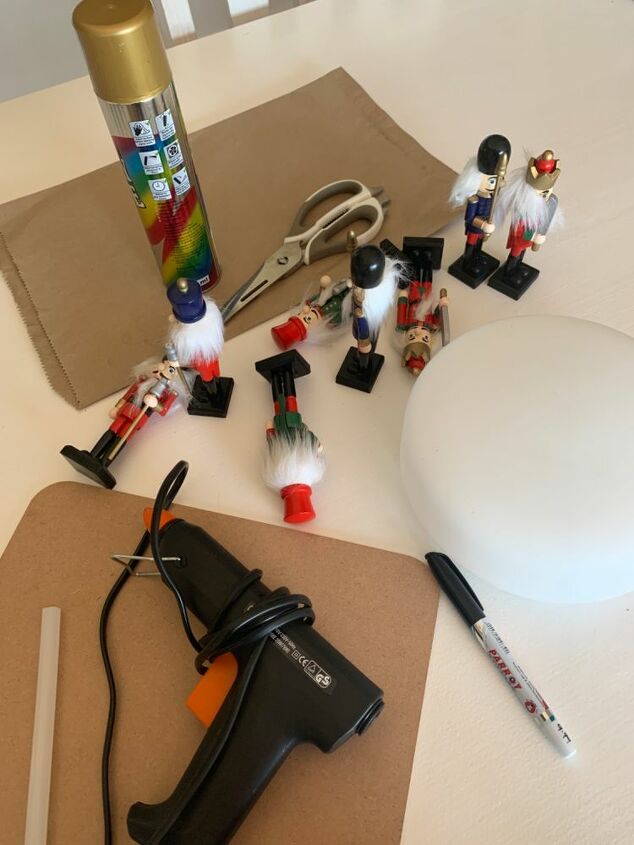
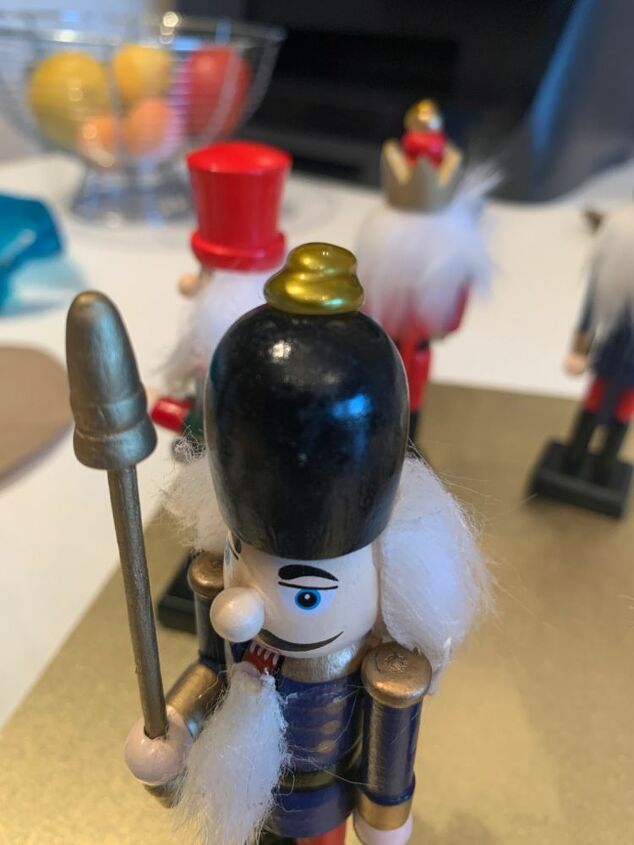
I bought an unpainted place-mat from a charity shop and some cheap nutcracker decorations from another. Any similiar item such as a wood cutting-board, small plastic tray or frame or perhaps even a mirror could also serve as a base for this project. I was just happy to find the placemat because it didn’t need any special preparation to paint. In retrospect, a round one would have been even better but I was very happy to find this one.
I already had the glue-gun, paper, pen, scissors, spray-paint and gold nail varnish that was needed.
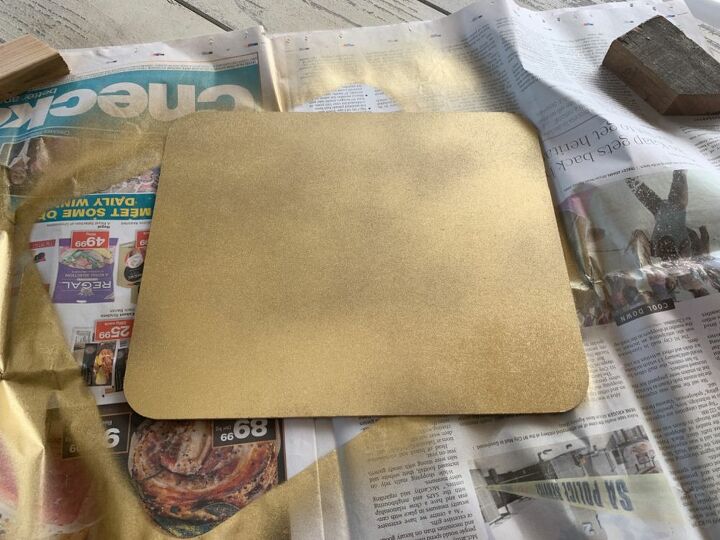
I gave the place-mat a couple of coats of gold spray-paint. If this is too plain for you you could always decoupage yours or use a couple of strips of washi tape to liven it up.
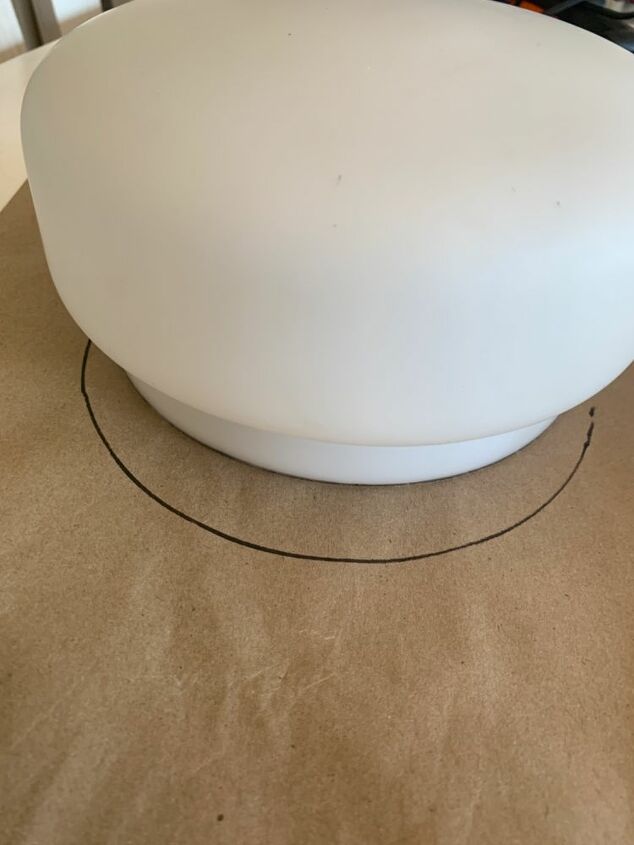
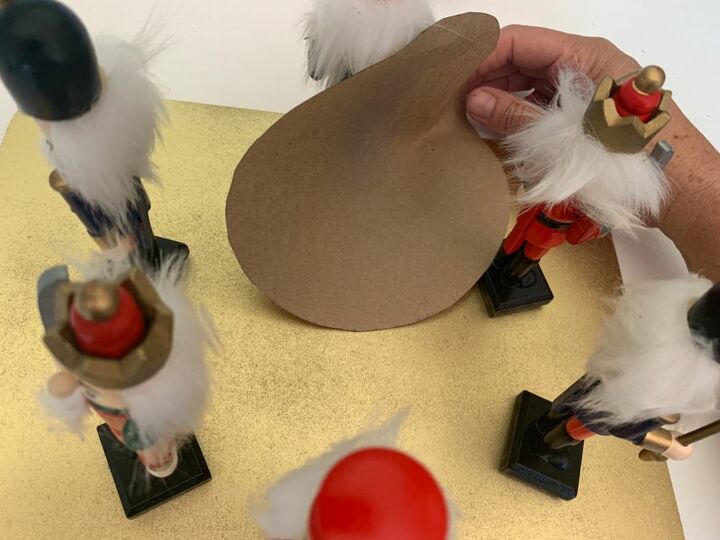
Next I had to determine how far apart the nutcrackers had to stand for the shade to nestle into them. I drew the circumference of the shade onto paper and then cut it out. This took a bit of planning since the shade is rounded and I couldn’t work on the very widest circumference because that would mean there would be nothing for the shade to rest on. I decided to play it safe and drew the circle 1cm or so smaller. A rounded object can rest on almost any smaller circular base after all. Once I had the paper circle I had a template from which to work.
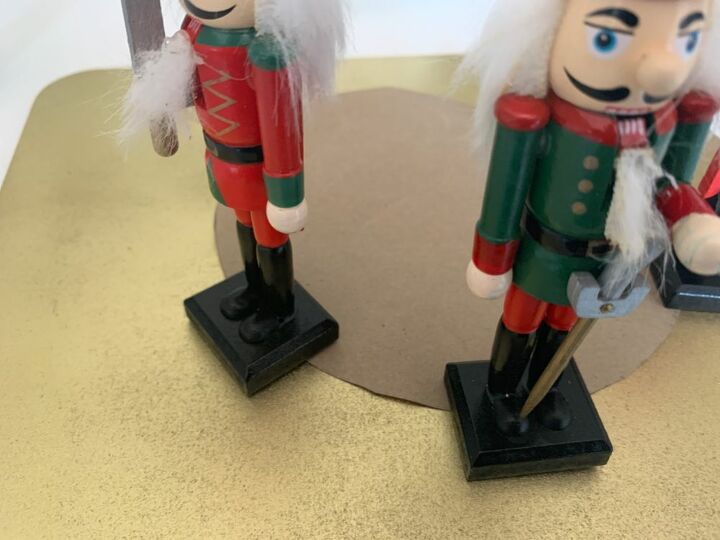
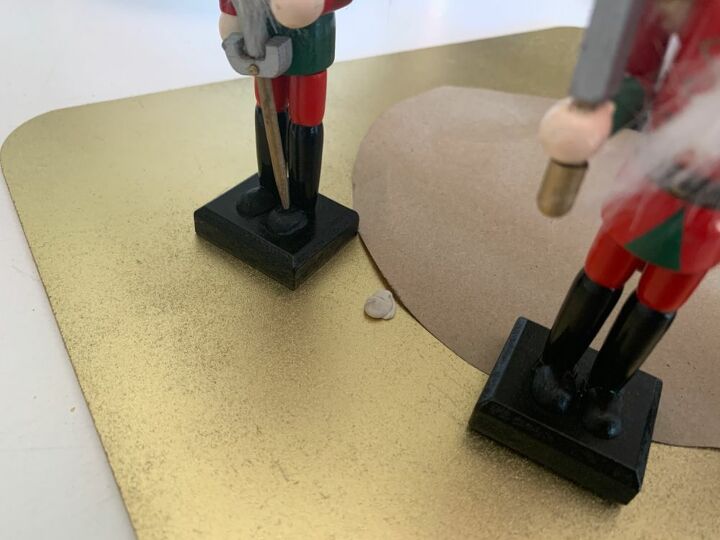
I positioned the circle on the place-mat and positioned the figures around it. I used some Prestik (sticky tack?) - small blob visible in the picture above- to keep them in place whilst I tested the position of the shade on top of them.
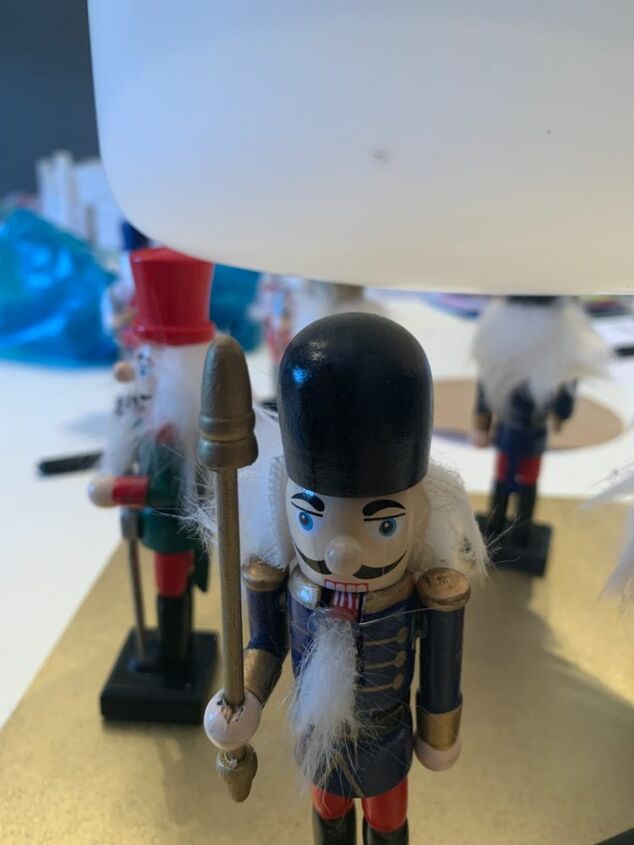
There was just one major flaw with my plan: the nutcrackers were not equally tall. I solved this by adding a blob or two of glue to the short ones, starting with one blob, letting it dry and then adding subsequent ones. I must admit, at this point I had visions of uneven chair legs being sawn repeatedly
until there were only still uneven stumps left. Was I going to keep adding glue blobs until I matched the tower of Babel?
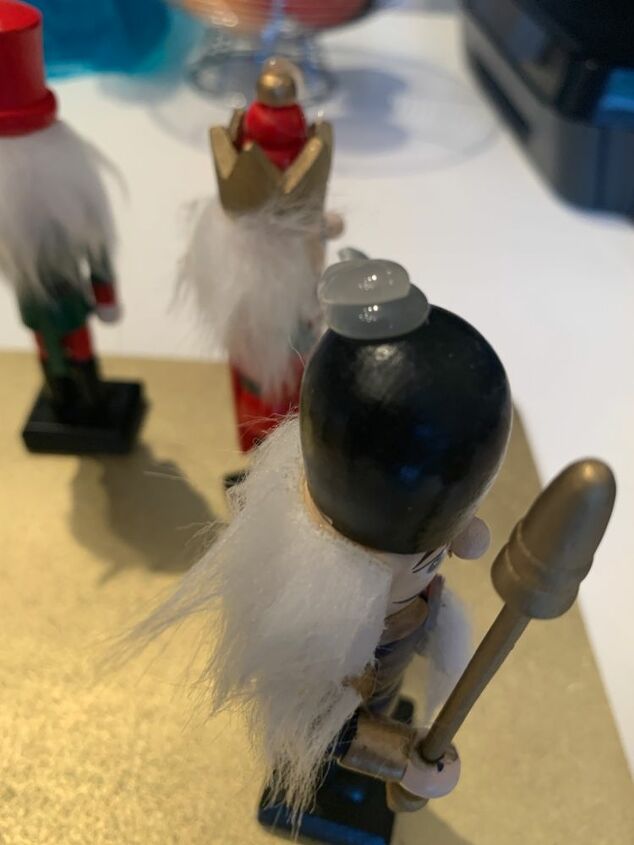
I painted the dried blobs with gold nail polish. Nobody is going to notice one extra piece of brass on a soldier’s helmet, are they? The more obvious solution to this would have been to use multiples of the same figure.
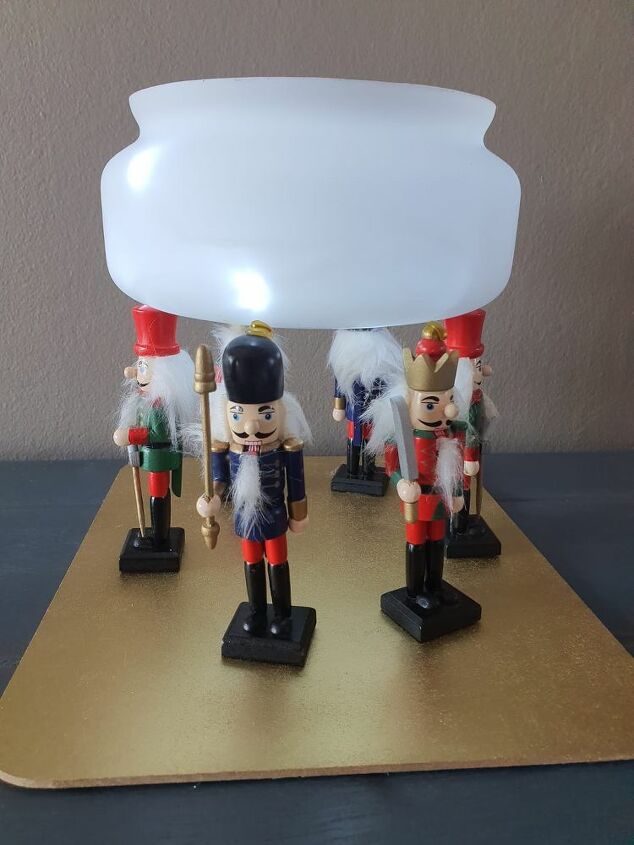
After gluing the guard into place with the glue-gun and taking care not to stick it as well, I removed the paper. Finally I took a deep breath and rested the shade on top of the base. It worked! Now it can be used for sweets, fairy lights or candles.


Comments
Join the conversation
-
Very cute idea! I know you mentioned that it would've looked better with a round base, but I also think it would look really cool with no base at all!
-
Hi Thea. Just found this project. Such a cute idea! I declare I am amazed at how many things we both like. I’ve had these photo holders for years! I have 3 sets of them. Lol Have only used them when I have had a holiday party to label what was on a tray. Been in a drawer ever since. Will be making this project right away. Already have the schoolhouse light fixture that I’m not using too. Great job! Glad I found this project today.


Frequently asked questions
Have a question about this project?
Sooooo, how do you clean it???