


DIY Wood Porch Sign Tutorial
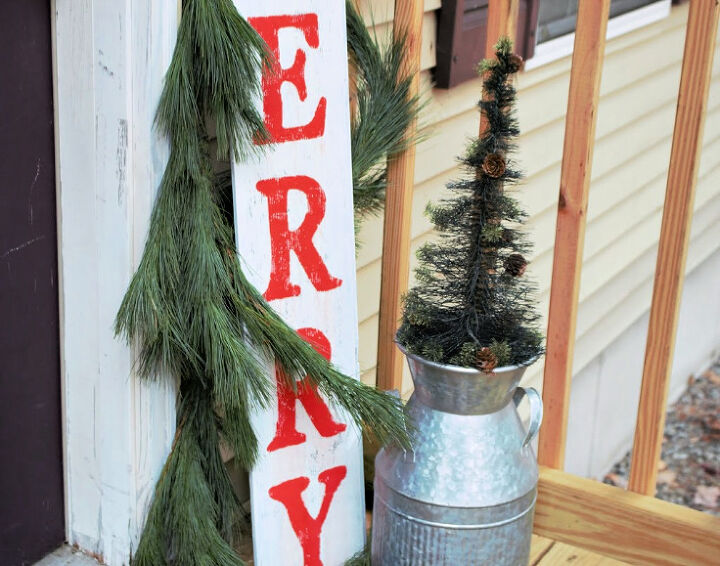
Make a fun DIY Wood Porch Sign with this easy tutorial. I made it for Christmas with a "be merry" quote, but you can add "welcome" or whatever you like.
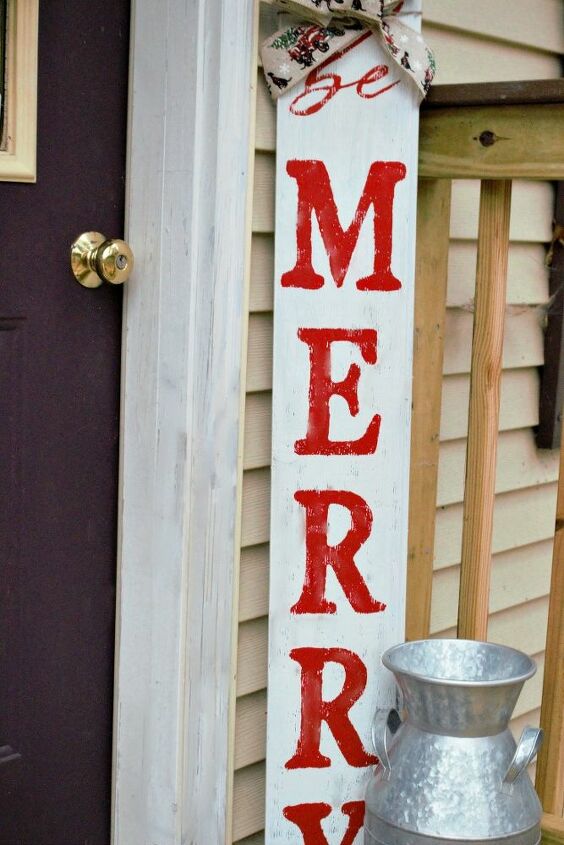
You can literally whip up a beautiful wood sign in about 20 minutes. Let me show you how easy this is to make.
Supplies Needed For DIY Porch Sign
- A Long Wood Board – 10″ x 54″ – You can use any type of wood you like for the sign. I used a scrap piece of wood from my Dad’s stock pile.
- Deco Art Americana Chalky Finish Paint – Everlasting
- Be Merry Chalk Couture Transfer
- Chalkology Paste Candy Apple
- Chalk Couture Squeegee
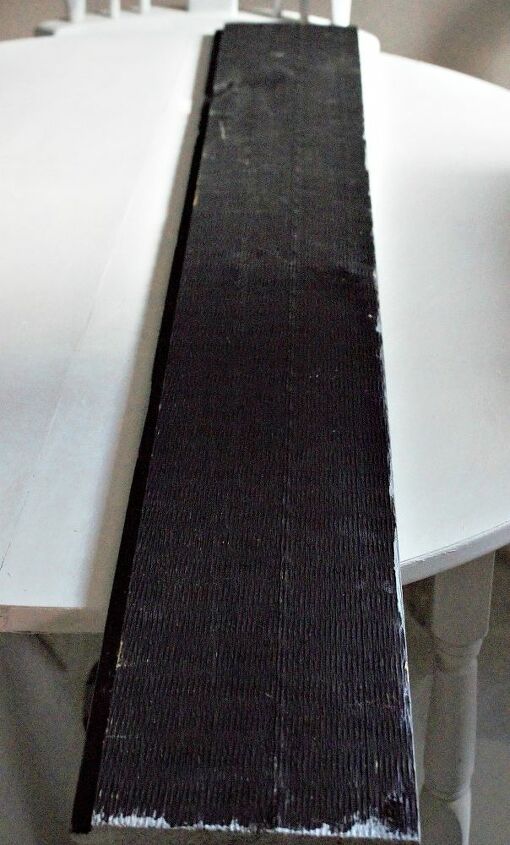
Sand down the board and remove any rough spots. I like the rustic look, so I just gave it a quick sanding.
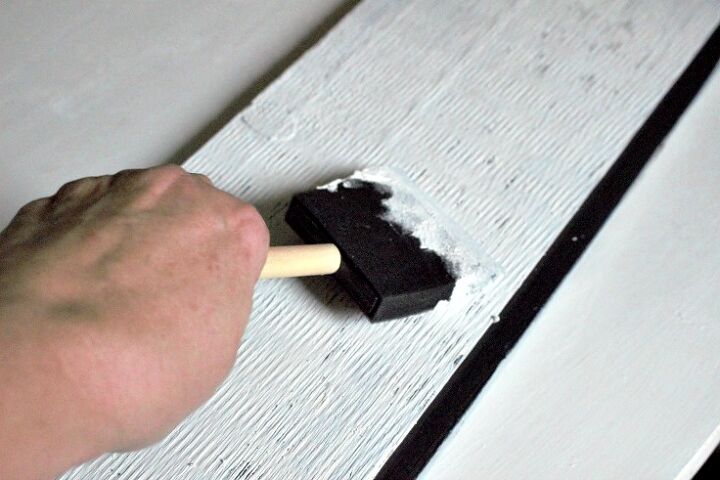
Paint the board with white paint. My board had been painted black previously, so I gave it a solid two coats. Let it dry in between coats.
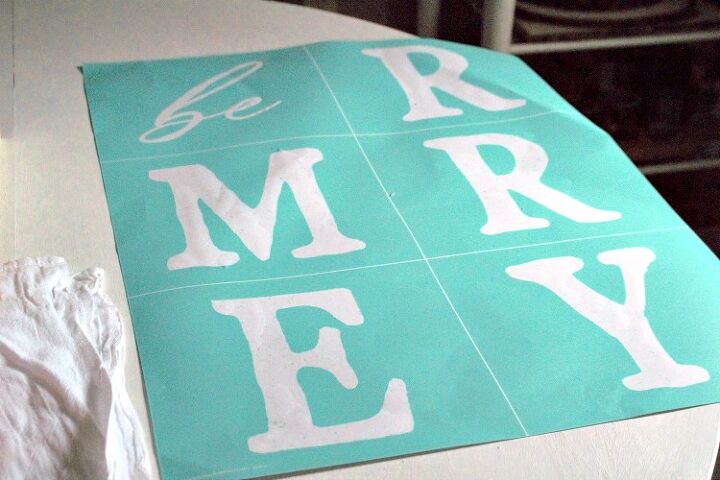
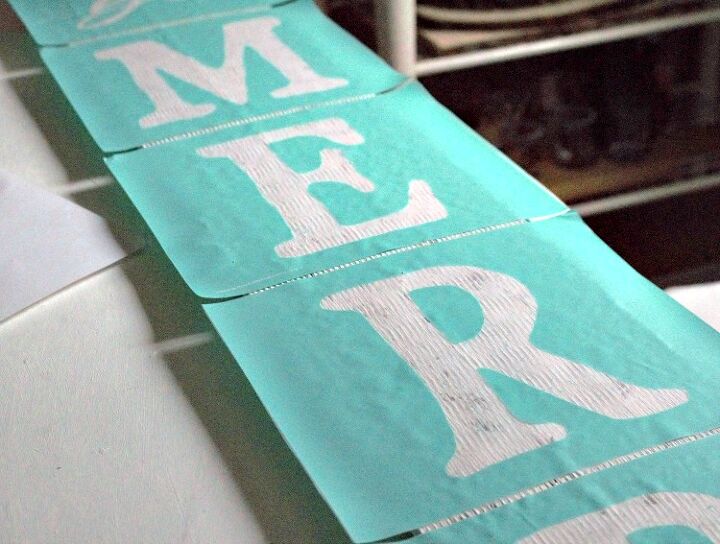
Cut the Be Merry transfer to place on the wood sign.

“Fuzz” the transfer before placing it on the wood sign. If you have never used Chalk Couture, here is a printable which shows the four simple steps for applying a transfer:
Use the squeegee to apply the candy apple chalkology paste to the transfer.
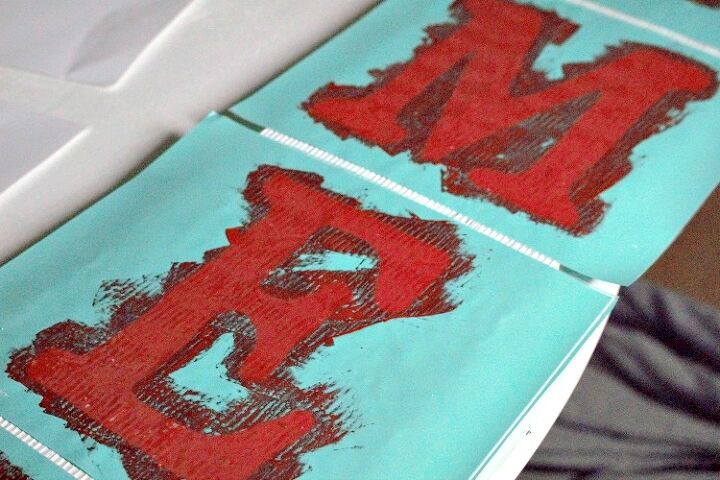
Remove the transfer and rinse them off with cold water. seal it to protect it from the elements. You can use wax or clear acrylic sealer.


Frequently asked questions
Have a question about this project?