


Adirondack Chairs DIY…Ana White Plans
I made these Adirondack chairs according these Ana White plans. I’ve also made her farm tables for my back patio and I love those as well. Link to that post [url=https://mimzyandcompany.com/tables-set-thanksgiving-table/]. I think her plans are really well done, easy to follow, and the projects are very affordable.
Once again, I modified the plans a bit to fit my lumber.
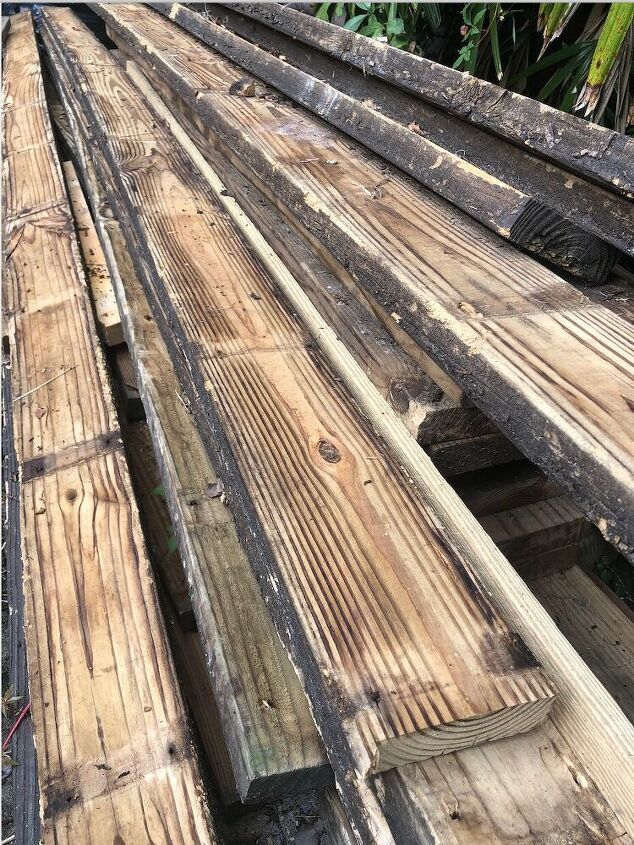
The plans call for 1×10 lumber for the seats and backs. However I used this stack of 2×6 PT lumber because it was given to me by my brother in law who builds decks and docks. I also bought a bunch of 2×3’s at Home Depot on clearance for $.25 each. So my total lumber cost was only $8. The only expenses for this project were the screws and the wood stain/sealer.
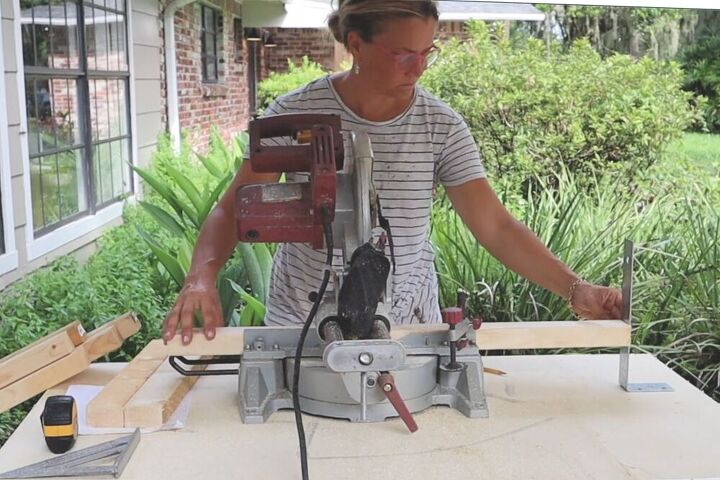
I made four chairs total, so I made all my cuts first. I needed 25- 19″ pieces so I set up a jig to cut those pieces, by screwing an L bracket to my table.
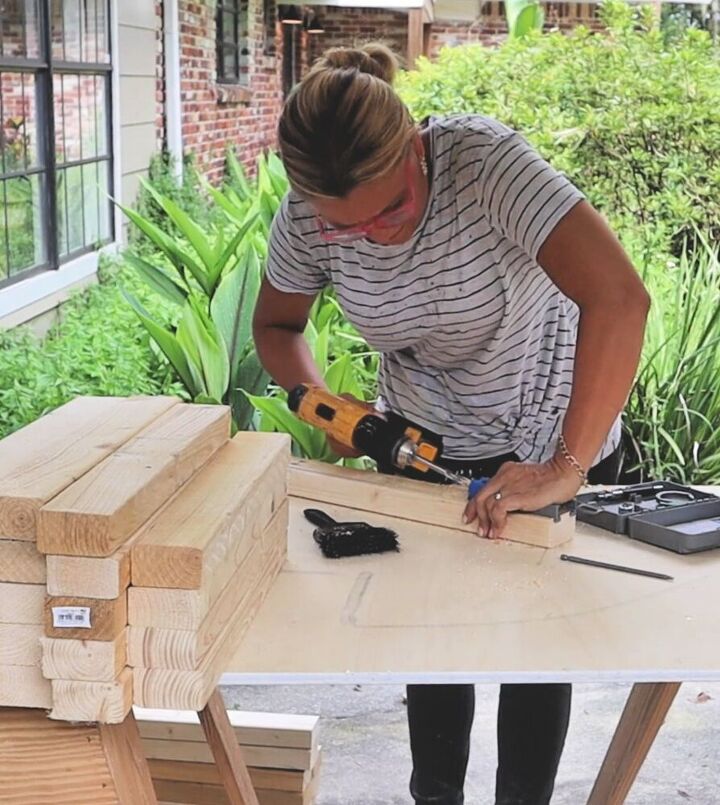
After all my lumber was cut, I made pocket holes in half of the 19″ boards according to the plans.
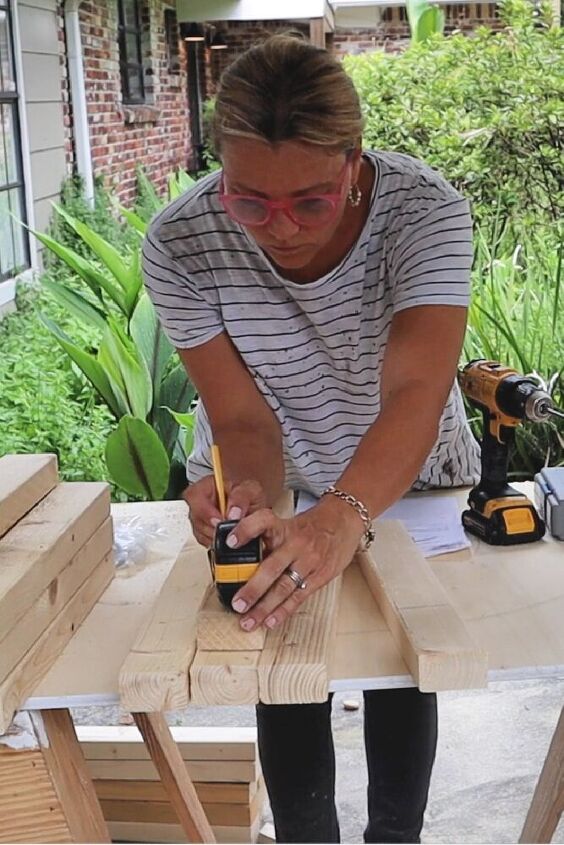
The other half of 19″ boards I marked a 13 3/4″ line for the diagonal leg support. Now the prep work is finished and it’s time for assembly.
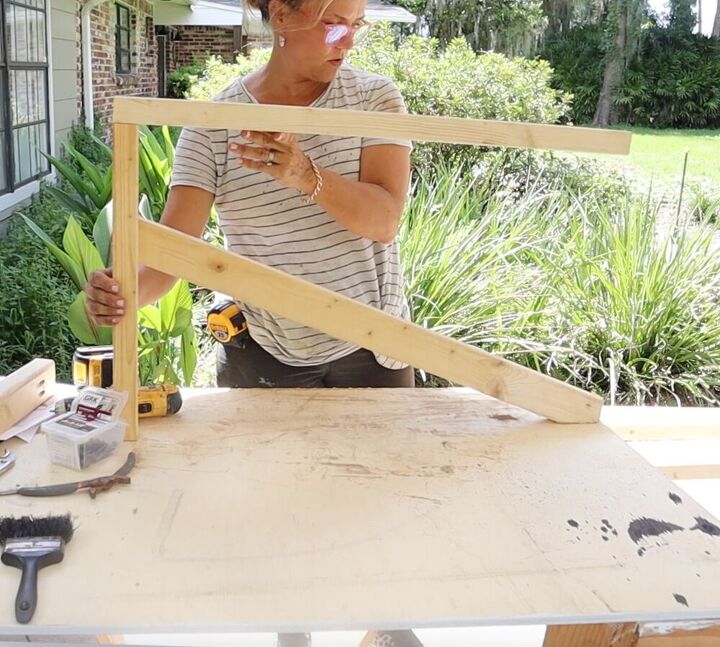
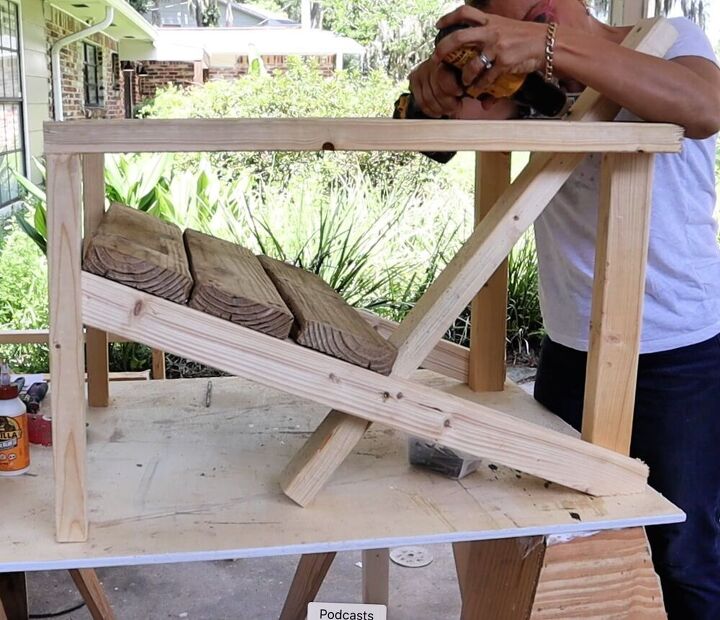
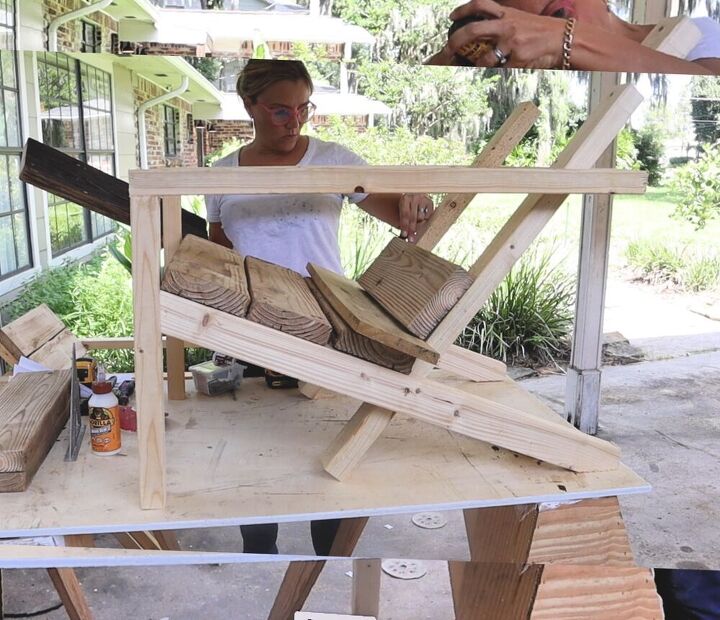
You assemble the two arm pieces first so they mirror each other. The diagonal boards attach to the inside of the arm boards.(I explain this in detail in the video).
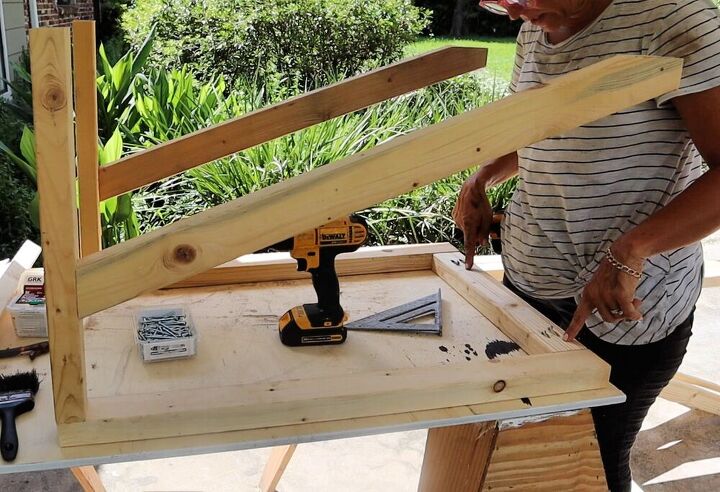
Then move onto the two pieces with the pocket holes. One is attached at the back of the chair between the two arms and the other is attached at the front just under the knee area. Even though the plans were clear in hindsight, the front piece behind the knee’s confused me. Watch the video to see what I mean here.
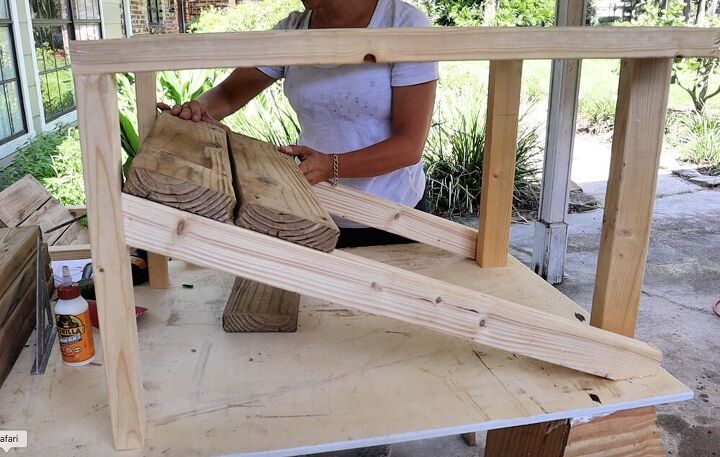
Supporting the back of the chair with a couple 19″ pieces of lumber, screw down the seat boards. I used three 2×6’s instead of two 1×10’s. Because they were free.
After the seat is attached, the next step is to fasten the back supports. I did this part a little different from the plans as well. I made my back much shorter by allowing my side back supports to touch the ground. I didn’t want my backs to be so tall. Then after the whole chair was assembled I cut that board off flush with the bottom of the diagonal support.
I used a 1×6 as a spacer under my first back board, then screws to space the rest of the back boards.
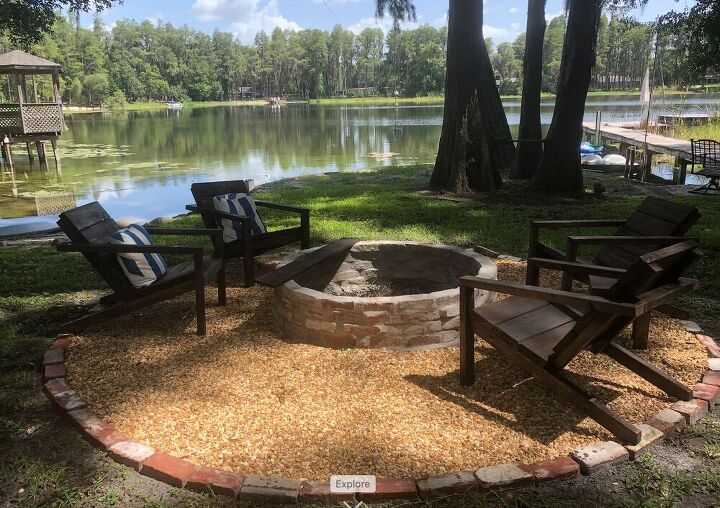
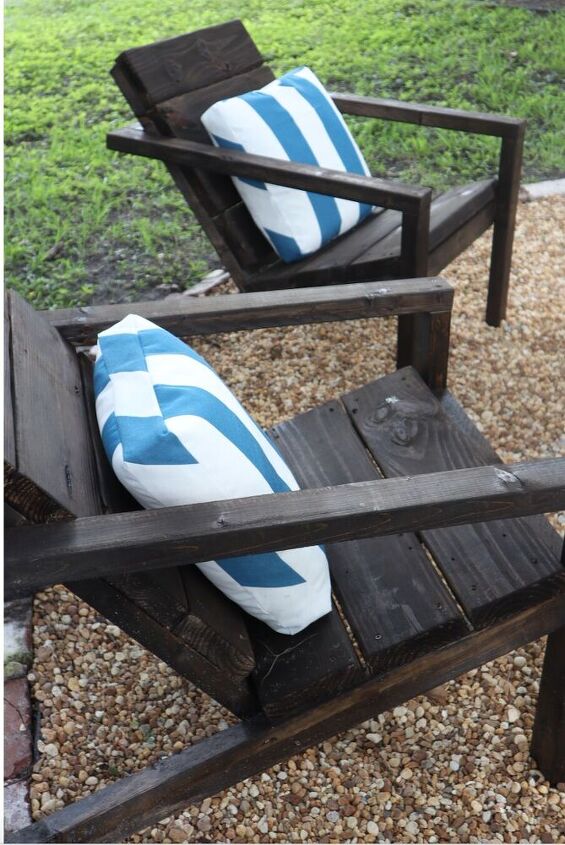
The last step in the process was to stain my chairs with Minwax dark Mahogany stain and some Thompsons water seal.
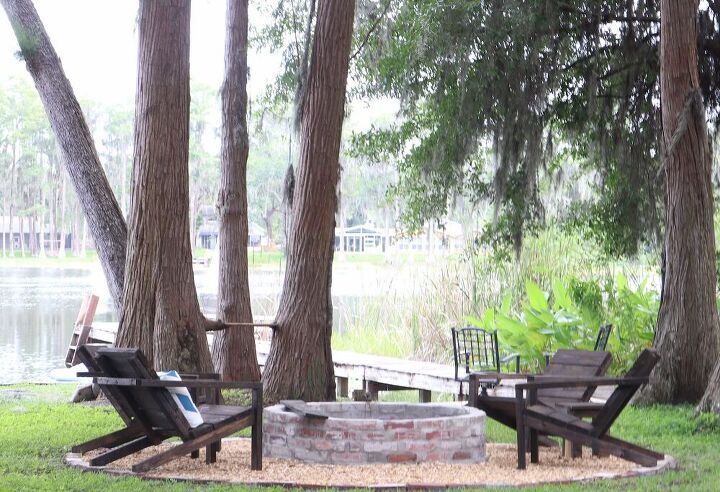
These Adirondack chairs are super comfortable(even with the shorter backs)! They’re very sturdy and I love the way they look. Even in our hot Florida weather we’ve enjoyed sitting here in the shade with friends and visiting while still being socially distant.
The video will clear up the details of this tutorial.
Resources for this project:
See all materials


Frequently asked questions
Have a question about this project?