


Scrap Wood Wall Organizer

This DIY Wall organizer is super easy and looks great once it's up on the wall!
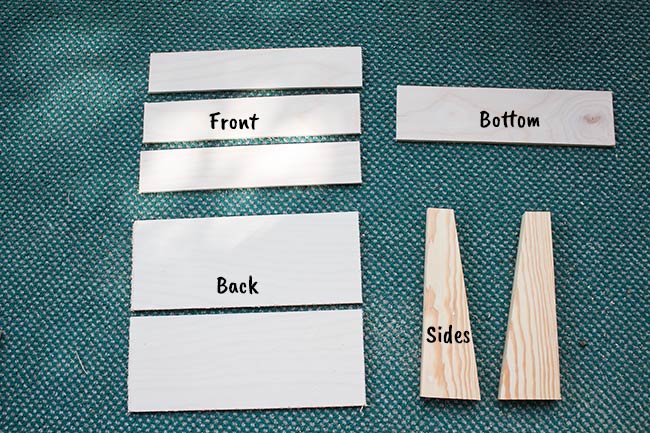
I started by cutting the pieces to size. You can grab the free printable plans here to get all of the dimensions!
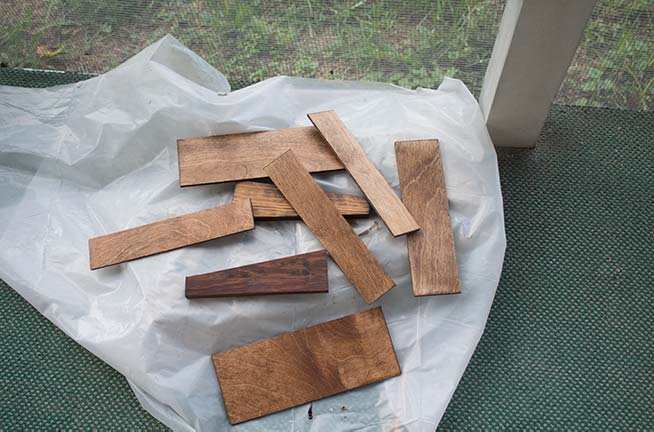
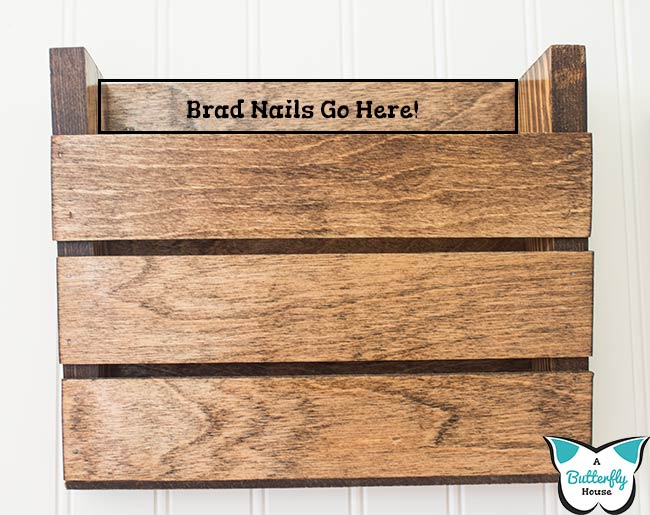
Then I sanded, stained and finished all of the pieces, since I figured it'd be easier to do when they were flat (and not an assembled piece.) I stained with Minwax's English Chestnut, and finished the piece with their Tung Oil Finish.
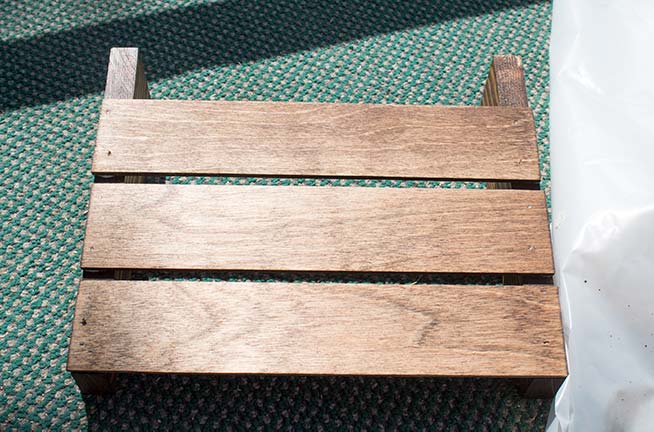
Then I attached the front slats to the sides with wood glue and brad nails.
Then the bottom.
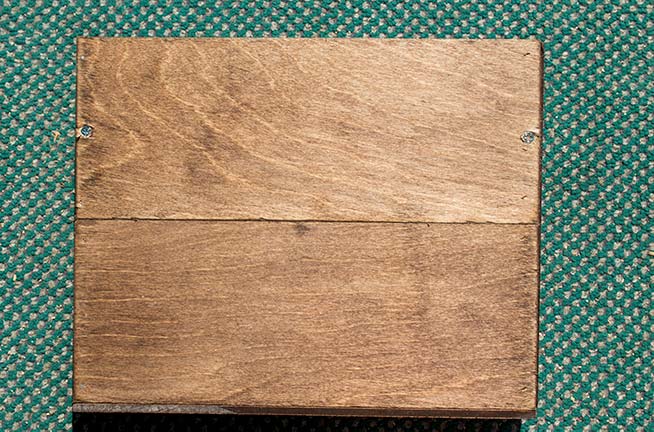
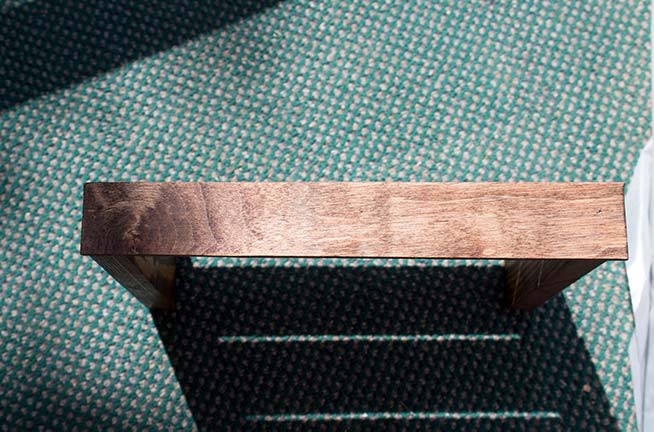
Then the back. On the back, I also put a small screw on either side. The back will hold most of the weight of the organizer, so I wanted to give it a little extra security.
Then I mounted the organizer. Since I intended it to be permanent, I used brad nails and construction adhesive to attach the organizer to the wall. However, if you don't want a permanent mount, there are other ways to attach the organizer as well!
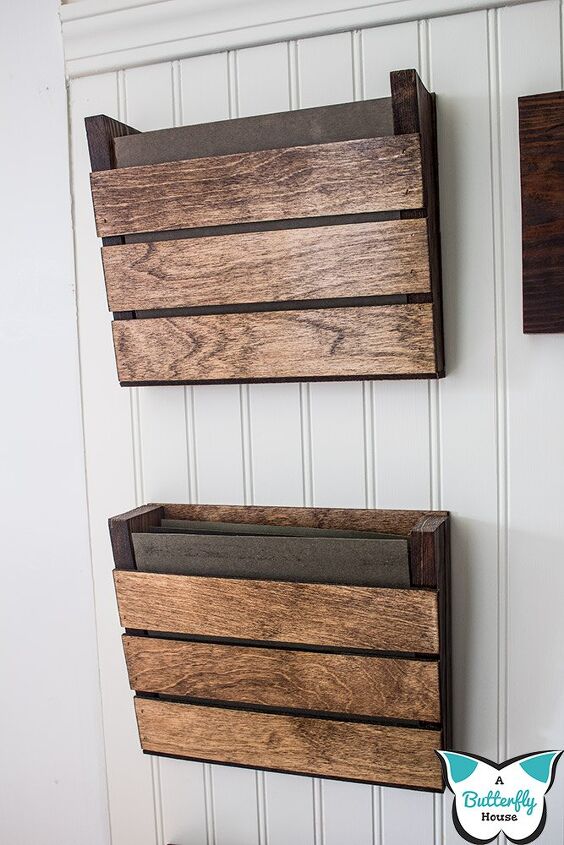
I love how these organizers turned out, and love the whole mudroom remodel even more!


Frequently asked questions
Have a question about this project?