


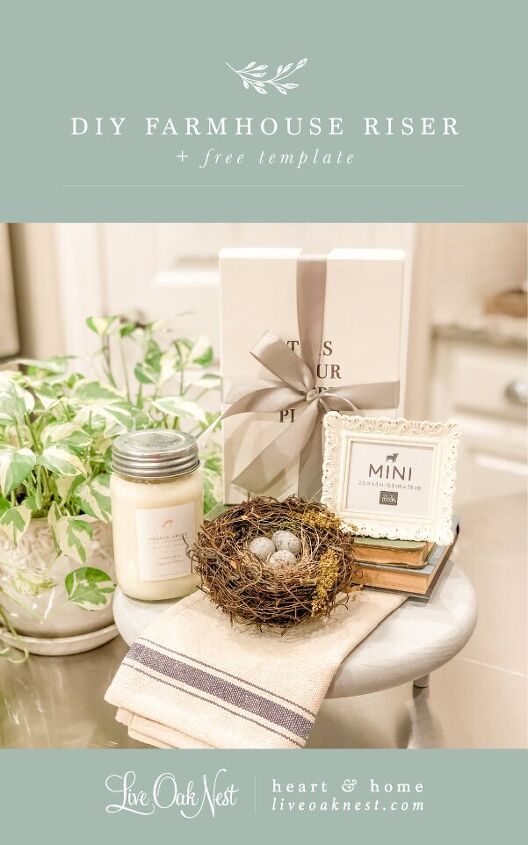
Farmhouse Riser DIY + Free Template
4 Materials
$15
1 Hour
Easy
Hi friends!
These DIY risers are so simple to make and are pretty inexpensive! You don’t need any special tools to whip these up. Once the supplies are gathered, they take about 30 minutes to an hour to make depending on paint dry time. Let’s get started!
Here is a quick rundown of the project! If you’re looking for more detailed instructions, scroll on down!
Materials
Wood Rount, Wood Finials, Paint or Stain
Tools
Drill, Paint Brush
Instructions
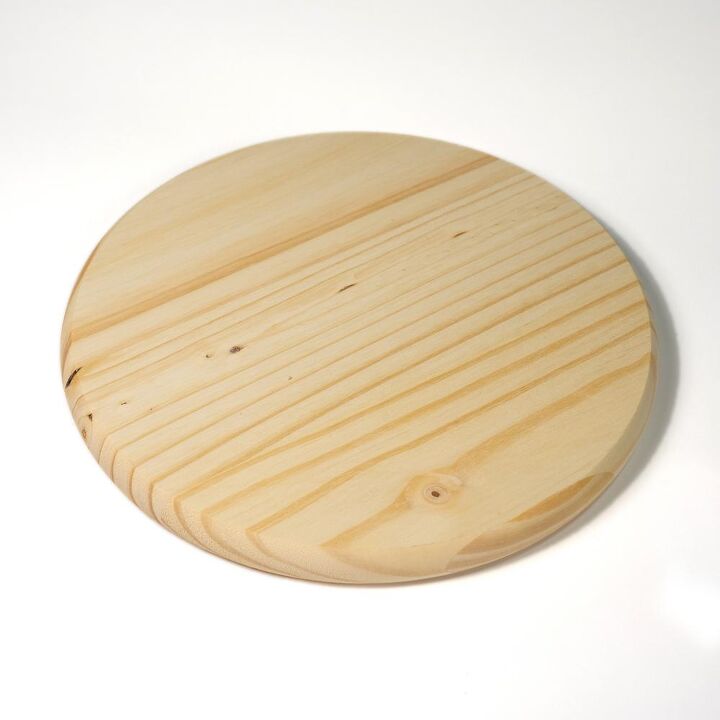
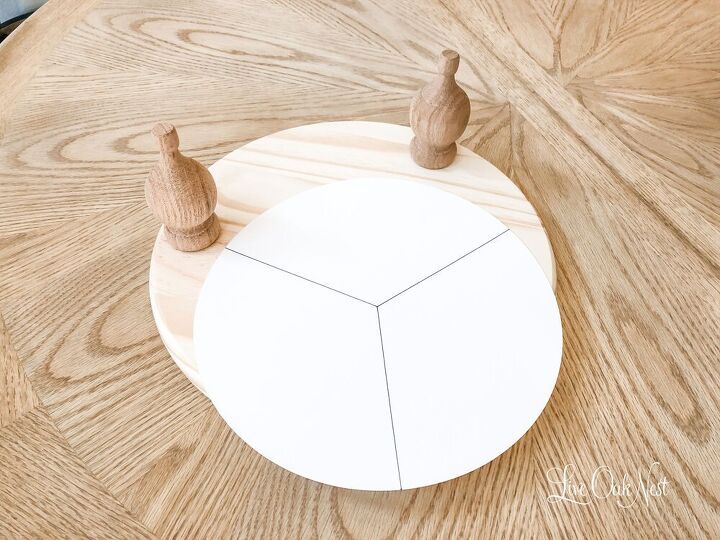
- Gather Supplies:Purchase . This circle is about 10.5” wide since I used 12” wood rounds as my riser top. So you either need to cut it with a cricut/silhouette machine, or have it printed somewhere like Staples or Office Depot.
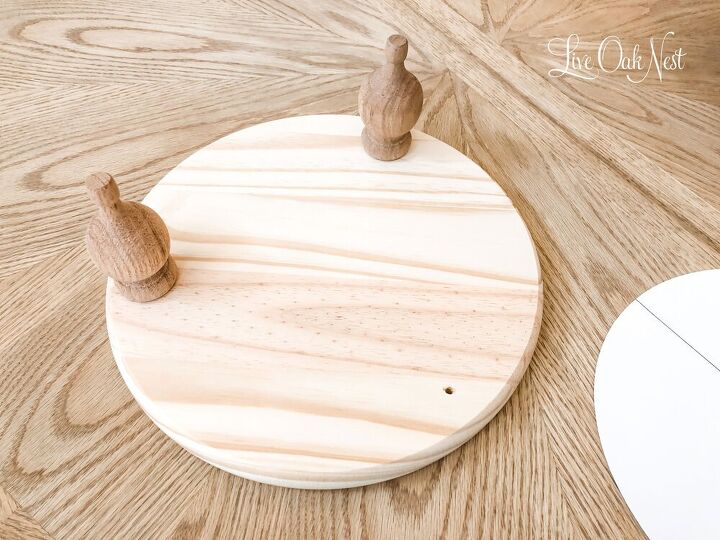
- Drill pilot holes at the outside point of the circle templateDo not drill all the way through the wood or you’ll have holes on the surface of your riser
- Screw your finials into the wood round
- Paint or stain your riserIf using stain, you might have to fiddle with your stain color if your finials and wood round are different types of wood
- Seal your riser using wax or polycrylic
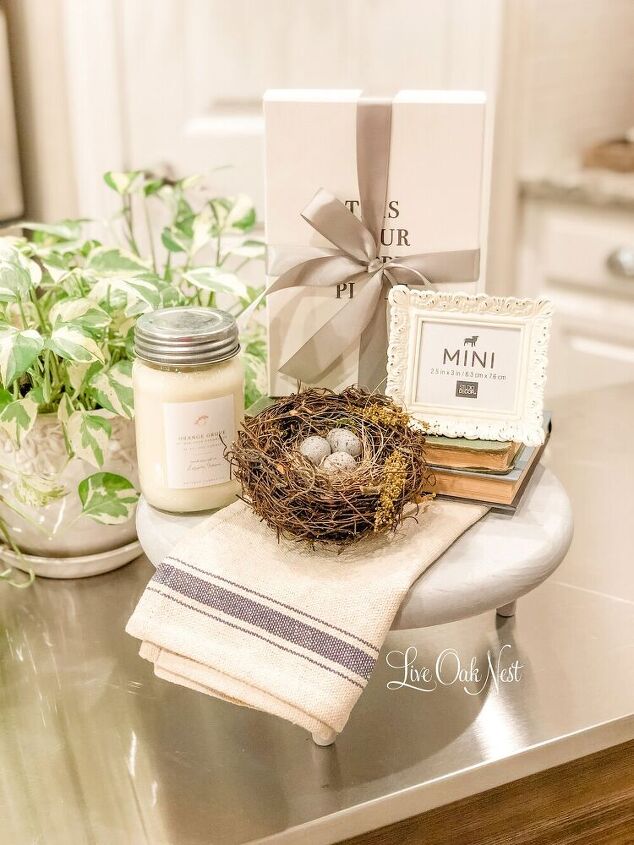
- You’re done!Stack a few books, prop up a family photo, and add a candle and a touch of greenery, and you have a beautiful little vignette!
DIY FARMHOUSE RISER: DETAILED HOW TO
- Gather Supplies
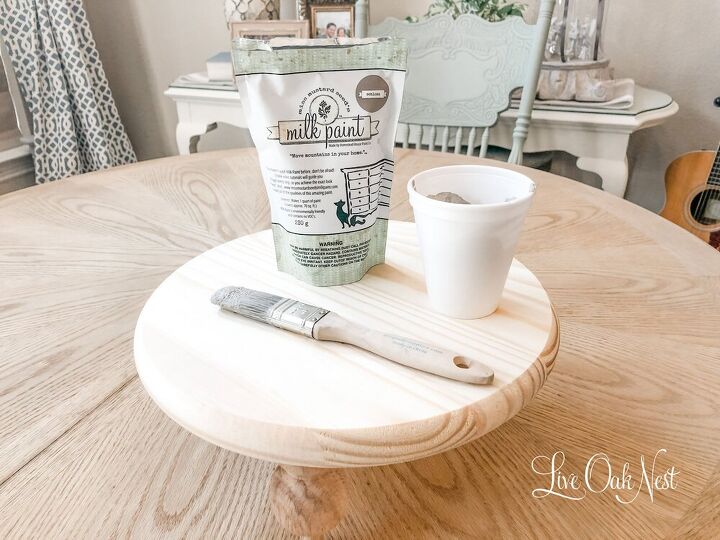
- Purchase the wood rounds and the finials. I found the 12” wooden rounds at Home Depot. They didn’t have them in the stores near me so I purchased online and picked up in store. I purchased the finials at Lowes Home Improvement and I purchased those in store, but you can also purchase these online.
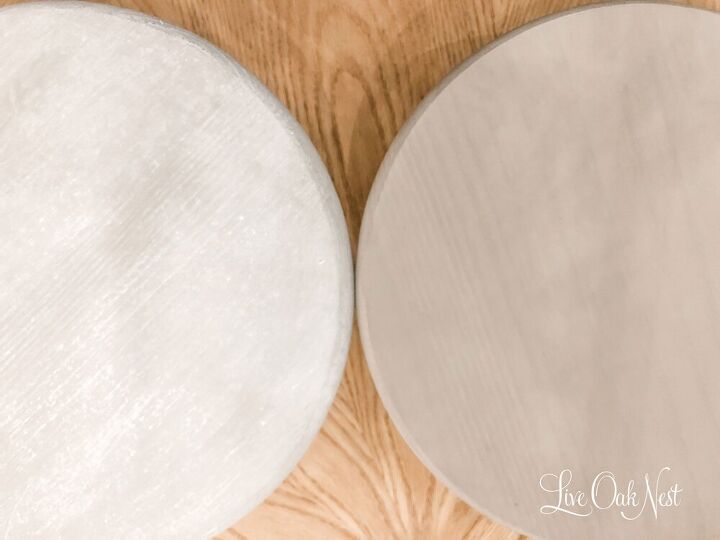
- Purchase stain or chalk paint and wax or polycrylic. If you don’t already have paint or stain, you will need to purchase that too. I used Miss Mustard Seed’s Milk Paint in the color Schloss, and Maison Blanche Lime Wax in White and Maison Blanche Lime Wax in Grey on these particular risers, but any kind of chalk paint or stain will work! (If you enjoy revamping furniture, and have not tried lime wax, you should! I love using it on raw wood and also as a final coat over chalk paint.) If you need chalk paint in a hurry, Walmart has a great selection of chalk paint that’s easily accessible.
- Create a circle template or use my template. I had to do some serious googling because I could not remember how to create 3 equal pie parts in a circle! HAHA Use your template to mark where you need to drill your pilot holes. If you need an SVG file for your cutting machine, click here. This circle is about 10.5” wide since I used 12” wood rounds as my riser top. So you either need to cut it with a cricut/silhouette machine, or have it printed somewhere like Staples or Office Depot.
- Drill your pilot holes. Do not drill all the way through or you will have screws sticking up on the surface.
- Screw your finals into the pilot holes.
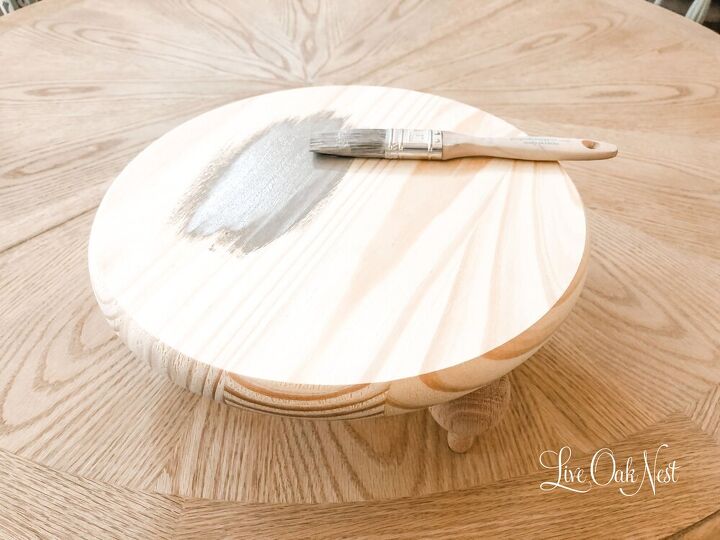
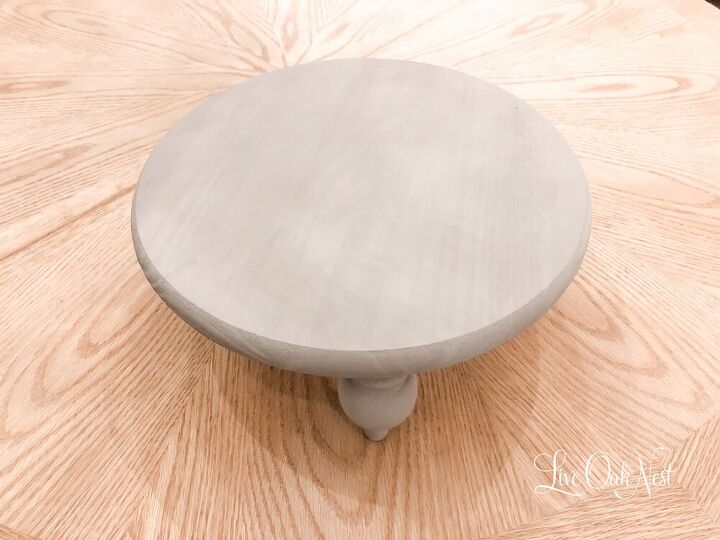
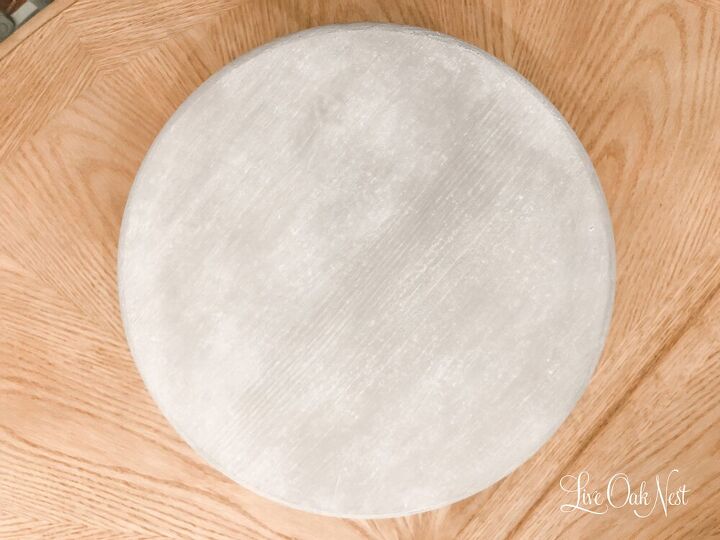
- Paint or stain your riser. I used Miss Mustard Seed’s Milk Paint in the color Schloss. This was my first time using Milk paint! I usually use chalk paint, but I had this on hand and decided to give it a whirl. I liked it! If you use it, make sure to keep stirring the paint or you’ll end up with a different color the last few strokes.
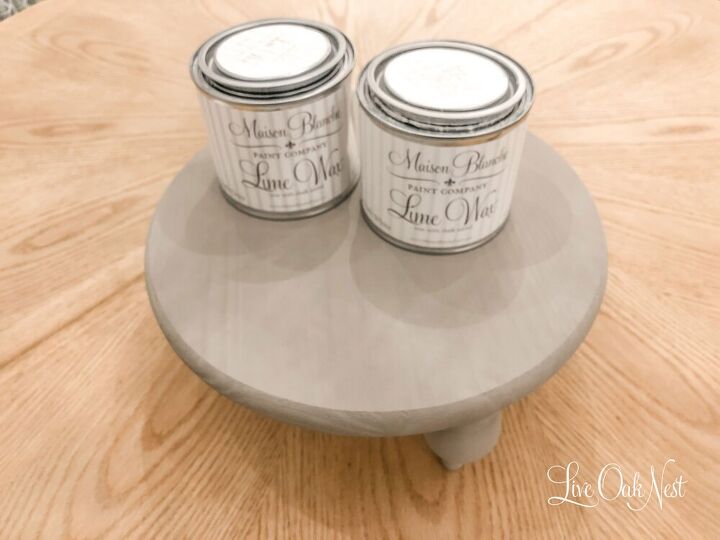
- Once dry, seal your riser with wax or polycrylic. I used Maison Blanche Lime Wax in White and Maison Blanche Lime Wax in Grey on these particular risers. If you don’t plan to keep your riser where it could get wet, I would seal it with wax. I think wax always looks better, but if you’re putting it by your kitchen sink, then you should probably seal it with Polycrylic really well.
- That’s it! I hope this helps you add a little farmhouse charm to your home!
Want to see more simple crafts and DIYs? Click here to see more crafts and diy projects!
Happy crafting friends!
Kayla
Resources for this project:
See all materials


Any price and availability information displayed on [relevant Amazon Site(s), as applicable] at the time of purchase will apply to the purchase of this product.
Hometalk may collect a small share of sales from the links on this page.More info

Want more details about this and other DIY projects? Check out my blog post!


Frequently asked questions
Have a question about this project?
While there are many different places, you can get printable templates, finding the best one is important. Knowing where to look is the key to finding the best source for printable templates. You may have tried a few before finding one that you like or fits your needs. It is possible to find some quality templates in magazines, but you need to ensure they are high quality. If you are looking for something specific, a shop may not be the best place to find it since they generally only offer a small selection of different ones. So regarding my data analyst job, I found the best newsletter google docs template on https://docsandslides.com/googledocs/newsletter/. You can also find there a lot of interesting ones.
where is the template?