


Kitchen Renovation Before and After
When renovating my husband’s house, (what I call Home 2), I was hoping we would achieve a stylish, affordable, and practical renovation.
We managed to renovate this kitchen including buying stainless steel appliances for $4,500.00. When you see the afters, I think you’ll agree we did this total makeover fairly inexpensively.
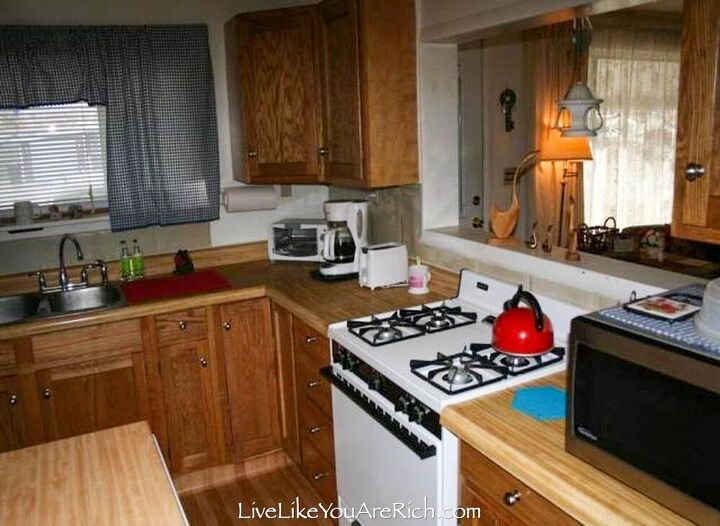
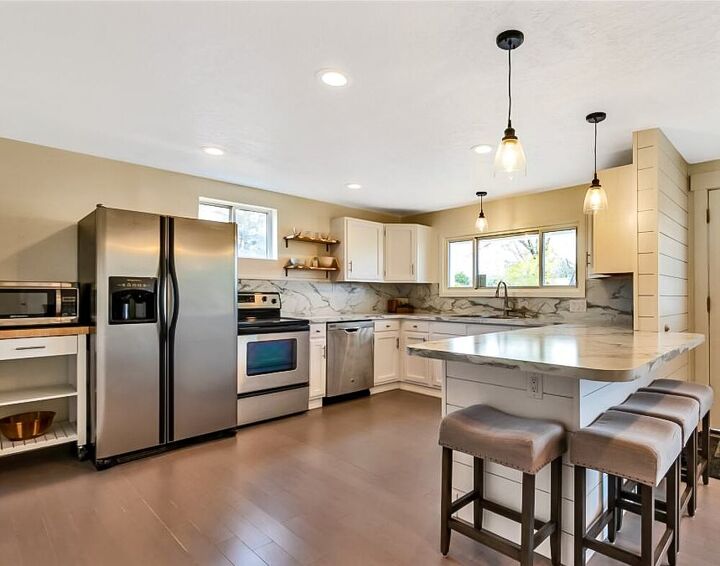
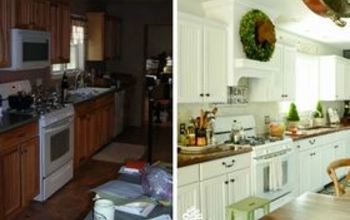
Before
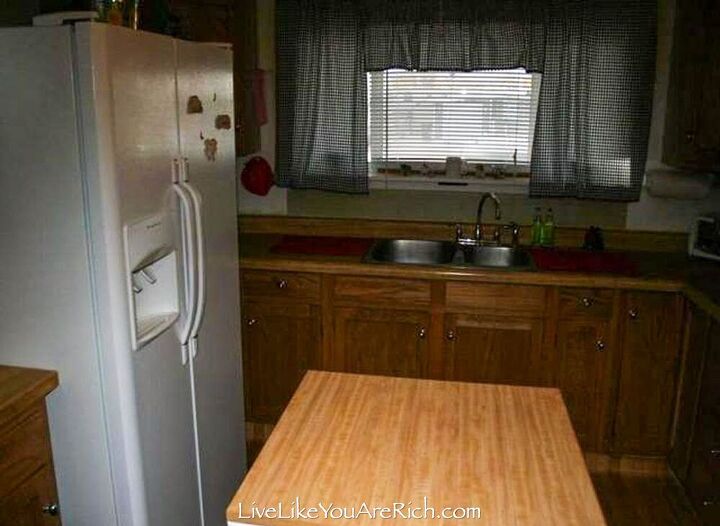
The kitchen did not have much lighting and felt dark. Plus, most everything was mis-matched, old, and dated.
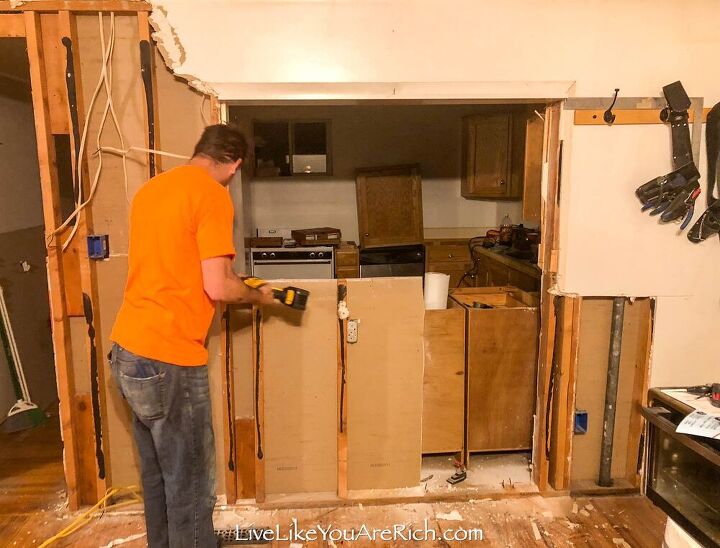
My husband and I got to work tearing down the wall.
We were rewiring and re-plumbing the house anyway so the existing wires and gas lines were fine to move or shut down.
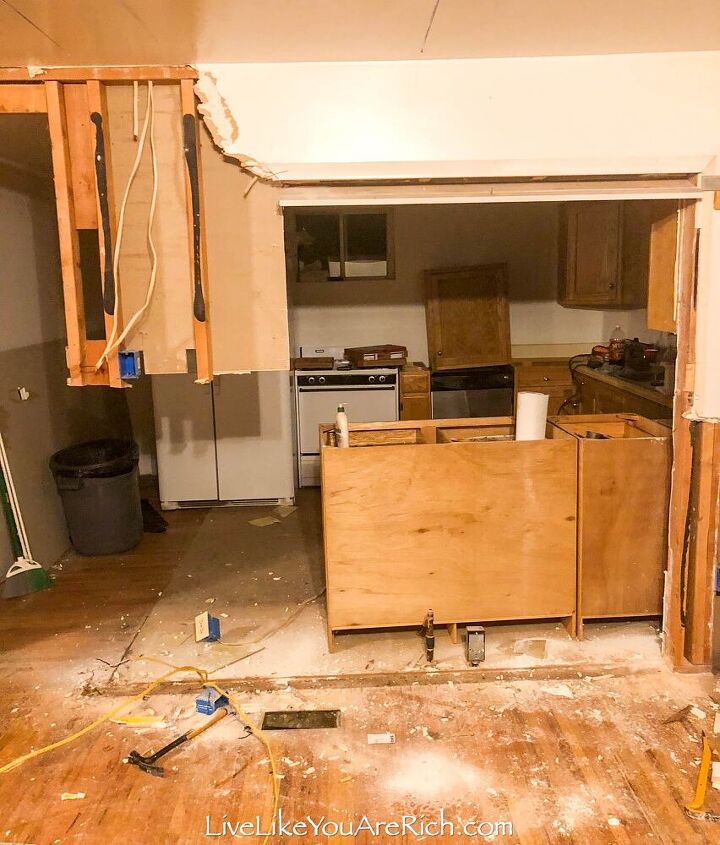
After removing the wall, a plumber came in and removed the gas line that was there for the previous stove.
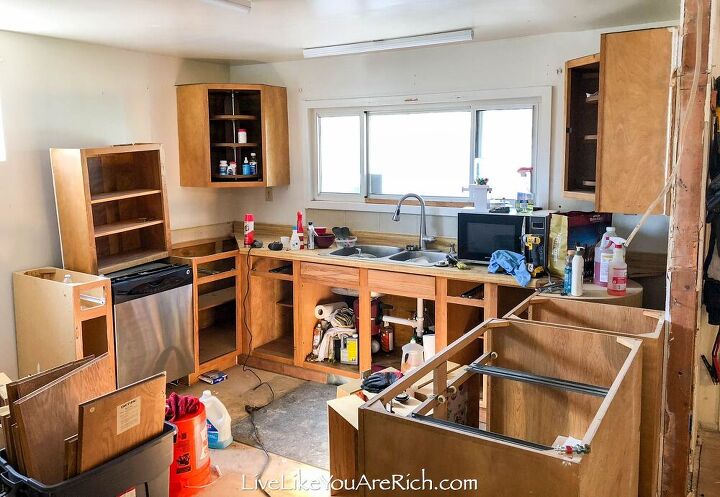
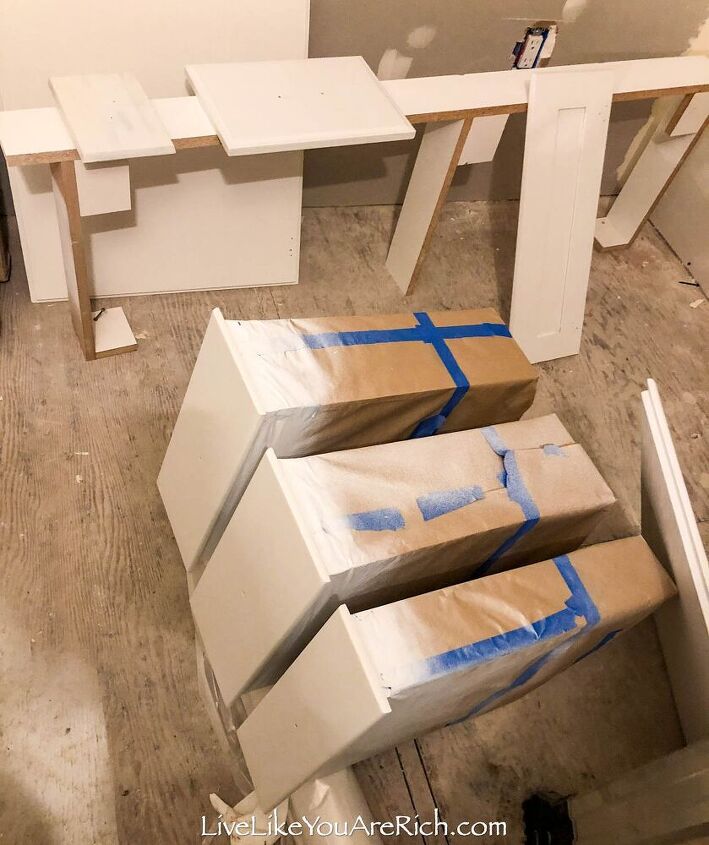
We removed the counter tops and uninstalled the base cabinets so I could begin reorganizing the cabinets in a way that I felt would work best for the layout of the kitchen.
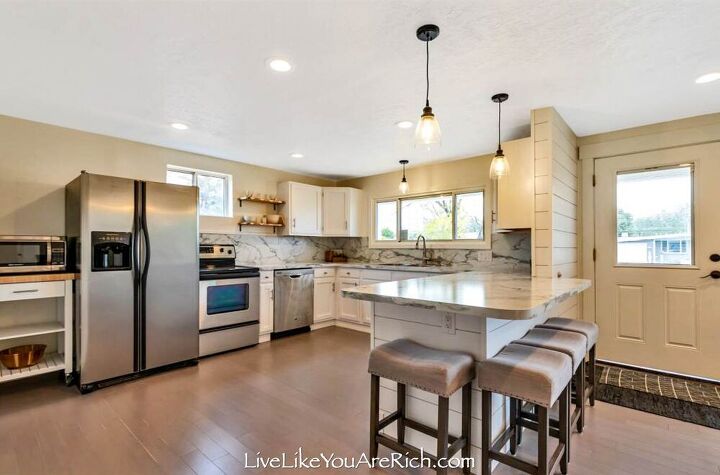
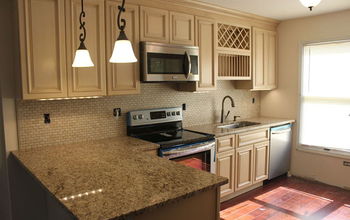
My husband installed a can light in the main kitchen area and pendant lights over the bar and sink. This made the kitchen look much brighter.
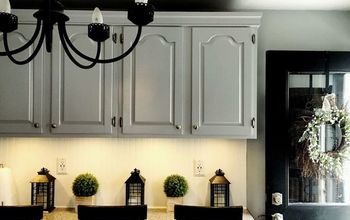
I loved the square shape and lines of the existing cabinetry and I knew if I could sand the detailing off, they would look modern.
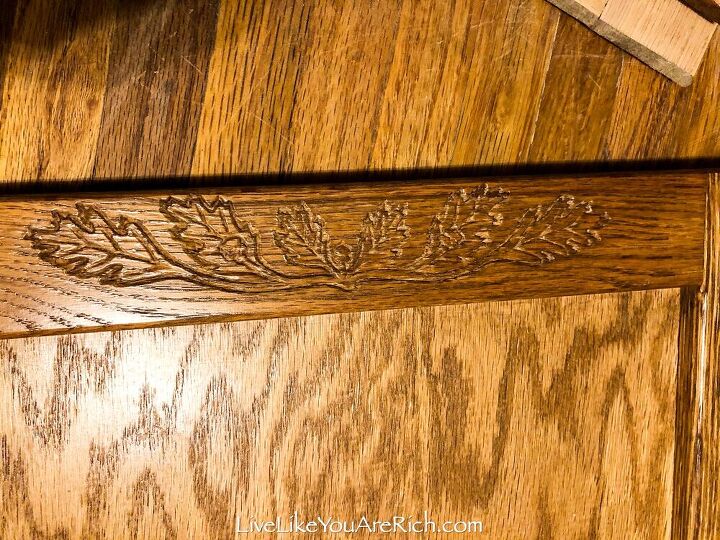
Each cabinet door and drawer took at least 30 minutes to sand and clean off; it was worth it.

When sanding cabinetry use a face respirator, something to shield your eyes, and do not wear loose clothing that could get caught in the sander.
Next, I set up boards to paint the doors on. The first and second coat of normal wood paint was turning yellow as it dried!
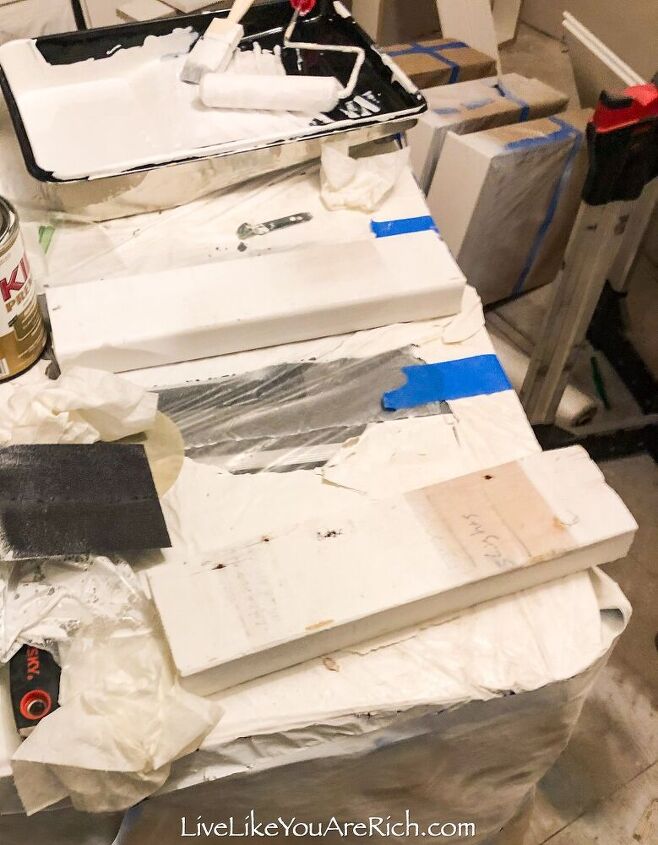
I use coats with KILZ premium high stain blocker paint.
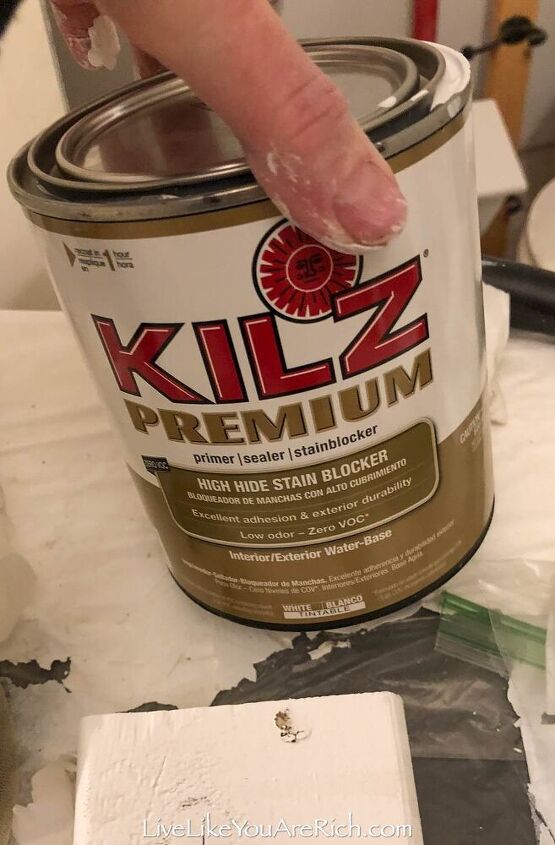
If you have yellowing cabinetry paint, I’d highly recommend using KILZ paint! The KILZ covered the yellowing like a charm.
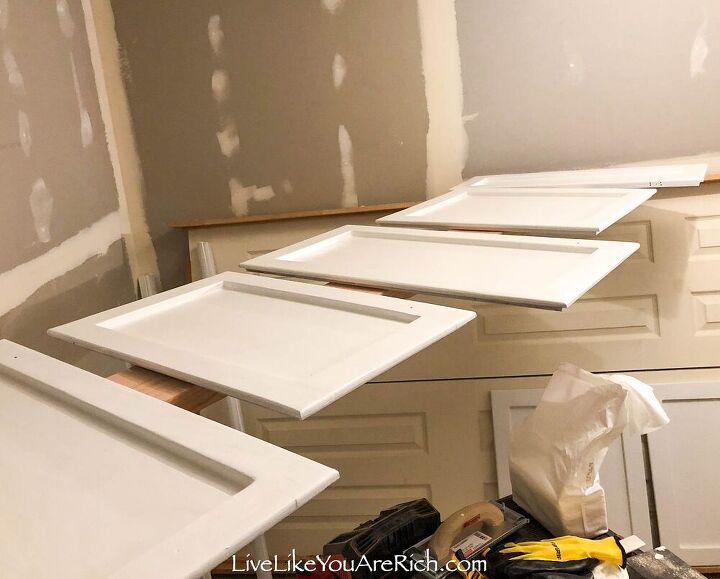
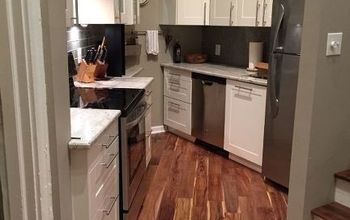
I also sanded and painted the cabinet bases.
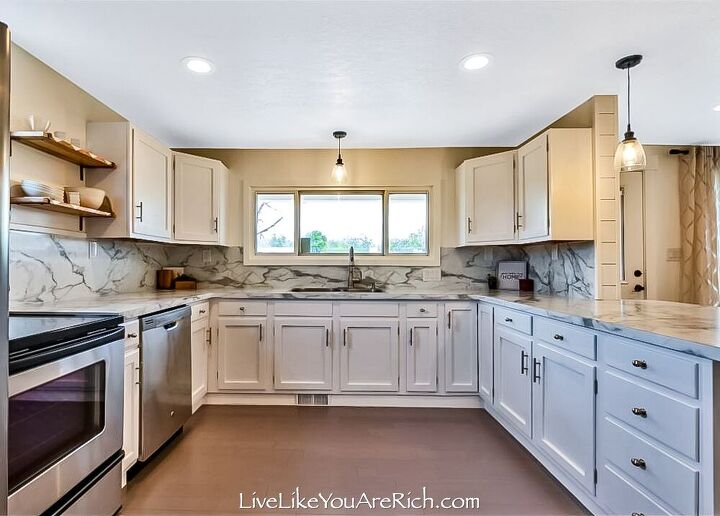
For the counter tops, laminate was actually the perfect material to use for the market this home fell into.
I picked out this faux marble laminate and the installers came and put it in. I loved the look.
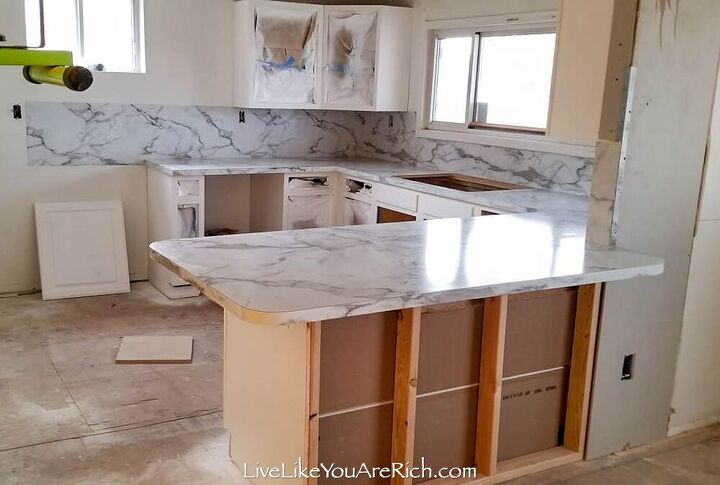
For the exposed wall/bar I wanted to add shiplap. I felt like it would give the kitchen and living area on the other side of the kitchen some character.
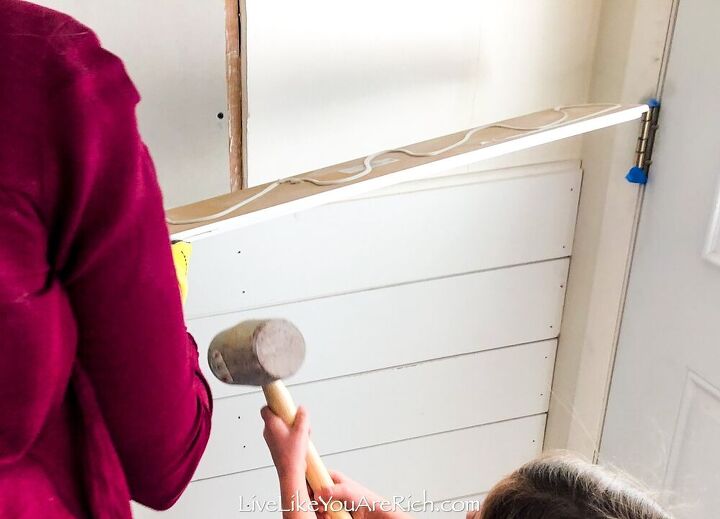
My daughter was helping this day, so, I taught her how to install shiplap. She helped me use the caulking glue and a rubber mallet to fix the shiplap and the glue firmly into place.
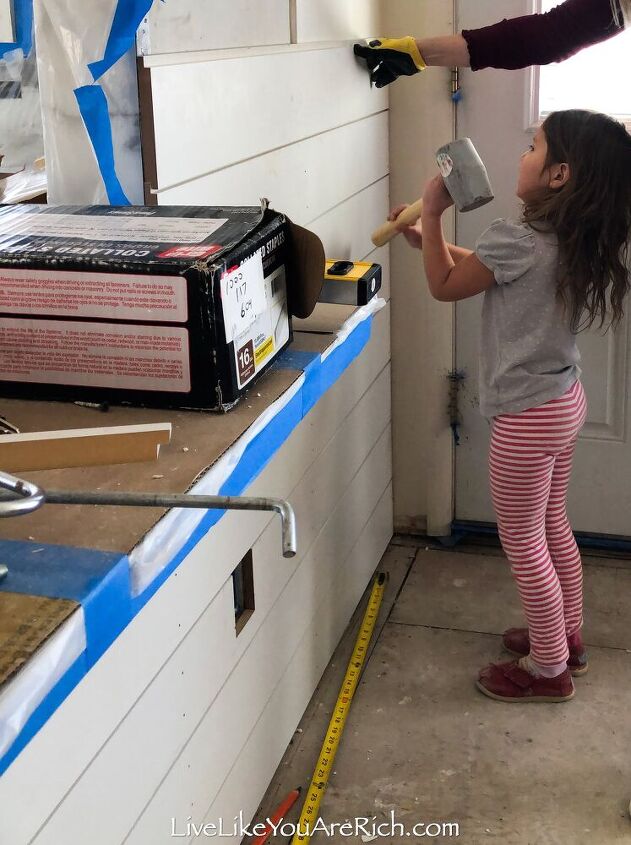
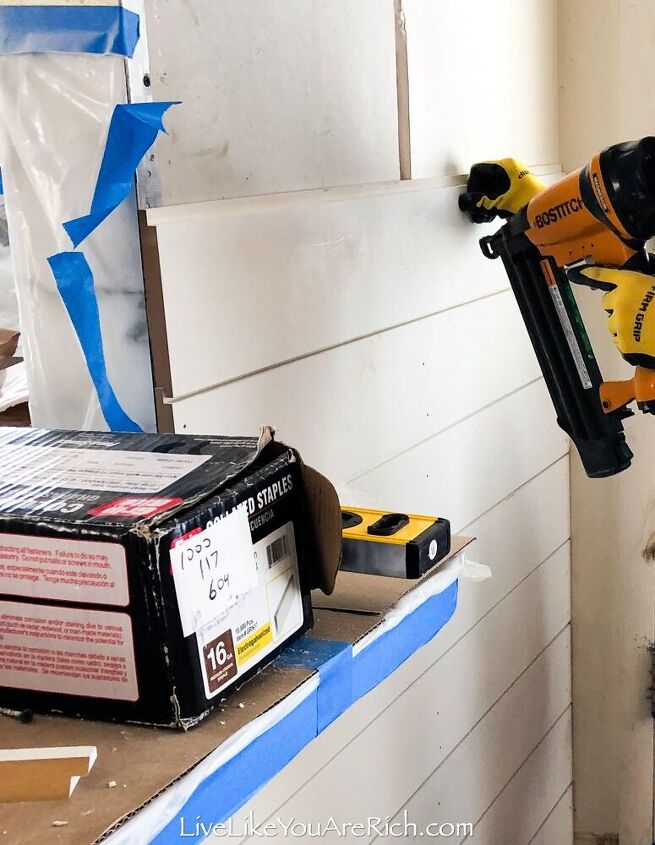
I secured it with a finish nail gun. Then I filled the nail holes, sanded and painted the wall. We also installed corner trim pieces to complete the look.
I LOVED the way the shiplap accent wall and bar turned out!
Our plumber installed the dishwasher, sink, and faucet, and fridge (with a water line), and my husband ran all the electrical to the appliances.
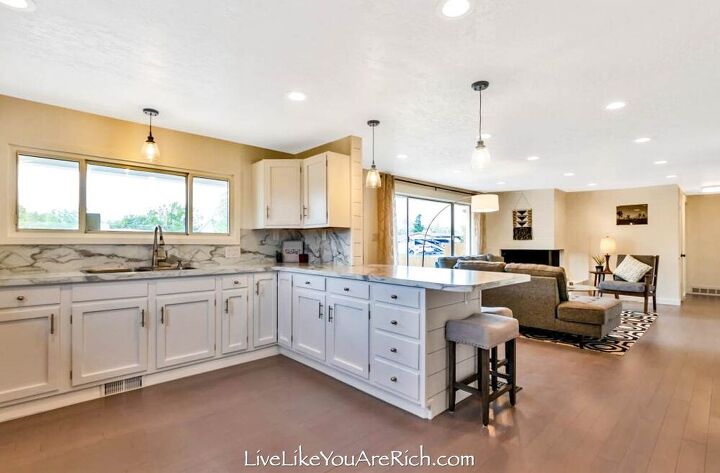
Total $4,540.00 Which is not very expensive considering the before and afters.
Resources for this project:
See all materials


Comments
Join the conversation
-
Beautiful kitchen. I would hate to sell it after getting it to look like that.
-
your kitchen looks awesome! Great job!


Frequently asked questions
Have a question about this project?
It’s beautiful but why would you ever get rid of a gas stove connection???
Is the total $4,540 just for the supplies to redo the cabinets? What did the laminate counters, backsplashes, and new appliances cost, please? Or was any of that included in your $4,540? Thanks so much !
Why would you move the stove to the other side of the room? Not that easy to just move the gas lines across a room