


DIY Herringbone Pattern Accent Wall Using Tape

by
Lina D
6 Hours
Medium
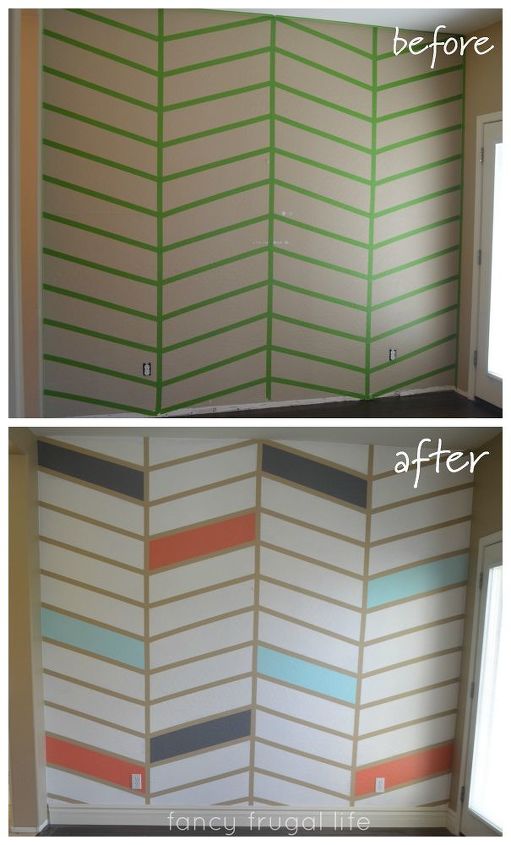
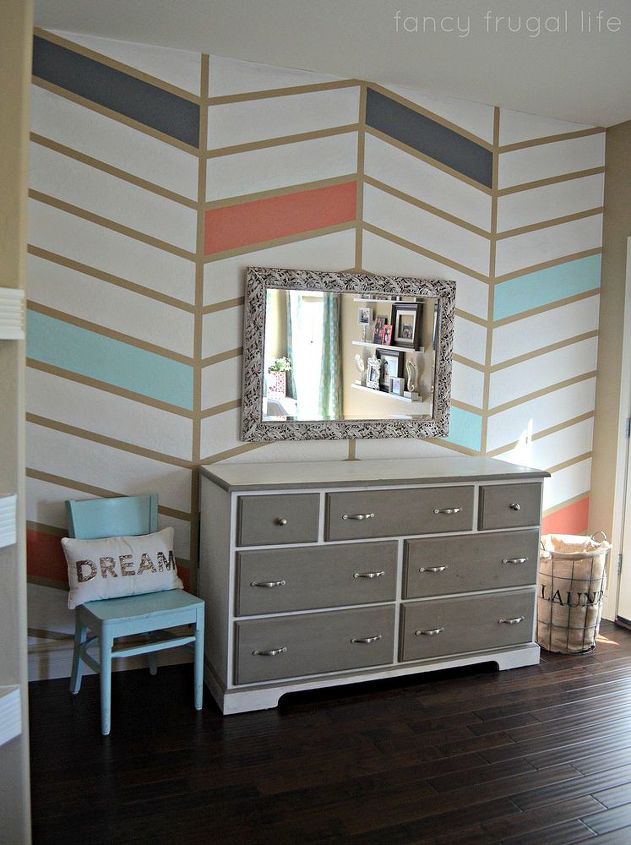
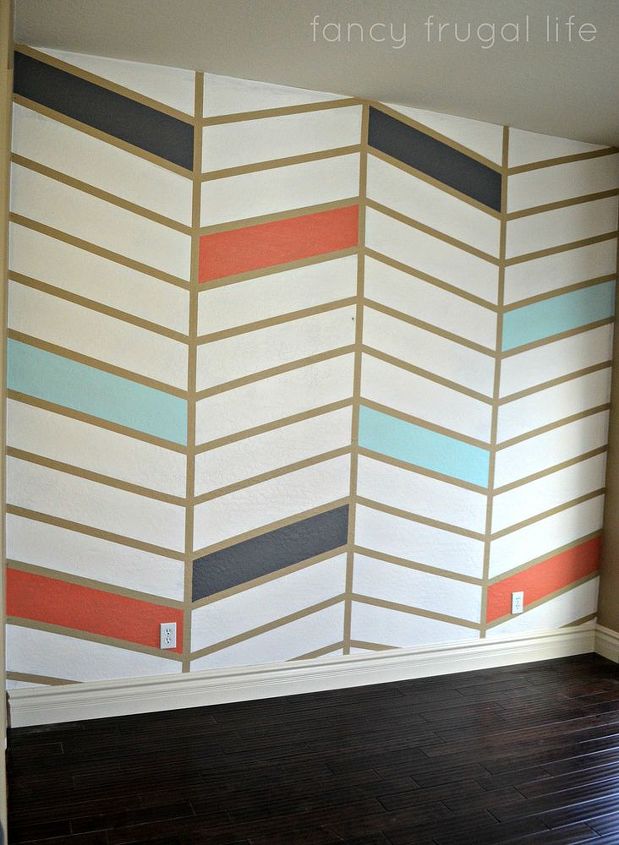
Most of our home was this same beige color, Riviera Beach by Behr specifically. It’s a nice neutral, but to have all the rooms this color is super boring! I decided I wanted one colorful wall so I bought some white paint, tape, and used a few sample colors to create this fun herringbone design.
I love waking up to this cute cheerful wall each morning!!

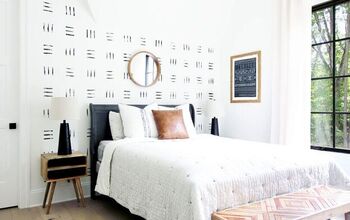
Before Pic: Boring Beige Wall
We started off by measuring the middle of the wall and using a laser level to tape it off vertically using Frog Tape. We then found the center again on both sides and repeated the process. I also taped off the ceiling and the sides of the wall.
We then measured every 9 inches and made marks on the tape from top to bottom. You then just use those marks to tape off your herringbone pattern. I’m not gonna lie, this was very time consuming! :)
We have textured walls, so I really tried to use my nail and ran it along the edges to make sure the tape was sealed. Also washing the walls before hand getting rid of all the dust helps the tape stick better.
Want more details about this and other DIY projects? Check out my blog post!
Comments
Join the conversation
2 of 26 comments
-
Looks amazing love ❤️ it
-
That IS A FABULOUS LOOKING WALL~ I LOVE IT! And the 3D Optical Illusion Is SO COOL~ The minimal painted blocks looks Purrfect!
Are you a professional, cuz IT LOOKS LIKE IT WAS DONE BY ONE.
Thanks for showing off your talent!


Frequently asked questions
Have a question about this project?