


From toy chest to storage chest

by
Ana Bacallao
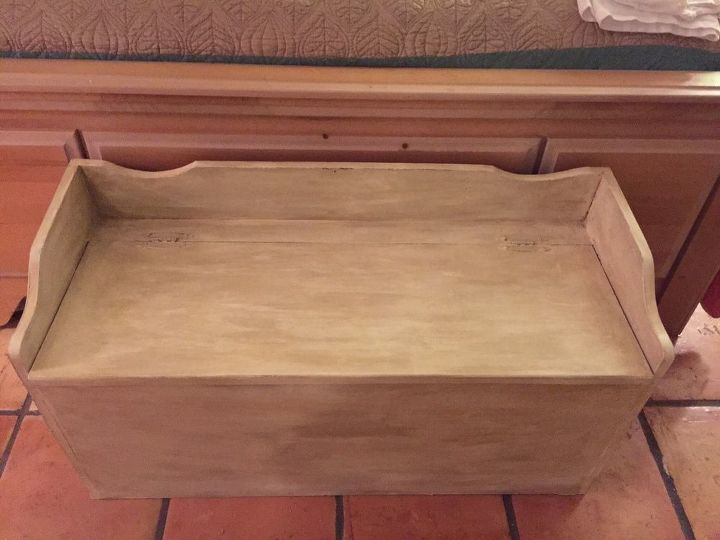
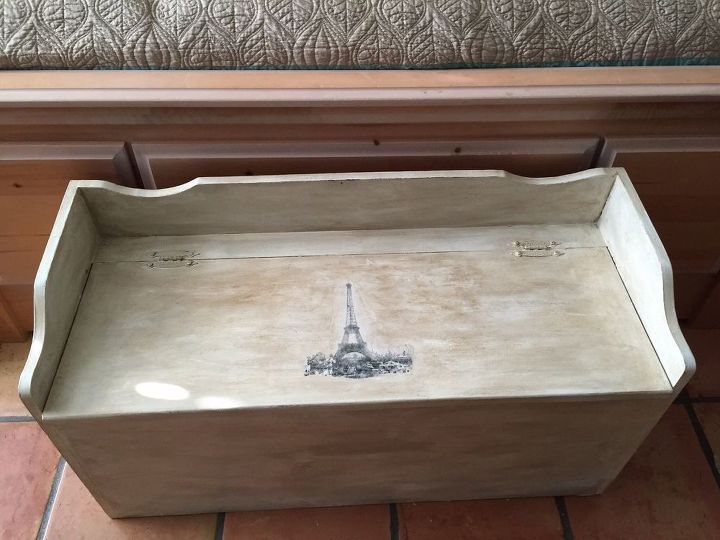
This was my daughter's toy chest and she will turn 30 this year. It originally was natural wood with varnish, next it was painted chocolate brown and a few weeks ago I used chalk paint to paint it a latte. I then used dark wax to give it depth.
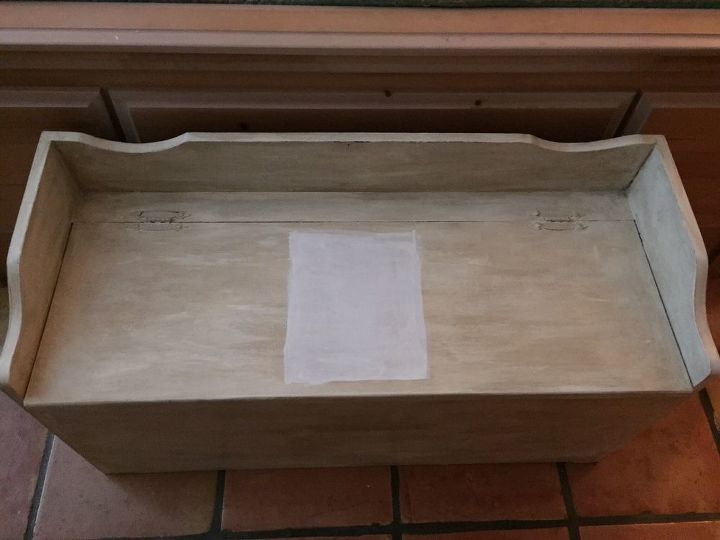
I wanted to try doing a graphic transfer using Mod Podge which seemed easy enough. I chose the Eiffel Tower from The Graphic Fairy printed in my laser printer. It was an epic failure. I tried twice and finally realized the problem was that I had waxed the chest! My solution was to use chalk paint (I no longer had the latte mix) so I just used plain white in a square I marked off to fit the image.
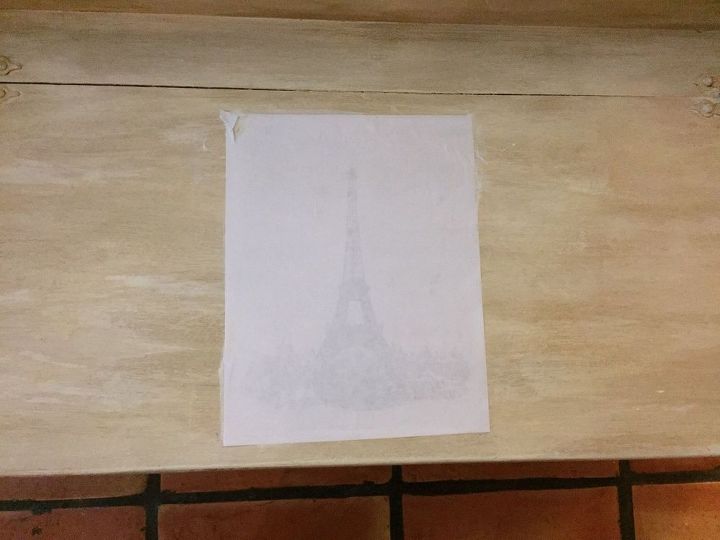
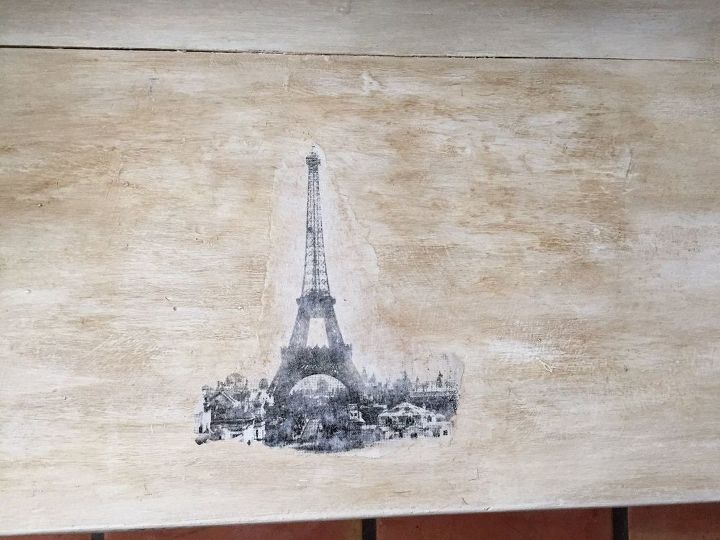
It worked, you can see the image coming through after I wet the paper....
Following instructions, I removed most of the paper around the image and rolled off the paper on top of it so the image would be clearly visible. This can be tedious, see the little paper balls on the side...
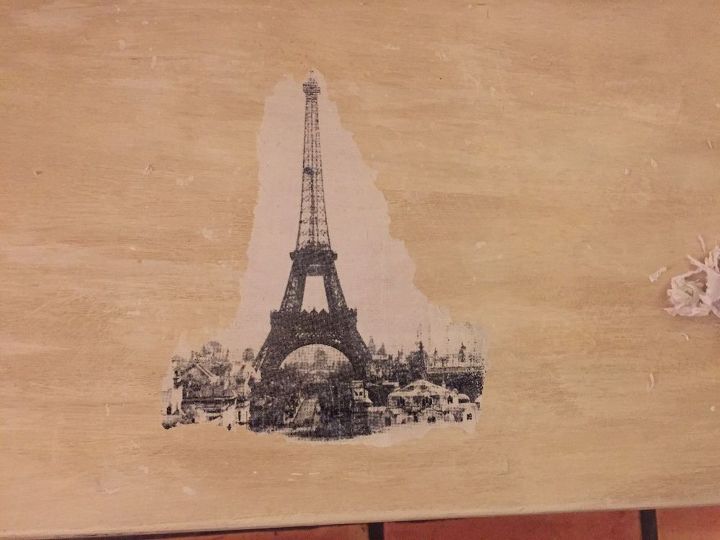
I sanded lightly to blend the edges and used the dark wax again to blend in. Close up of the transfer.
Pretty pleads with the results and I learned so much!
Comments
Join the conversation
2 comments
-
Ana nicely done. You've convinced me that I need to try the transfer trick!
-
I am working on turning my son's toy box into a keepsake box to set at the end of my bed. My room is done in Paris theme. I want to paint the box black (it is natural wood right now) and then cushion the top and cover with fabric... any ideas on how to go about covering the top?


Frequently asked questions
Have a question about this project?