


How to Do an Impressive Nightstand Makeover in 5 Easy Steps
Today, I'm excited to share with you a step-by-step nightstand makeover tutorial.
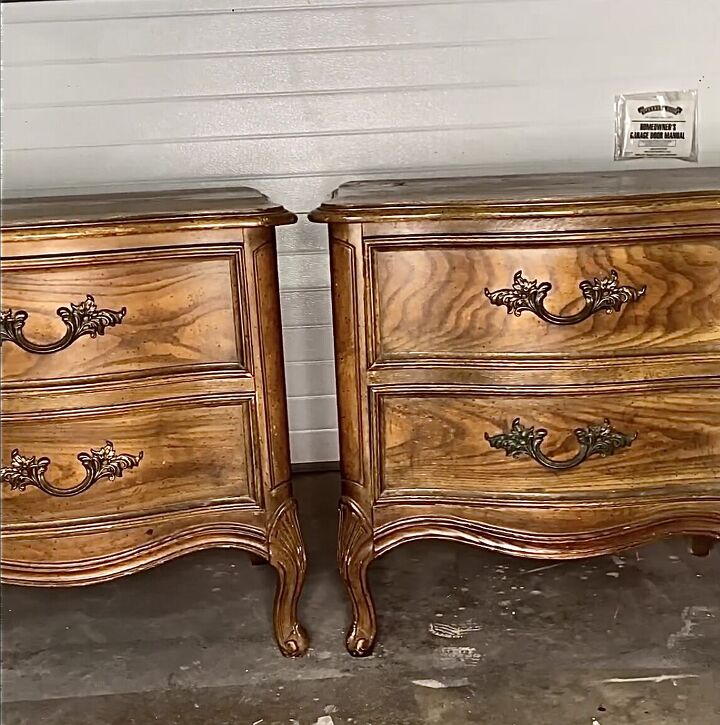
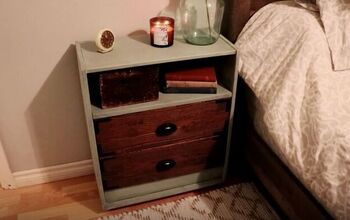
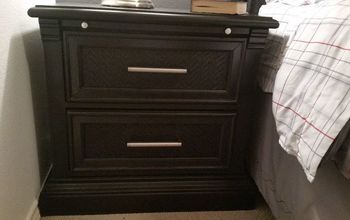
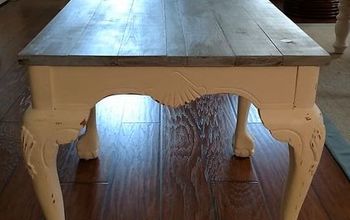
These nightstands had been sitting in my room, untouched, for 2 years. But with a little love and some DIY magic, I brought them back to life.
Here's how I did it:
Tools and materials
- Old nightstands
- Sandpaper (various grits)
- Scuffing pad
- Primer
- Paint (Tricorn Black)
- Paintbrushes
- Mixing container
- Water
- Brass hardware
- Bar Keepers Friend (or similar cleaner)
- Clean cloths
- Protective gear (gloves, mask, goggles)
Steps
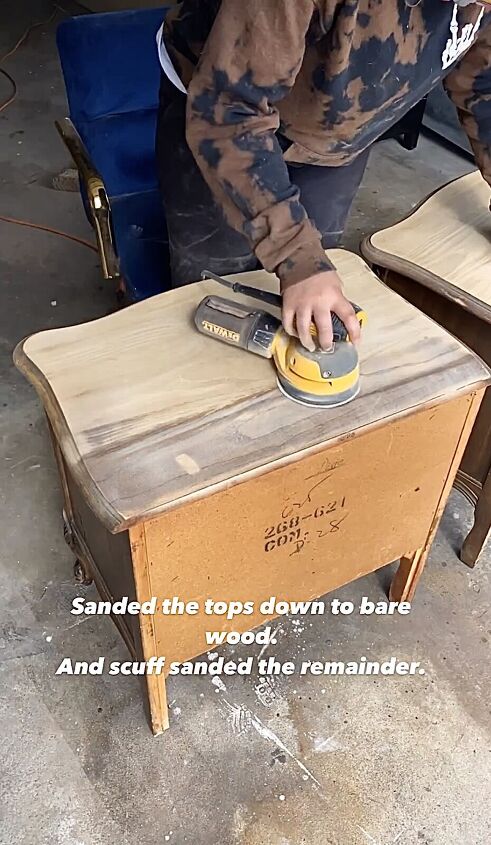
1. Sanding the Tops
I started by sanding down the tops of the nightstands to expose the bare wood. This process involved using different grits of sandpaper to remove the old finish and reveal the natural beauty of the wood underneath. I made sure to sand evenly and follow the wood's grain for a smooth surface.
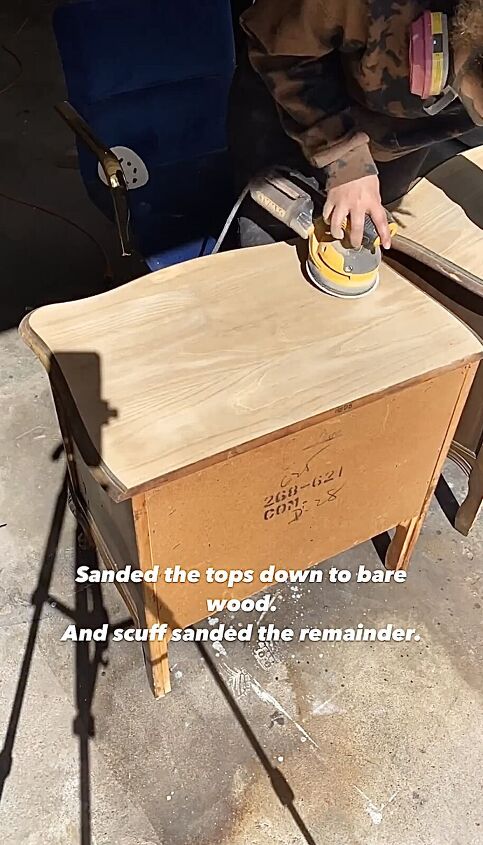
2. Scuff Sanding
For the rest of the nightstands, I gave them a scuff sanding. This helps the primer adhere better and provides a clean surface for painting. I used a scuffing pad to gently roughen the existing finish without completely removing it.
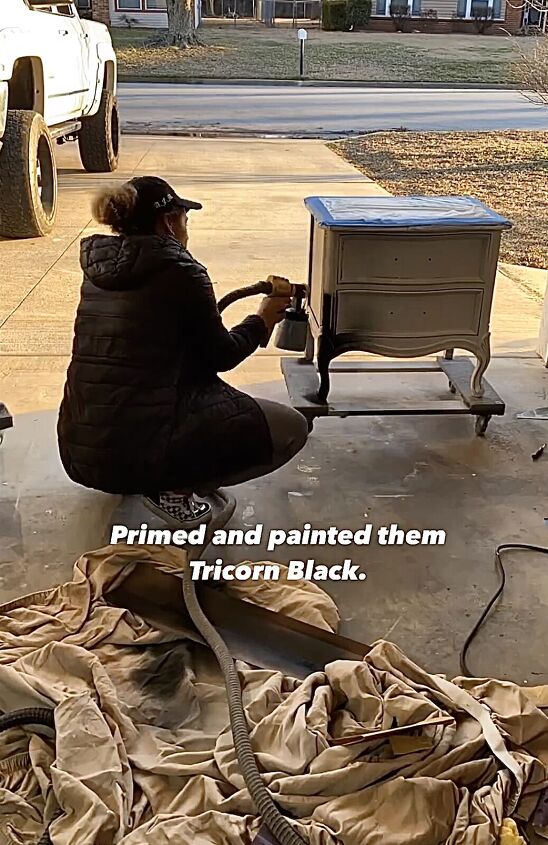
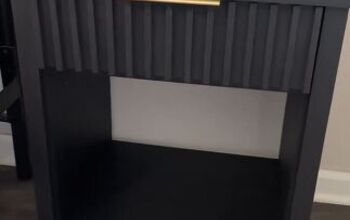
3. Priming and Painting
Using a high-quality primer, I coated the entire nightstands. This step is crucial to ensure the paint adheres well and provides a solid base.
Once the primer was dry, I applied two coats of Tricorn Black paint, waiting for each coat to dry before moving on to the next. I used smooth, even brush strokes to achieve a professional finish.
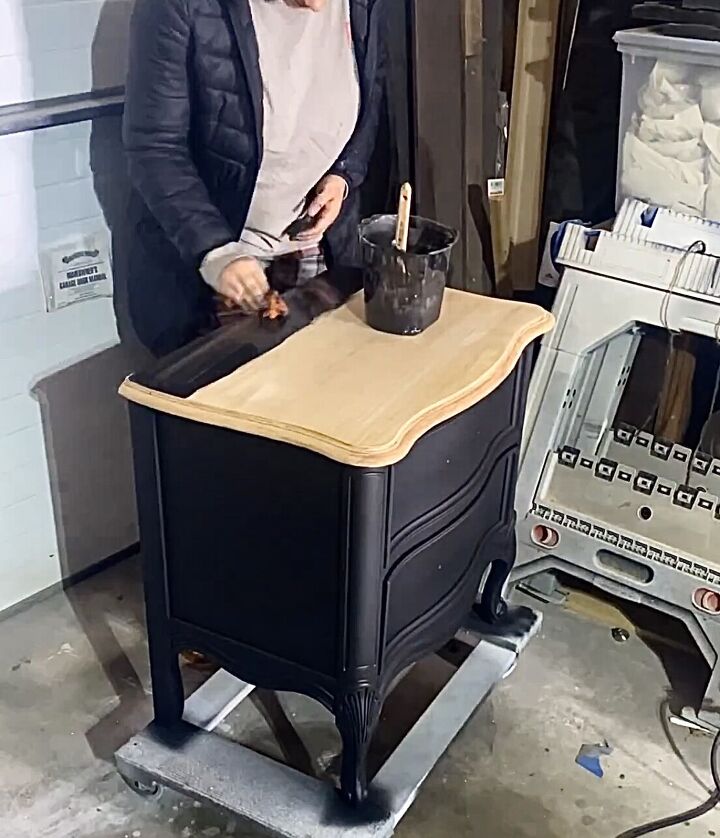
4. Creating the Paint Wash
To make the wooden tops stand out and break from the all-black look, I mixed a paint wash using Tricorn Black paint and water. I experimented with the ratios until I achieved the desired effect. This wash was then brushed onto the tops, allowing the wood grain to shine through while still maintaining the overall black tone.
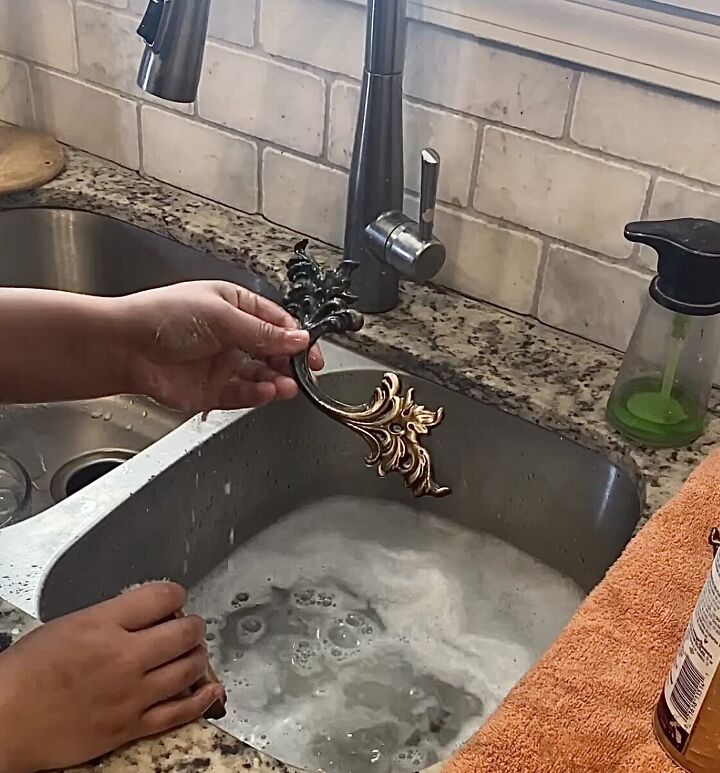
5. Restoring the Hardware
The brass hardware was a bit tarnished, so I decided to restore its original beauty. I used Bar Keepers Friend, a powerful cleaner, to wash and scrub the hardware. This brought back the true shine and elegance they once had.
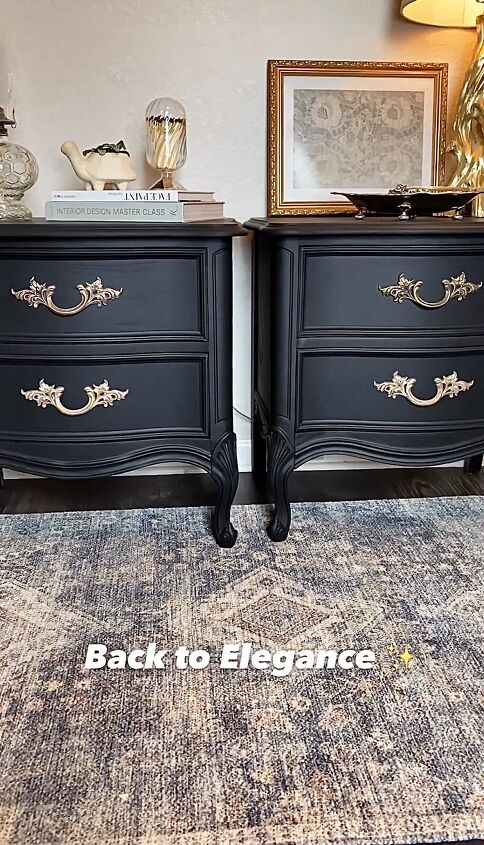
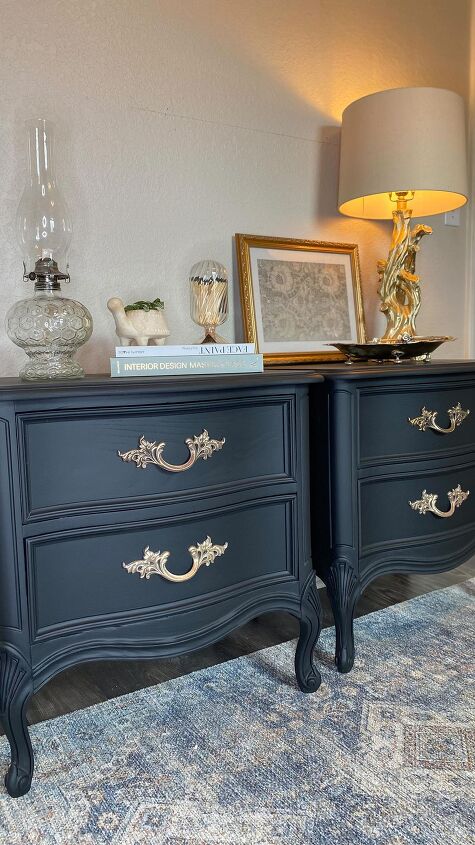
Nightstand makeover
I was amazed at how the nightstands had been brought back to their true elegance.
My nightstand makeover was a success and I now have stunning pieces of furniture that enhance the overall look of my room. Do you have a nightstand makeover project to share? Share your projects in the comments below.
Follow @flippedbyfaith_ on Instagram for more DIY ideas.


Frequently asked questions
Have a question about this project?