


DIY Toy Organizer
The genius way to organize all your kid's plush animals and little toys.
Hometalk Recommends!
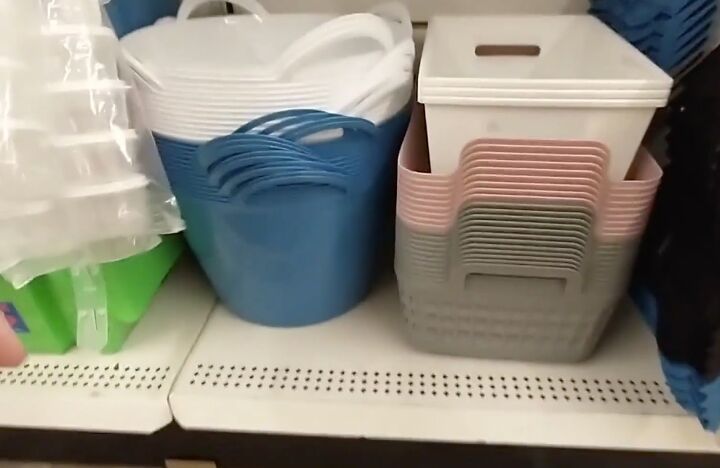
Let’s make a DIY toy organizer. For this project, you’ll need ten buckets and a collection of zip ties.
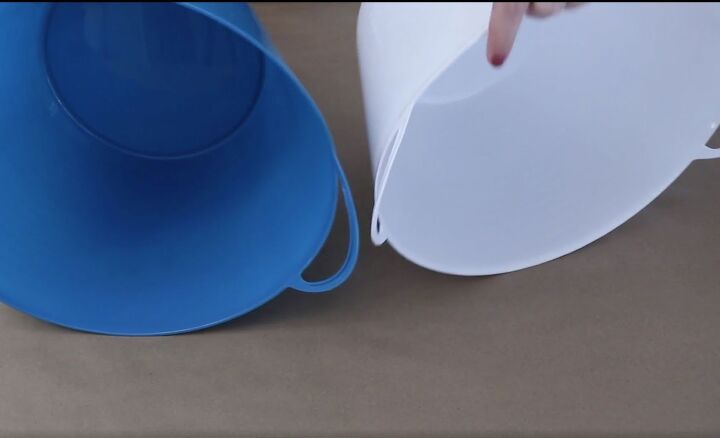
I started to make my organizer by connecting four buckets by the handles.
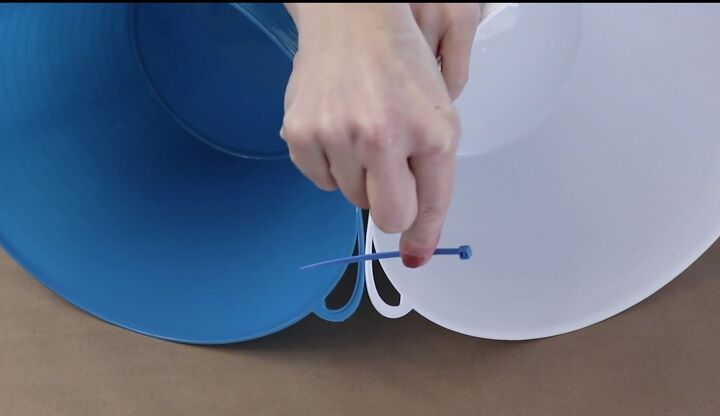
I placed them together and tied a zip tie tightly around each handle.
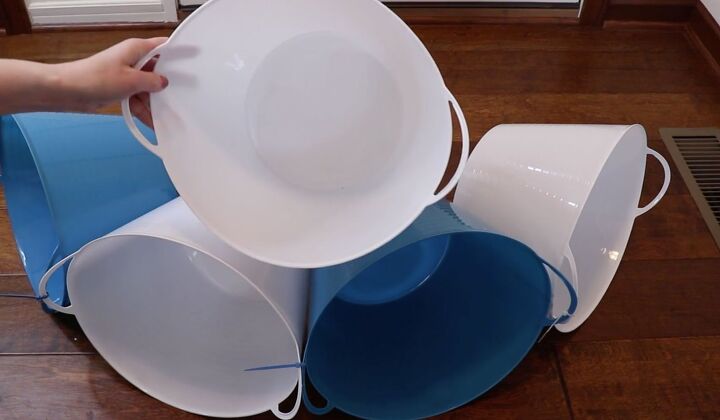
Once I had four buckets secured together for the base I created a second layer. I needed three more buckets for this layer and a wood-burning tool.
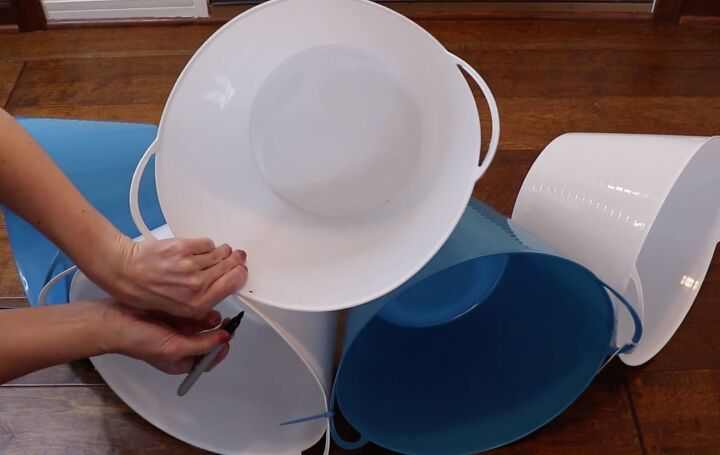
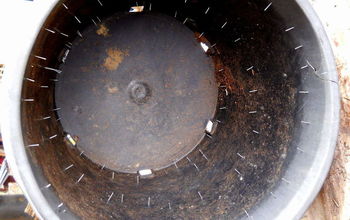
To see where I wanted them placed, I laid the first row out on the floor, put a bucket on top, and used a Sharpie to mark where I wanted them connected.
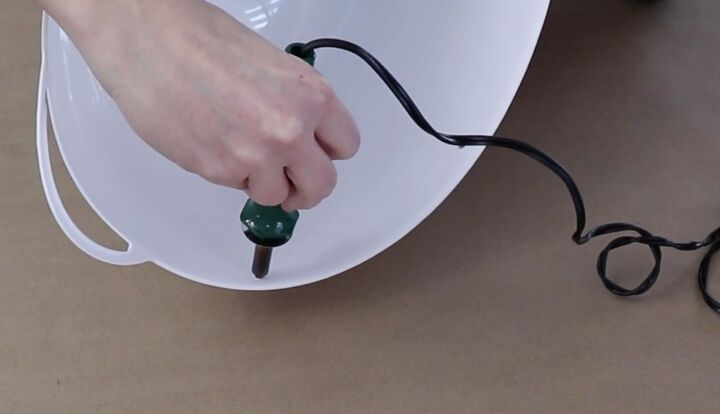
Next, I used a wood-burning tool to make some holes right through the plastic where I wanted the ties to go. The wood-burning tool cut through the plastic like it was soft butter. If you don’t have a wood-burning tool, you can also use a metal pick or something else to poke a hole.
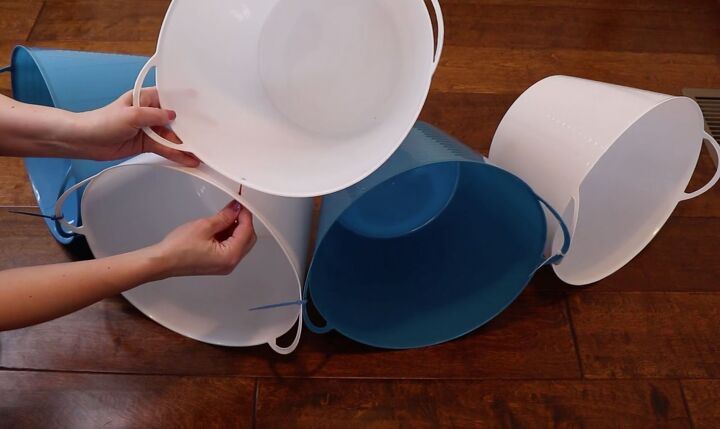
Once I had the holes made on both the bottom row and the second row, I went ahead and connected them with zip ties. I also connected the handles of the second row with zip ties so that everything stayed together.

When it was time to add the third row, the organizer was getting a little flimsy, so I used some clothespins to clip them together until I was ready to tie them.
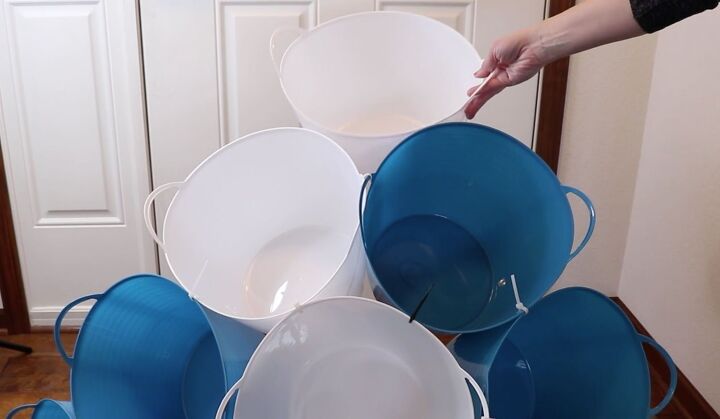
For the top row, I added one more bucket. I found it easiest to put the organizer against the wall to add the final bucket.
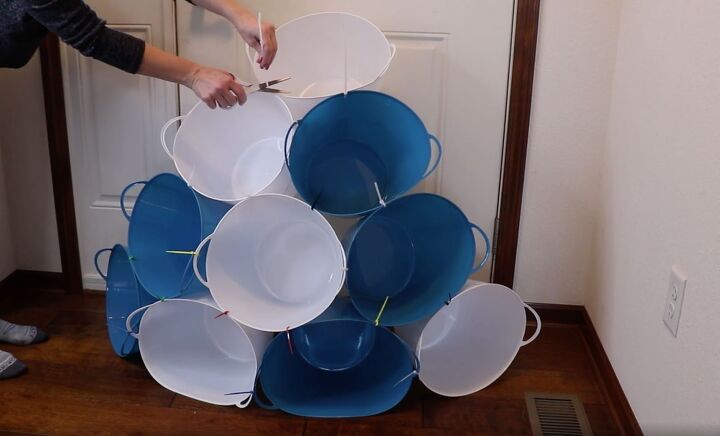
Before filling the toy organizer, I went ahead and clipped off the ends of the ties.
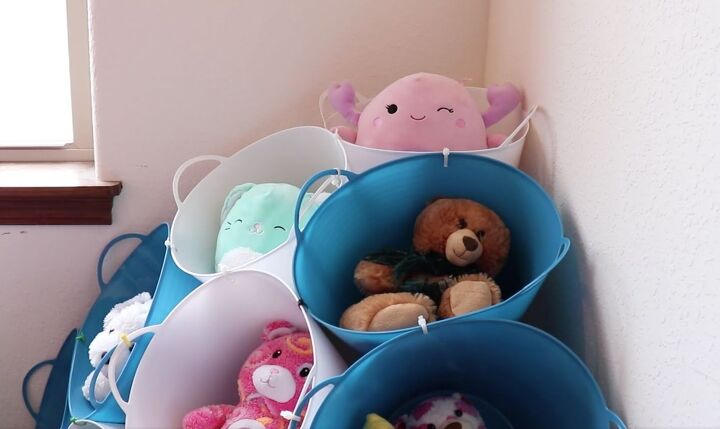
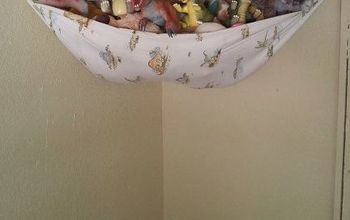
This DIY toy organizer isn’t meant to be a standalone organizer. It works incredibly well in the corner of a room.
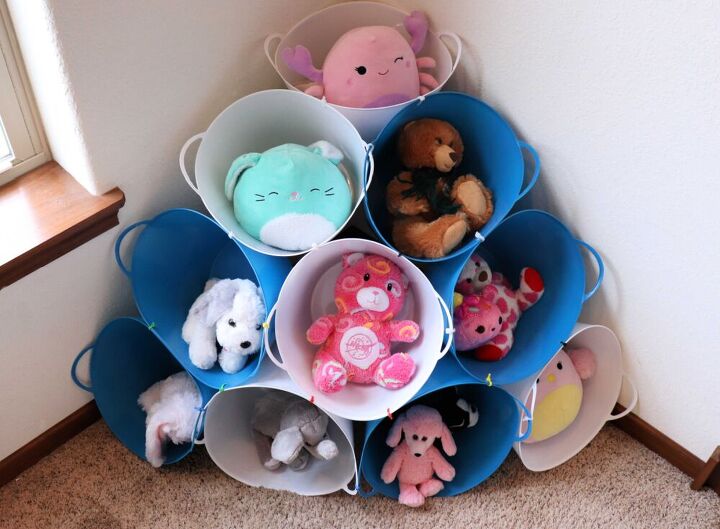
My new organizer isn’t great for heavy things but is perfect to organize my kids’ stuffed animals. It is sitting in the corner of one of our play areas, and they can put in their stuffed animals and access them easily. I hope this inspired you to put those Dollar Store buckets to use and gave you an idea of how to build your own DIY toy storage organizer.
Resources for this project:


Comments
Join the conversation
-
I only kept favs when kids little. After about six weeks, they disappeared and never missed. Even so I swear the multiplied over night. Donated to children’s crisis. You have no idea the trauma being taken from your parents (abuse) into cold police station and nothing but clothes on your back (which many that’s all they have). That hug makes huge difference getting to other side of stability and thriving as a child. Daughter does with her kids toys too. Never missed but does good for others
-
Great idea!


Frequently asked questions
Have a question about this project?