


DIY Cooler: How to Update a Cooler for Outdoor Entertaining

Summer is just around the corner and that means it's time to get your cooler out and ready for all those backyard barbecues with family and friends.
But what if your old cooler has seen better days? Don't worry, with a little DIY effort, you can transform it into a beautiful and rustic outdoor cooler that will be the envy of all your guests.
This post was transcribed by a member of the Hometalk editorial team from the original HometalkTV episode.
This is a fun DIY woodworking project to tackle and it's perfect for keeping drinks cold during those hot summer days. In this step-by-step guide, we'll show you how to build your very own outdoor cooler box using cedar and a few other materials.
So, let's get started!
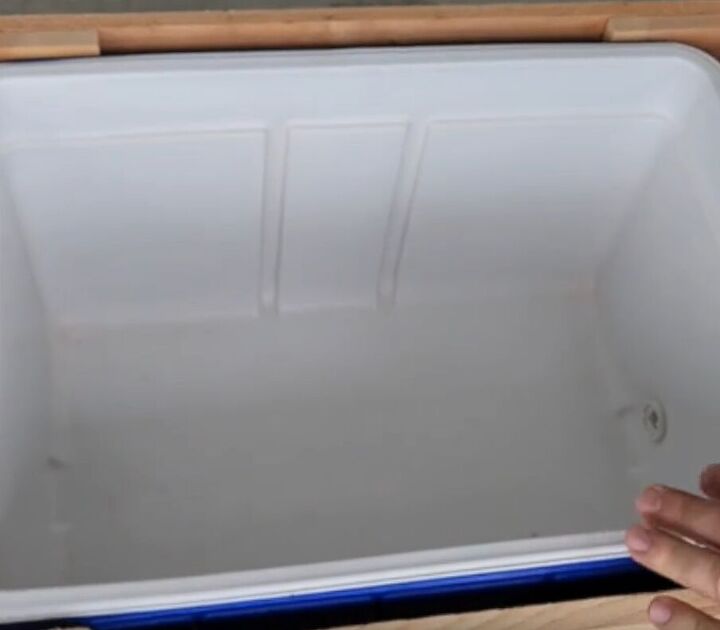
1. Remove the lid of a cooler box
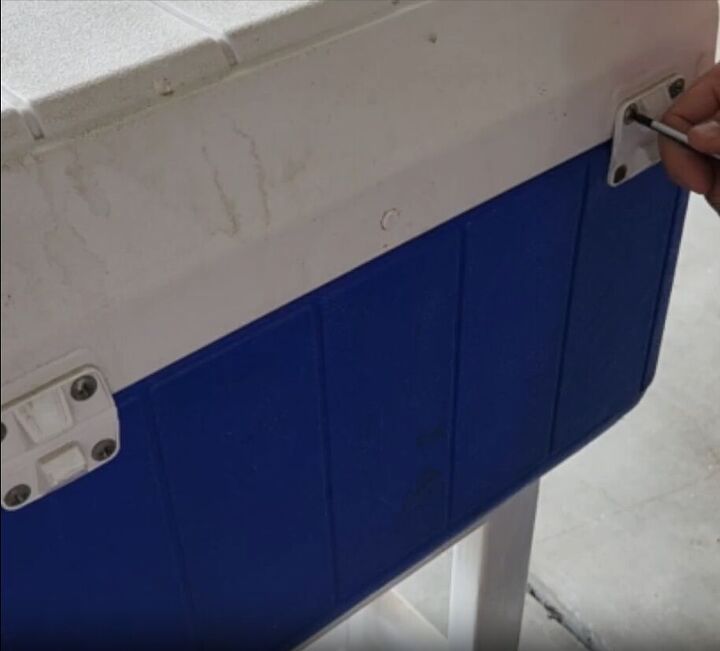
Pull out that old box cooler that has been sitting in your storage for ages and remove the hinges from the back by unscrewing them. If the hinges cannot be unscrewed, you can cut them off.
Take the lid off and set it aside.
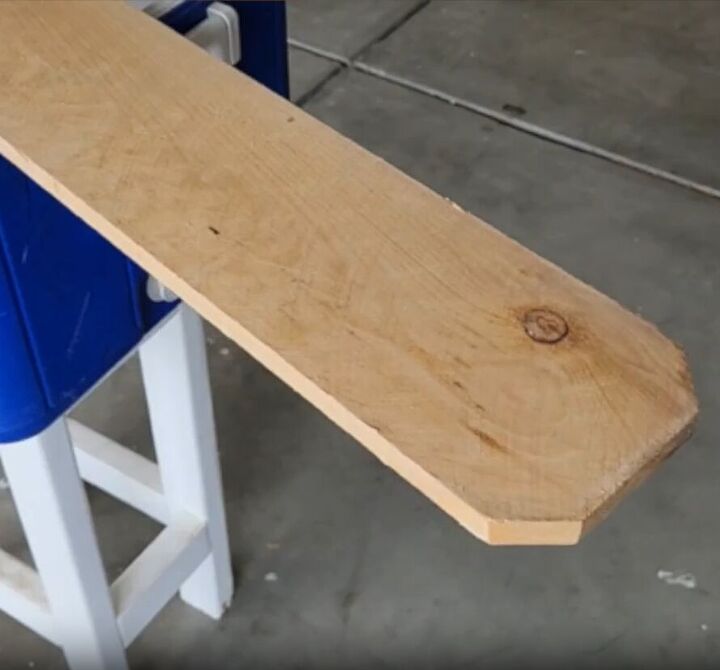
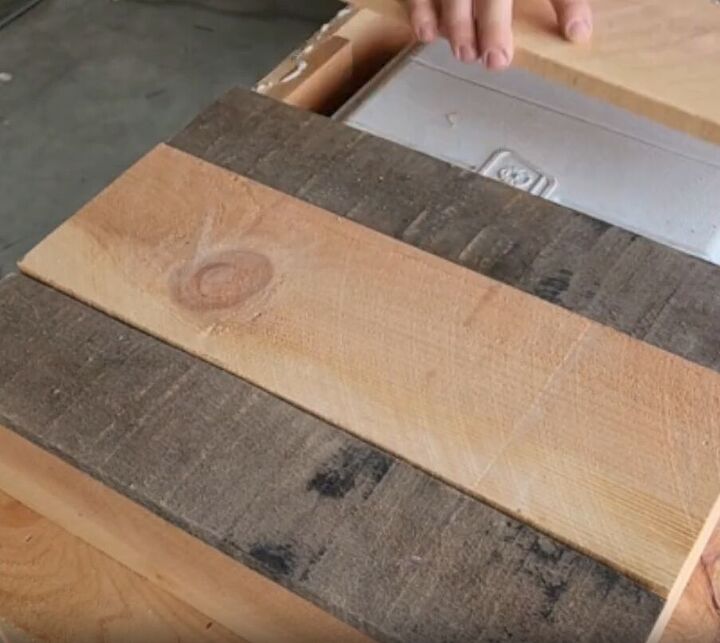
2. Cut the wood boards
Now grab your fence pickets. I am using six-foot cedar. We are going to use the handle of the cooler to determine the height we need our legs to be.
So, place a piece of scrap wood on the handle of the cooler, and place your first fence picket up against the handle vertically.
Use a pencil to mark the height where the legs should be on the fence picket underneath the scrap wood. This will ensure that the legs are even and at the correct height.

Cut eight pieces of cedar fence pickets to create four legs (two pieces are used for each leg).

3. Build and assemble the legs of the cedar cooler stand
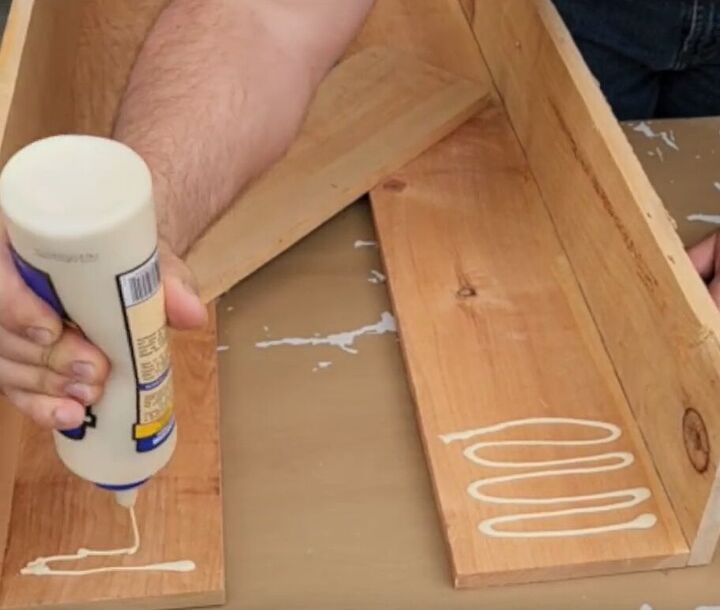
The secret to this whole project is glue. Lots of wood glue. That's what's going to hold it together while we staple it in place.
Take two of your fence pickets, add a generous amount of wood glue down the length of one piece, and line the second one on top of that.
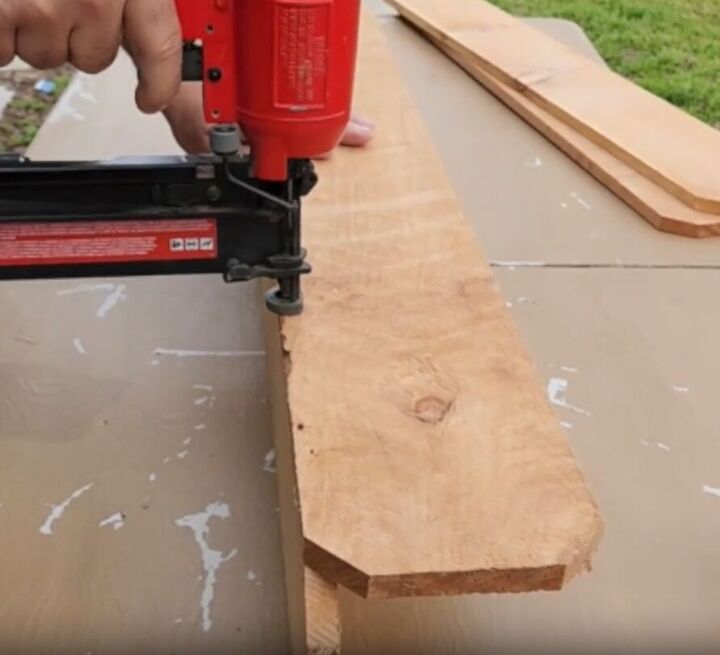
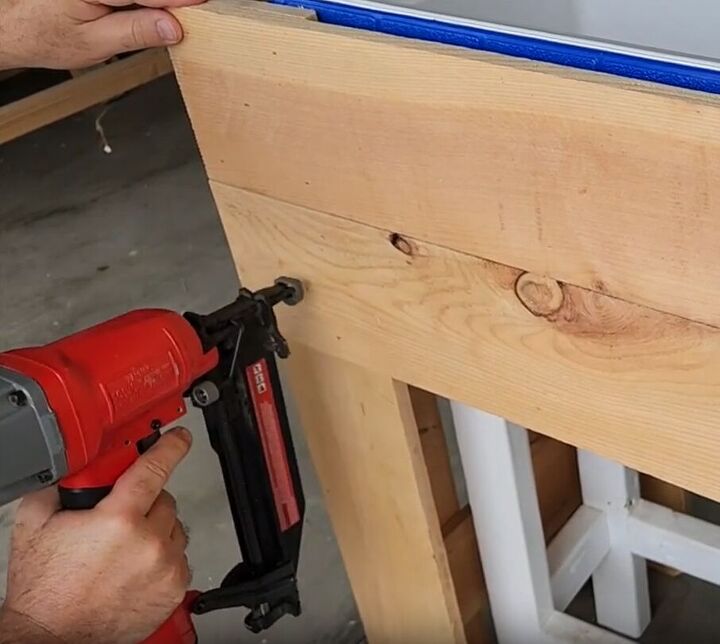
We're going to go ahead and staple, nail, or screw these in place. If you have a nailer, it works perfectly.
4. Assemble the legs
Once you have all four pairs, grab two and place them on the short end of the cooler. Don't forget to make room for the handle.
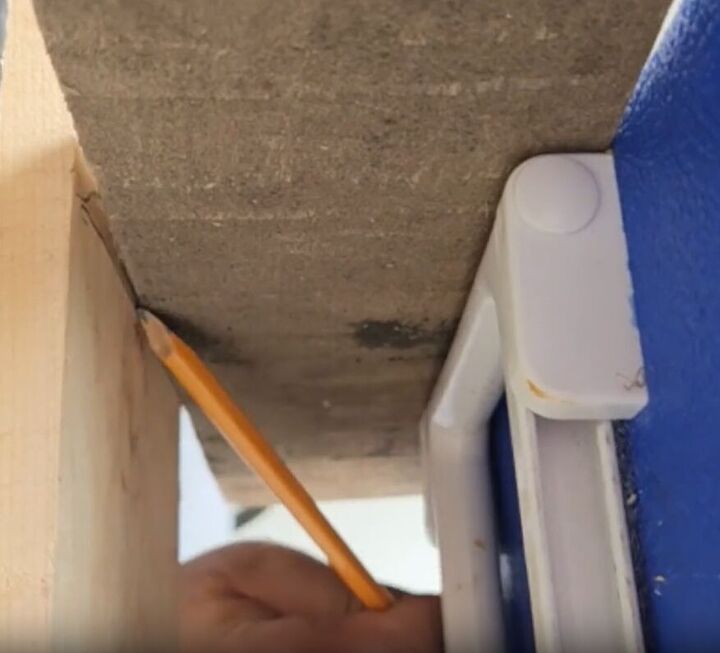
Next, grab another scrap piece of wood and mark it out for the leg joints.
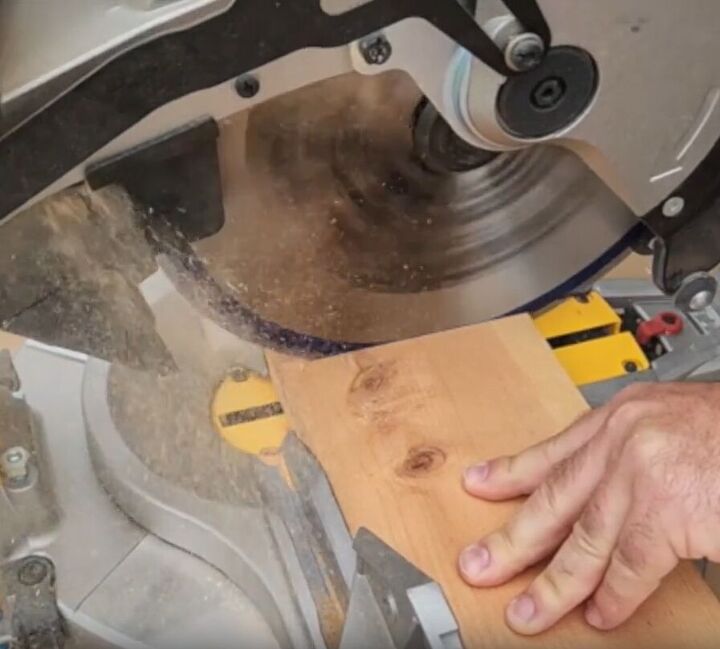
You can cut two at a time with any type of saw that you have.
Apply lots of wood glue on the legs for maximum strength and ensure they're lined.
Remember, glue is the key to success here.
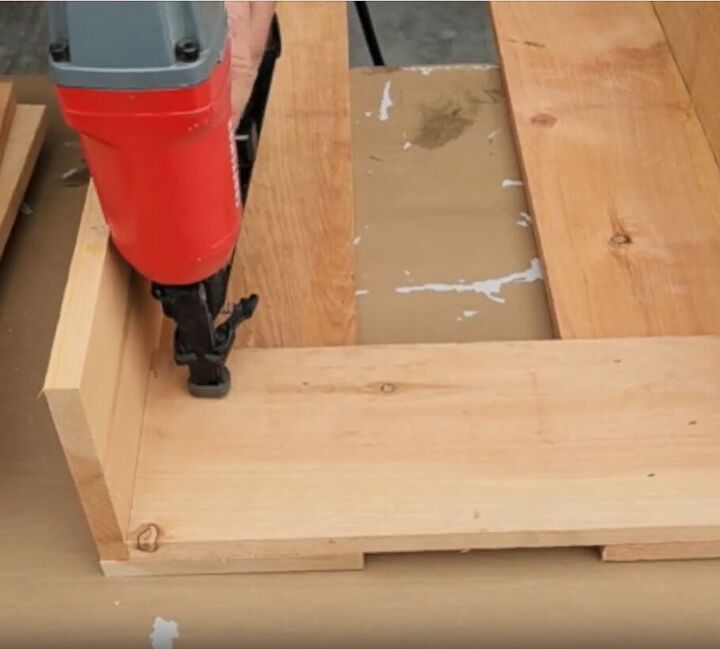
Secure them with tiny nails or staples, to hold them together until the glue dries. Once dry, the structure will be rock solid.
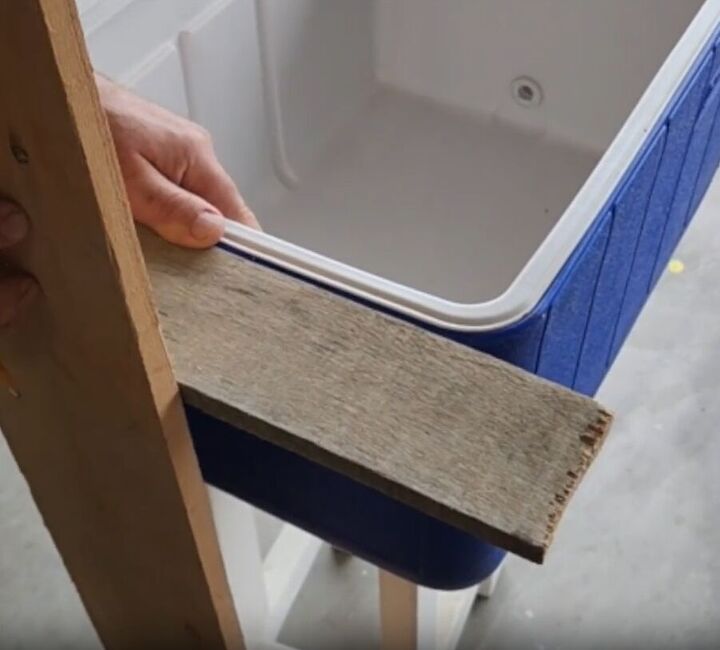
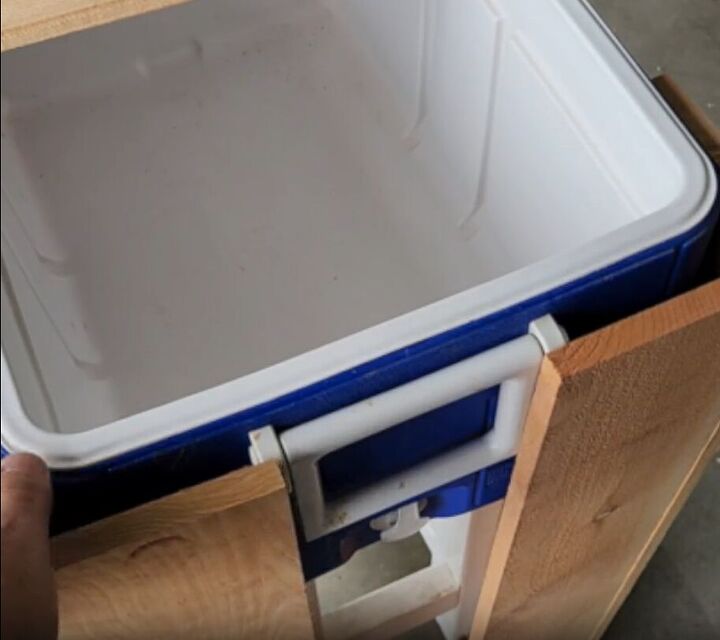
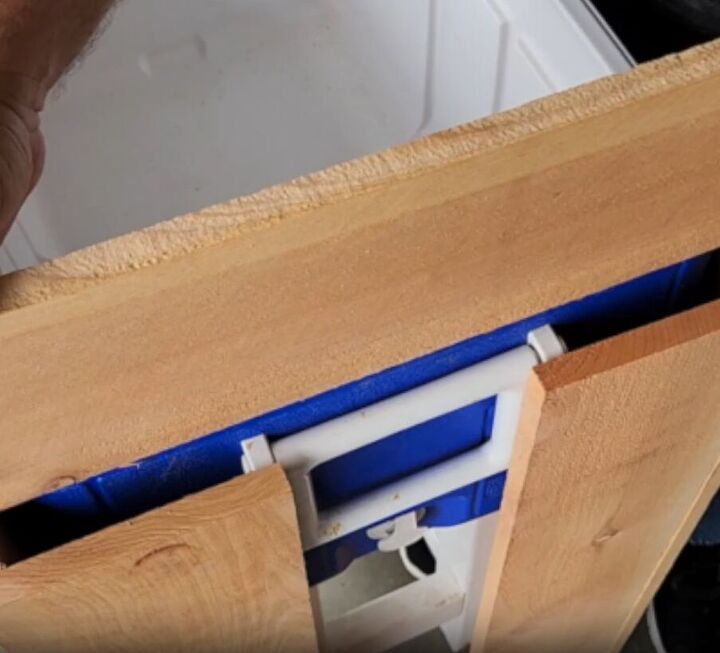
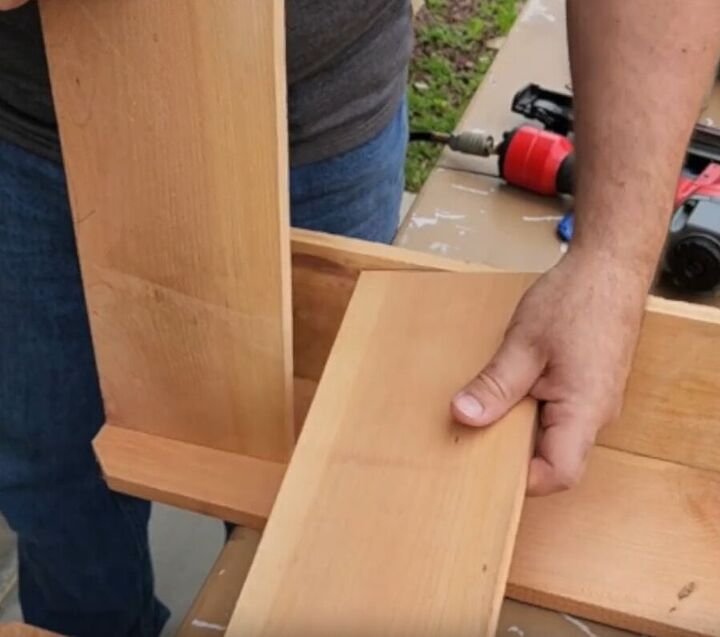
Now, before adding another join between the legs, make sure it fits the cooler.
If the board fits snugly between the legs, it's time to add another one to make your structure sturdier.
Also, add extra support for your stand by placing a board at the bottom to make it strong.
The next step is to work on the long side of the stand. Measure two boards on the outside, cut them to fit, and attach them.
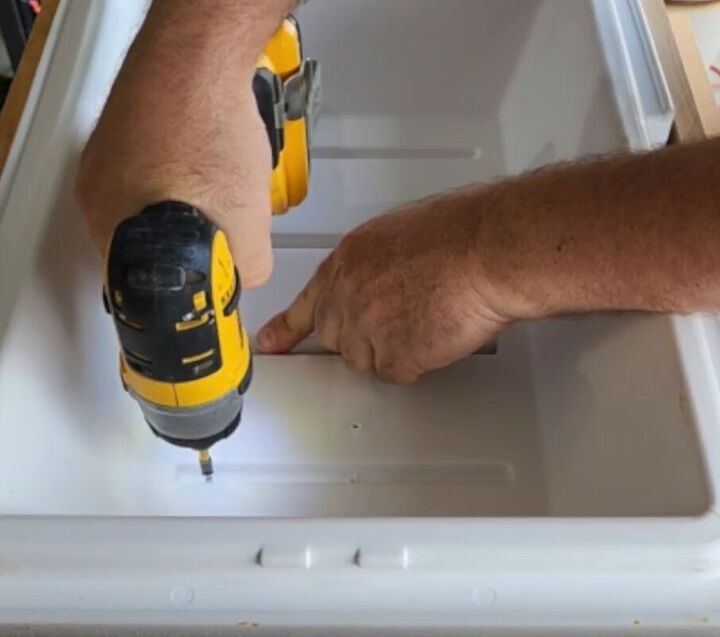
5. Build the bottom
It's time to build the bottom.
After turning the cooler over, I flipped the cedar stand over it.
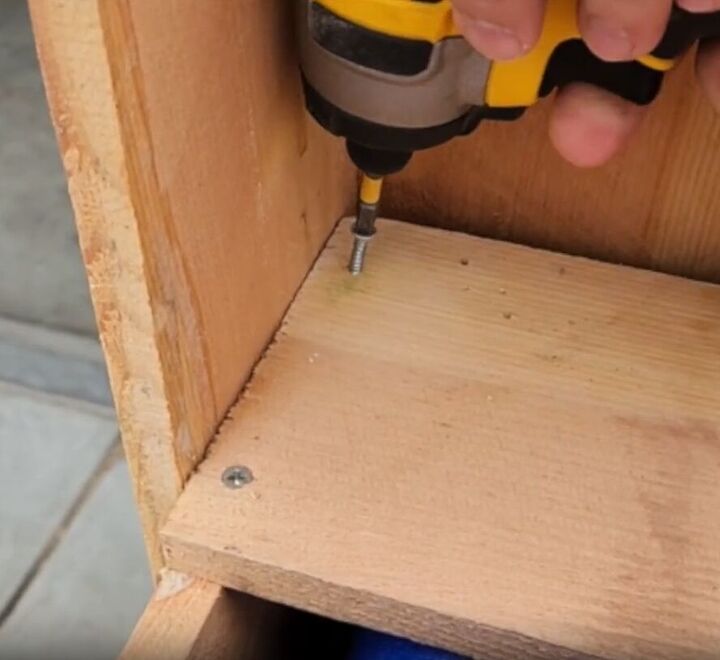
I added two boards to the bottom and screwed them into place. There will be a little bit of weight in the cooler, so we need to make the stand super strong.
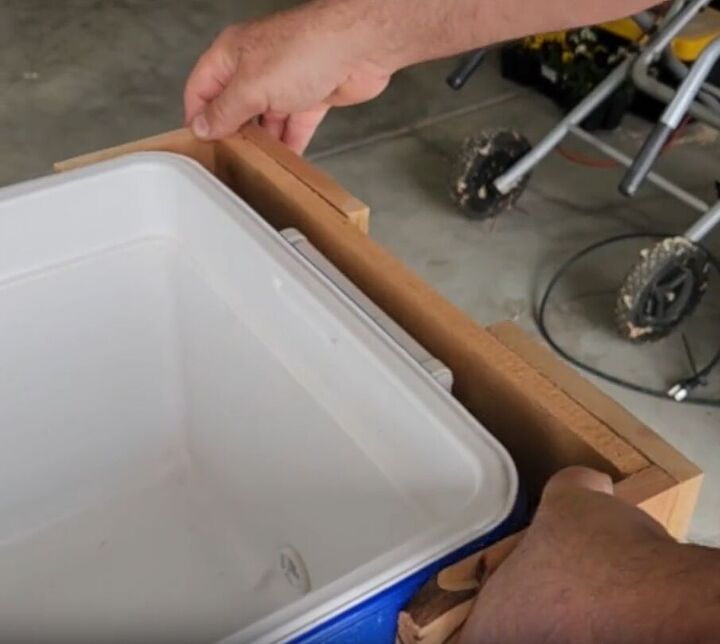
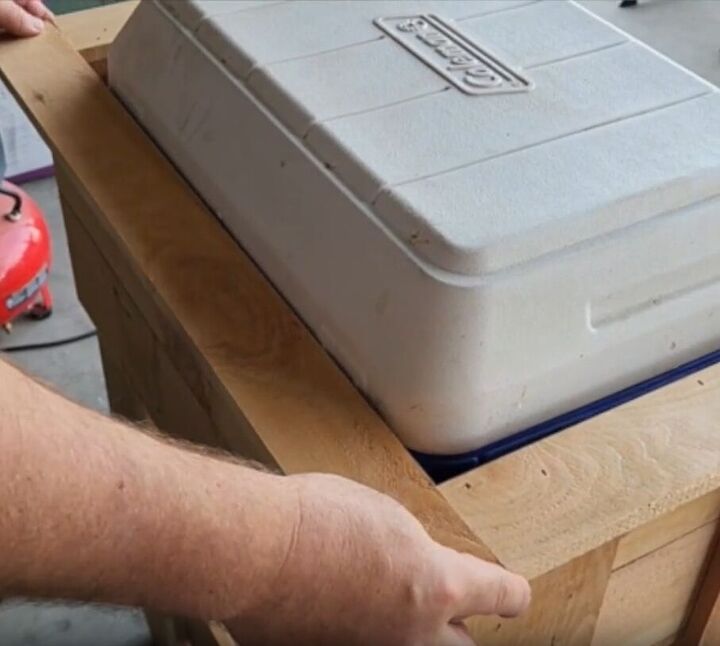
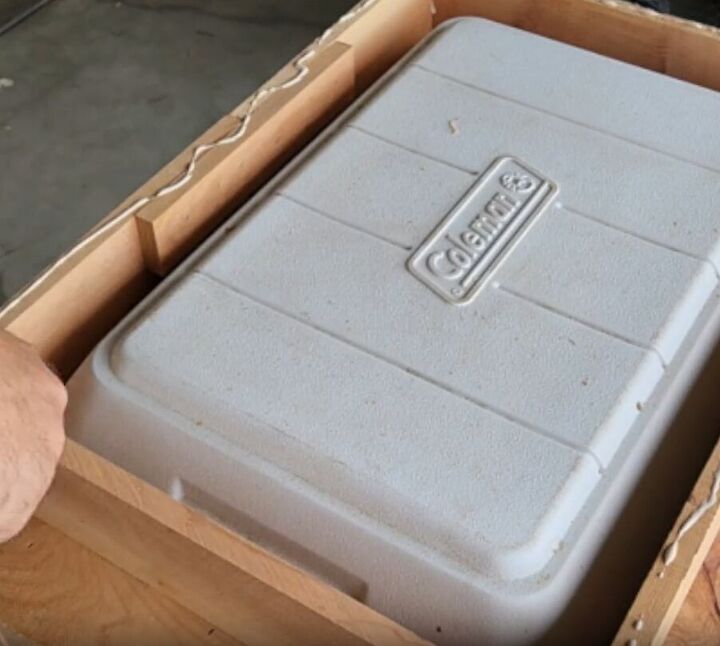
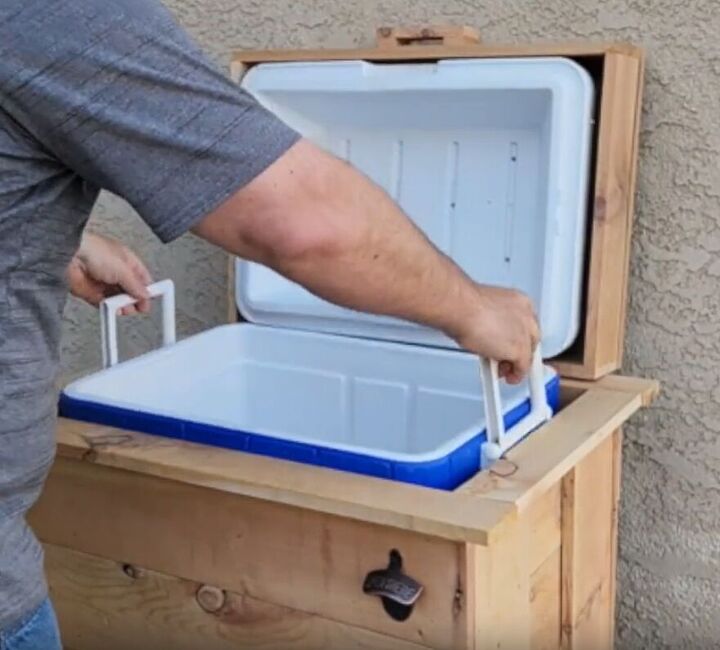
Flip your cedar cooler stand back over and drop that cooler box right into it.
Take some time to admire your progress!
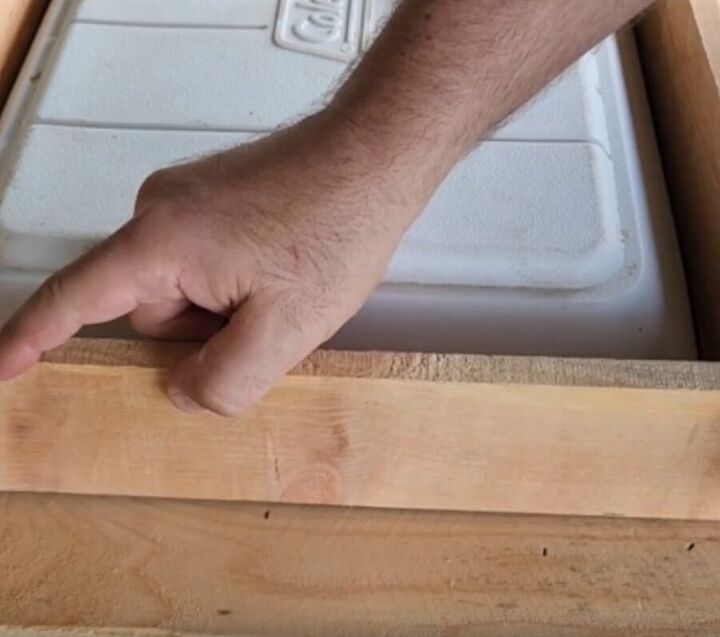
6. Add trim
We're almost done!
Let's add some sides with a little bit of trim board to make it look really sharp. I used leftover scrap pieces. Cut your boards to size, and use glue and staples to put them together.
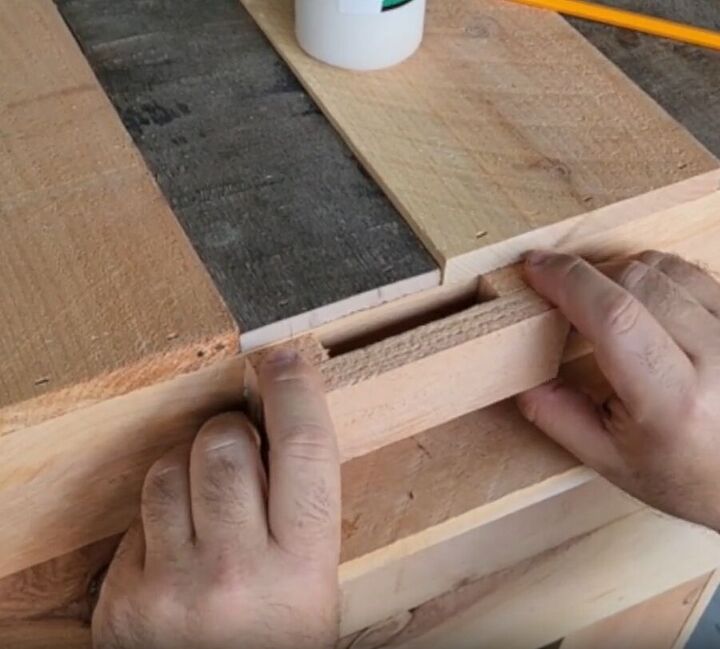
7. Build the lid
Let's move on to making the lid.
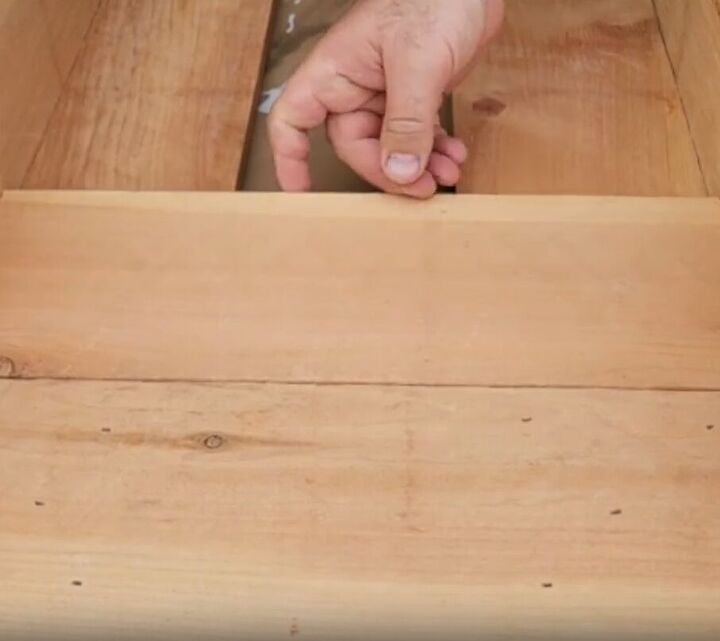
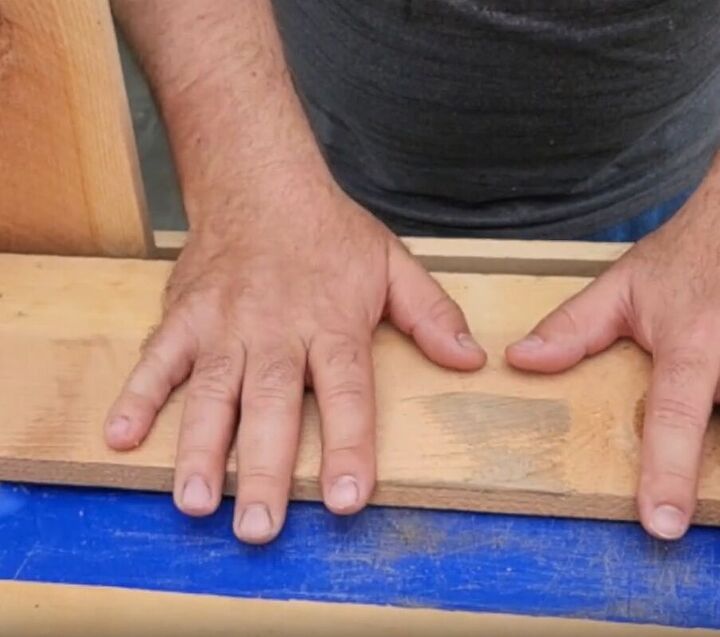
We want to make sure that the wood for the lid is the same height as the cooler box lid, so it fits nicely.
Add glue along the top edge.
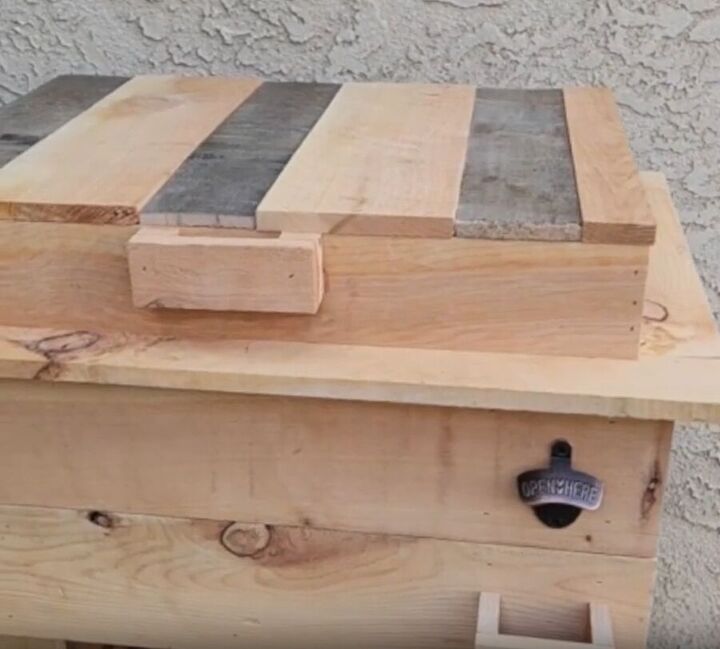
Fortunately, I had some old pallet wood that I could use alongside the cedar to give this DIY cooler box lid a nice mixed look. Place them down on the glue.

Then nail the boards along the edges to make sure the lid is extra sturdy.
Now we need to attach the cooler lid to the new wooden lid. To do this, first, remove both lids. Then take the wooden one and place it upside down and put the cooler lid upside down inside it.
Use some regular wood screws that are not too long to attach them together. Once attached, put the lid back in place on the stand.
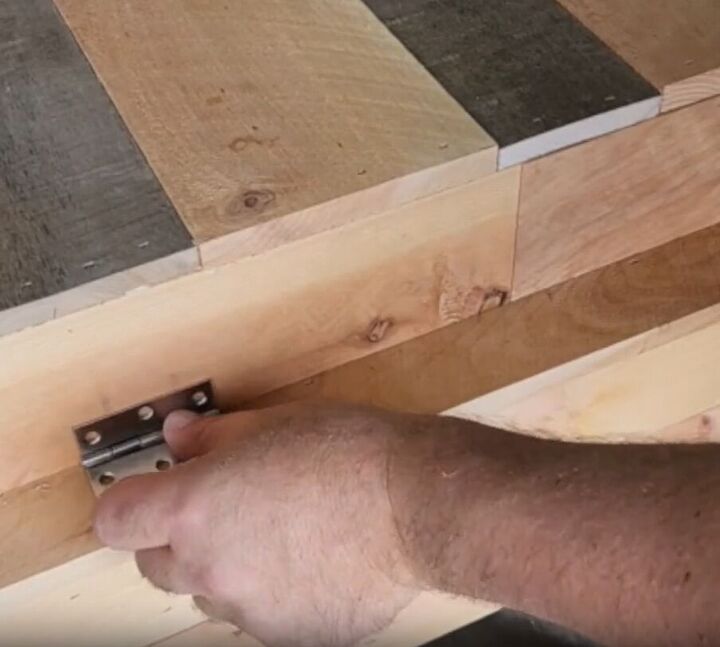
It's time to add the hinges. You'll only need two small door hinges or cabinet hinges, and they're a breeze to install. You won't even need a pilot hole - just drill them on and you're good to go.
8. Finishing touches
I don't want to go for a boring old handle. Let’s make a rustic handle out of some scrap wood. It's super easy, we just need some glue and nails.
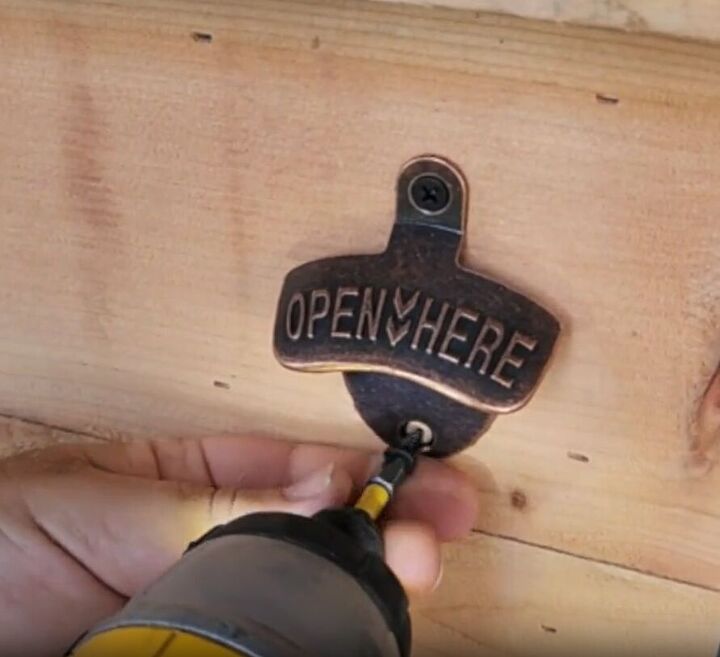
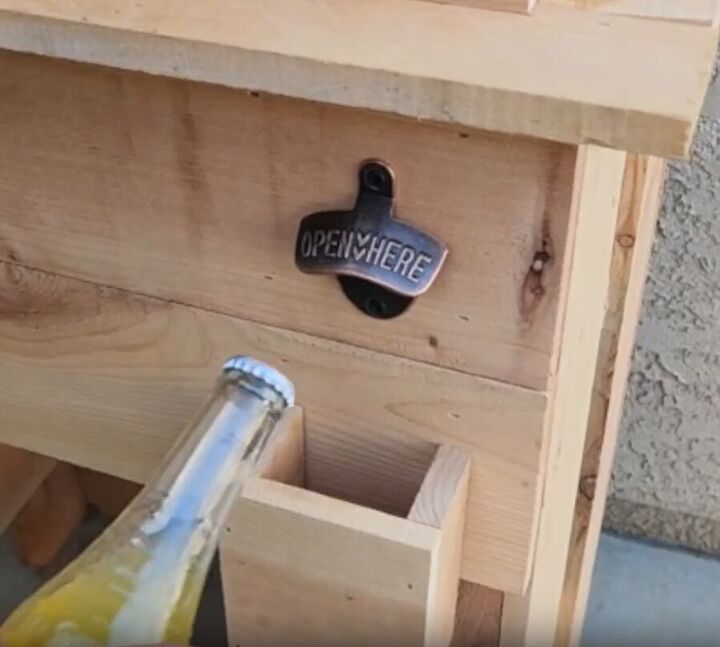
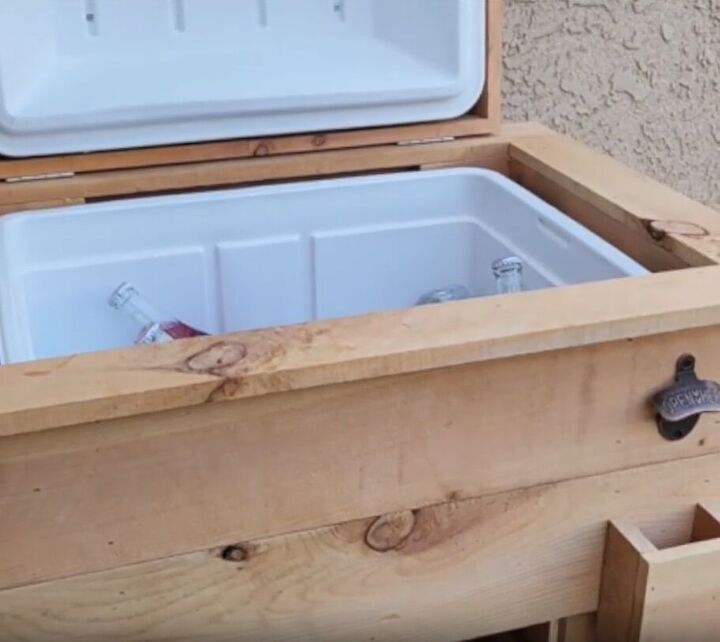
Don’t forget, our DIY cooler needs a bottle opener. Go ahead and put one of those on.
I also added a little lid catcher using scrap wood.
Now it's time to drop the cooler in, and this DIY backyard project is finished.
Get some ice and your favorite beverages and enjoy summer in style.
More DIY Summer Projects
DIY cooler tutorial
This rustic wood cooler box stand is a great addition to your outdoor gatherings and it's perfect for keeping drinks cold during those hot summer days. Not only is it functional, but it also adds a touch of style to your backyard entertaining space.
So why not give it a try and make your own cooler box stand? Don't forget to share your creations and comments with us!
Resources for this project:
See all materials


Comments
Join the conversation
-
That’s too much work and money for all that
-
🤦🏻♀️ I should’ve known 😆


Frequently asked questions
Have a question about this project?
How do you drain the water from the cooler?