Do you have any tutorial videos on how to build a queen size platform

Related Discussions
Can I ask Home Depot to cut my wood?
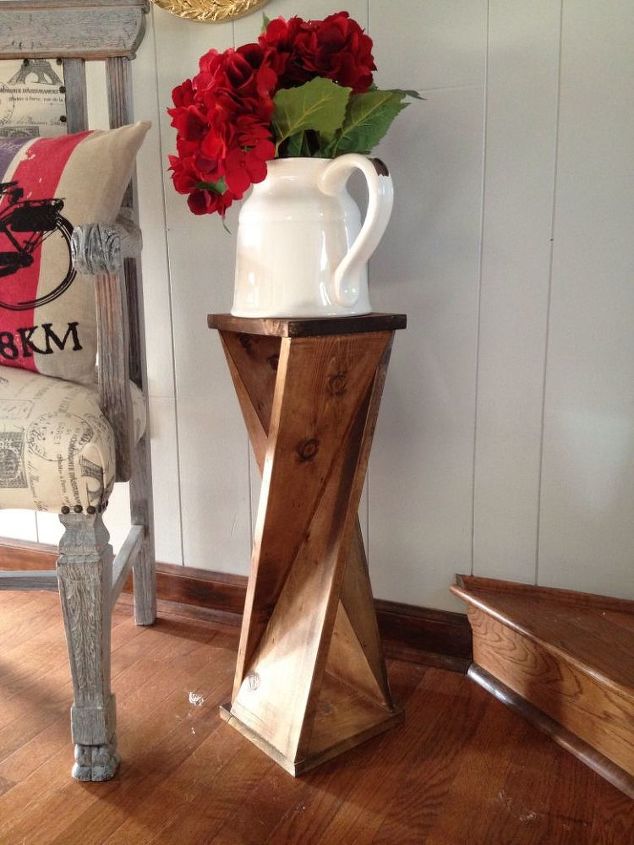
I'm seriously considering making this twisty side table that I fell in love with here on Hometalk (By Chasing A Dream), but cutting the wood is a bit too ambitious fo... See more
What to do with our livingroom ceiling?
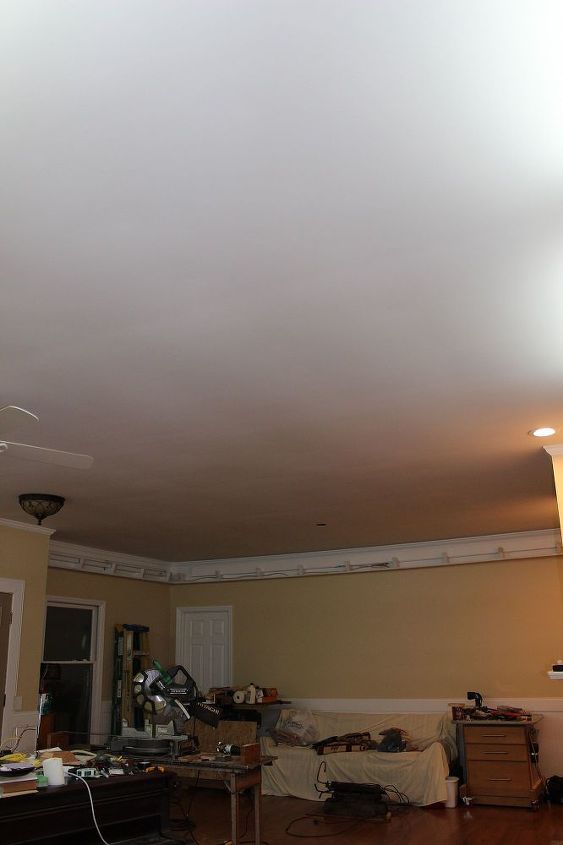
We took the old popcorn ceiling off in our livingroom and thought we could just paint it. We fixed some hairline cracks where the joint in the sheetrock are, primed a... See more
What type of hinges are used on the top of this folding table?
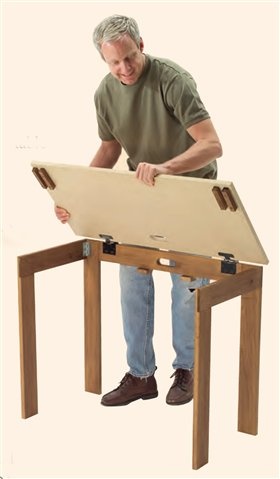
Does anyone know what type of hinges are attached to the top of this folding table? The legs fold in toward the back then the top folds down flat against the legs.
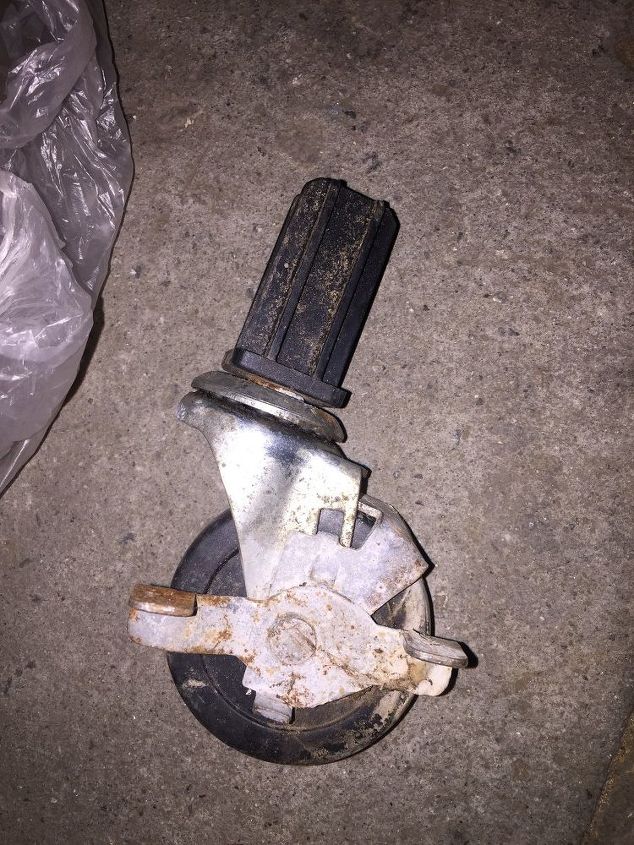
How would I be put on these wheels ?
I am planning on doing a mobile wood bench using 2x4. I have these wheels but have no clue to put them on
Sealing/smoothing crate wood
I am turning the sides of an old wooden crate into a coffee table top. The wood is similar to pallet wood: unfinished and prone to giving splinters. How might I go ab... See more
How do I make DIY furniture sliders to move heavy furniture?
HOW DO I MAKE FURNITURE SLIDERS TO MOVE HEAVY FURNITURE.Best furniture sliders!Move furniture easily with Round furniture moving kit that Amazon reviewers swear by!

I'm going to send you several of these videos because there are several different, pretty ones. Let me know how it went if you build one. Have fun with it!
https://www.youtube.com/results?search_query=build+a+queen+size+platform+bed
JUst use Pallets on the floor..
OK Gina, Im gonna tell you how to do this the easiest way possible with minimum toolage. Materials: 2 pieces of 3/4 plywood, each cut to 80" long and 30" wide. Make the long cuts first, so only the 30" pieces get cut to 80". That will be your flat, top surface. Next, 3 pieces of 2x8, 45" long, cut up a 12 footer. Next, 2 pieces of 2x8, 72" long. Cut another 12 footer. be picky about the lumber, have all the cutting done at the lumber supply, be it a lumber yard or a Home Depot. They don't cut lumber at Lowes or Menards.
You'll need 2 boxes of screws, I strongly recommend and suggest star drive deck screws. each box comes with a star drive bit inside. 3 Inch and 2 inch screws.
Tools wil be: a screw gun, a tape measure and pencil, and a speed square would be nice. They're cheap, buy one, they're cast aluminum and virtually indestructable.
Now for assembly. The hardest part of this is the first joint. Install the star bit in the screw gun and after marking a line on one flat side of the 72" 2x8 that is 3/4 inch from the end, install 4 screws on that line, 1 1/2 inches from either end of the line, and the other 2 equally spaced in the area between the first two. 3 inch screws require some effort, so put your shoulder into it. The star drive will save you from having the bit constantly jumping out of the screw, as it would with a Phillips head screw. OK, you should have one corner of the frame assembled. Repeat this for the other long board, and you now have the 2 long boards held in place, at their ends, by being screwed to a 45" board spanning the space between them. All three pieces are on edge. Measure down both long boards to 36", mark the edge of the long board and using the square, draw a straight line down both the inside and outside of each long board. Now on the outside only, mark another line parallel to the existing one, 3/4" away, towards the open end. Now take another 45" board and line it up, on its edge, with the first two lines. The third line should fall very near the center of the end of the 45" board. Screw this board into place as you did the first one. Make sure the board is lined up to the vertical line on the inside, do top and bottom first. That keeps it straight. OK, so now you have 2 of the 3 45" pieces in place. Now go down to the open end and again line up the 45" board flush to the ends of the 72" boards. After drawing the line for the screws, 3/4" from the end of each 72" board, screw them together. When you've finished screwing the 3rd board in place, you've completed the support frame for the platform. Now, Take one piece of plywood and lay it on the frame. Make it even with the first end that you assembled flush, that is, the first boards you screwed together. Now, taking the tape measure, open it up to about 8 or 9 inches and align the long edge of the plywood so it is 6" from the 2x8 frame along its entire length. This is somewhat tricky, so take your time. after you've lined up the long edge, go back and realign the end with the end of the frame. Now recheck the long edge. Go back and forth until they both are lined up where they should be. Now take a 2" screw and screw down the edge of the plywood where it rests on the flush edge. One screw only for now, near the center of the frame. Now go to the other end, where the 72" cross member is screwed in and screw down the ply to the frame. on the long edge, which should be 6 3/4" in from the edge of the plywood. Go back to the top and finding the 6 3/4" distance again on the plywood, add another screw to the long edge. Now just add more screws. Don't go nuts, 3 in the 45" pieces, every 12 inches along the long edges, 6 3/4" from the edge of the plywood. do the same on the other piece of plywood. Line it up to the existing piece and duplicate the screw pattern. If you did this right, you should have a 6 inch toe space on each side and a 10 inch space at the foot. Its done. Congratulations.
PS: If you're not an experienced tool handler, you might want to have another pair of hands to help you.
If you have any questions, call me. 847 989 8755. I live in Chicago.
My name is Maynard. I've been a carpenter for 50+ years.
Gina, after spelling it out, I decided to take a look at what Rose sent you. That site has a couple hundred tutorials, one of which probably would conform to my written explanation. So maybe read mine then look at a couple of those, then go back and see if mine makes more sense after you,ve seen it done. Maynard.