I'm looking for an expensive way to make a sturdy upholster headboard
Related Discussions
Can I ask Home Depot to cut my wood?
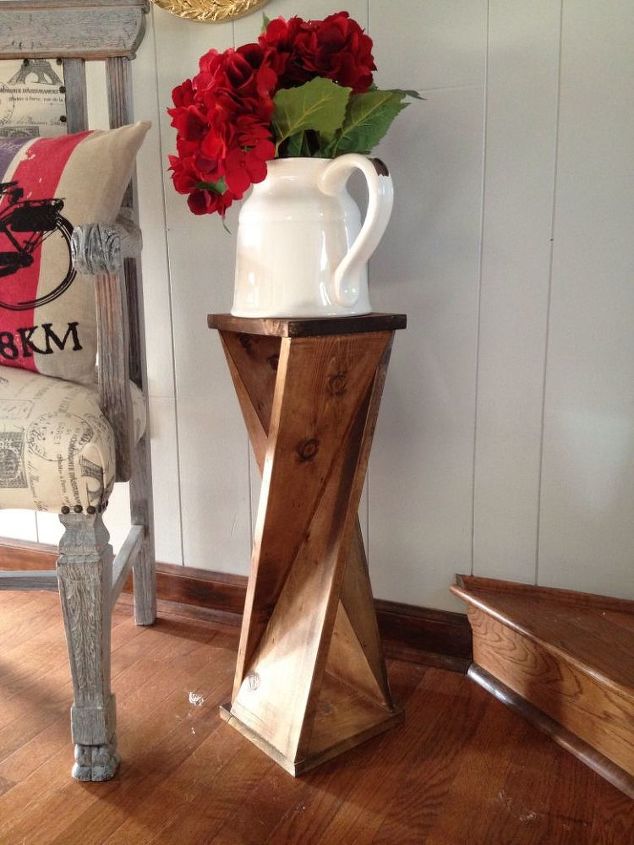
I'm seriously considering making this twisty side table that I fell in love with here on Hometalk (By Chasing A Dream), but cutting the wood is a bit too ambitious fo... See more
What to do with our livingroom ceiling?
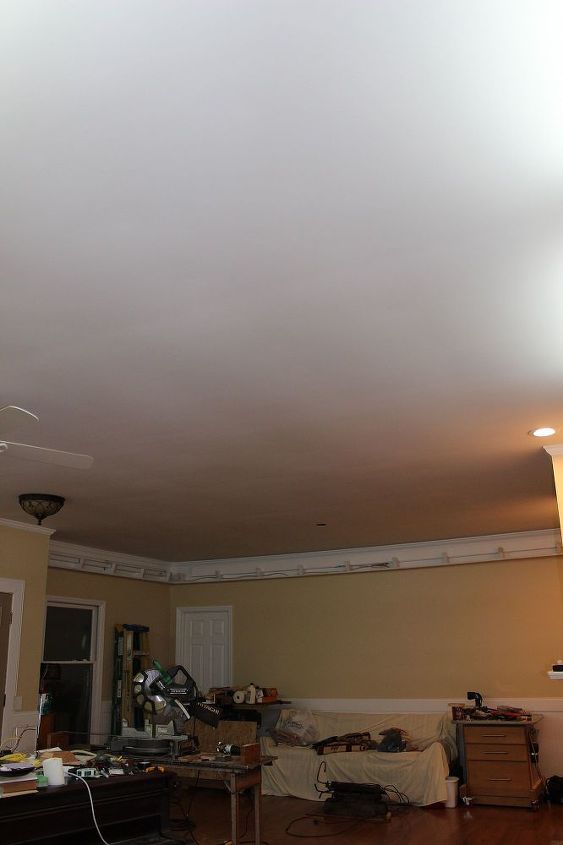
We took the old popcorn ceiling off in our livingroom and thought we could just paint it. We fixed some hairline cracks where the joint in the sheetrock are, primed a... See more
What type of hinges are used on the top of this folding table?
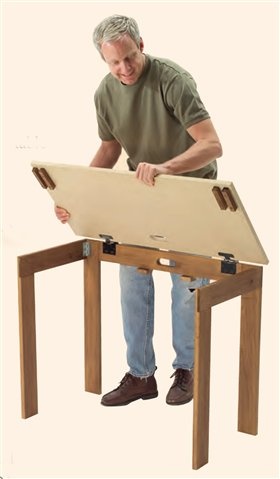
Does anyone know what type of hinges are attached to the top of this folding table? The legs fold in toward the back then the top folds down flat against the legs.
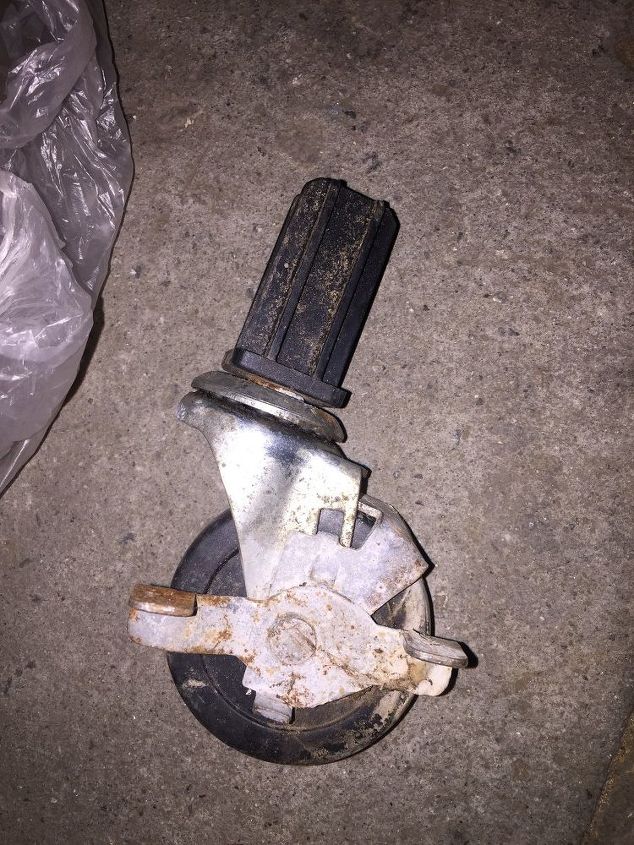
How would I be put on these wheels ?
I am planning on doing a mobile wood bench using 2x4. I have these wheels but have no clue to put them on
Sealing/smoothing crate wood
I am turning the sides of an old wooden crate into a coffee table top. The wood is similar to pallet wood: unfinished and prone to giving splinters. How might I go ab... See more
How do I make DIY furniture sliders to move heavy furniture?
HOW DO I MAKE FURNITURE SLIDERS TO MOVE HEAVY FURNITURE.Best furniture sliders!Move furniture easily with Round furniture moving kit that Amazon reviewers swear by!

If you are placing the headboard on the wall for good, you can use a piece of plywood, foam, and fabric. Stapling works the easiest for the fabric attachment to the board with foam. Once you measure everything, putting it all together is easy and doesn't take very long. I think there are some great utube video's on how to do this.
a crooked I am assuming you mean an inexpensive headboard? You can use pretty much any materials. An old door, an existing flat surfaced headboard, a piece of plywood. Once you have your base you will need a thin piece of foam, material and if you want it tufted, the buttons or pins. The most expensive thing would be your fabric, but you can probably find a piece at a fabric store on clearance for a few bucks. Make sure when you measure your fabric you allow an additional couple of inches all the way around so you can adequately secure it to the base. A staple gun works great to attach the fabric to the base. Use a thin coating of glue to attach the foam to the base. Lay the material, face side down, and then lay the base, foam side down, on top of the fabric. Start in the middle of each side, and attach the fabric t the base, then work your way out. This makes sure the fabric is evenly stretched all the way around. Try and use a solid fabric, or a fabric that won't look off kilter if you don't get it perfectly even. A floral fabric you won't really notice if it slips, but a hounds tooth or chevron would be really noticeable. If you are tufting it, try not to eyeball the placement, again, it would be really noticeable if there were too much of a difference between one side and the other.
Check youtube.com for videos
cut out the shape you want from 3/4 inch plywood. cover it with foam rubber and then with batting. Use upholstery staples to keep that in place before putting the fabric over top. Cut the fabric to wrap to the back. You will need to work in some small pleats on the edges to accommodate the stuffing.
Here's a cute one with directions.... http://www.thriftydecorchick.com/2013/07/diy-tufted-headboard-tutorial.html
I made my own with a half sheet of plywood, some 2x4 pieces, a roll of crib batting and some quilting adhesive (it's also called basting spray). Once the wood is cut, you need to figure out where you need the legs to go (your 2x4's) so that you can attach them to the bed or the wall, to stabilize the headboard. I screwed the 2x4 "legs" to the plywood and the bedframe. I attached the batting to the wood with the spray adhesive. Then I stapled a pretty sheet to the frame, over the batting. I wanted a tall headboard, but, it could easily be half this size. I like to drape a quilt over the top, as you can see. I had intended to use foam rubber, but, the batting was inexpensive, and I've had this for years. The sheet can be removed or covered over, for a different look. I used a twin size sheet, so it was very inexpensive. I still like it!
This is one of the easiest of all DIY projects. You can use lots of things, but you want upholstered which is also easy. You want it to be as wide as your bed and as high as you like or have the room for. I made one for my grandson's sleeping attic space. I found the plywood at our town transfer station. . . also the fabric came from there. The shape of the board was as I found it. I used batting, foam, fabric, and a layering thing like an old sheet scrap. You lay down foam, then the sheeting thing, then batting, then another sheeting thing, then top fabric. Pull carefully around the board and staple starting in the middle of one side and doing the middle of the opposite, then the two other sides in the middle and work your way around, keeping fabric taut but not stretched. In our case since this was up against a thin wall, we just screwed it in from the other side. For a regular wall attach hangers from the back of the plywood and then