


Simple Shelving Using Two Tools

Need shelving in your basement or garage? These simple shelves can be made so easily and all you really need are two simple tools - a screwdriver and a level.
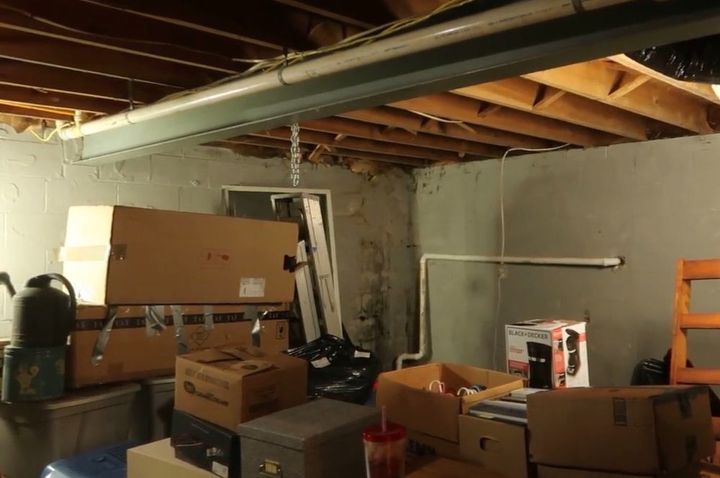
Did you ever wonder why our basements get so messy? Mine is messy because I have a habit of throwing stuff in there and closing the door.
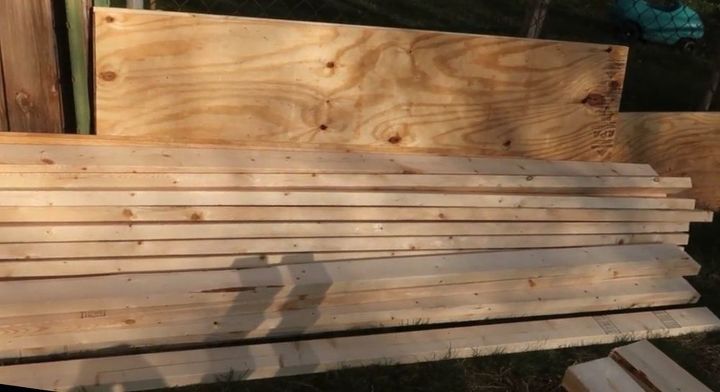
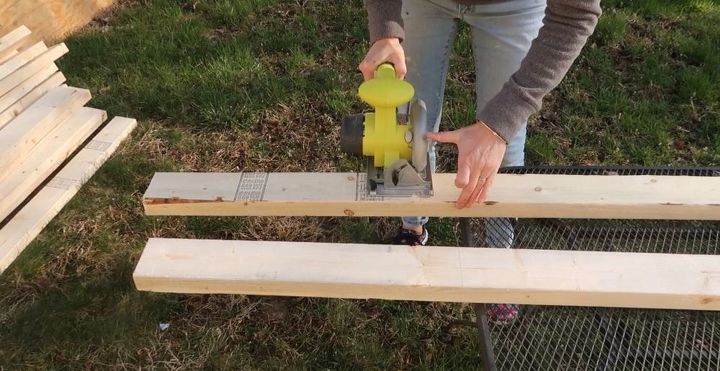
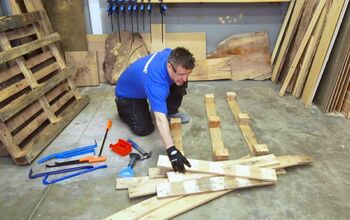
For this project all you need are 2”x4”s and plywood. You can have everything cut at Lowe’s or Home Depot if you don’t own a saw.
This is also great because you can customize your shelves to the size you need.
For each shelf, I cut:
2 - 2”x4”s to a length of 6’
3 - 2”x4”s to a length of 12”
1 - 1/2” plywood 14”x6’
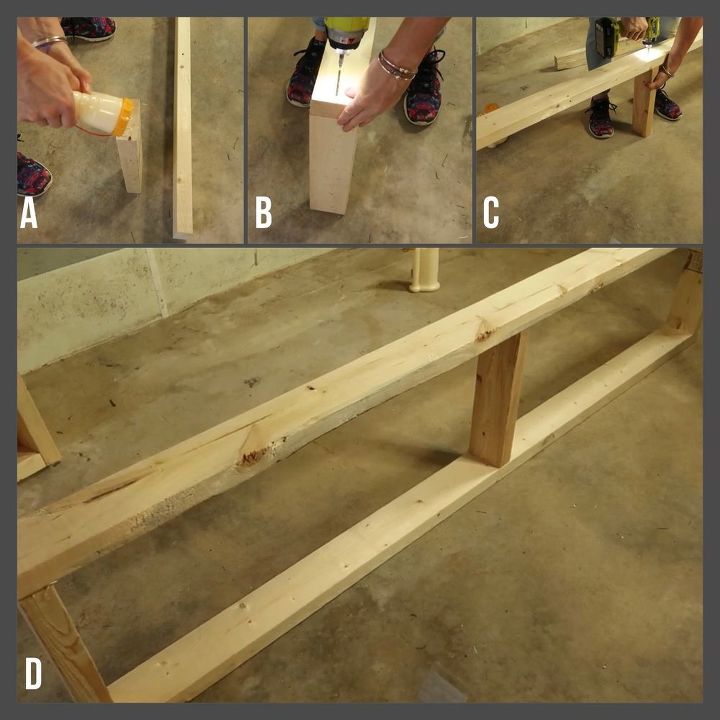
To assemble each shelf:
A-Apply wood glue to the end of one piece of 2”x4”x12”
B-Lay one piece of 2”x4”x6’ on top, aligning the ends and screw in place using 2.5” wood screws
C-Place the second piece of 2”x4”x12” at the other end, apply glue and screw in place. Screw in the third 2”x4”x12” piece in the middle.
D-Flip the entire piece around. Place the second piece of 2”x4”x6’ on top and screw in place.
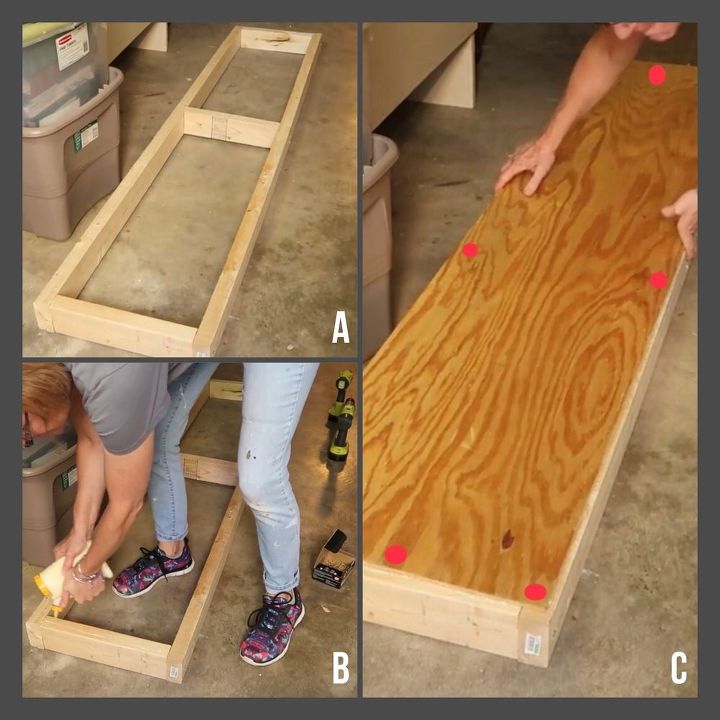
Once you have shelf frame built,
A-Lay the frame flat on your work surface,
B-Apply wood glue to the entire frame.
C-Place your 14”x6’ plywood on top and screw in place using 1.5” wood screws (show by the red dots).
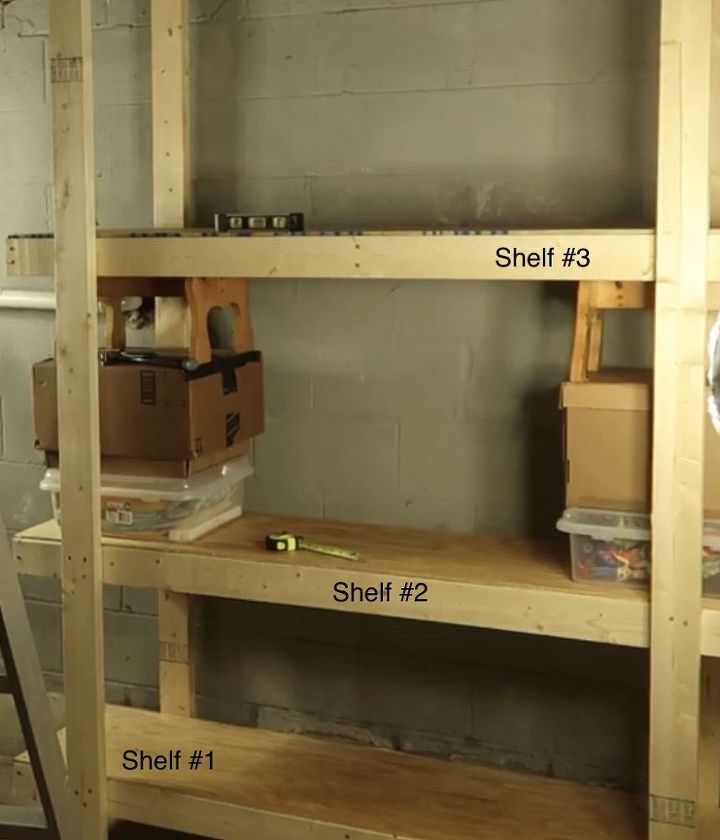
I made a total of 6 shelves.
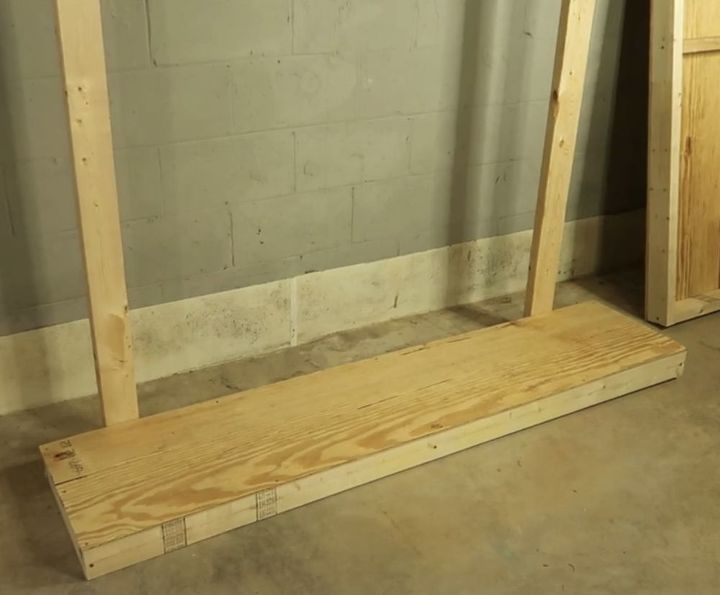
Once the shelves were built, I decided where they would be placed in the room.
I laid one shelf onto the floor and placed two, 2”x4”x6’ behind them, measuring to make sure the shelf is even on both sides.

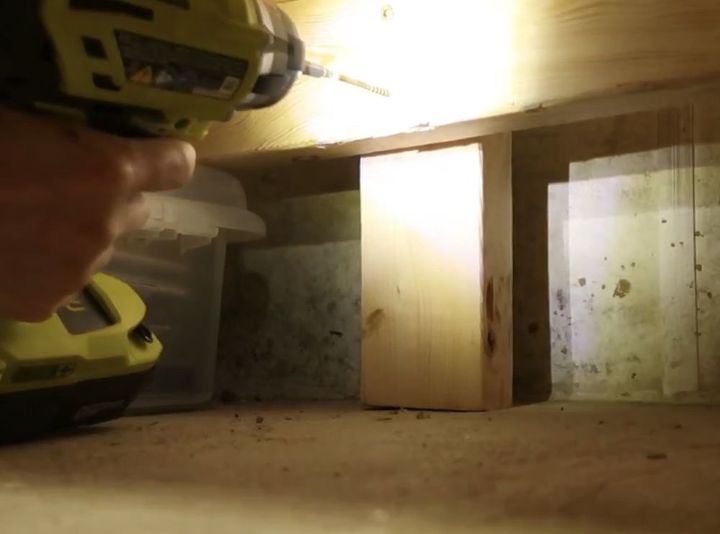
To ensure that my shelves are sturdy, I attached them to the joists in the ceiling.
The first (back) 2”x4”x6’ is attached vertically to the joist closest to the wall using 3” wood screws.
I attached shelves one and two before I attached the front 2”x4”x6’ to the joist.
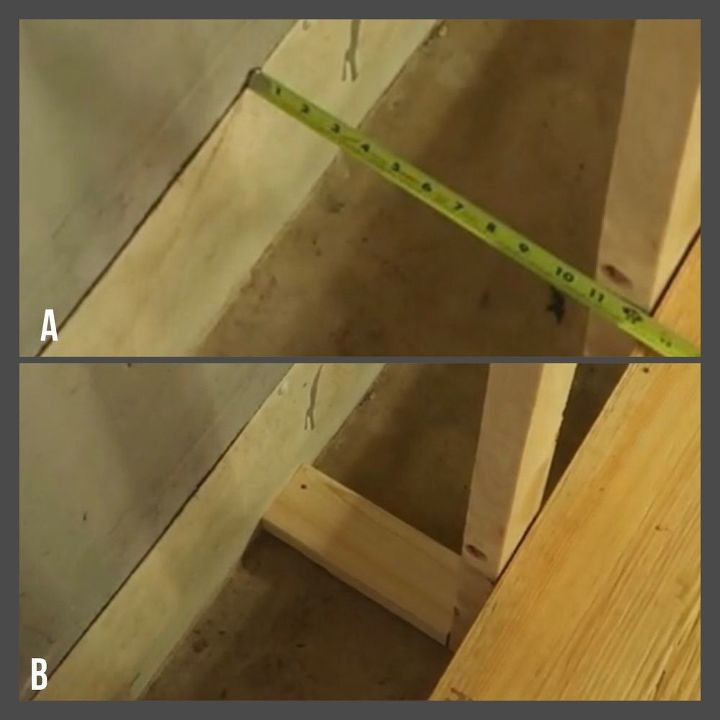
A-The second (front) 2”x4”x6’ is attached vertically to the next joist.
B-I measured to make sure they were at the same distance and marked the joist with a pencil line.
C-My shelf was wider than the space between the each joist so I needed to add extra wood. I screwed a piece of scrap 2”x4” to the joist.
D-I screwed another scrap piece of 2”x4” to the first 2”x4”
E-Making sure my 2”x4”x6’ was level,
F-I screwed that piece onto the second scrap of 2”x4” using a 4” screw
The first joist was running parallel to the floor so it was 10.5” from the wall.
A-I measured and cut a piece of 2”x4” to size
B-I laid the board on the floor and screwed it in place by attaching it to the vertical 2”x4”x6’
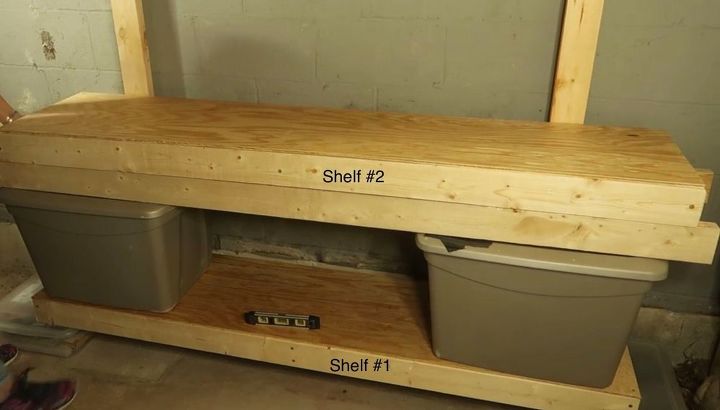
I didn’t want the shelves resting on the floor so I raised the first shelf a few inches by placing plastic boxes underneath each end.
Once those were screwed in place, I placed two larger plastic containers on the first shelf. I wanted a little more height, so I placed a piece of 2”x4” on top of the containers.
I screwed the shelves to the vertical 2”x4” from underneath the shelf. I used 3” wood screws and used four screws per shelf, two in each 2”x4”.
Once shelves one and two were attached, I added the front vertical 2”x4”x6’s. See step 6 above for attaching the vertical 2”x4”x6’ to the joist.
I wanted a decent amount of space between shelves two and three so I used various items to boost shelf three until I have the height I wanted.
I slide in shelf three and screwed it to the back and front 2”x4”x6’.
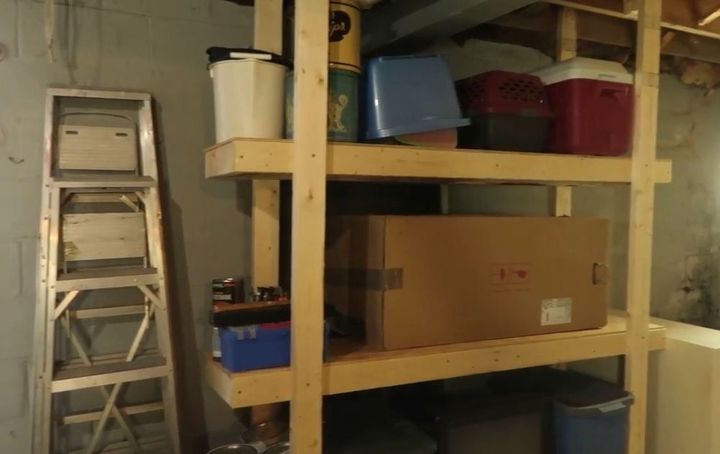
I built another set of shelving alomg another wall.
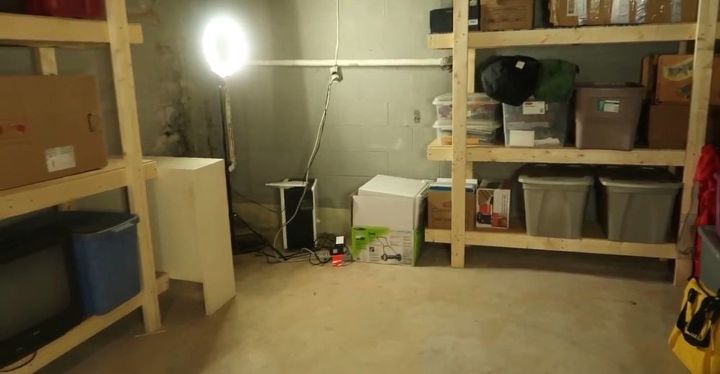
Now the basement is orderly and everything has it’s space. I can even see the floor!!
Resources for this project:
See all materials


Comments
Join the conversation
-
This is great. I'll need help constructing it. But I will get done.
-
Just came acrooss with your work. Thank you for sharing. It looks great.


Frequently asked questions
Have a question about this project?
What if the joists in the ceiling are covered with drywall?