


Faux Candle Tip

Faux, battery operated candles tend to be a safer and lower maintenance option over real open flame candles. The problem is faux candles can be very “fake” looking. Let me show you a faux candle tip I used to jazz up some battery operated tapers.
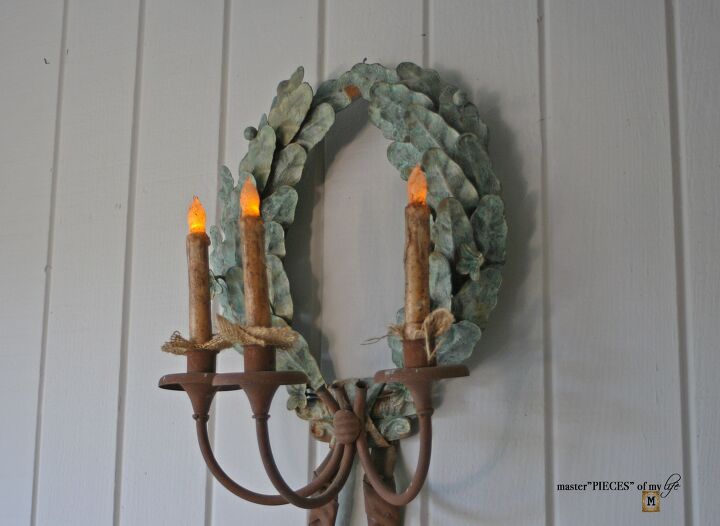
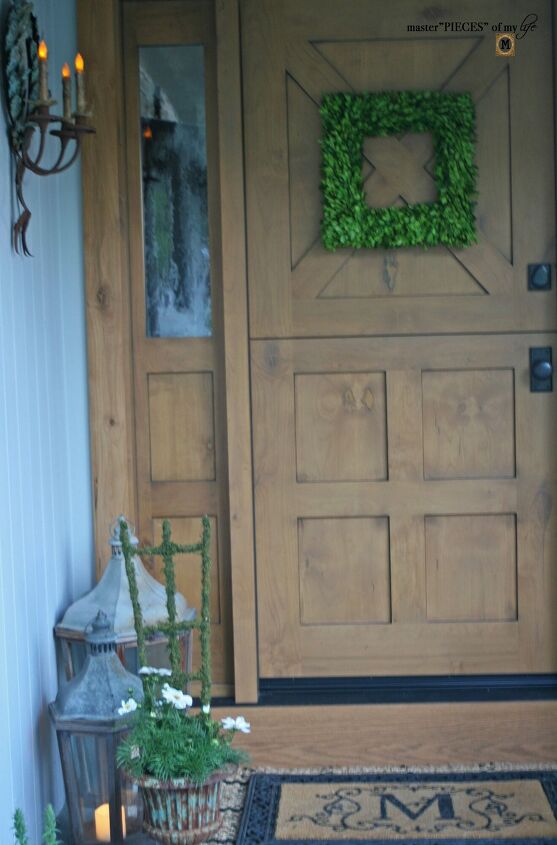
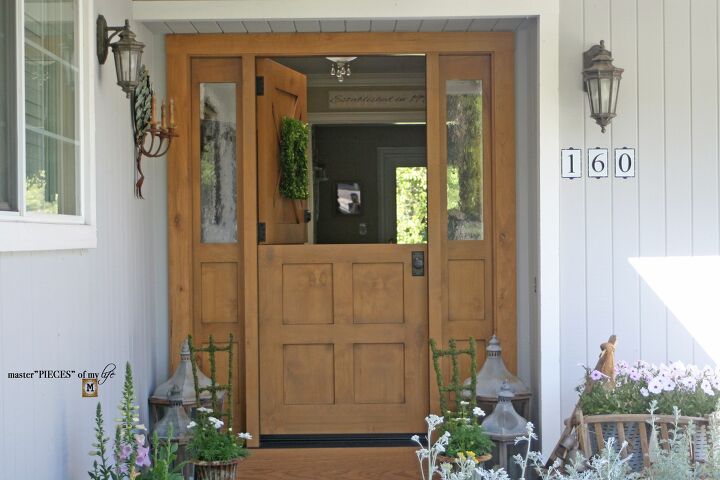
This is a fairly easy DIY hack, which is simply done with a hot glue gun. It all started when we restyled our front porch after our new front Dutch door was installed.
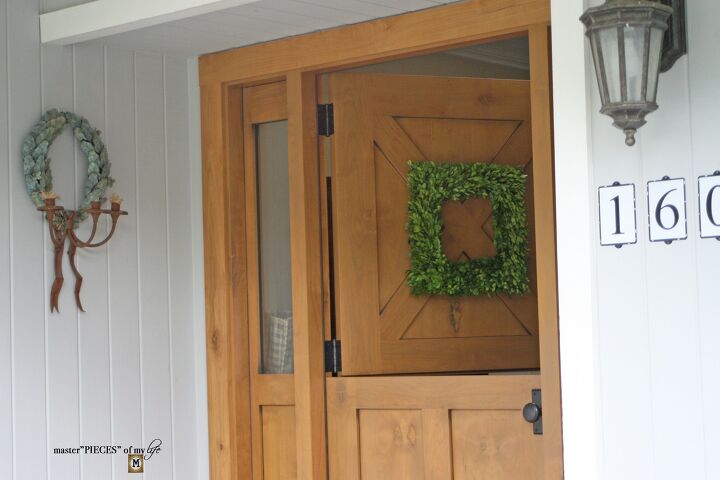
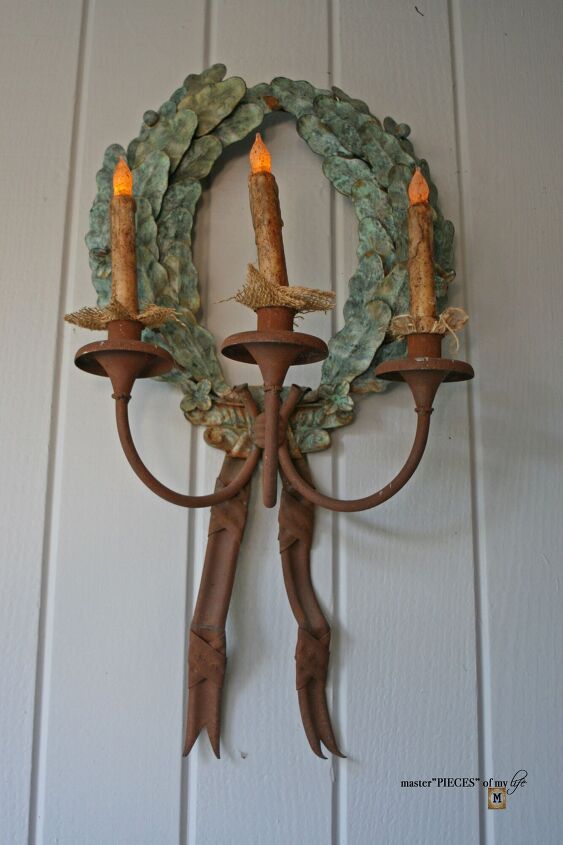
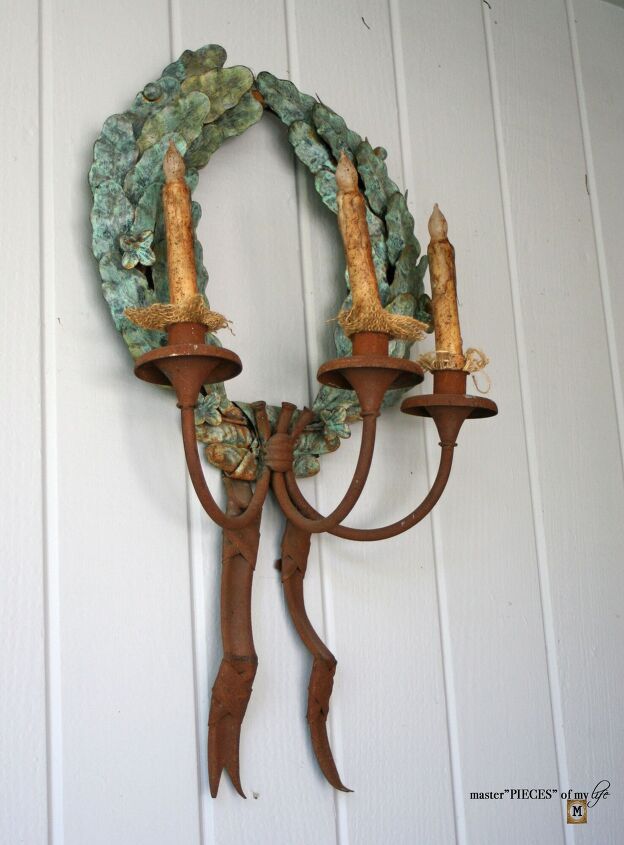
I placed this iron laurel candelabra by the door.
If you’re not a regular reader around here, you can see all the details of our front porch styling in this post {summer front porch blog hop}.
The candles did not look like this when I bought them. With a quick DIY, I added a little more life to the faux candles.
faux candle tip instructions
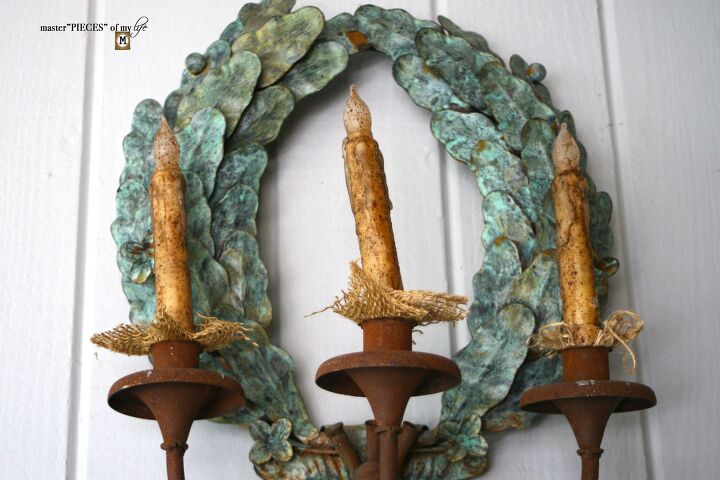
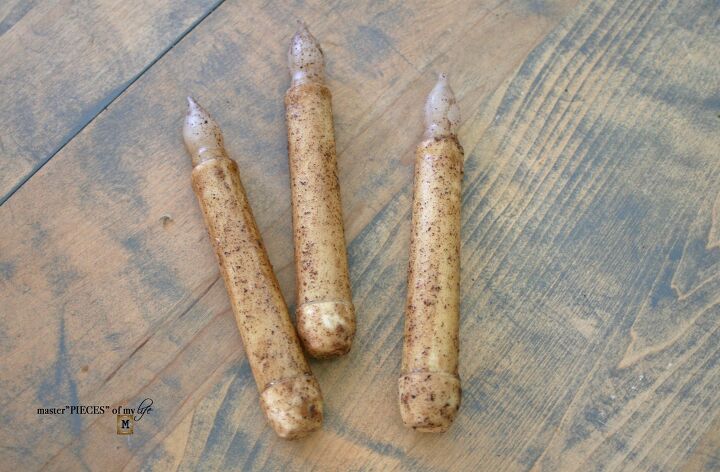
⚜️ 1. Start with store bought battery operated candles. These rustic store bought candles from Amazon were a good start. I liked the burnt finish but I found the candles rather flat, not only physically but also in personality.
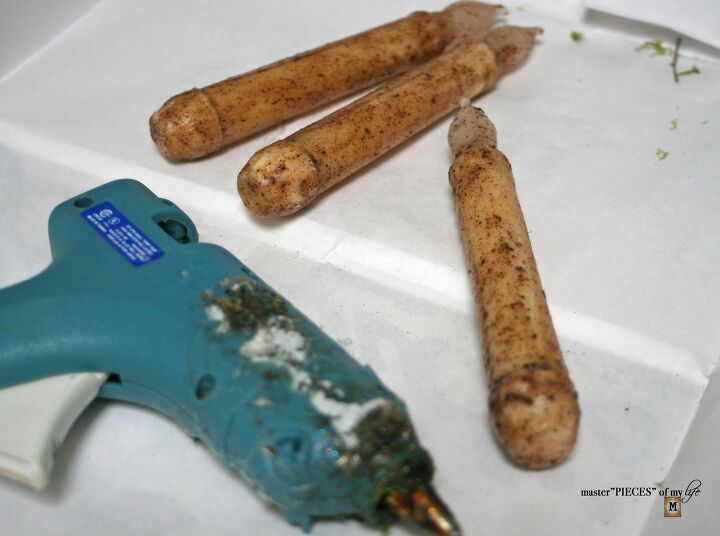
⚜️2. Embellish store bought candles with hot wax from a hot glue gun. I wanted the candles to look like they had been burning for hours with drippy wax stories to tell. Insert hot glue gun here to the rescue!
⚜️ 4. Using a hot glue gun make wax drips on candles. Start at the bottom of the flame and press hot wax down the candle as far down as you want drip marks to go. Use drip motions when applying hot wax to the candles to mimic actual candle wax drippings.
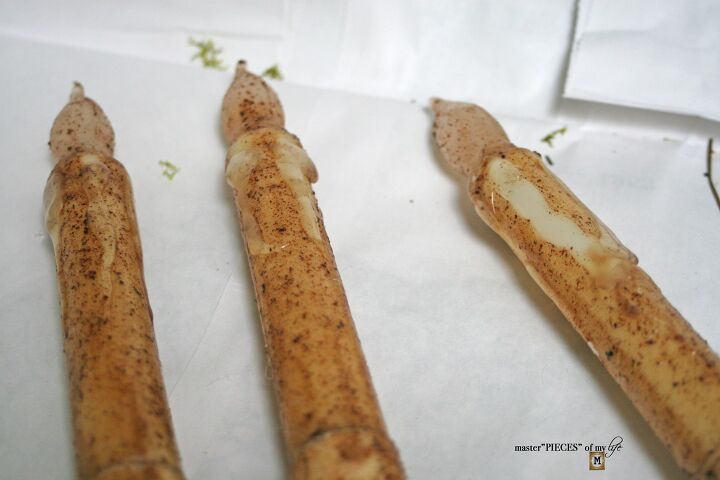
⚜️ 5. Let hot wax dry completely on candles. Make sure not to let hot wax roll down sides of candle horizontally by rolling candle or using a tool {ie. toothpick, popsicle stick, screwdriver, etc.} to maneuver hot wax to desired placement. The hot wax actually removed the burnt finish on my candles, but that’s ok because we will fix that.

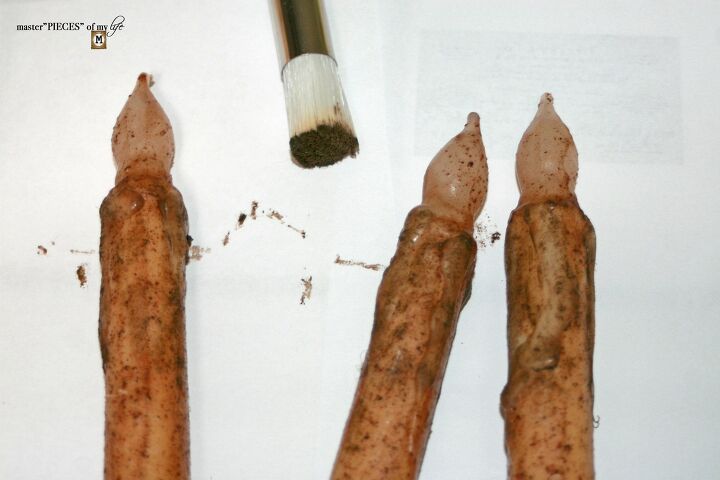
⚜️6. After the hot wax has dried completely, add dark furniture wax to blend with burnt finish of candles. I used a stenciling brush to apply the dark furniture wax to the candles. I dabbed the dark wax until it blended with the original burnt finish of the store bought candles.
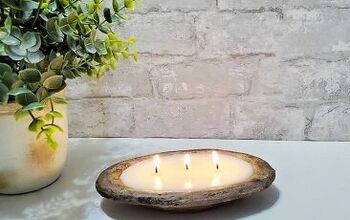
⚜️7. Add your newly embellished faux candles to your candle holder of choice. Enjoy.
faux candle tutorial tips
This technique can be added to any store bought battery operated candles. Just choose the right “finish” for your candles. For example, if you are using basic neutral candles, chalk paint or craft paint can be a good alternative to cover the hot glue wax in a white or cream finish.
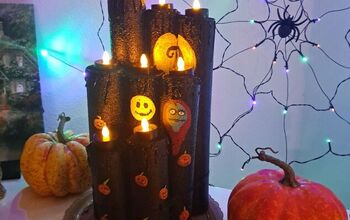
You can add as many drips as you want or heavy drips to achieve the look you would like. I applied a subtle amount here, opting to not be heavy handed with the faux wax drippings. It would be a fun craft to create for Halloween with a ton of drips, using black paint. Hmmm, I am adding that to the list for later in the year.
If you don’t want to miss out on any of the upcoming projects you can subscribe to receive all my new posts to your in-box.
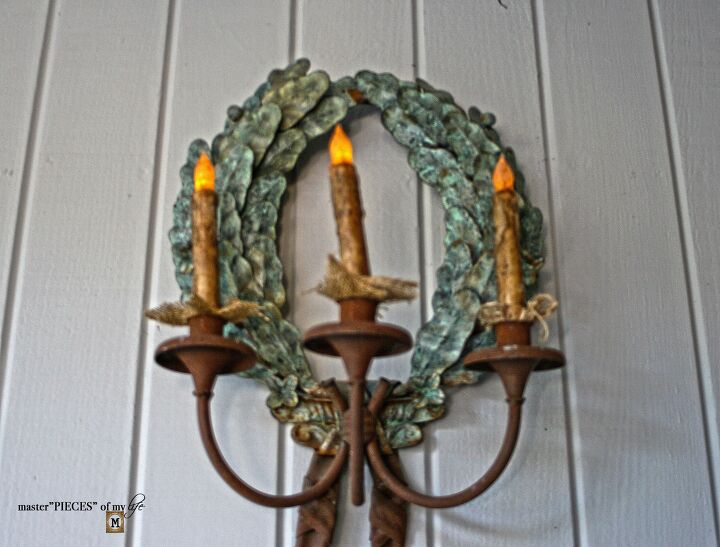
One of the features I love about the candles I bought is that they have a timer setting. So the candles turn on automatically when it starts to get dark outside, and then turn off by themselves five hours later. It’s perfect for our front porch. We do not have to fidget with the candles removing them from the candelabra to turn them on & off. The candles are actually still on when we go to bed most nights, and go off while we are sleeping. I love easy and low maintenance!
“A candle loses nothing by lighting another candle.”
Erin Majors


Frequently asked questions
Have a question about this project?