


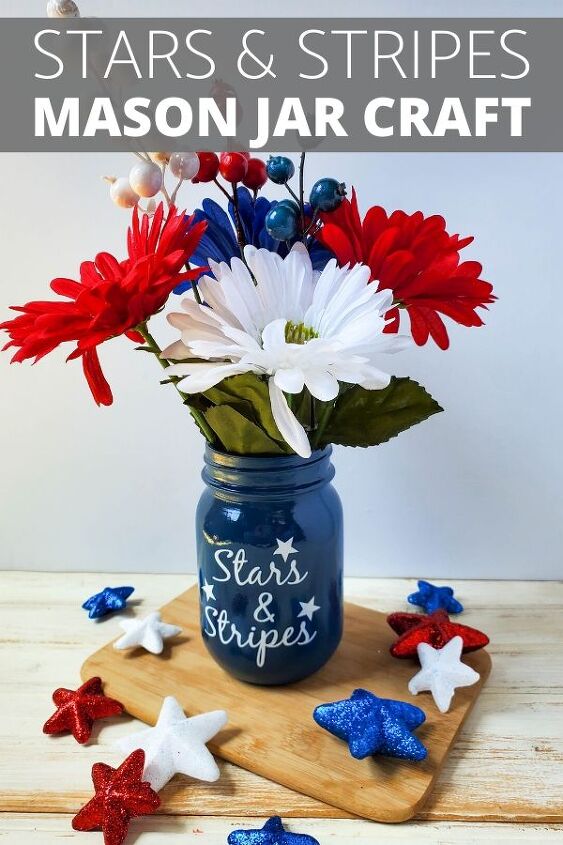
Mason Jar DIY Centerpiece for 4th of July – Cricut Craft
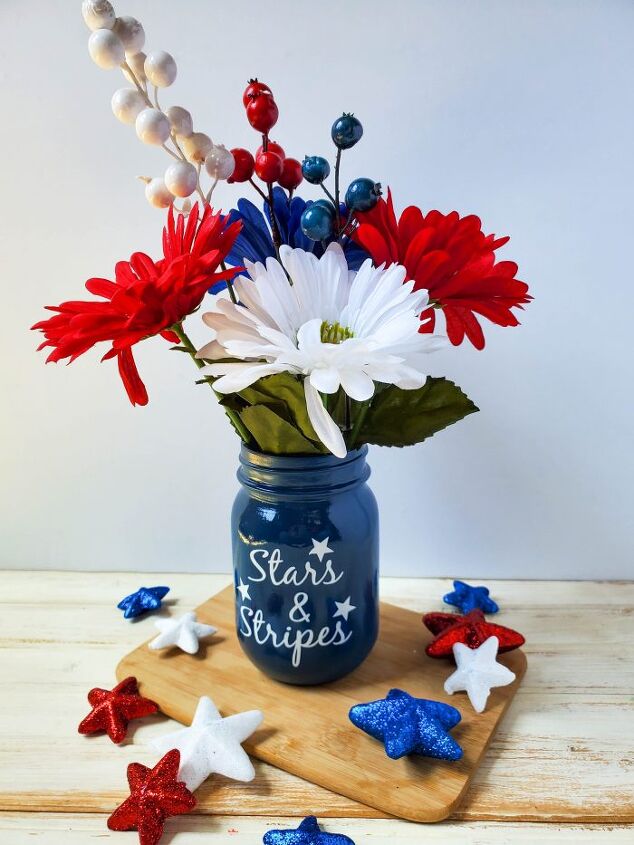
With the 4th of July coming soon, it’s time to plan your décor and parties. Whether you’re hosting a backyard BBQ for your immediate family or hosting family and friends this Mason Jar DIY centerpiece will be a fabulous decoration idea.
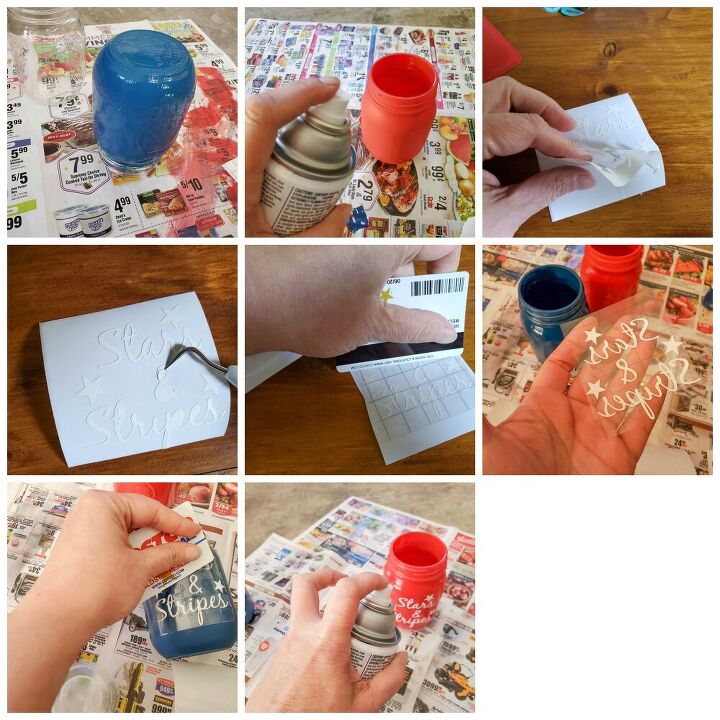
The best way to paint Mason jars is by using craft paint. For this Mason jar DIY centerpiece, you’ll use red and blue craft paint. Using a paintbrush you’ll paint one Mason jar red and the other blue. You may need to use 2-3 coats of paint, allowing each layer of paint to dry before painting another coat. To finalize the paint so that your centerpiece stays shiny, you’ll spray a clear glaze coat on each of the two painted Mason jars.
For this Mason jar DIY centerpiece, you’ll need Cricut premium vinyl in the color white. While you can use the standard Cricut grip mat, many people prefer to use the Cricut LightGrip mat when working with lighter material such as paper, vellum, cardstock, and vinyl.
You’ll see that I recommend using a Cricut machine with the fine point blade installed. This is the best Cricut blade to use when working with vinyl. The fine point blade is generally the standard blade that arrives with your Cricut machine, but if you plan to make more Cricut vinyl crafts then you may want to keep a second Cricut fine point blade on hand so that you won’t be delayed with your Cricut craft projects.
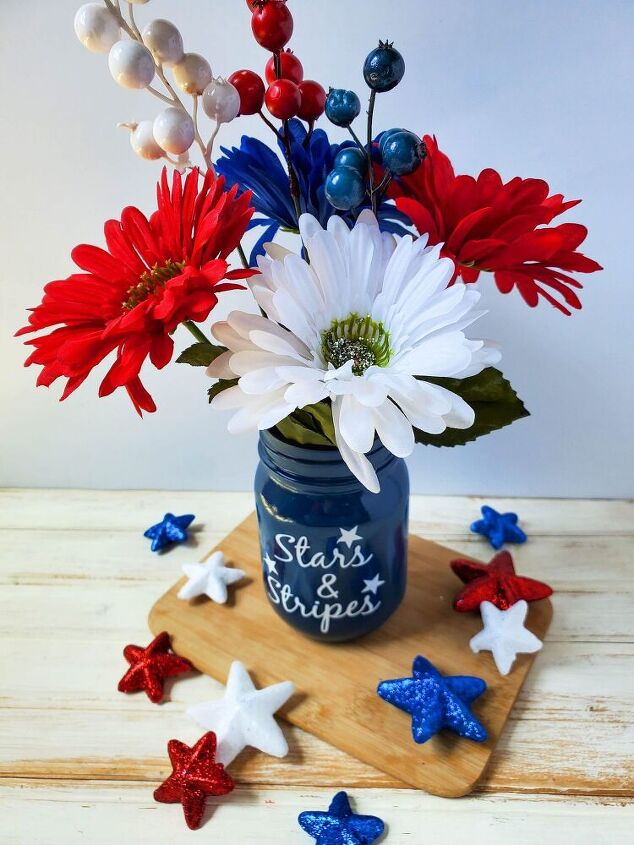
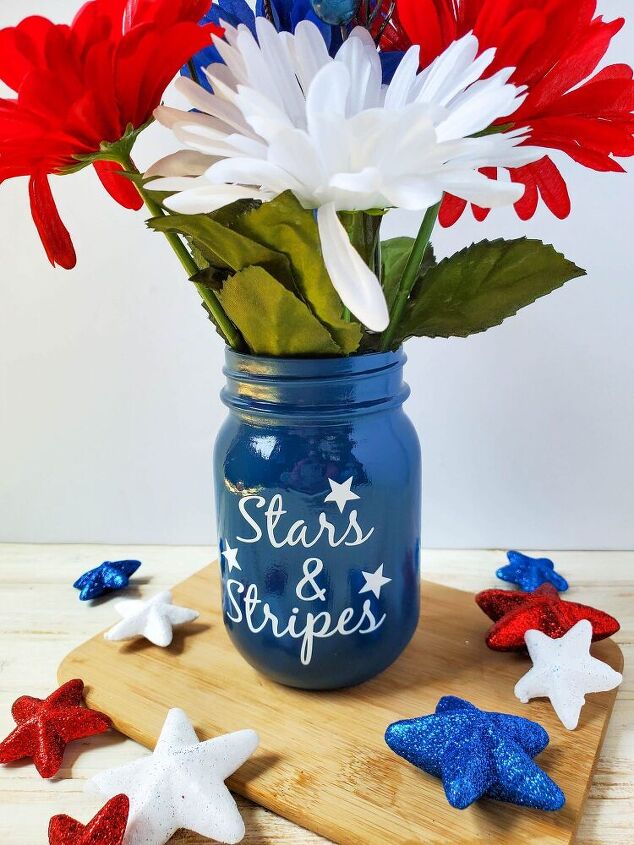
This DIY Mason jar centerpiece featuring the words “Stars & Stripes” is simple to make using your Cricut machine with a fine point blade. Just download the SVG file and import it into Cricut Design Space. From there you’ll follow my instructions below to make this festive DIY Mason jar tabletop centerpiece so that you can have a gorgeous patriotic centerpiece for your 4th of July festivities.
Supplies:
- Stars & Stripes svg file
- Cricut machine with fine point blade
- Cricut Standard Grip Mat
- Cricut Premium Vinyl (white)
- Cricut Transfer Tape
- Cricut Weeder Tool
- Cricut Spatula, or thick card
- Scissors, or paper cutter
- 2 – pint size mason jars – with at least one side smooth
- Red and blue craft paint
- Paint brush
- Krylon Clear Glaze
- newspaper
Directions:
1. Lay out newspaper and paint your jars, one blue and the other red. You will need to


Frequently asked questions
Have a question about this project?