


Rusty Jack-O-Lantern Topiary
This post was transcribed by a member of the Hometalk editorial team from the original HometalkTV episode.
Turn our buckets and pails into this perfect fall topiary with cinnamon.
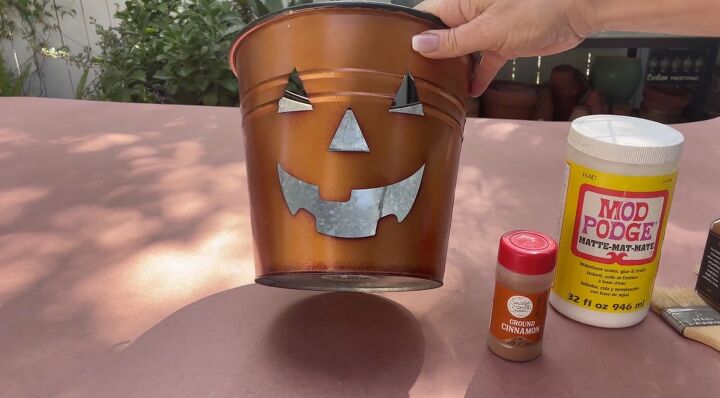
I found these buckets at Michaels last year, and they were 90&% off, which was a great buy, but I don't love the finish on them. So, I’m going to use two simple products, Mod Podge and cinnamon to transform them.
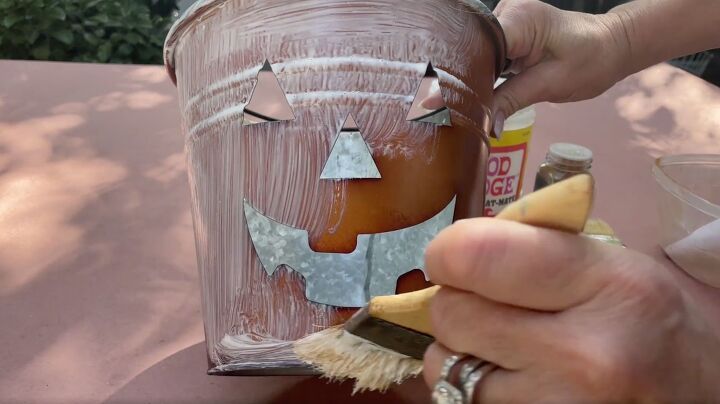
Start by covering the pumpkin with the Mod Podge all over. Make sure you have paper down so you don't drip it. Start by covering half of your bucket.
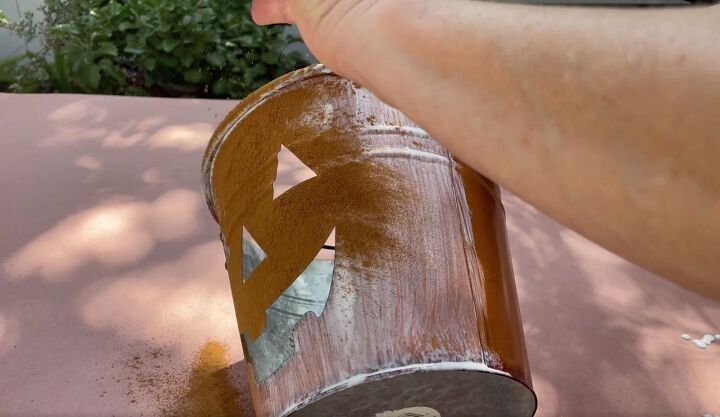
Then cover the pumpkin with cinnamon.

Here is the first cinnamon pumpkin.
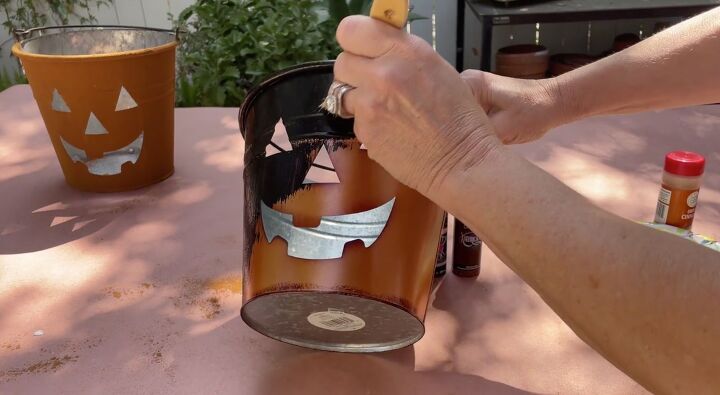
The second way that you can create a rusty-looking pumpkin is to use acrylic paint and cinnamon. Start with some black paint and cover the bucket. This method gives you a little bit more depth and color. By doing this, you will see how we get more ofa variety of colors.
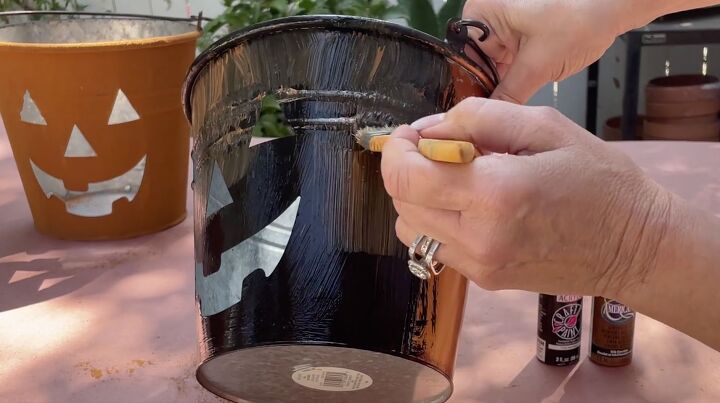
Once the black is all over, use a pumpkiny brown color, and paint right over it creating a two-tone look.
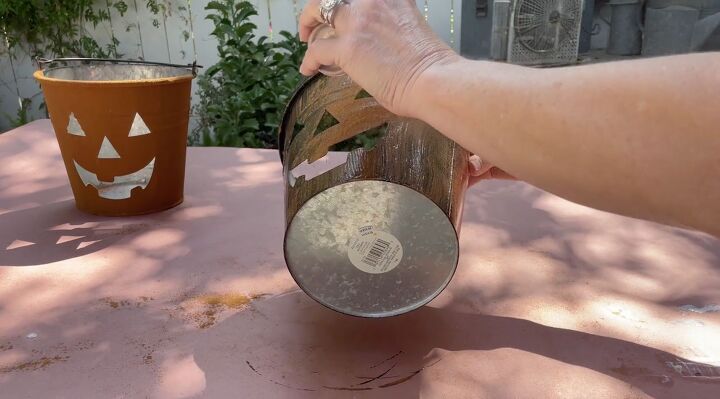
Then sprinkle it with the cinnamon. On this one, if you want to leave some areas with a little less cinnamon, you can do that.
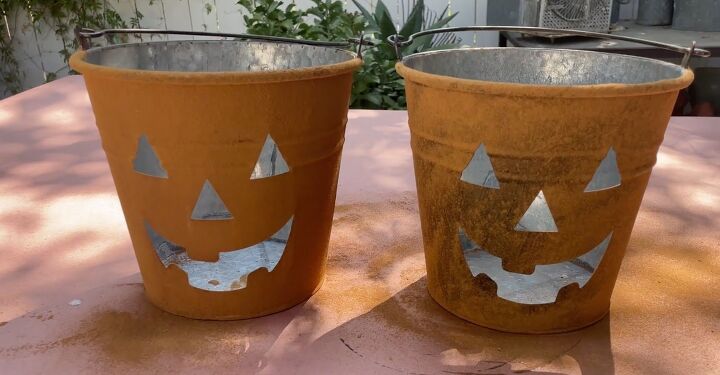
Here they are side by side so that you can see a little bit more variation in color on the pumpkin on the right than the one on the left.
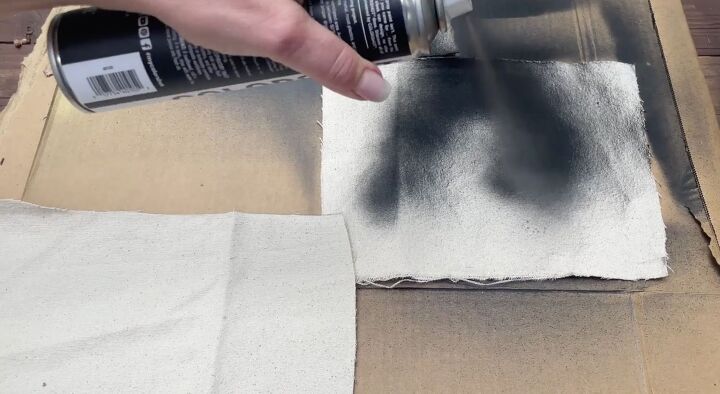
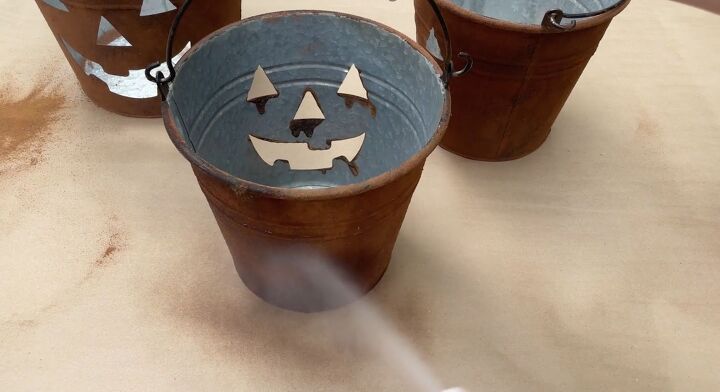
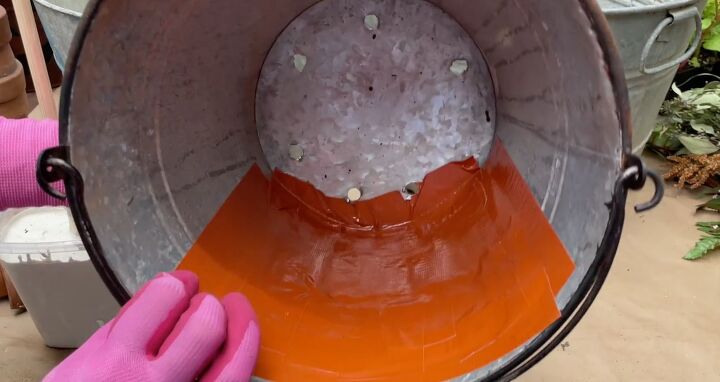
Next, I needed some fabric to cover the mouth, the nose, and the eyes of my bucket. I didn't have any black fabric so I just had a piece of dropcloth and simply sprayed it black.
Before I stack my buckets, I gave them a good coat of matte clear enamel and let them dry. This will keep the cinnamon from falling off of the bucket.
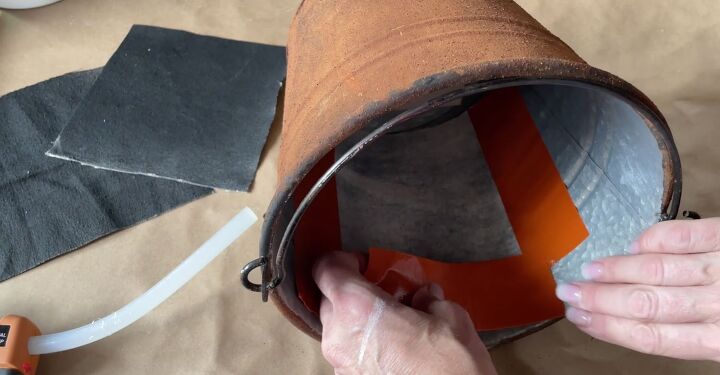
Then I attached it to the inside of the bucket. I used hot glue and tape to hold it in place.
Now it’s time to build the topiary. I placed a dowel in a plastic container and use two pieces of wood to secure it in place.
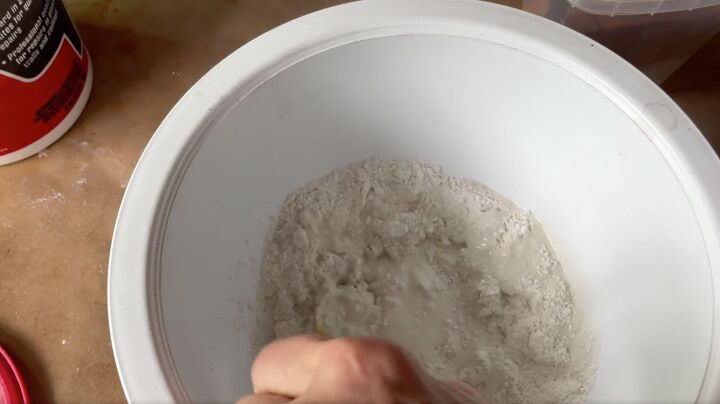
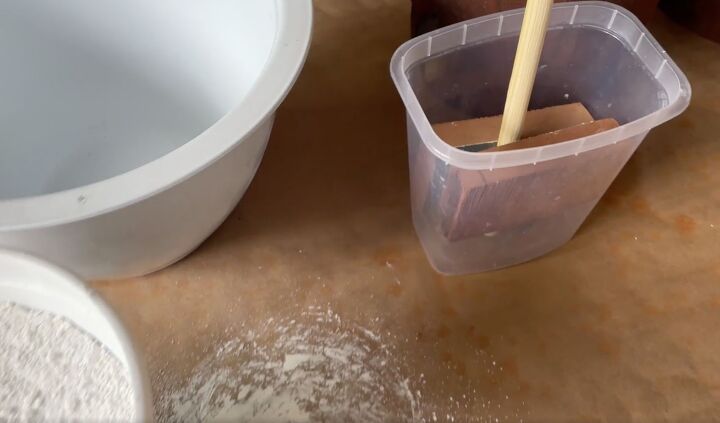
I secured it with some Plaster of Paris that I mixed up.
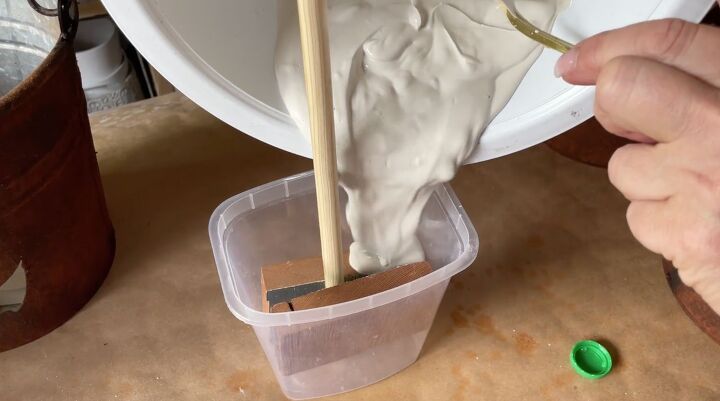
Once it was well mixed, I poured it around the dowel and wood.
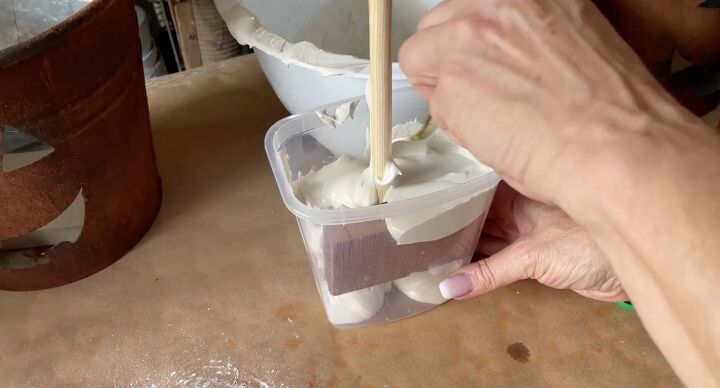
I also pushed it down to make sure all of the cracks were filled.
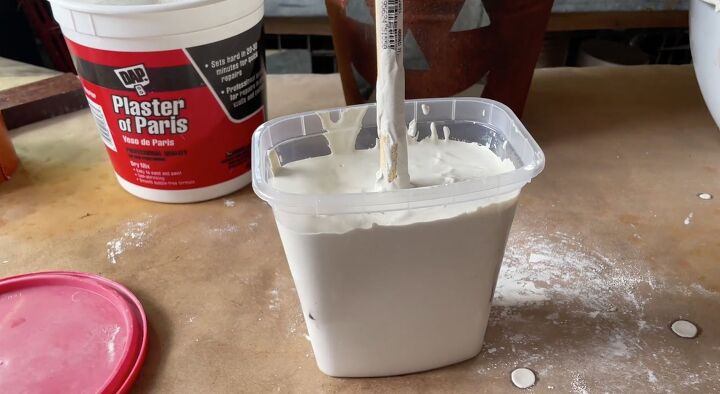
Here is the full container.
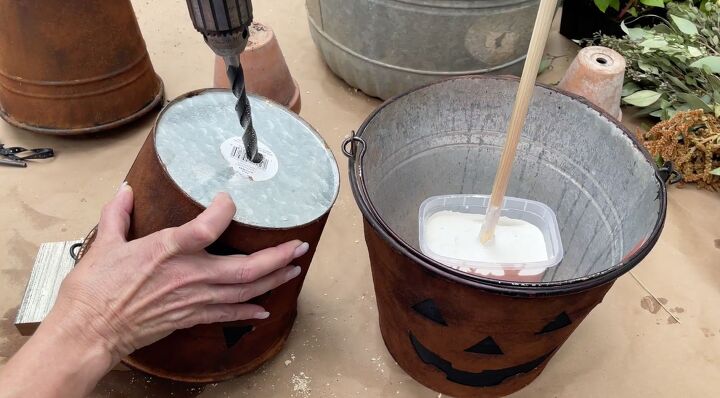
Next, it’s time to drill a hole in each bucket's bottom. The hole needs to be big enough for the dowel to slip through.
Now it's time to create our topiary. The first thing I've done is drilled a few holes in the bottom of this bucket for drainage.
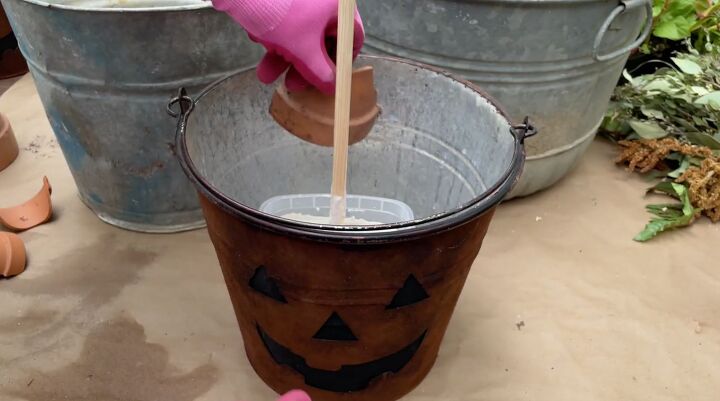
I'm going to place my Plaster of Paris with my dowel into the bucket and put some large pieces of broken pot over the drainage holes.
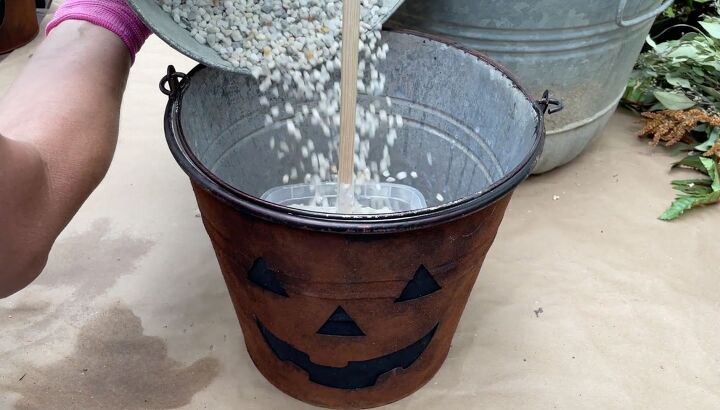
Then I'm going to use smaller gravel to create a base for two reasons; drainage and for weight. I want to give the bucket some weight because it's going to hold three other buckets.
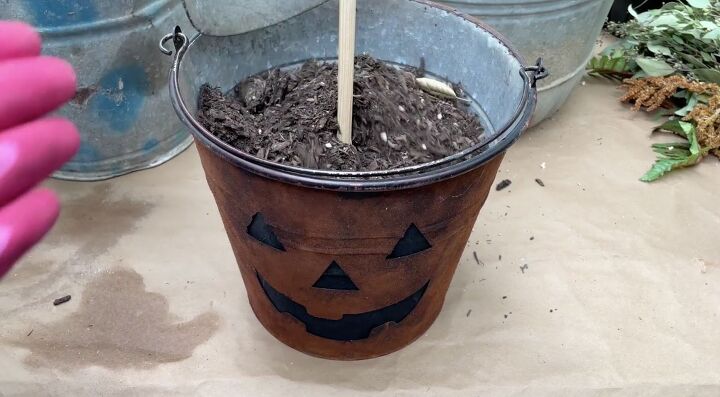
I'm going to then fill my bucket with soil.

The next thing I'm going to do is put on a clay flower pot over the dowel upside down. The reason I'm doing that is this will create a barrier between this bucket and our next bucket to give me a little bit of space there.
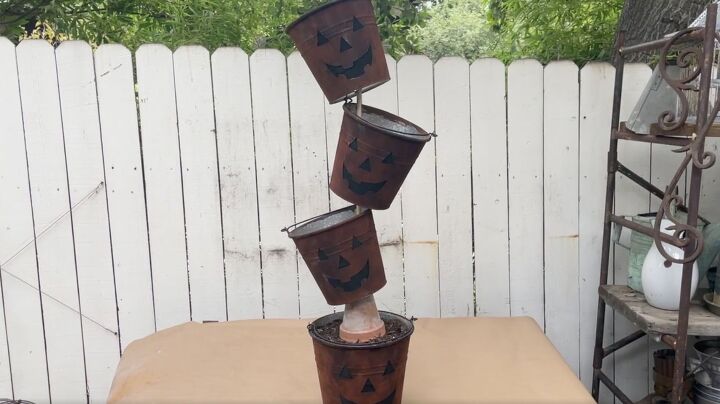
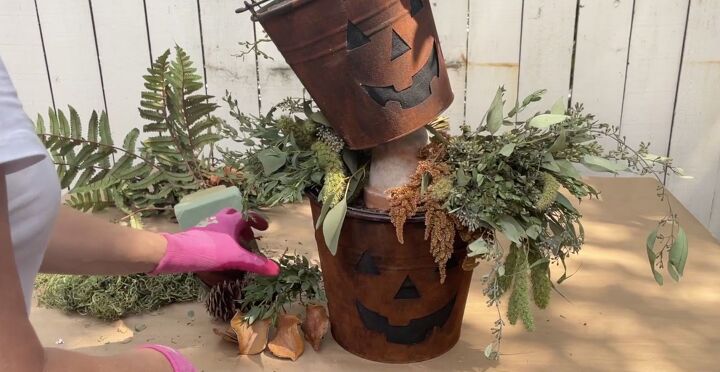
Then I'm going to add all three buckets tipping them at different angles.
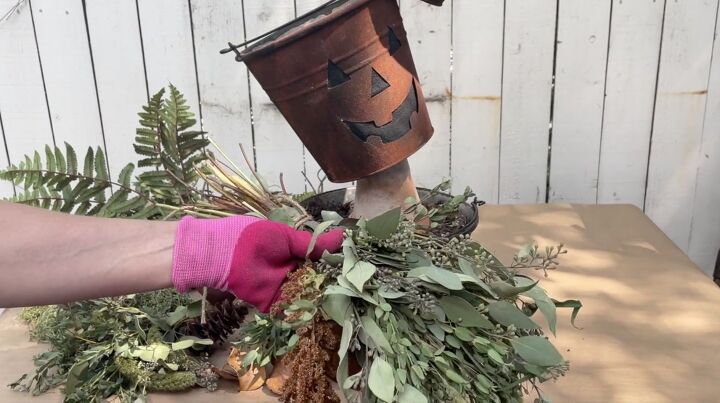
Now I'm going to put it up and put her on the front porch and start to fill it. I'm goingto fill it with some faux flowers. I chose faux because they're lighter in weight and I didn't want to make the topiary too heavy.
These are just some leftover eucalyptus and some amaranthus that I had in an arrangement. I'm going to just set it like that.
I also have a faux branch, and I'm going to poke it in the back here.
I have a second little bunch of eucalyptus, that I added.
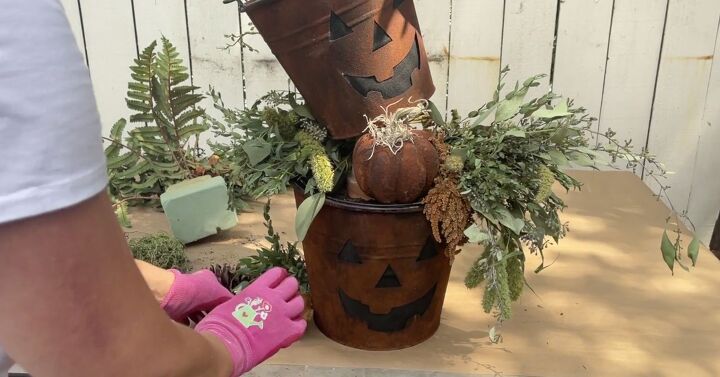
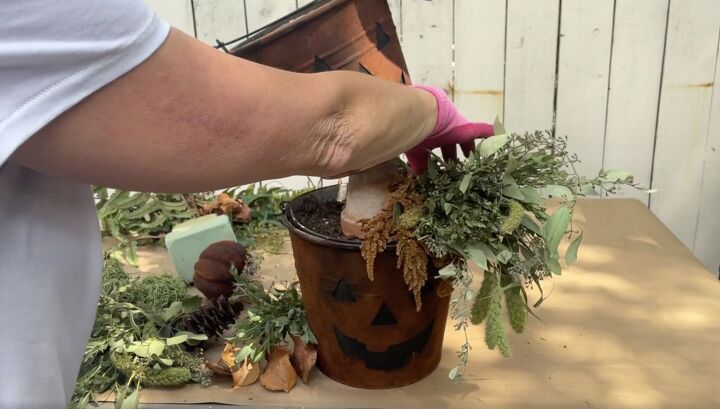
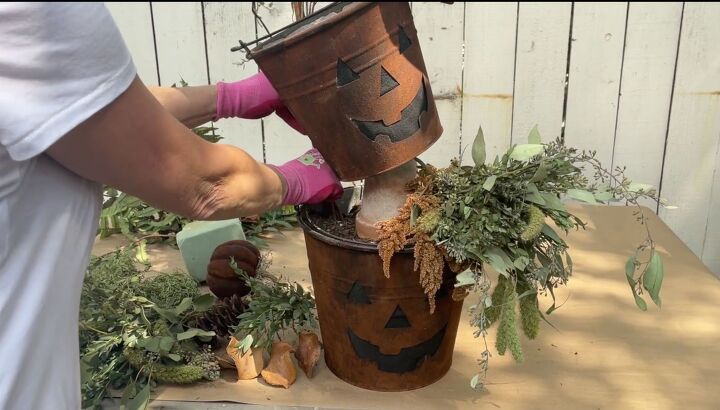
I also added a cinnamon pumpkin that I did earlier this week. I'm going to put it right under there.
Pop a little bit more eucalyptus in here, a pine cone there, and a few pods from my Jacaranda tree. That makes up my first layer.
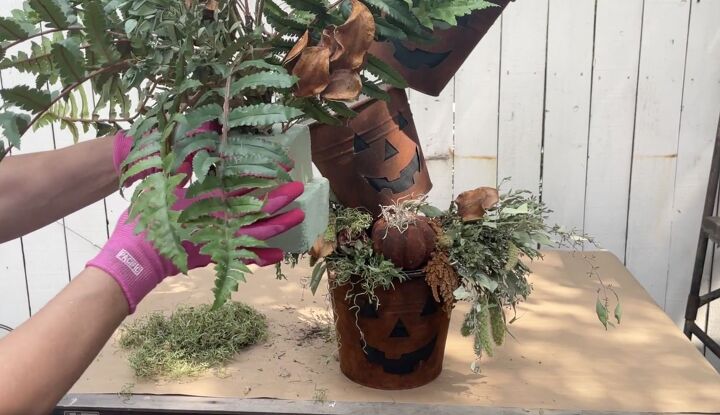
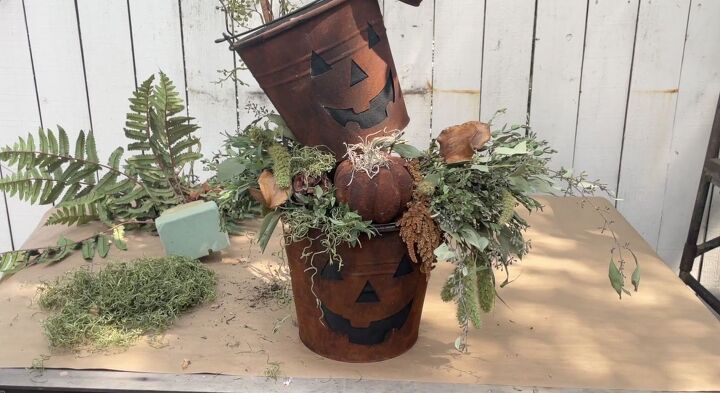
Next, I added an oasis block where I poked a faux fern and just a few of the Jacaranda pods in from my front tree. I put this in the very top. I chose to put it in the oasis so that it will give it some stability.
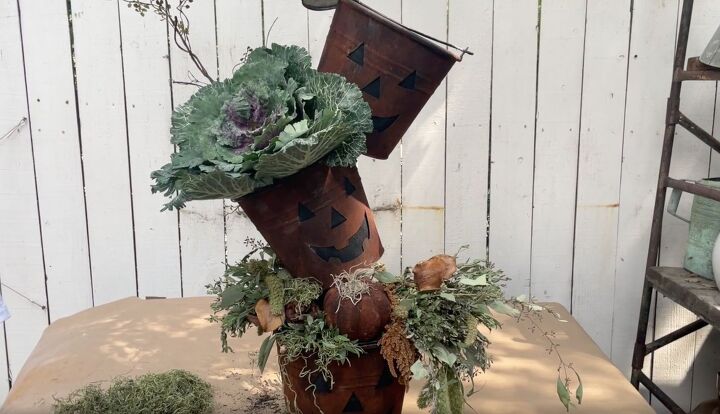
For the middle two, I picked up these giant, large faux cabbages. I think they're great for fall. I put a box of oasis inside the bucket, and I just poked them in.

I finished everything off with a little moss and let it hang down the buckets.
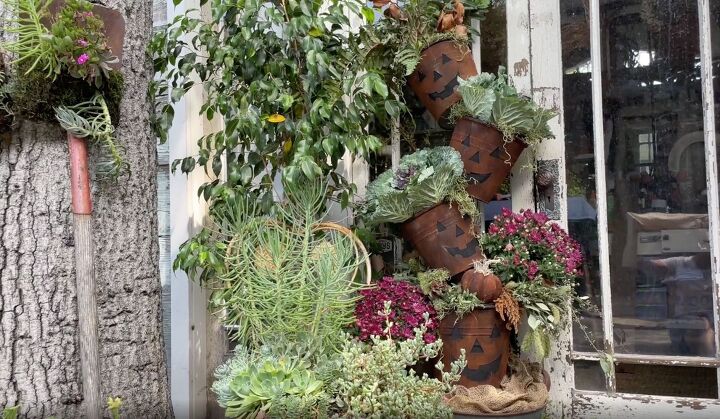
There you have it. It's ready for fall.

Comments
Join the conversation
-
PERFECT FOR ENTIRE FALL SEASON! I love cabbage plants too 😍 Thanks and Happy Holidays!
-
with my luck - living in hurricane alley - the wind would blow the whole gorgeous thing thru the glass windows behind it! I can admire but no point copying- hurricane season runs right up until Christmas decor goes up!


Frequently asked questions
Have a question about this project?