


DIY Low Profile Doorknob
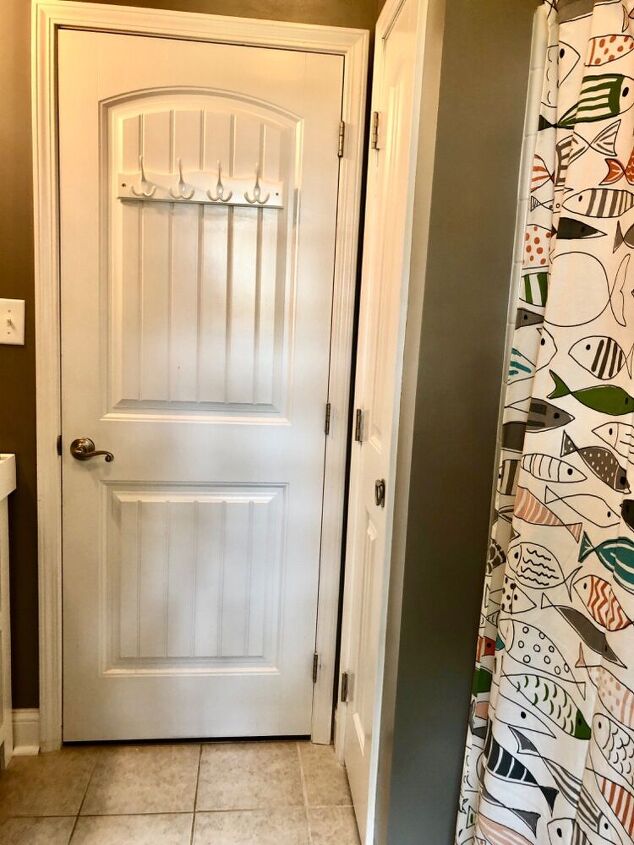
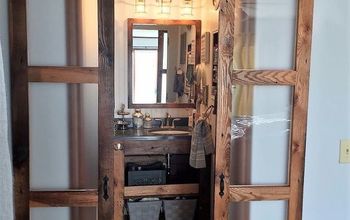
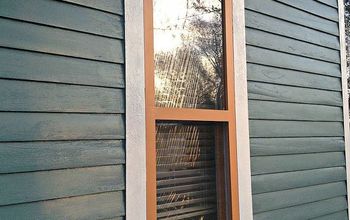
As you can see, I had a bit of a conundrum. The door leading into my daughter’s bathroom was parallel to the closet in her bathroom. (Or would that be considered perpendicular? Math is not my strong suit.) Finding a low-profile or recessed door handle was turning into a challenge. Especially one that was reasonably priced.
Running out of options, I did what any other Hometalker would do...I made one!
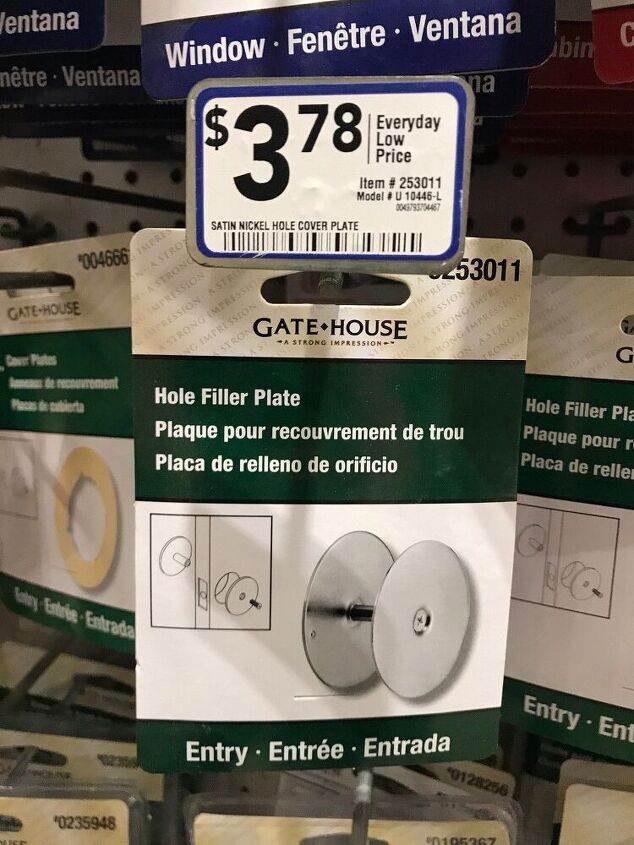
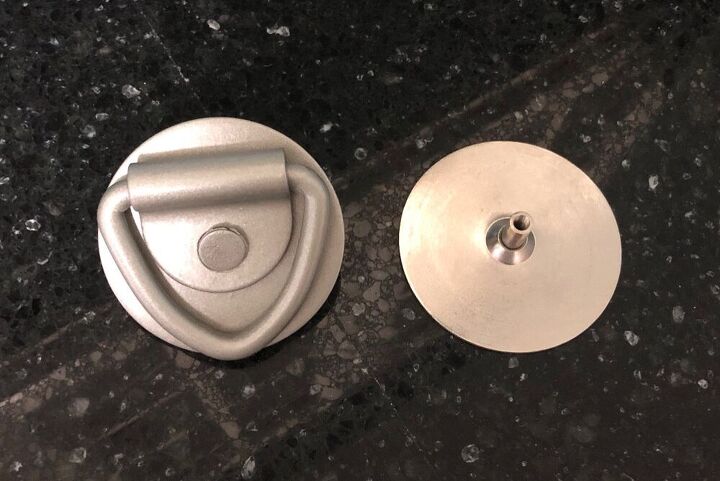
I had a pretty good idea of how I was going to make it, I just needed to find the supplies. So, off to Lowe’s I went in search of a hole filler plate. I found one for less than $4. They had a few color options, but since the rest of the hardware in my house was brushed nickel, I opted for that one.
Finding the next part proved to be a little more difficult.

I knew what I was looking for, however I didn’t know what it was called. This made finding it a little more challenging. I tried some of the big-name home improvement stores, but never found exactly what I was looking for. Although, it was during these trips I did learn what it was called. Turns out, it goes by quite a few names: tie-down anchors, O-rings, V-rings, or D-rings. I had the most luck with using the latter when inquiring about it.
I was able to find exactly what I was looking for at our local fastener distributor, Fastenal. They didn’t have one in stock but they ordered one for me and it arrived the very next day. And it was less than $1.50.
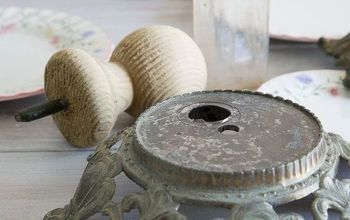
Since it was black, I decided I should paint both pieces so they would look uniform, so I used Rustoleum’s Metallic Satin Nickel spray paint to paint all of the pieces.
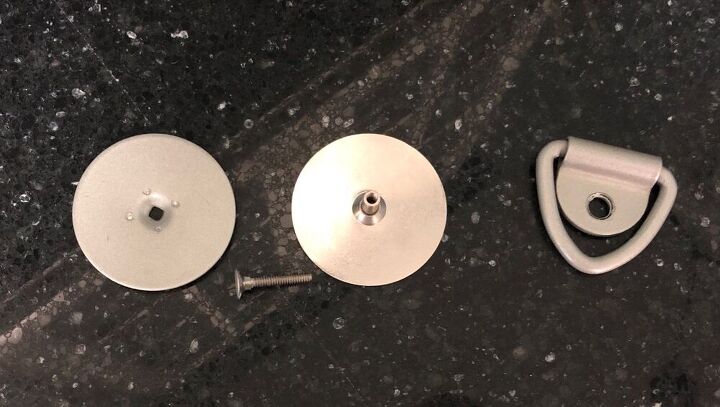
I got all of the pieces together and then placed the D-ring on top of one side of the hole filler plate.
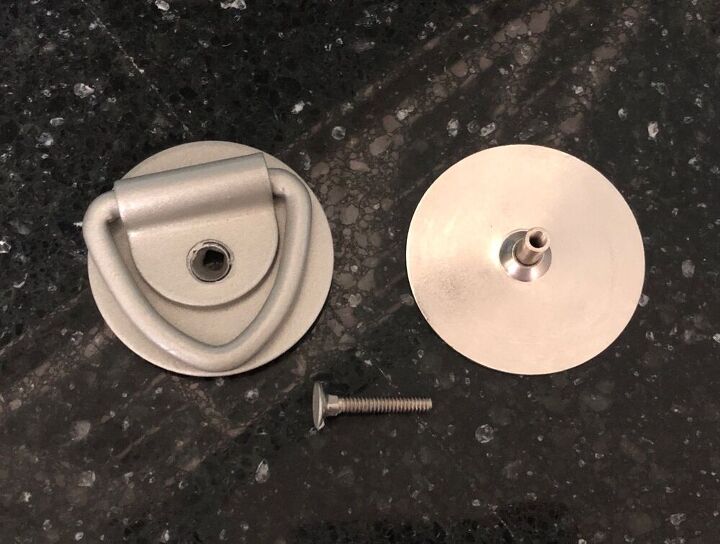
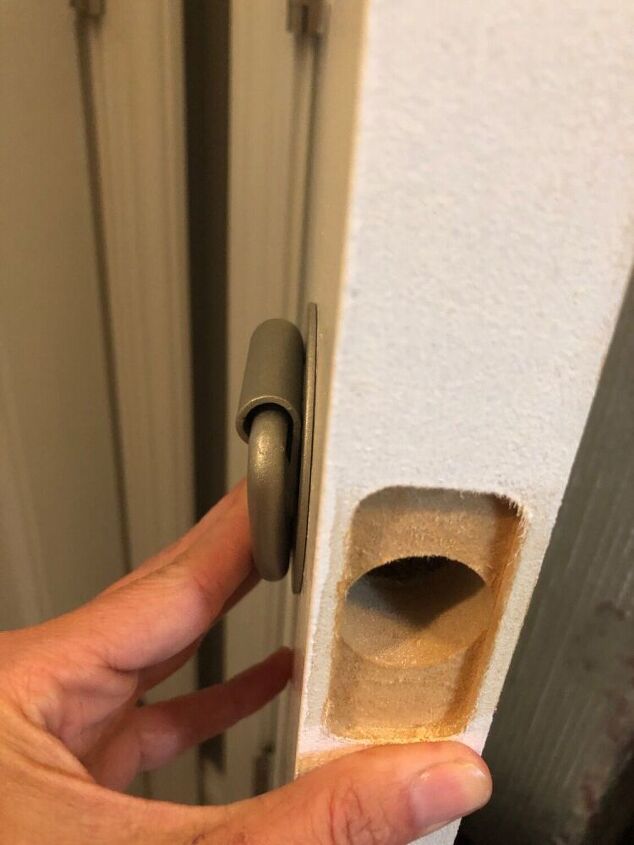
I took the screw that came with the filler plate and and slid it through both the D-ring and one side of the plate.
I held all three of those pieces on one side of the door and took the other plate with the nut and held it against the other side of the door.
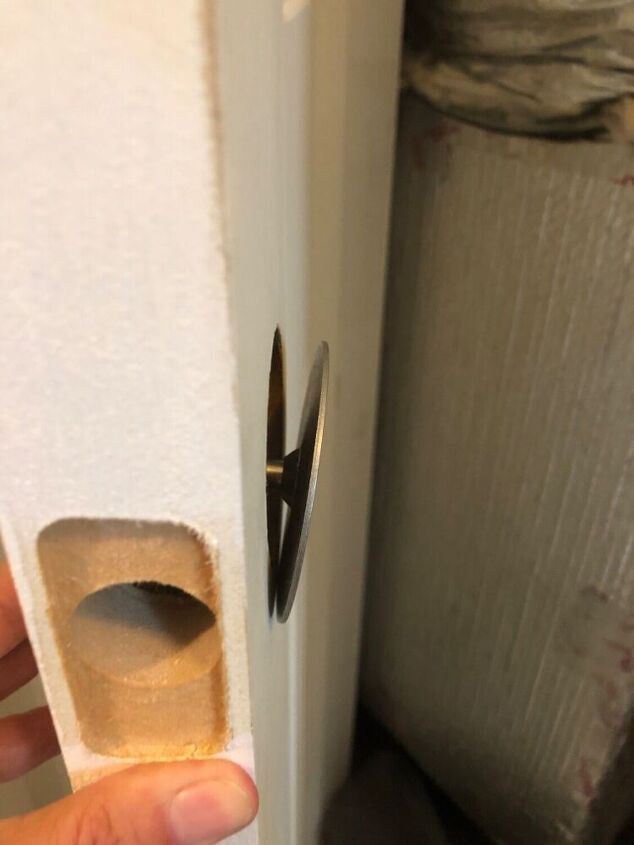
I tightened the nut until all pieces were secure.
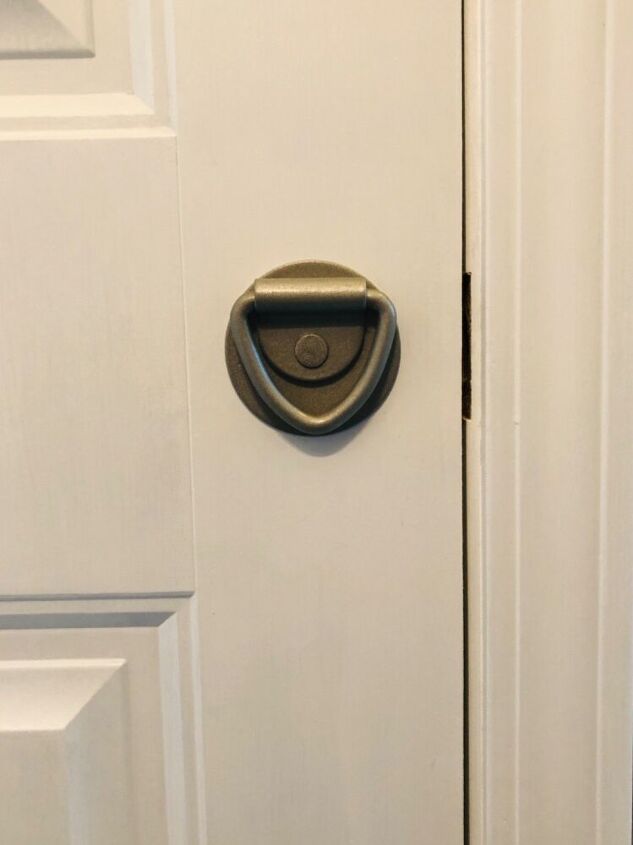
Is it just me or is that one happy looking door handle?  Looks like it’s smiling!
Now when you open the bathroom door, that doorknob doesn’t interfere with the closet door handle.
Looks like my work here is done. 
Now I’m off to find my next project...
Resources for this project:


Comments
Join the conversation
-
That is a great and simple solution.
-
This is exactly what i need!!!


Frequently asked questions
Have a question about this project?
How does it stay closed without a catch?