


Watercolor Coffee Filter Rainbows
Just add water! Coffee filters and washable markers from the Dollar Tree transform into a magical color blending lesson that is perfect to complete with the kiddos. Watercolor Coffee Filter Rainbows can be created with a few simple supplies that you probably already have around the house.
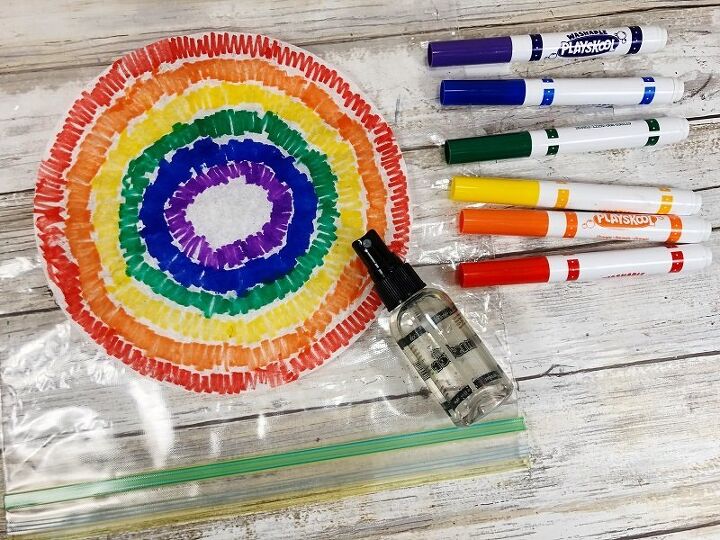
Flatten round coffee filters, and add colors in circles, in rainbow order with the washable markers.
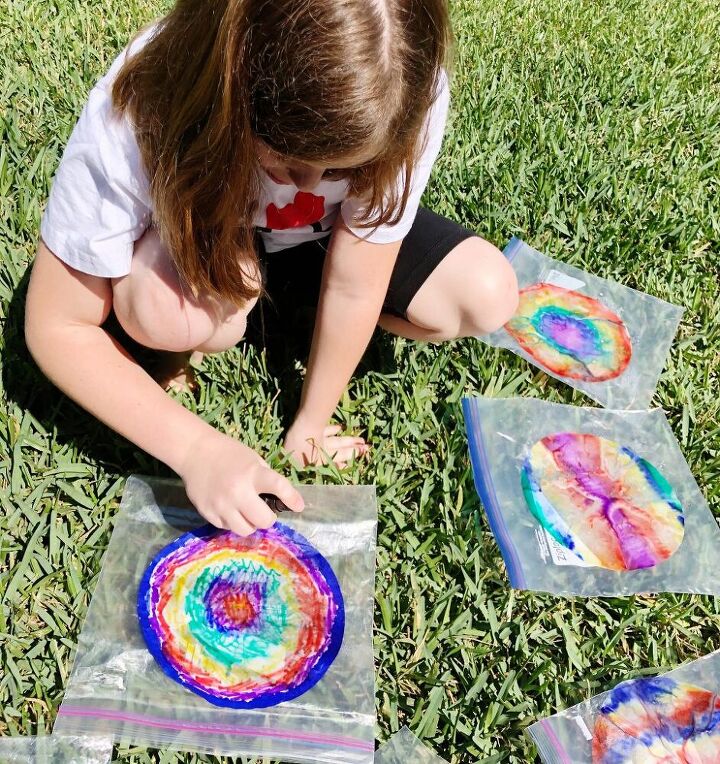
Place on a gallon size zipper bag or metal baking sheet pan and then mist with a water spray bottle. Watch the magic as the colors blend and swirl! Leave on the zipper bag and set aside to dry.
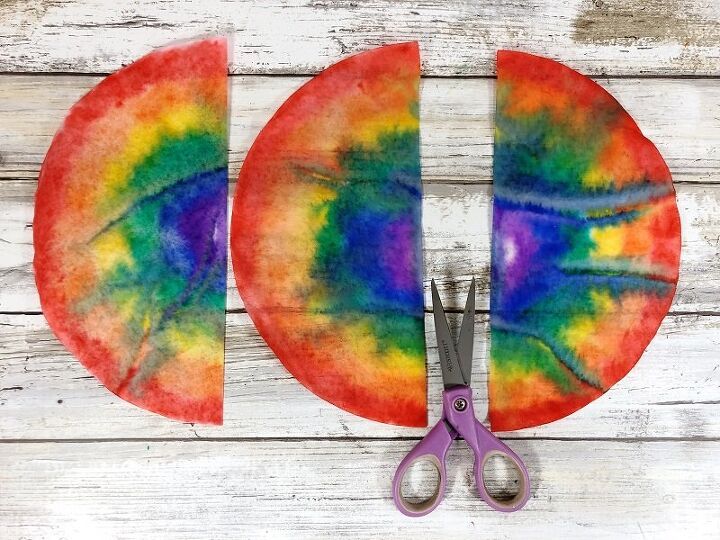
Once dry, fold coffee filters in half and then cut along the fold with scissors, creating two rainbow shapes from each filter.
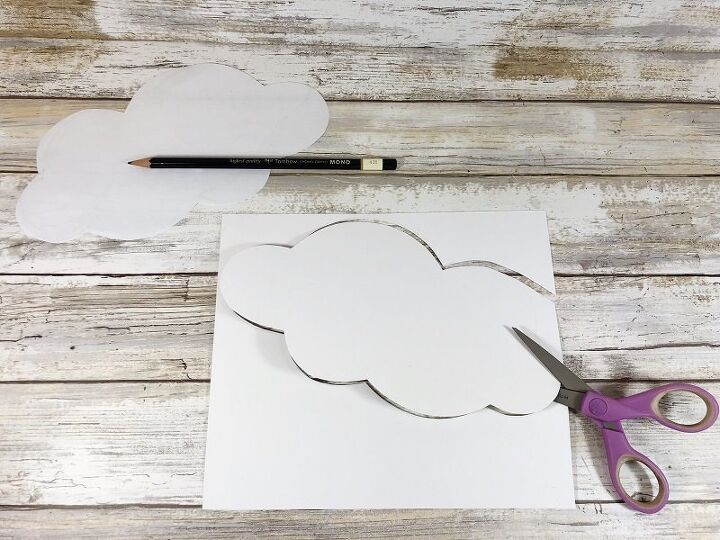
Download, print and cut out patterns on my blog. Trace one cloud shape onto white craft paper and cut out with scissors. Attach cloud to rainbow with the glue gun and glue sticks.
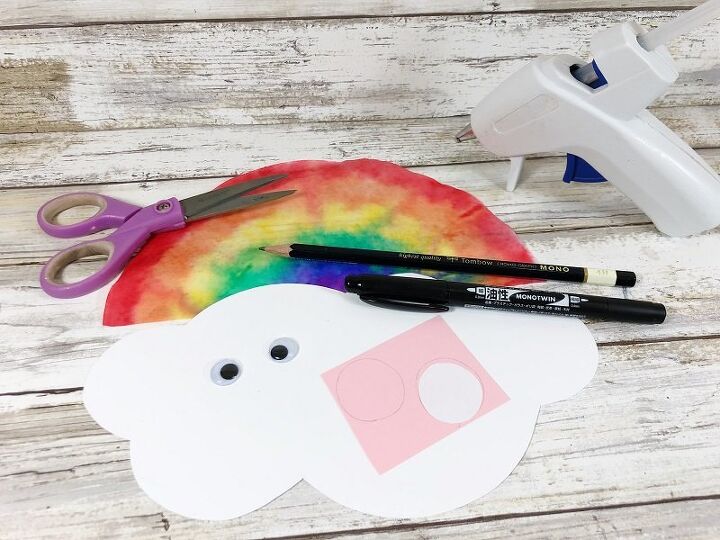
Trace two cheek shapes onto pink craft paper and then cut out with scissors.
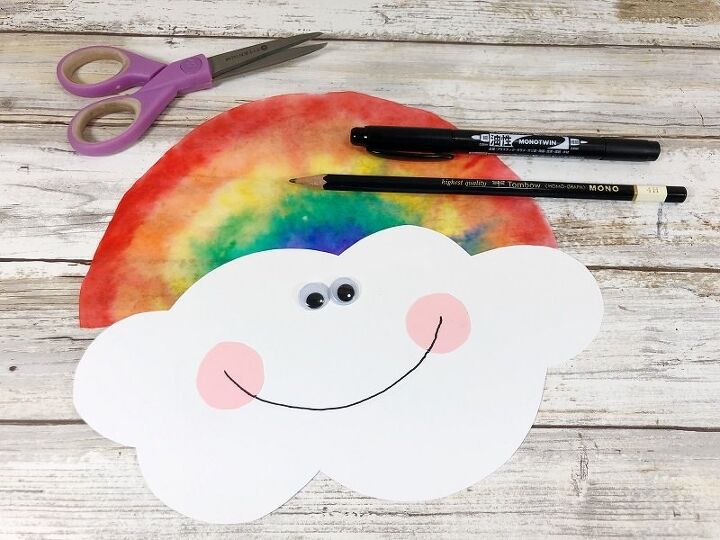
Assemble the Kawaii inspired face on the cloud, using the photo as your guide. Add wiggle eyes, then cheeks. Draw a smile on the face with a permanent marker.
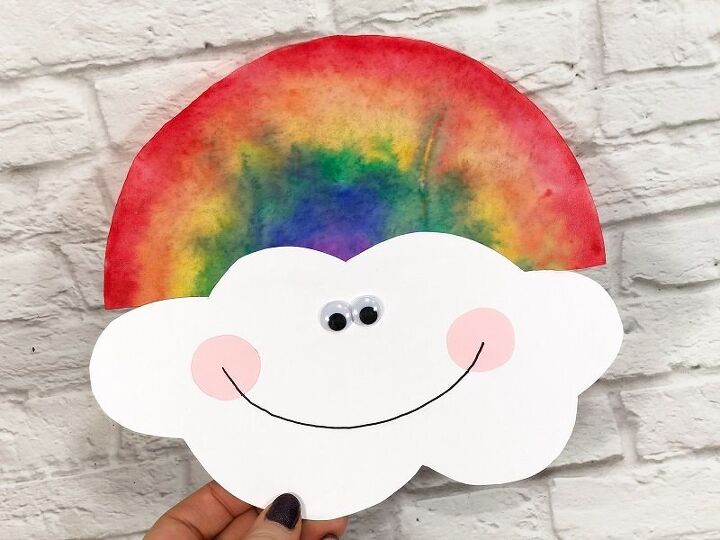
Create Dollar Store Watercolor Coffee Filter Rainbows in just about 30 minutes with help from the kiddos! This activity teaches color theory and blending to make learning fun. Great to use a suncatcher to brighten a door or window. Write a message on the back of the cloud and send them in the mail to friends or family members that could use a rainbow in their day!


Frequently asked questions
Have a question about this project?