


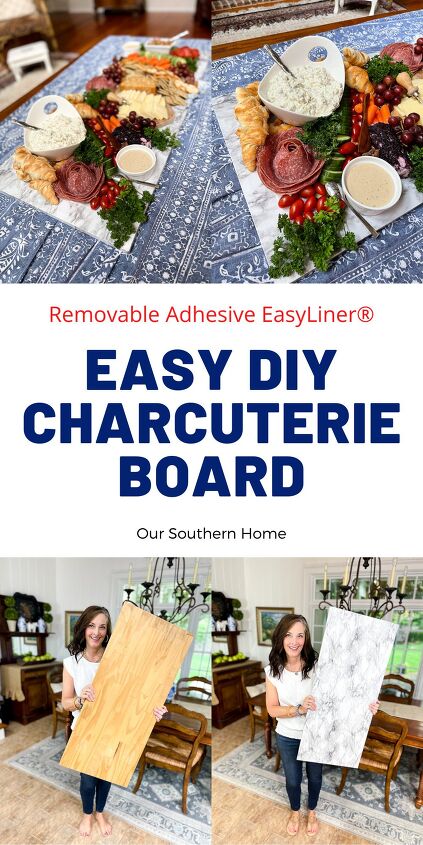
Easy DIY Charcuterie Board
Create the look of marble without the weight and the expense!!!

See more on the blog here.
Removable Adhesive EasyLiner® is perfect for creating home accent pieces such as this Easy DIY Charcuterie Board.
It's removable and wipes clean!
Easy DIY Charcuterie Board
I absolutely love to entertain even if it's just for my immediate family.
I know that the bit of extra effort put into setting a pretty table, laying out a simple charcuterie board, or creating that cozy reading nook makes my family feel loved.
A charcuterie is pronounced shahr-ku-tuh-ree around here, but if in France where the term originated, you will say shar-ku-trie.
Charcuterie is the art of arranging cured meats like salami.
While we love a fun night out, we are all truly homebodies at heart.
Don't get me wrong! Every night is not a beautifully set table or photo-worthy spread.
I do try to at least a couple of nights a week, make things a bit special for being home. Home is our heart.
It is no secret that I absolutely love creating charcuterie spreads, grazing boards, and fabulous meal boards. They are great for appetizers or a full-blown meal.
I have quite the collection of cutting boards and a gorgeous giant round tray that I use.
What I have wanted and don't have is a heavy and expensive marble board. I've looked. They're pricey! To have one the size that I want would be very heavy as well.
Why not create one for a fraction of the price that will be easy to move around and store away in a closet when not in use.
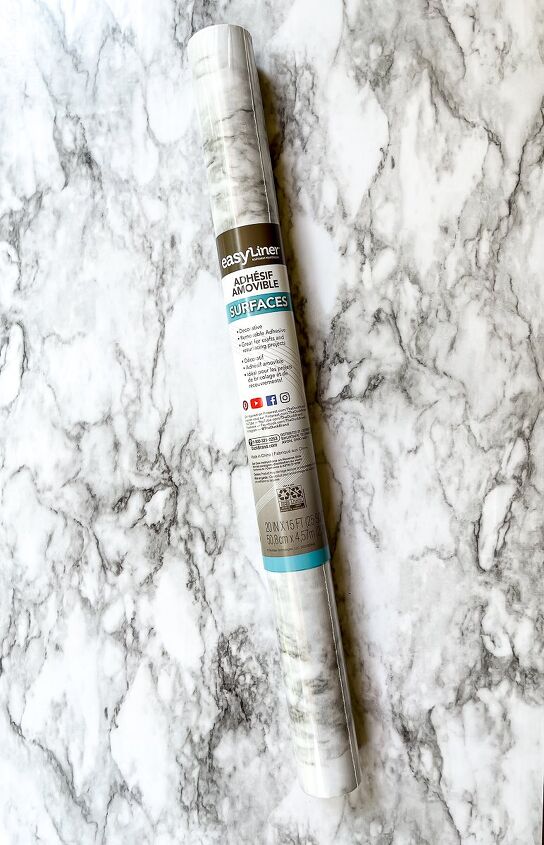
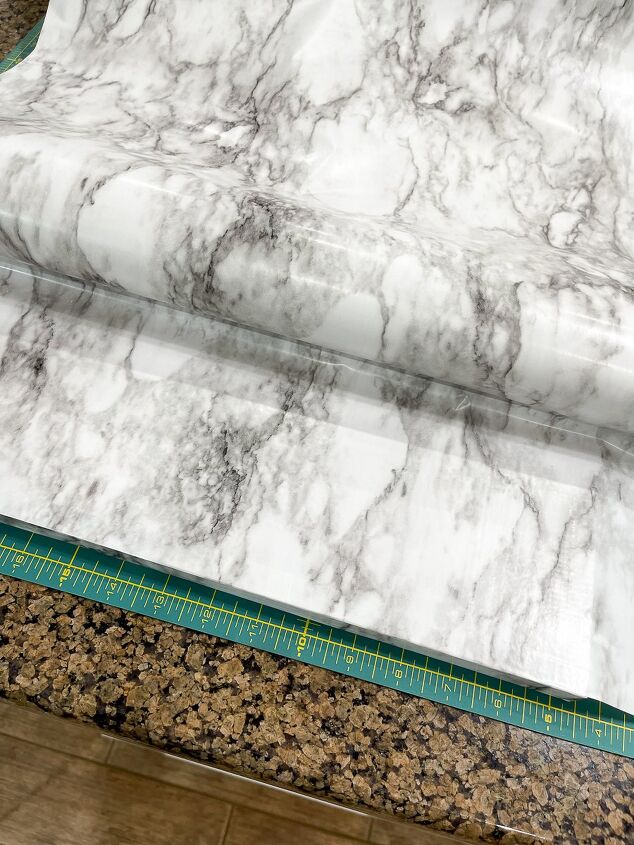
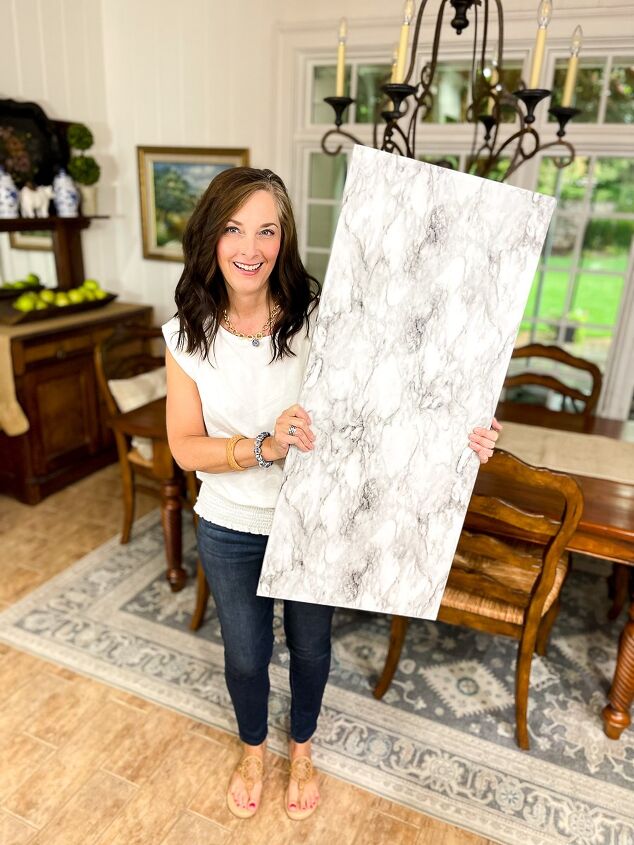
Removable Adhesive EasyLiner® is the perfect product to get the look for less.
Supplies Needed
- board of choice
- Removable Adhesive EasyLiner®
- tape measure
- scissors
- self-healing mat (optional)
- craft knife (optional)
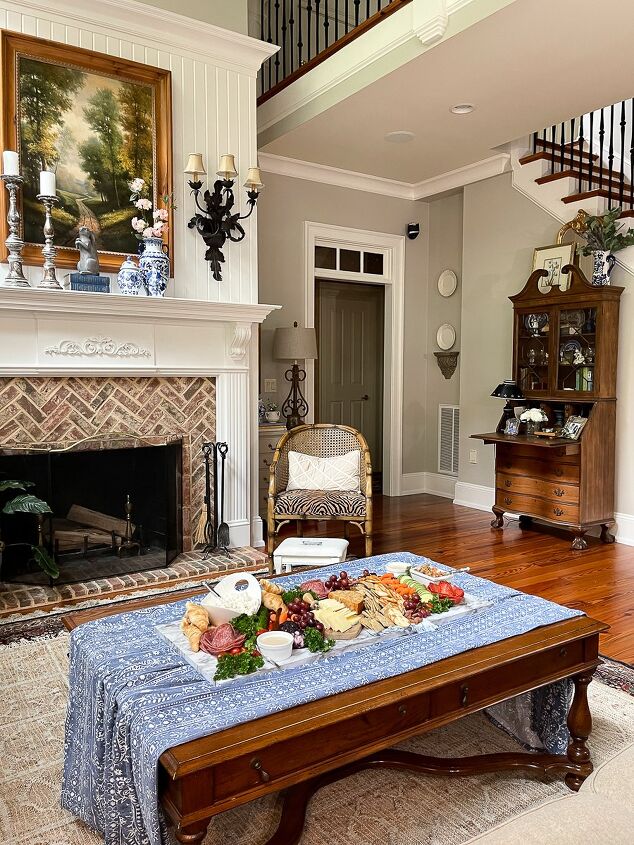
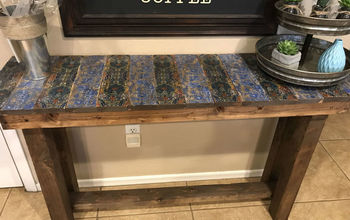
I already had this board. It's a great size for a serving board and fits our coffee table perfectly. It's been in the garage for a while so we cleaned it up.
I made sure that the wood that I selected for this project was the perfect size for the width of the roll in the gray marble pattern. I didn't want to have seams to match up for this. I wanted it to look like a continuous piece of marble. Removable Adhesive EasyLiner® in the gray marble is so realistic!
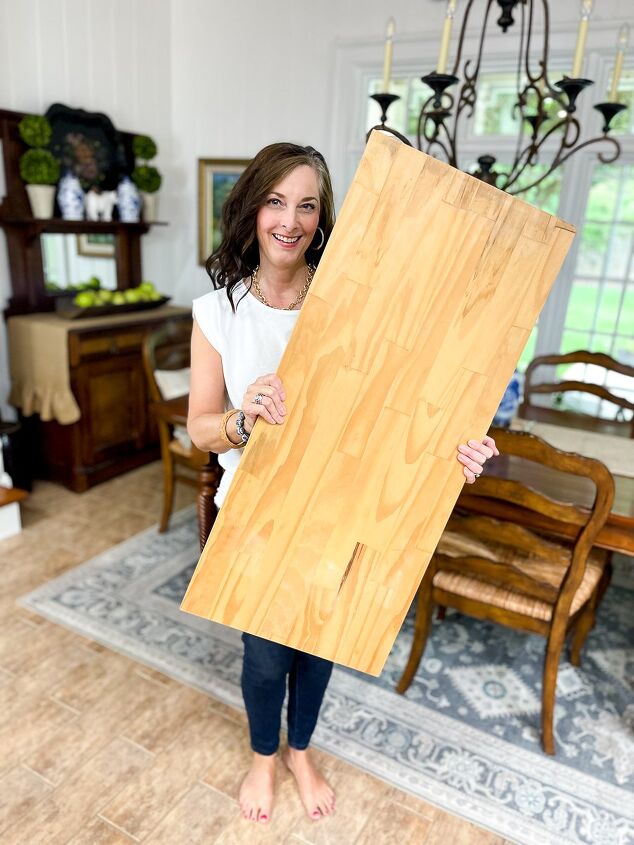
We sanded it so the surfaces and sides were smooth.
What's great about this liner? If I want to change the look of the board with another liner down the road, it's removable as well as the adhesive backing.
It's so simple to use.
Many of the boards that I use are not food-safe.
Removable Adhesive EasyLiner® is not rated for food. That is ok! Here is how you get around that.
Layering is perfect for when you set a beautiful table. It's no different when creating a charcuterie spread. Line your board with parchment paper, dishes, smaller wood boards, cloth napkins, and pretty tea towels.
Instructions
Make sure your board is sanded smooth and is clean.
I wanted my board to look as seamless as possible to mimic a real piece of marble.
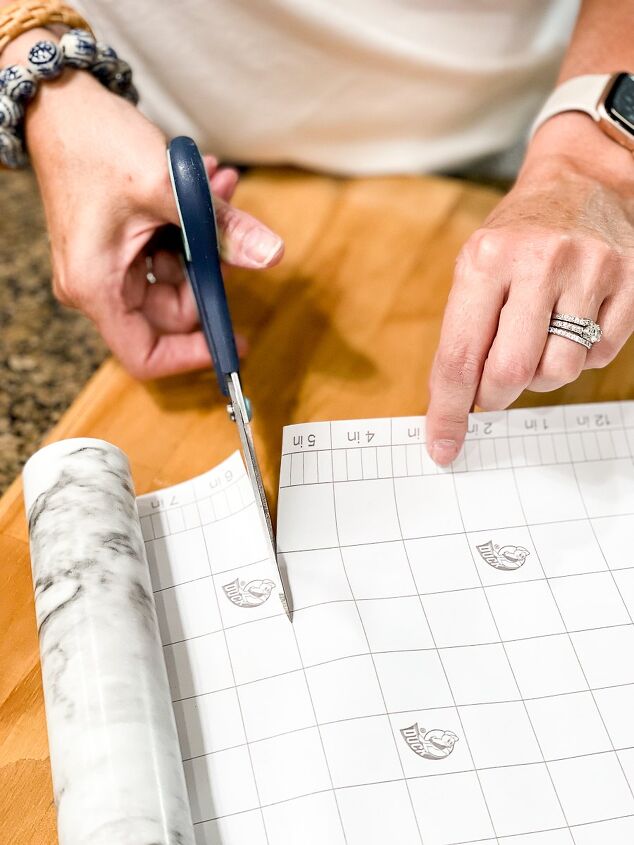
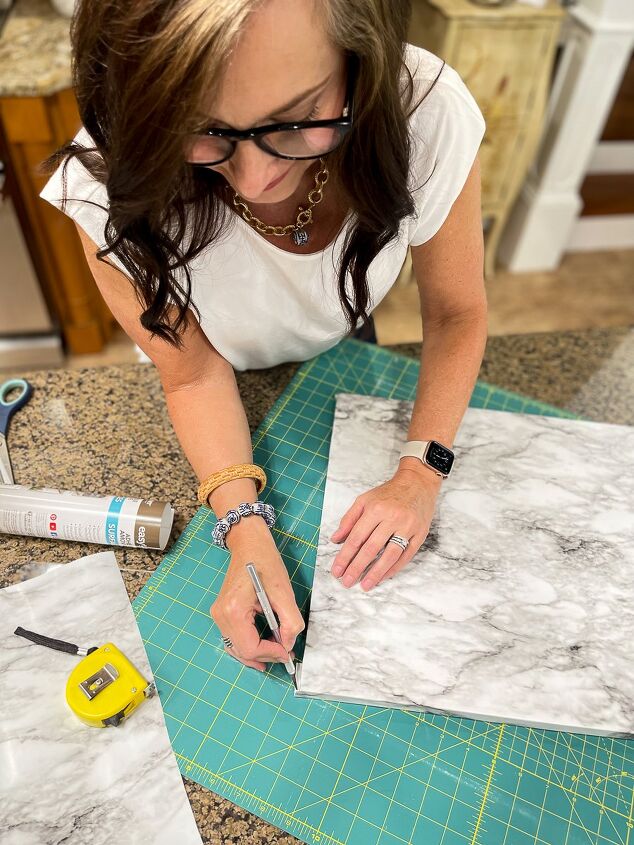
I first cut a piece of the liner that would fit the entire main surface of the board and set that aside.
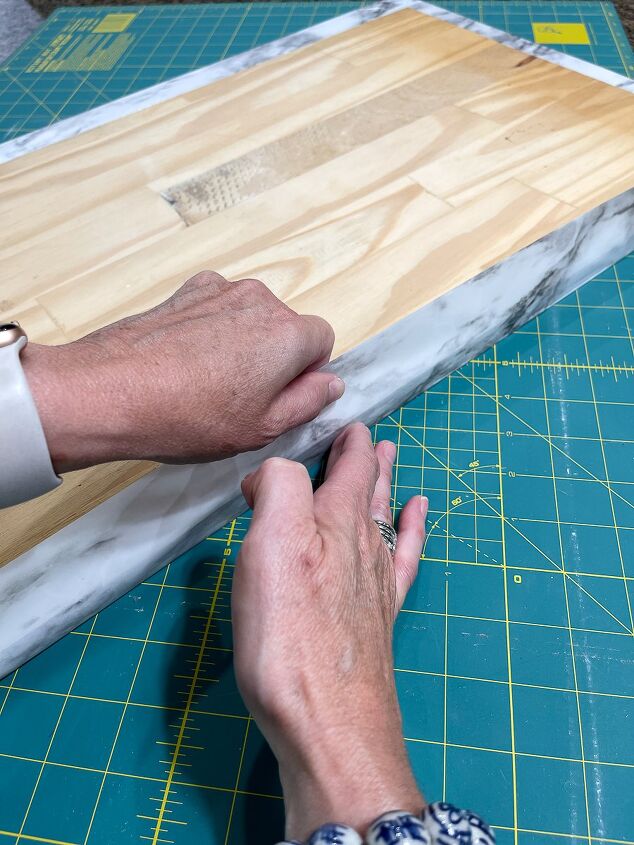
I wanted to cover the shorter ends first.
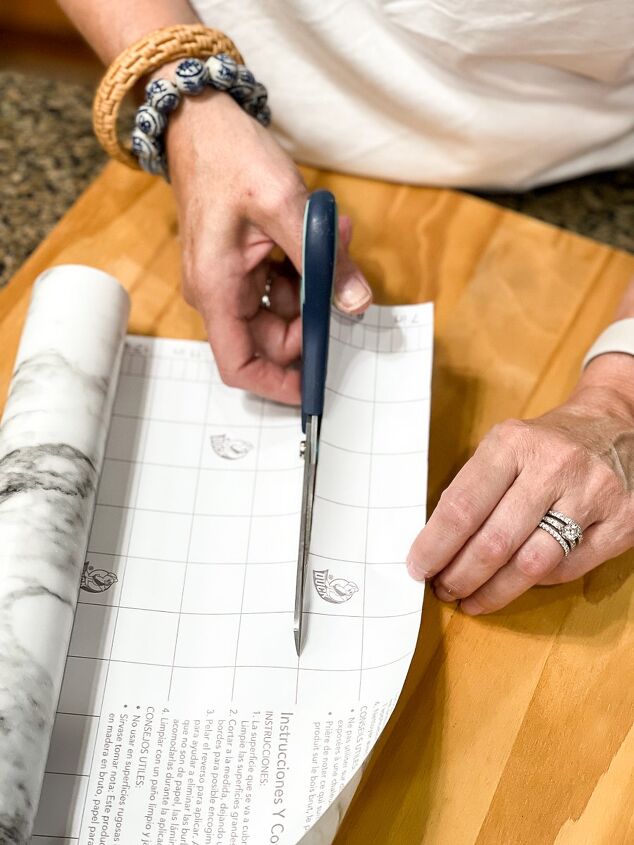
I cut a strip of liner that would fit across the 2 shorter ends.
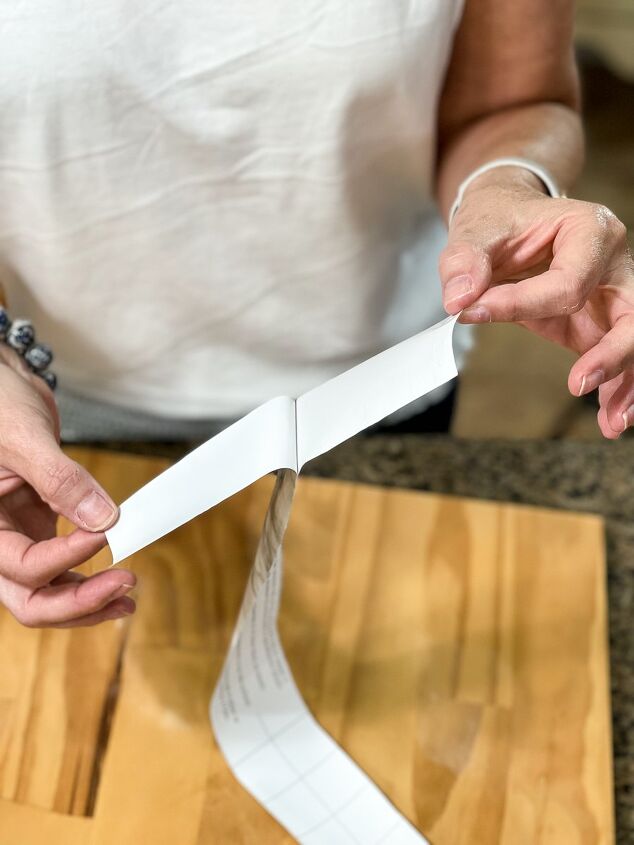
Peel the paper backing off of one corner of the liner.
Center the liner on that short edge. Use your fingers to work the liner onto the surface of the edge smoothing it out as you go. Trim off any excess with scissors.
Also on OSH! Cleaning Patio Furniture for a Virtual Party
I used my craft knife on my self-healing mat to get a nice clean edge.
I found the next part a bit easier for me to accomplish with a second set of hands.
Ashlyn helped me with this part.
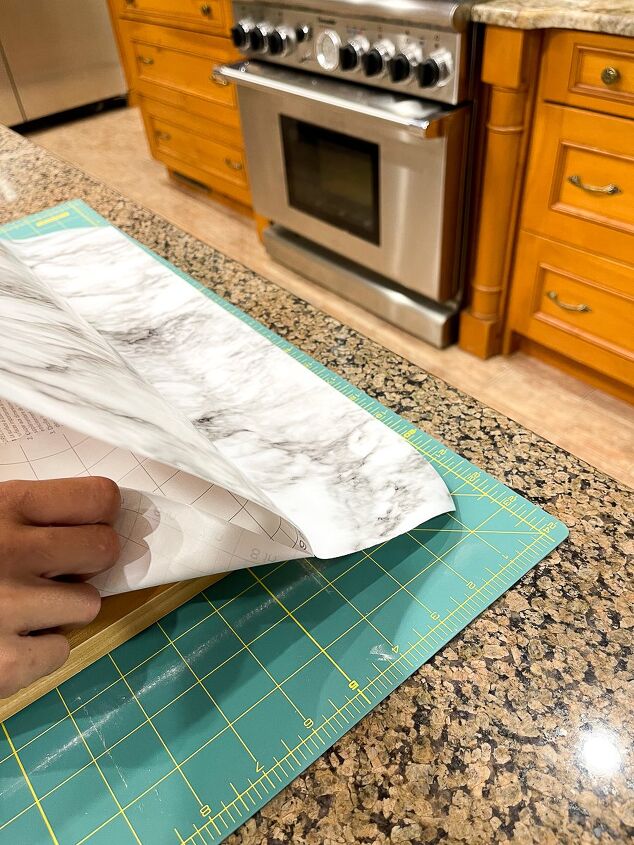
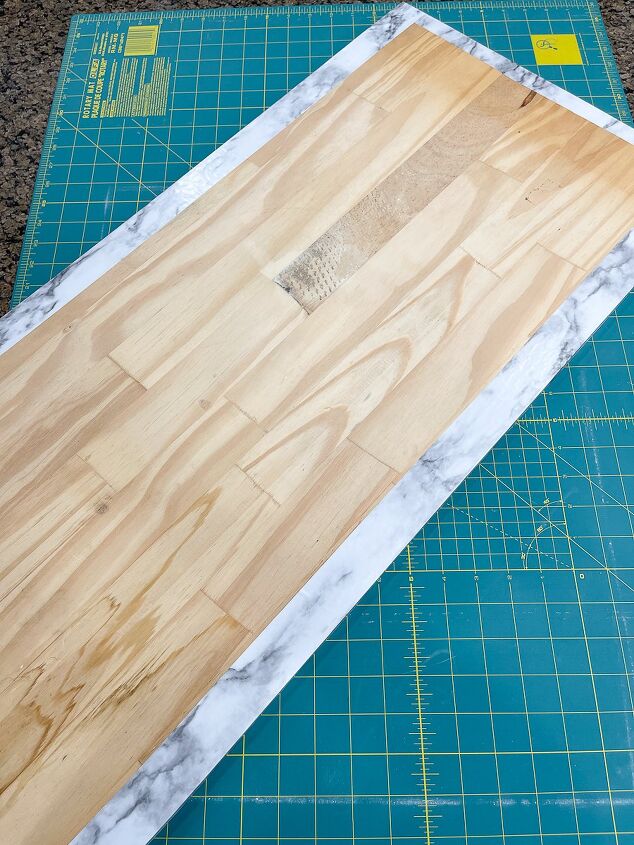
I peeled off one end of the liner and lined it up with the edge of the board. I positioned it and smoothed it down very well.
Ashlyn stood on the opposite end of the board. She peeled the paper backing off a bit at a time as I worked on the opposite end to smooth it as we went.
This part was so easy and completes rather quickly.
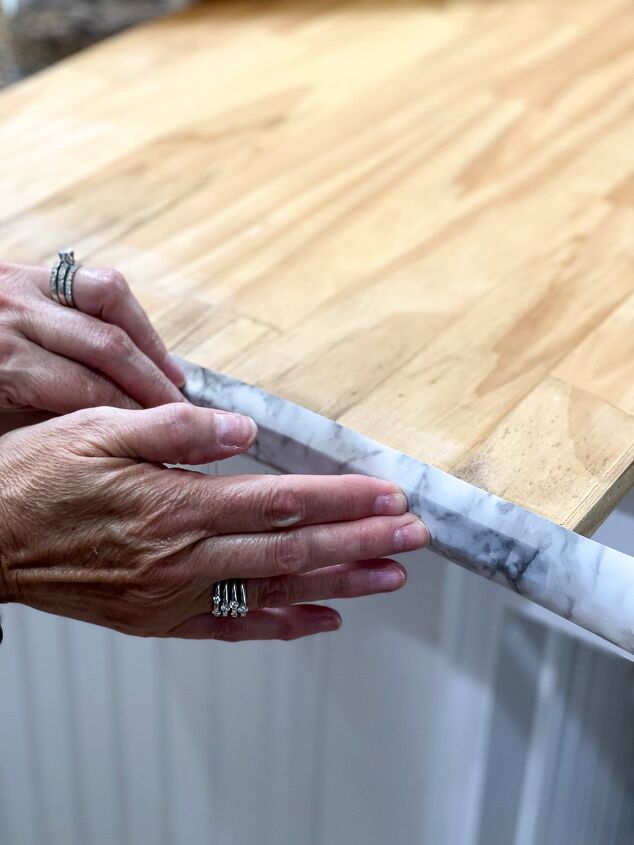
Flip the board over and work on finishing up the sides.
All you need to use to smooth the Removable Adhesive EasyLiner® is your hands and fingers.
I used my craft knife again to remove the excess for a clean look.
Ashlyn's boyfriend came over later that evening. He saw the finished board sitting on the dining room table. He thought it was real! Of course, that was the exact reaction that I am after with this project.
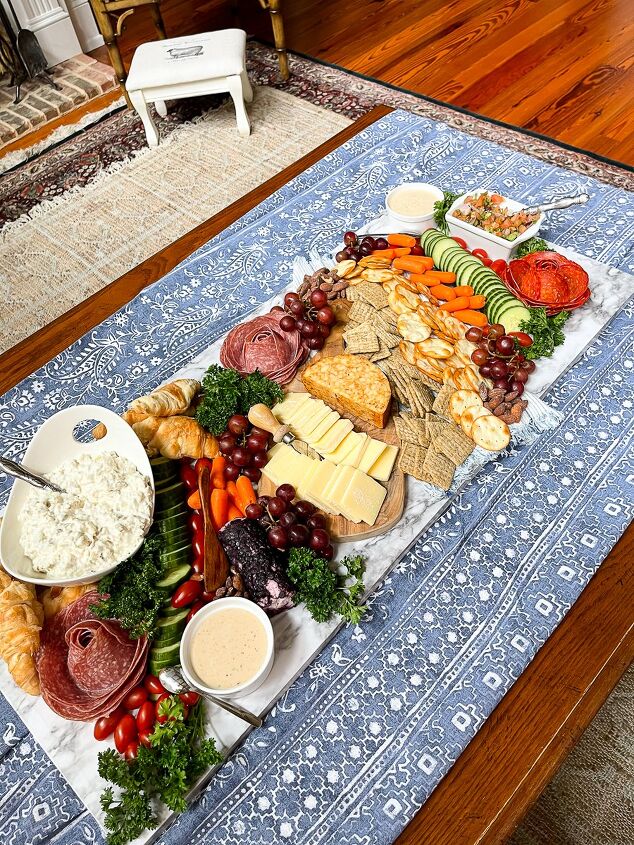
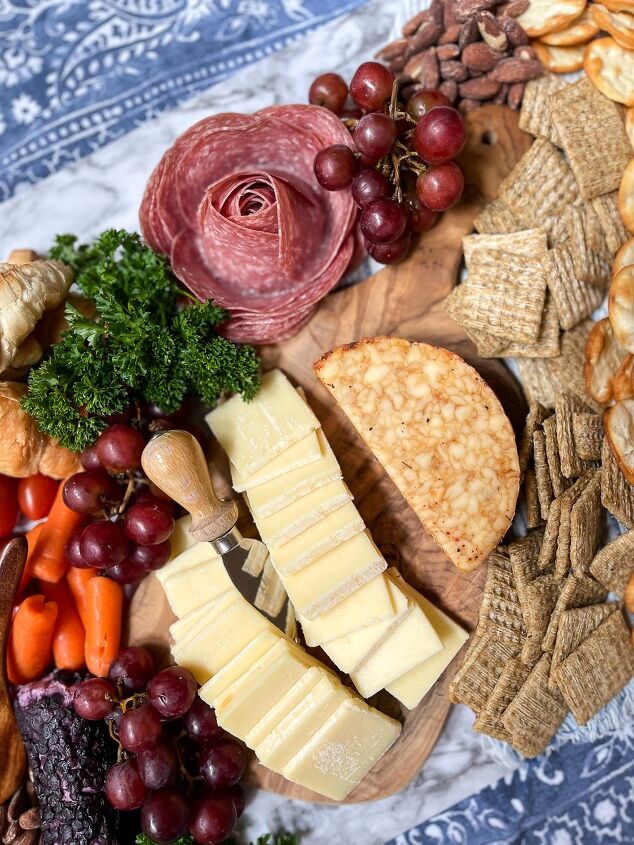
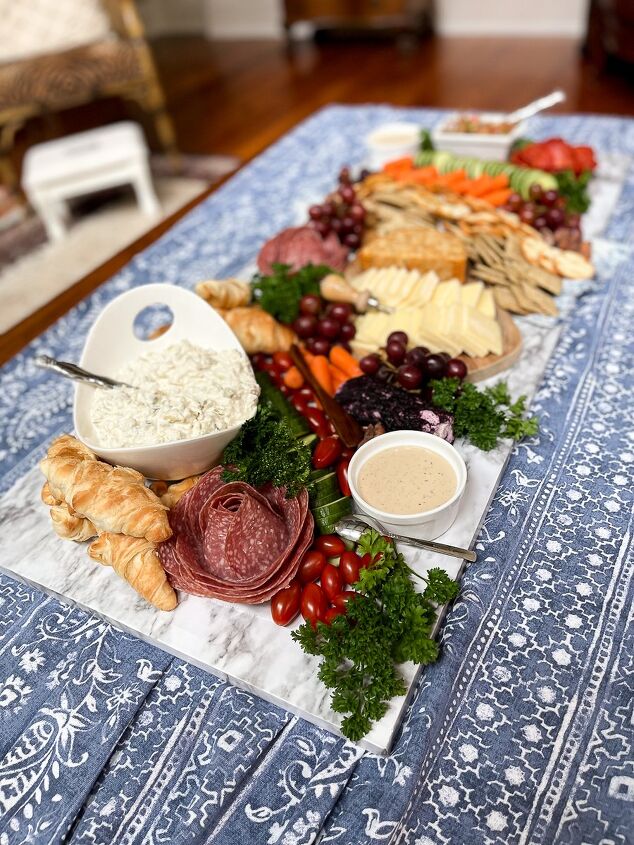
Now for the yummy part……let's place the food!
Creating a Charcuterie Board
- Line your board with parchment paper if the surface is not rated for food.
- Fabrics like napkins, tablecloths, and tea towels add a layer of interest.
- Create height with layering cuttings boards, dishes, platters, and bowls.
- Space food items on your board.
- Fill in space with items like nuts and crackers.
- Soften outer edges with parsley as a garnish.

Line the food surface with parchment paper.
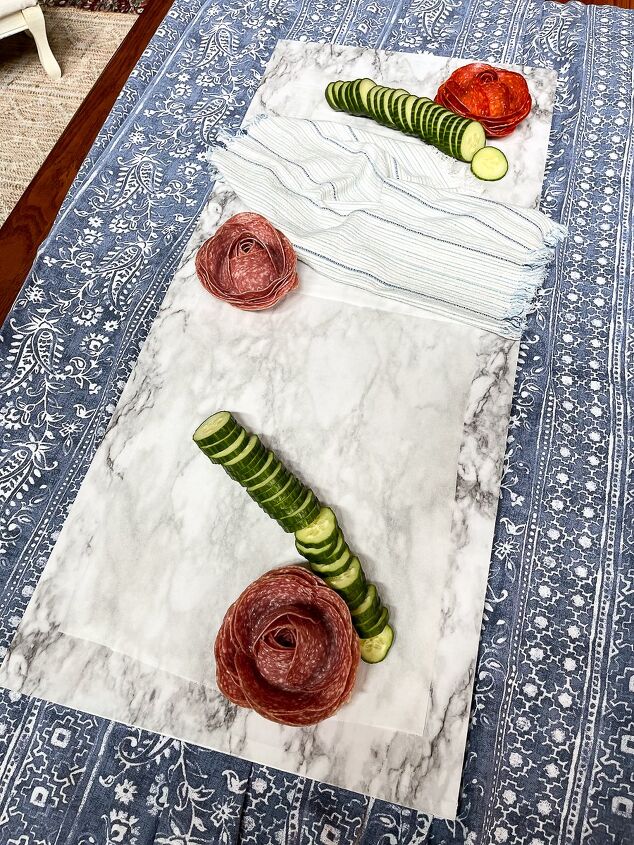
More to come on creating these fun salami rosettes.
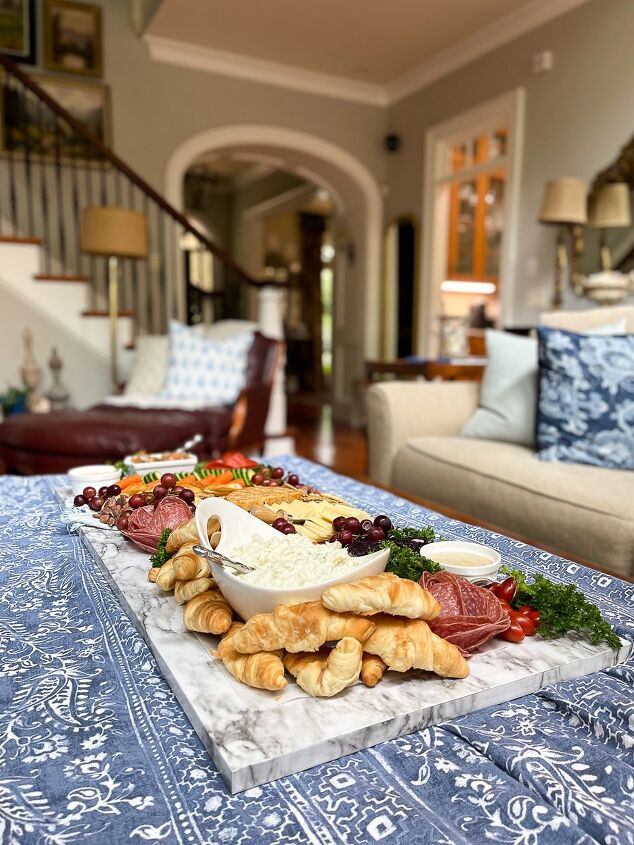
Let's Dig In!!!
My family loves charcuterie board meals! We had enough leftover on this one to munch on a few more times.

I am giving myself a little pat on the back….ha, ha! I absolutely love how this turned out. I know I will use it a lot for entertaining. Marble is classic and can be used year-round!
Also on OSH! Chalk Painted Tray Basket
Be sure to Pin the project and share it with your friends!
More Charcuterie Ideas on the blog.
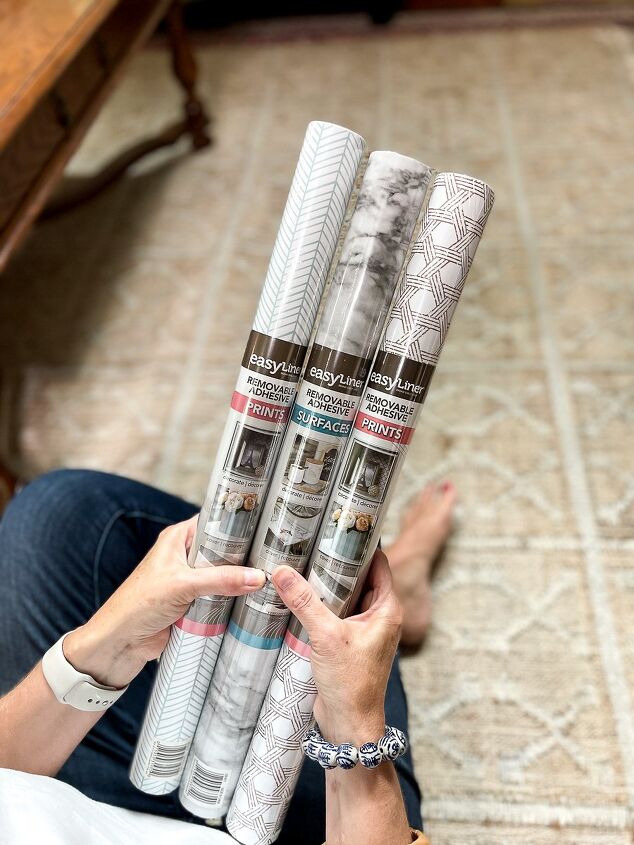
Removable Adhesive Easy Liners® come in so many patterns for lining shelves and drawers or fun DIY projects. Here are just a few of the patterns.
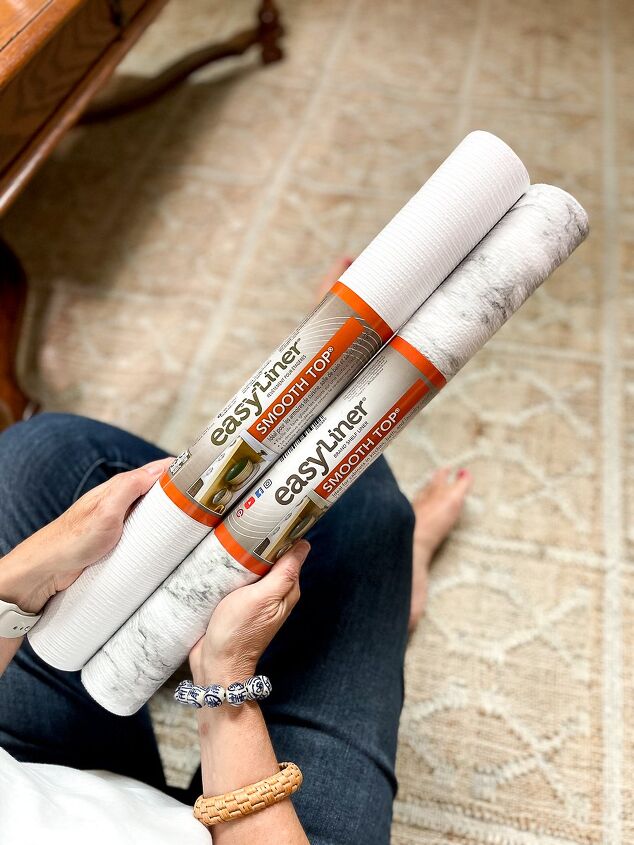
I plan to use these 2 patterns in Duck Brand® Smooth Top® EasyLiner® to line my cabinets. Things easily slide along the top of it, and it's also machine washable. The liner has grips that hold it in place.
I hope you've been inspired to create some fun DIY projects with these products from Duck Brand whether it be simple shelf and drawer lining or creative DIY projects.
Be sure to check out Duck Brand products online! They have a large collection of offerings as well as creative ideas for use!
Happy Creating!!!


Comments
Join the conversation
-
Great idea, I am planning to use this at a church buffet for appetizers.
-
Awesome idea! I would Install a handle at each end for easy carrying as I am a klutz and would surely drop it if I had to carry without.


Frequently asked questions
Have a question about this project?
How did you make the salami rosettes?