


Clam Shell Bowl

To get that summer beachy feeling, grab some clay and a pitcher to make this beautiful clam shell bowl.
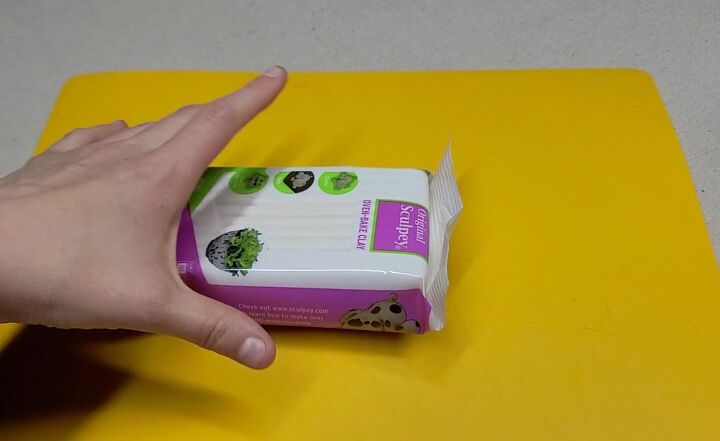
Start this craft off with a mat and a pound brick of white polymer clay.
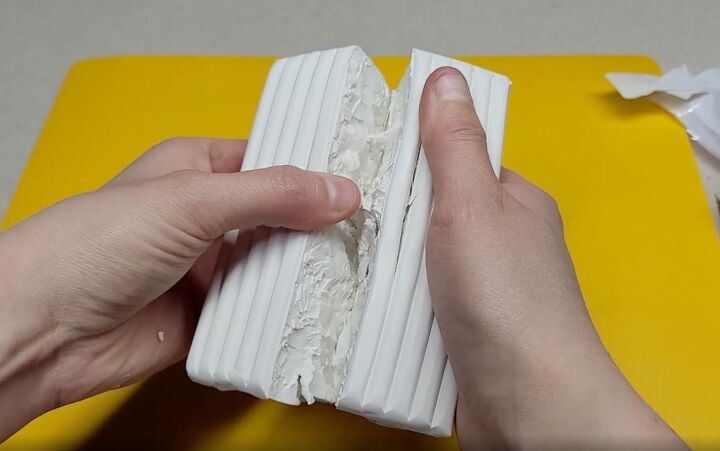
Open up the polymer clay and then split the brick in half.
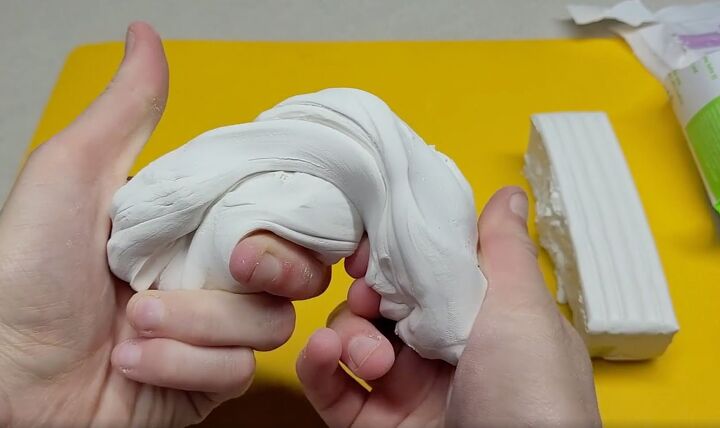
Warm-up one half of the clay by working it in your hands.
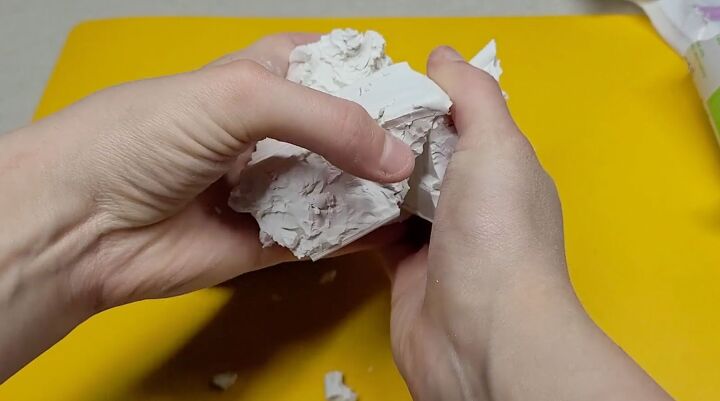
Move on to the second half and work it.
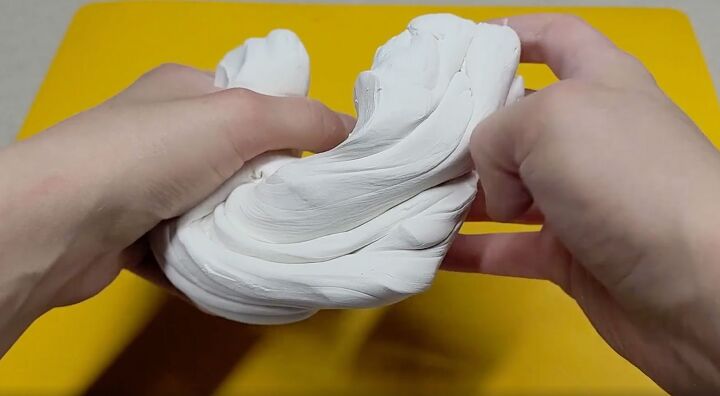
Combine both halves together.
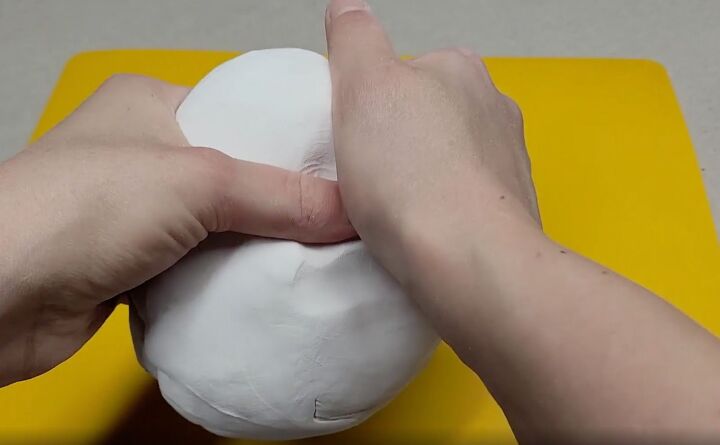
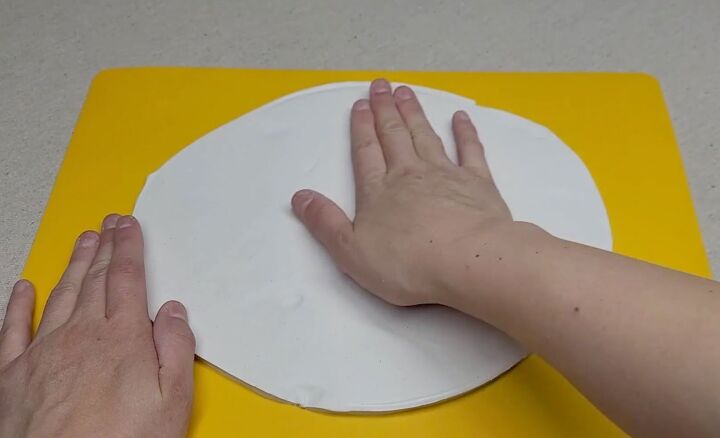
Create a flat disk with the clay and place it onto the center of your mat.

Roll the clay out with a rolling pin. The thickness should be no less than one-fourth of an inch.
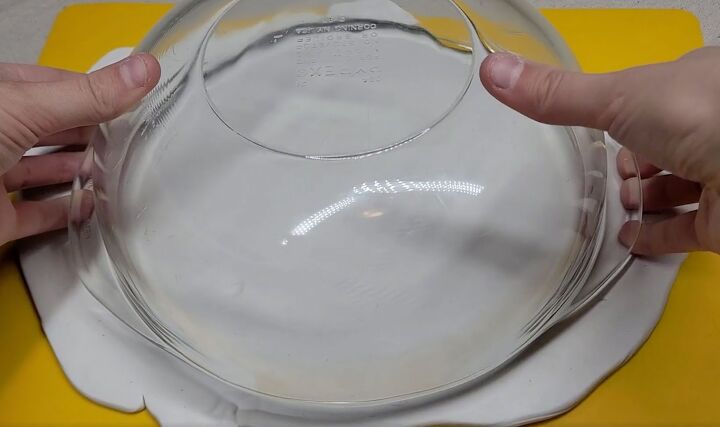
Take a bowl and place it onto the clay.
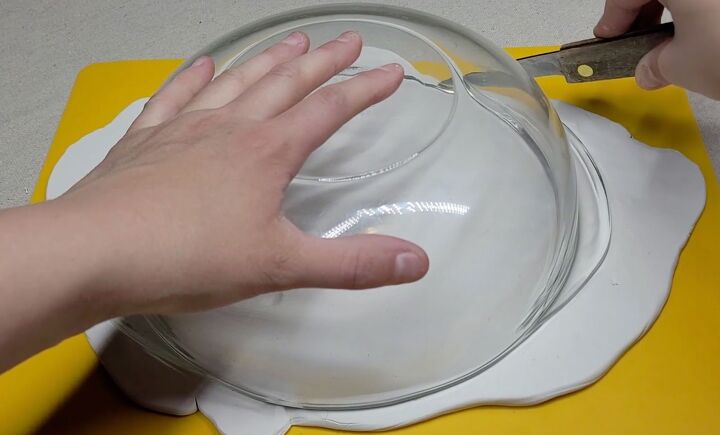
Cut the extra clay from around the bowl. A bowl with handles would be best for this craft since the clay is going to resemble a clamshell when done. Be sure to save all clay scraps for another craft.
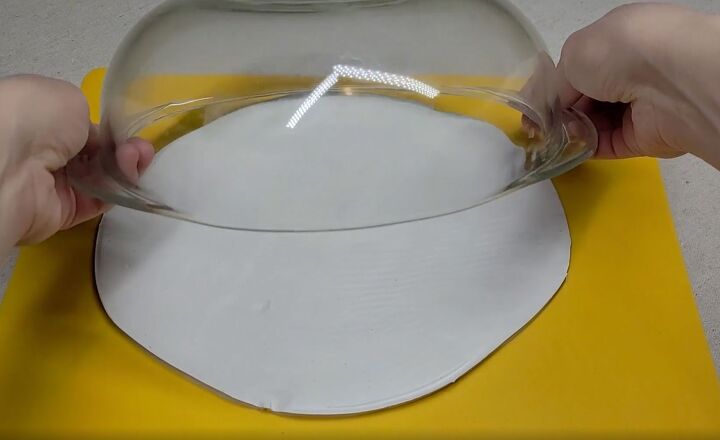
Remove the bowl and lift the clay up to look for any large divots.
Smooth out any imperfections.
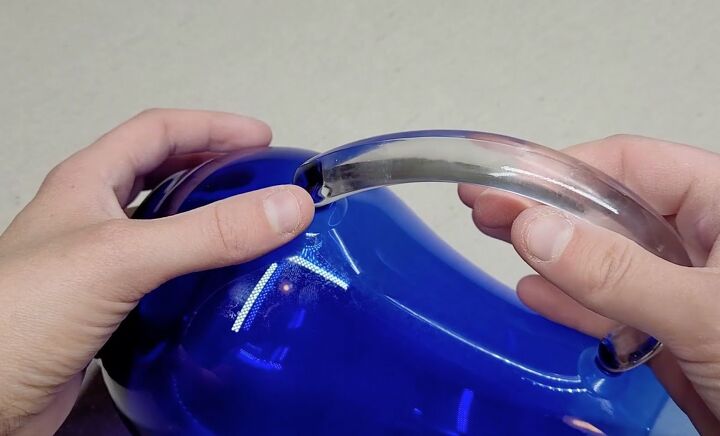
For the next part, I used a pitcher that had handles and if you have a similar pitcher, it'll be perfect for this craft.
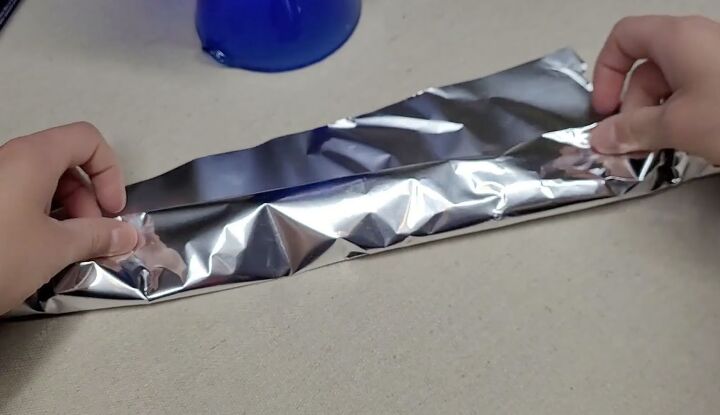
Take a foot by foot sheet of aluminum foil and fold it to mimic the handle of your pitcher. If your glass doesn't have a handle, you can make two of these.
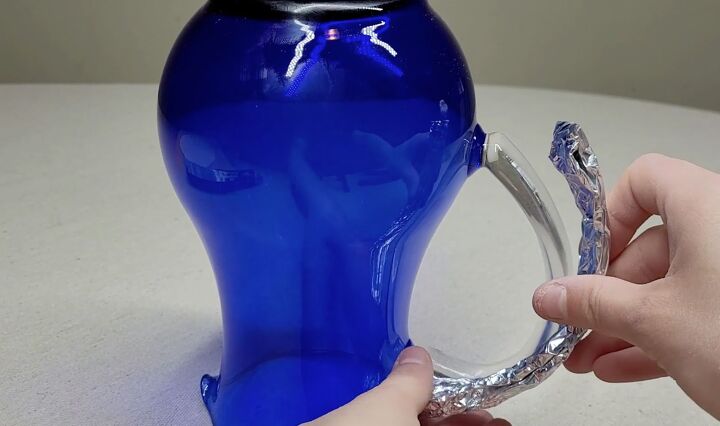
Compare it to your handle.
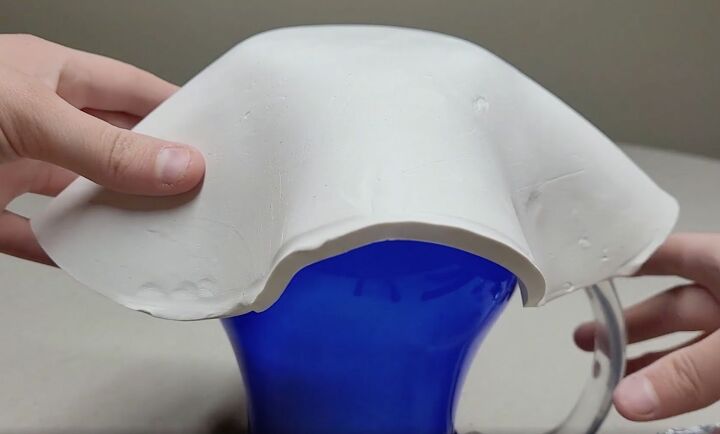
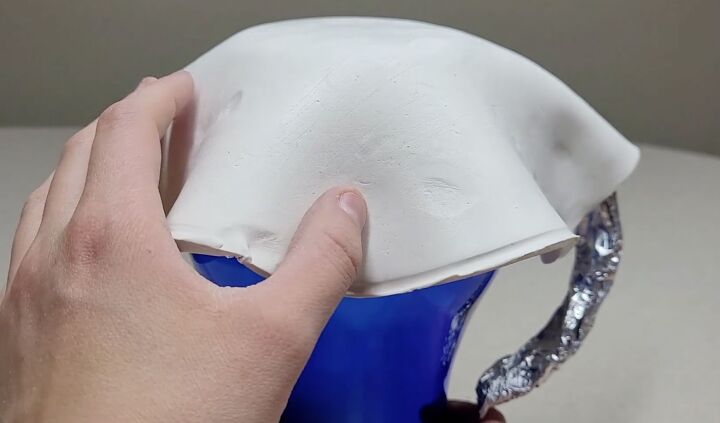
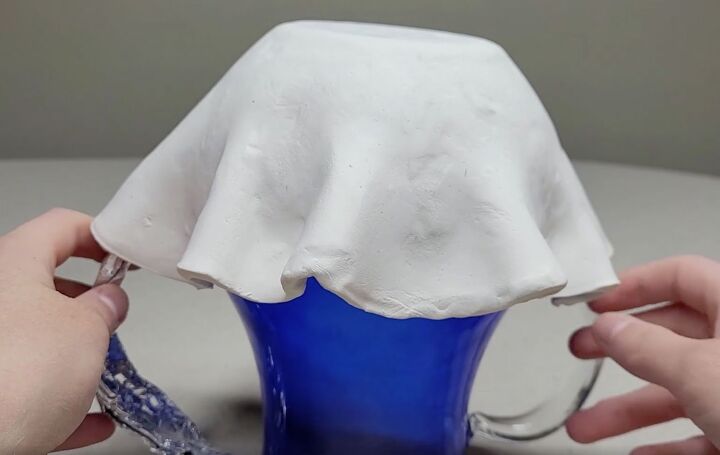
After the handle is shaped, center and place the clay over the bottom of the pitcher. Shape the clay around the handle.
Place the foil handle opposite the glass handle and shape the clay.
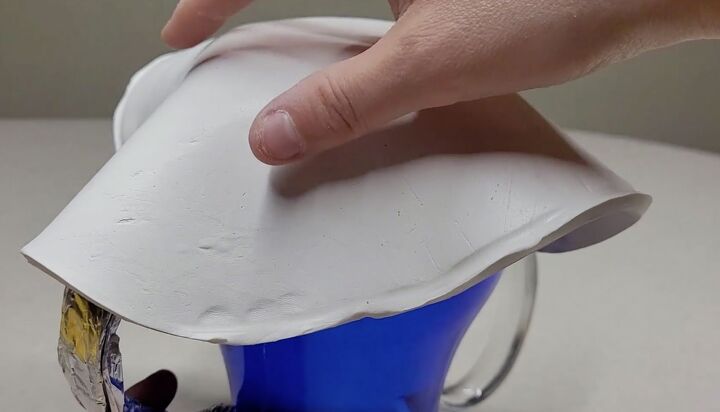
Create a fold by pressing the clay in the middle and shaping two humps.
Repeat this on the other side and smooth the clay out as you go.
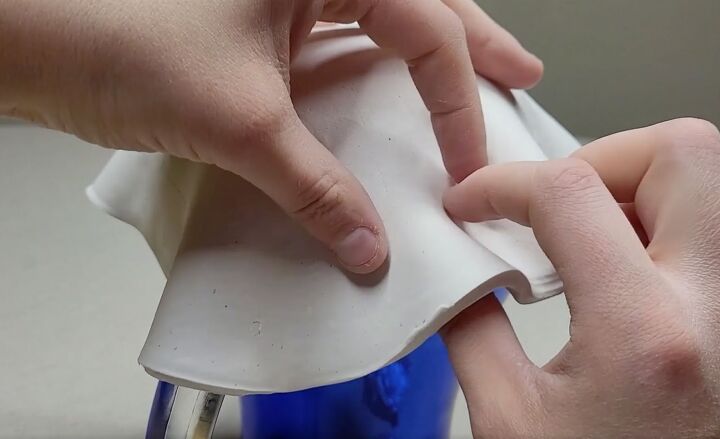
Create another hump between the handle and also the foil piece on both sides.
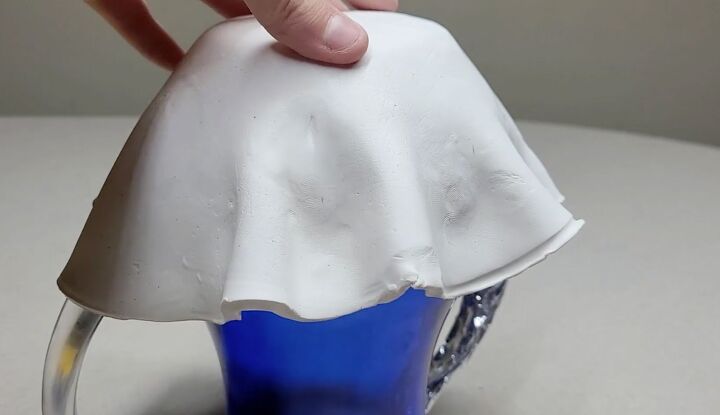
This is what your bowl should look like, but you can always add more humps or you can have less.
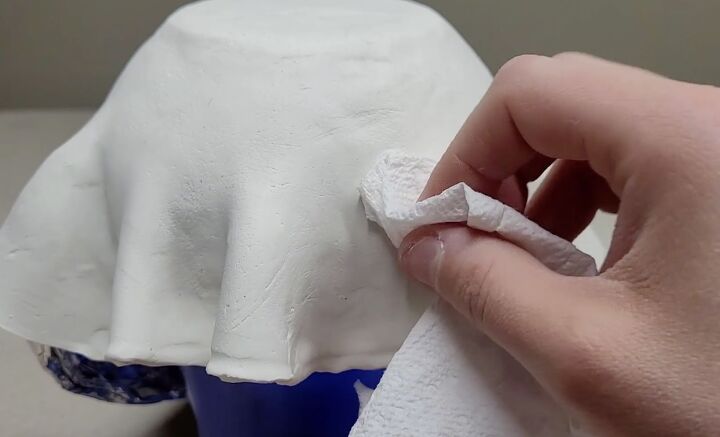
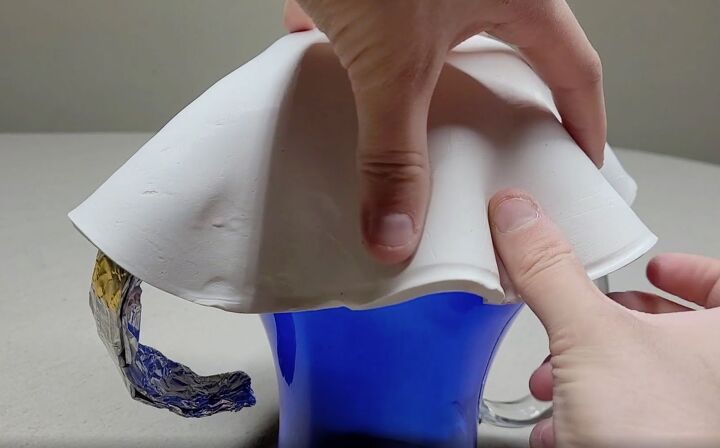
You can either smooth the clay out fully or you can create texture. I find that using a paper towel gives a nice, almost sand-like texture. If you decide you want to paint your bowl, it will give it a nice beachy feel.
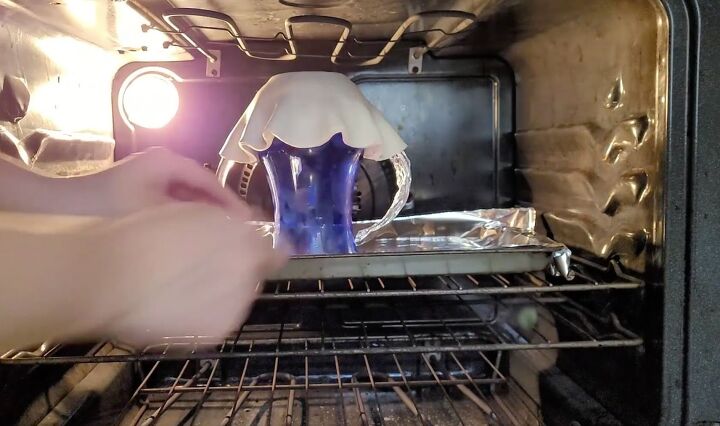
Next, put your clay into the oven and bake it according to the package directions.
When it is done, take it out to cool and then remove the foil handle.
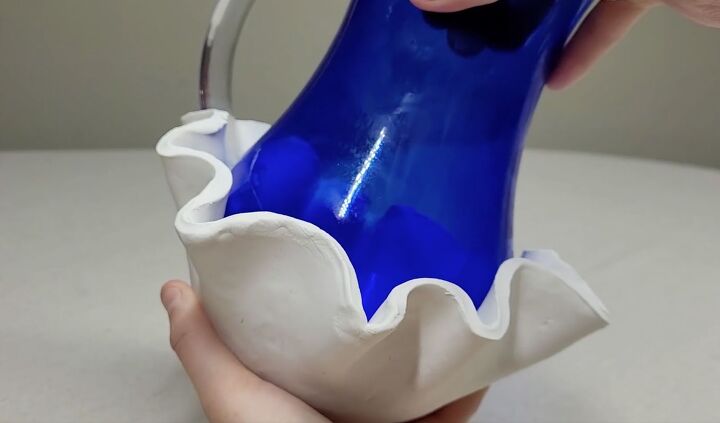
Flip the pitcher over and wiggle it out slowly from the clay. The clay should come right off.
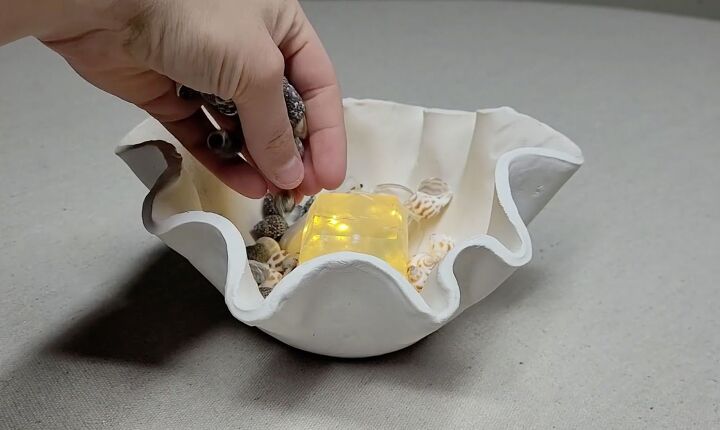
Fill your bowl with shells and fairy lights. You can make this bowl with different types of clay or sculpting epoxy, but make sure if you use epoxy, you do this in a well-ventilated area.
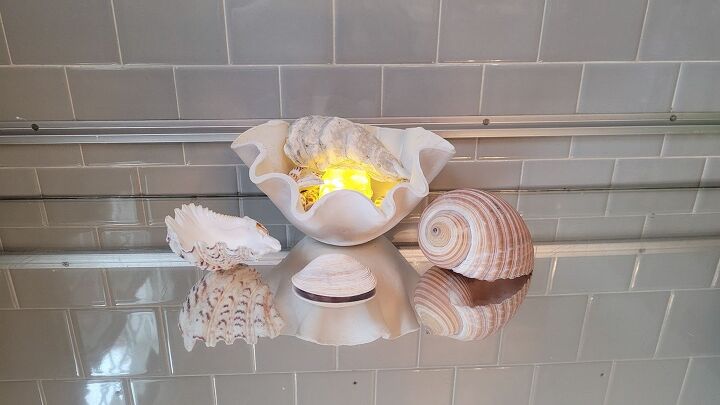
Now you can place your bowl and let it remind you of days at the beach.


Comments
Join the conversation
-
Beautiful !
-
Lovely job on the Abalone! You made it look so easy and the paper towel trick was very clever.


Frequently asked questions
Have a question about this project?
How did you get the aluminum foil to stay on the pitcher?