


How to Craft Chic Containers: Decorating Plastic Storage Bins
Looking to decorate plastic storage bins and turn them into an eye-catching storage organizer?
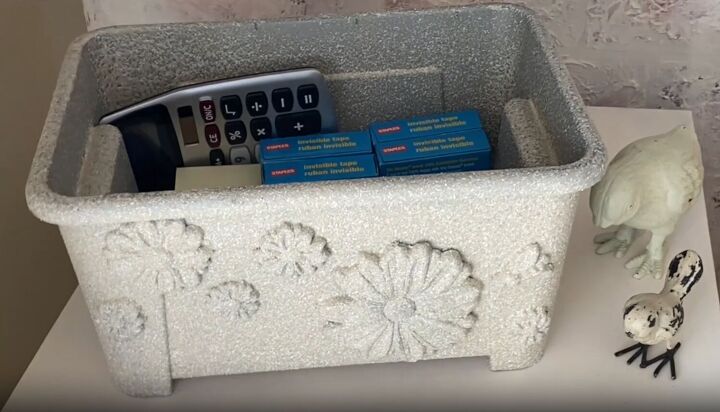
Want to add some style to your office space with an elegant plastic container craft that cleverly conceals its contents?
You're in the right place!
This post was transcribed by a member of the Hometalk editorial team from the original HometalkTV episode.
In this DIY project, I'll show you how to transform ordinary plastic containers into stunning faux stone boxes.
With a touch of creativity and basic materials, you'll achieve a beautiful decorative storage solution that will surely impress everyone who lays eyes on it.
Tools and Materials:
Tools:
- Fine-grit sandpaper
- Molds for clay designs
- Old ruler
- Paintbrushes
- Spray paint nozzle
- Work surface or protective covering
- Tacky glue or strong adhesive suitable for clay and plastic surfaces
Materials:
- Storage container
- Air-dry clay
- Cornstarch
- Silver spray paint
- Stone spray paint
- Optional: Clear coat spray
Please note that the specific quantities of materials may vary depending on the size of your storage container and the number of clay designs you wish to create. Feel free to adjust the list as needed to suit your project requirements.
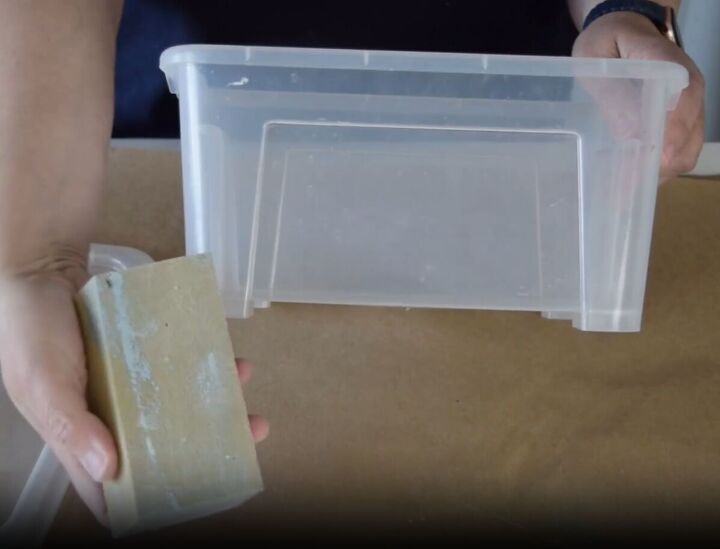
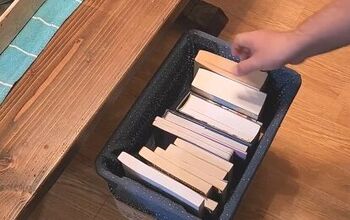
1. Prep the Surface with Sanding
To begin, start by giving the storage container a quick sanding. This will roughen up the surface slightly, allowing the clay and paint to adhere better later on.
Use fine-grit sandpaper and work gently until you achieve the desired texture.
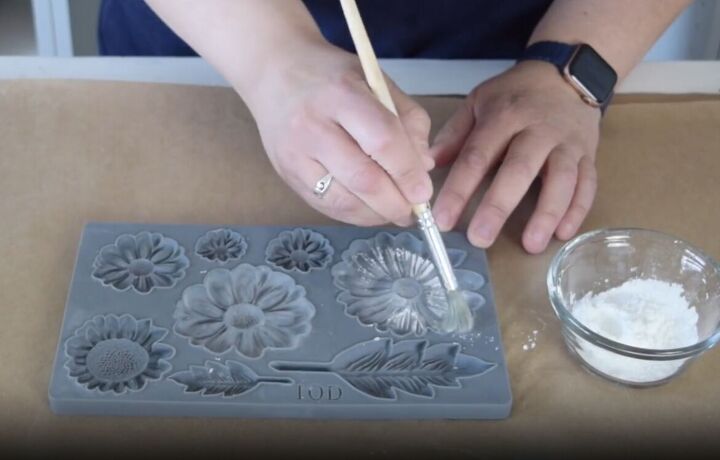
2. Create Clay Designs
Next, let's add some elegant clay designs to the outside of the container.
Before working with air-dry clay, dust your molds with cornstarch. This will help the clay release easily from the molds, ensuring you get clean and crisp designs.
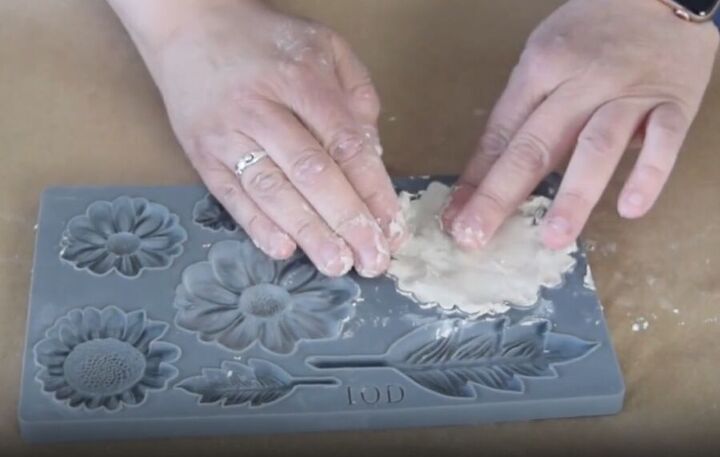
Fill the molds with clay, slightly overfilling them.
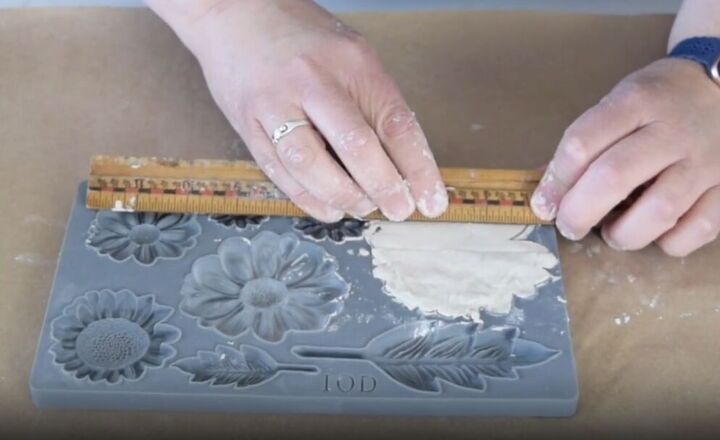
3. Trim Excess Clay
After molding the clay designs, run an old ruler from the middle of each design to the outside edge. This will remove any excess clay, leaving you with neat and refined shapes.
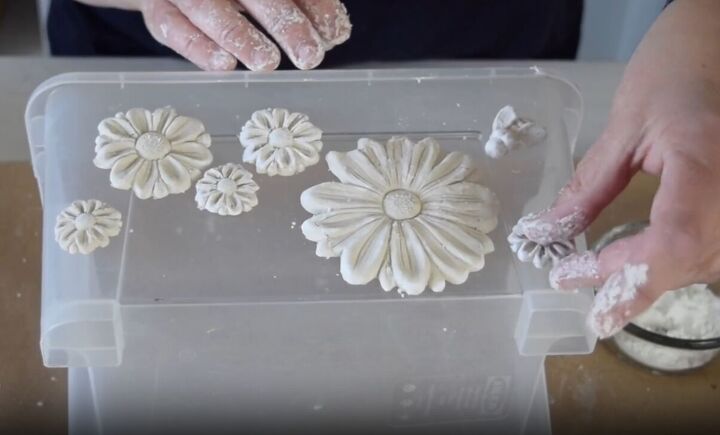
4. Arrange and Secure the Clay Designs
Now, take all the clay impressions you've created and lay them out on the side of the container. Experiment with different arrangements until you find a design that you love.
Once you're satisfied, use tacky glue to secure the clay designs in place.
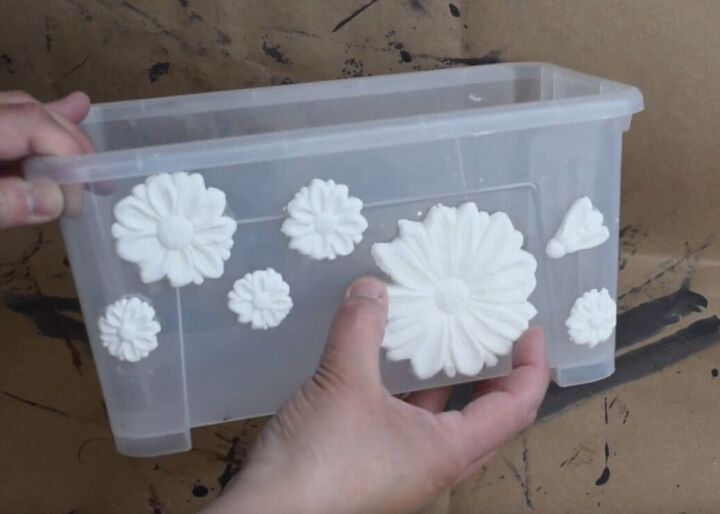
5. Let It Dry
With the clay designs glued in place, it's time to let them dry overnight. Make sure they are firmly attached before moving on to the next step.
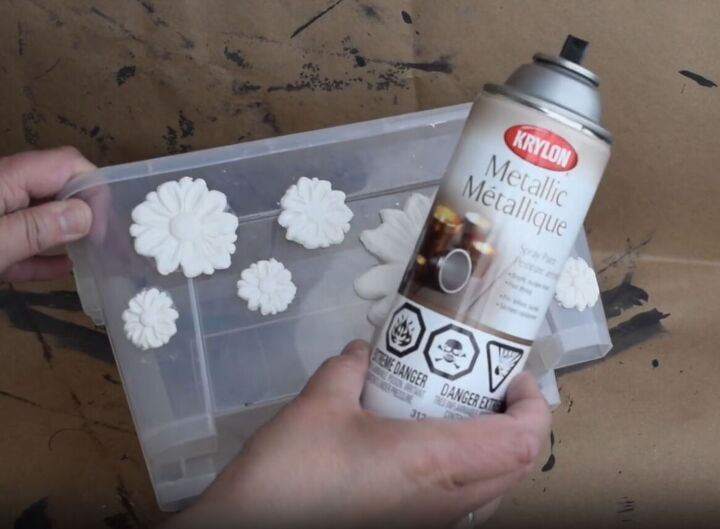
6. Add the Silver Spray Paint Base
Apply a coat of silver spray paint to provide a stylish background for the clay designs and conceal the clear container.
The silver color will complement the faux stone finish later on. Allow the paint to dry completely before proceeding.
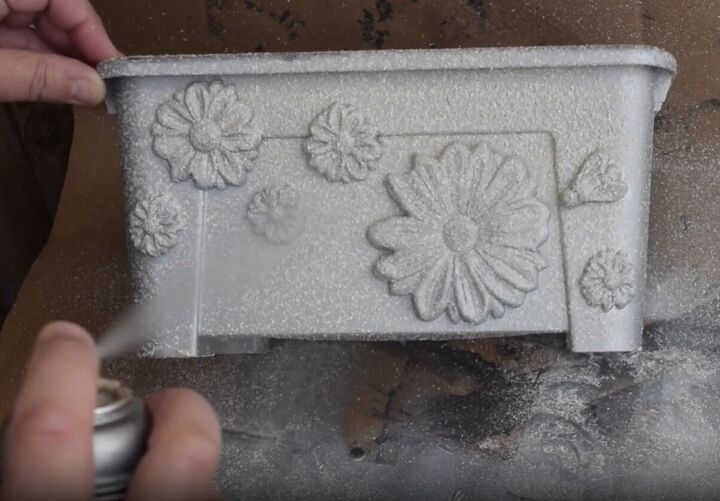
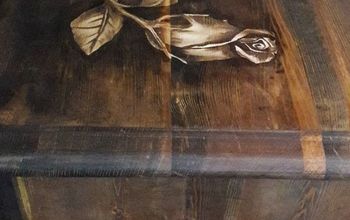
7. Achieve the Faux Stone Look
Now comes the fun part! Use a textured stone spray with various shades of beige to create a faux stone appearance.
Apply several light coats of the spray, allowing each coat to dry before adding the next. Building up the texture gradually will yield the most realistic stone effect.
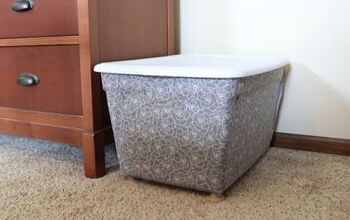
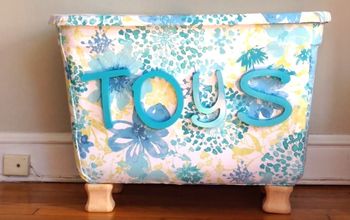
More Creative Clay Craft Inspiration
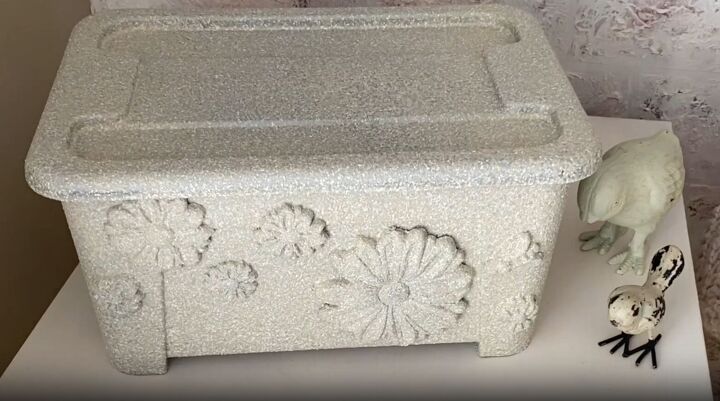
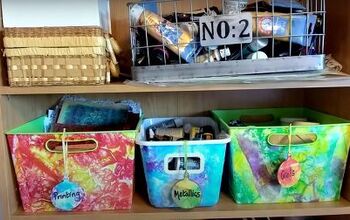
Faux Stone Organizer: Decorating Plastic Storage Bins
This DIY plastic storage bin makeover offers a creative and budget-friendly way to transform ordinary containers into stylish pieces of art.
By decorating plastic storage bins with air-dry clay crafts, you can achieve an elegant and functional decorative storage solution that suits your personal style.
Are you excited to give this project a try? Have any questions or want to share your own tips for decorating a plastic container?
I'd love to hear from you! Please feel free to leave a comment below and join in the crafting conversation.
Resources for this project:
See all materials


Comments
Join the conversation
-
Very interesting and unique idea. I never knew about stone spray but will definitely try it. Thanks for the inspiration
-
Love this as I'm on a fixed income I still want to try it.


Frequently asked questions
Have a question about this project?
Where o you get the molds?
If the bin gets slightly twister, won't the material crack? Molds on the site you suggest seem way too expensive.
Will they crack if they are moved or twisted at all?