


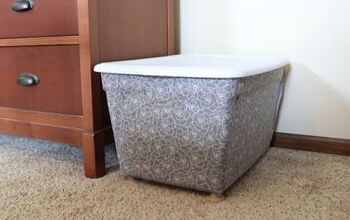
Brighten Storage Bins With Vibrant Tie-Dyed Tissue Paper
Welcome to a world of colorful possibilities! If you're looking for a fun and creative way to transform a plain plastic storage bin, then you've come to the right place. In this tutorial, I'll show you how to tie-dye white tissue paper and use it to decoupage a plastic bin
This post was transcribed by a member of the Hometalk editorial team from the original HometalkTV episode.
Create a unique and personalized storage solution that's both functional and beautiful. Grab your supplies and let's get started!
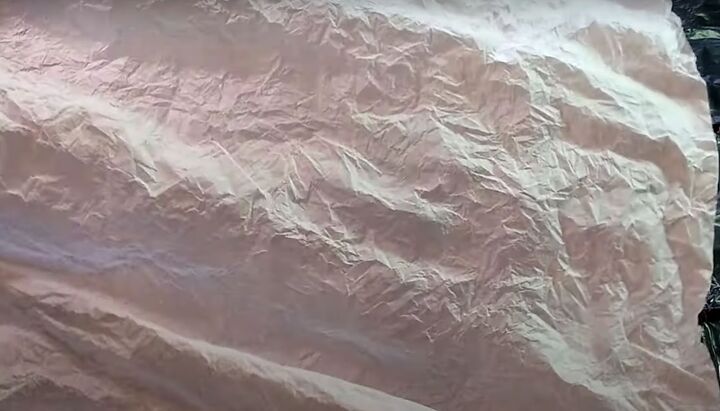
1. Scrunch up the tissue
To start my tie dye tissue paper project, I took a large sheet of white tissue paper and scrunched it up to create texture and wrinkles on the surface. This will help create a more interesting design.
Before adding the dye, I wanted to make sure that I protected my work surface. I laid down a large garbage bag to catch any drips or spills that might occur during the dyeing process. This also made cleanup much easier later on.
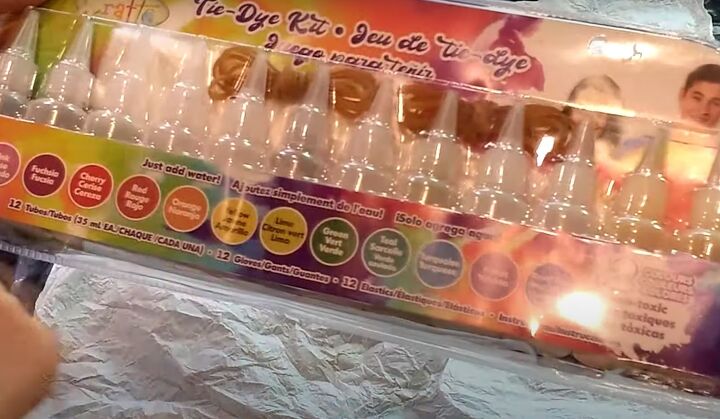
2. Mix dye colors
To create the tie dye tissue paper, I used a tie dye kit that I found at the dollar store. This kit includes dye powders that require water to be added to them.
For my project, I opted to use three colors: yellow, orange, and red. I selected these particular colors because they are next to each other on the color wheel, which meant they would blend harmoniously without creating a muddy appearance. Choose the colors that you love and mix your dyes.
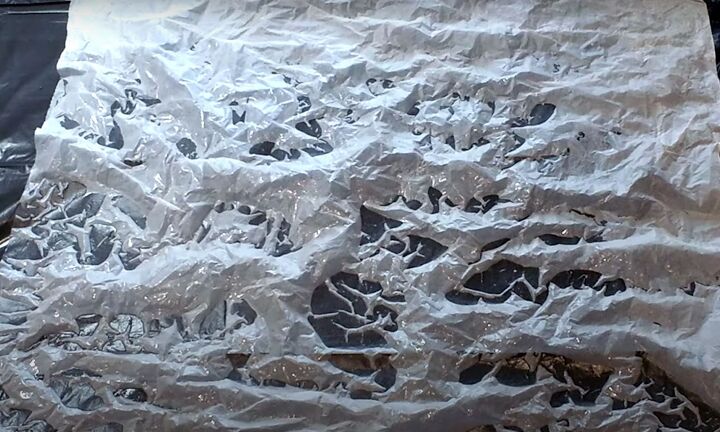
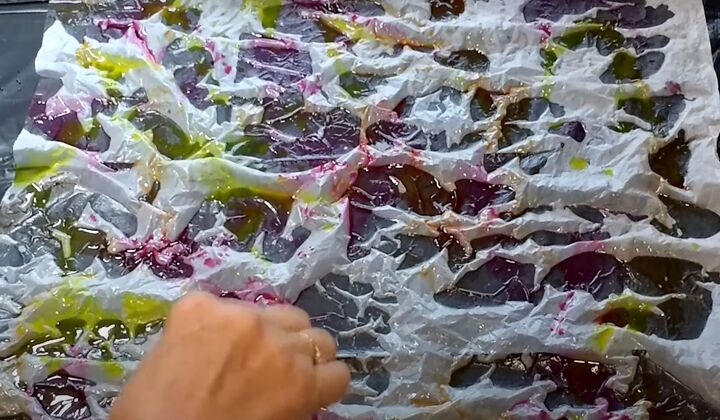
3. Spritz the paper with water
Next, I used a spray bottle filled with cold water to spritz the tissue paper all over. This allows the dye to spread and soak into the paper more evenly, resulting in a more vibrant and consistent color.
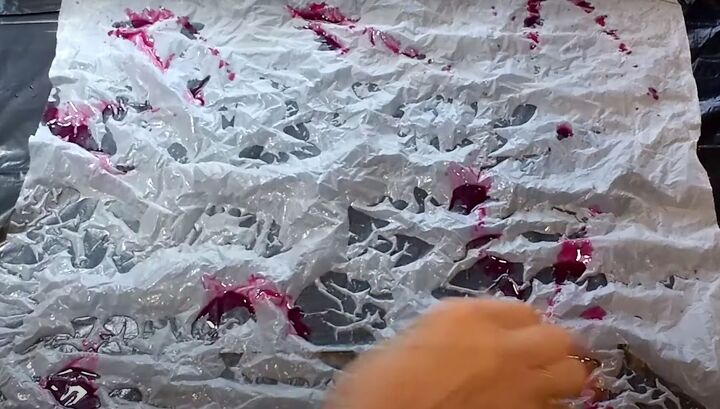
4. Apply ink to the tissue paper
I began the ink application process by randomly squirting red ink onto the tissue paper, making sure to cover different areas of the paper.
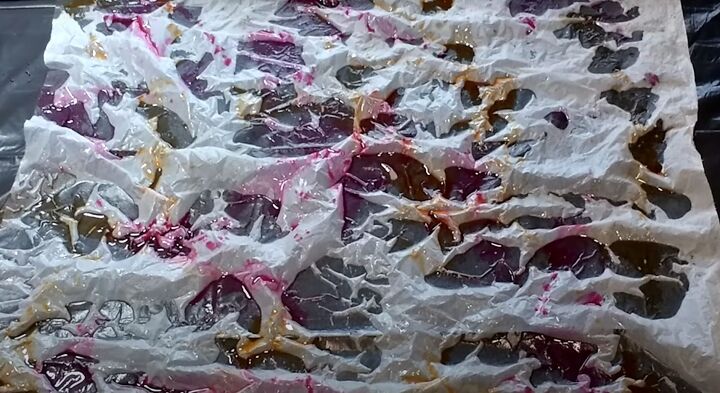
After applying the red ink, I continued to randomly squirt other colors onto the tissue paper, I added orange and then yellow.
This created a dynamic and visually interesting design. I made sure to leave some areas of the tissue paper blank to add contrast and balance out the composition.
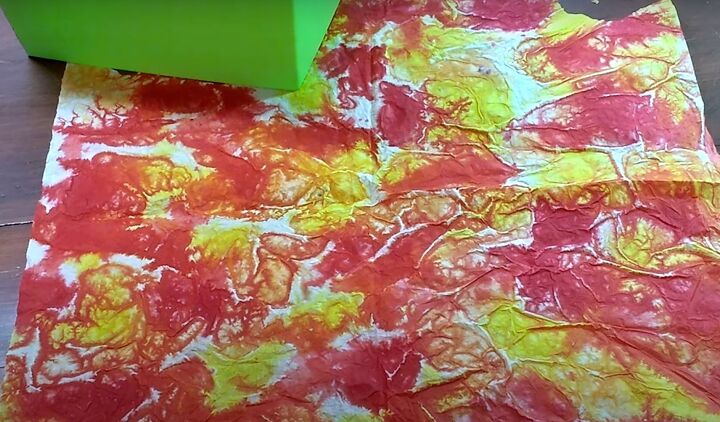
5. Dry the paper
After completing the ink application process on the tissue paper, I needed to let it dry completely before moving on to the next step. To speed up the drying process, I used a hair dryer.
However, it is important to be cautious when using a hair dryer as the force of the air can be too strong and may rip the paper.
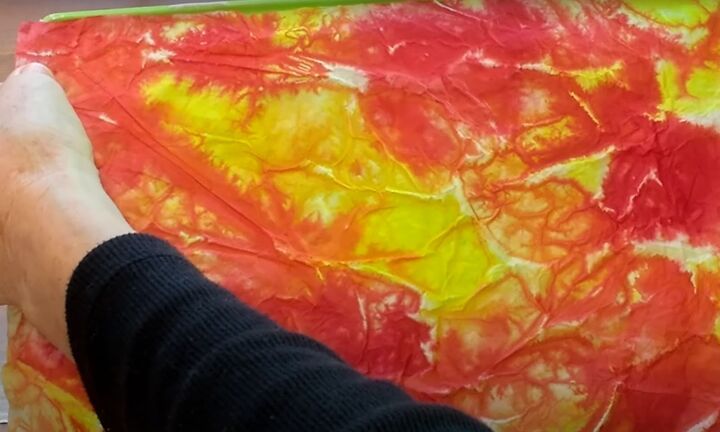
6. Measure and cut colored tissue paper
To prepare the tie-dyed tissue paper for use, I needed to measure and cut it to fit the sides of my bin. I cut it slightly larger than each side.
7. Stick the tissue to the bin
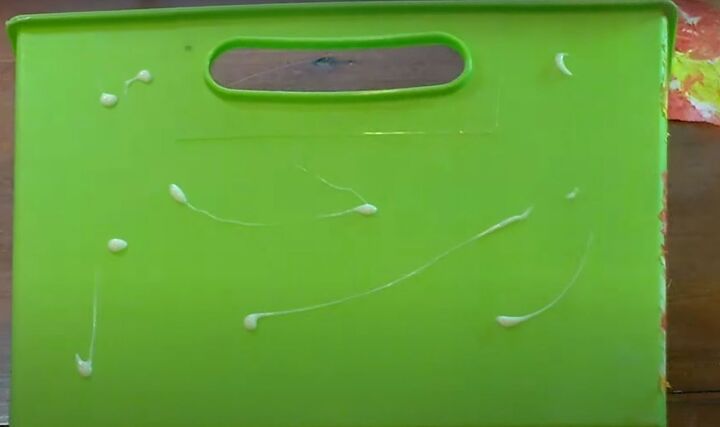
After cutting the tie-dyed tissue paper to the appropriate size, the next step was to attach it to the sides of the plastic bin. To do this, I used white glue, which provides a strong and durable hold.
I squirted a generous amount of glue on the side of the bin and then used a soft paint brush to spread it, making sure I covered the whole side.
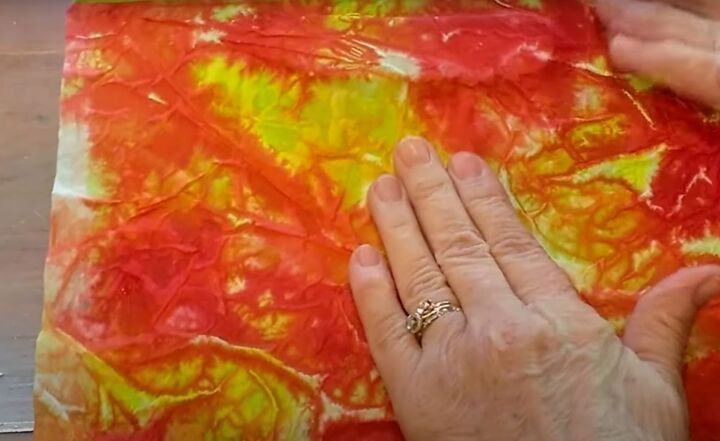
Once the glue was evenly distributed, I carefully positioned a piece of tissue paper just underneath the rim of the bin. Try to line up the edges and corners as accurately as possible.
I then pressed the tissue paper onto the bin, using my fingers. I also made sure to run my fingers over the edge. Don't worry if you get wrinkles because you're not going to see them.
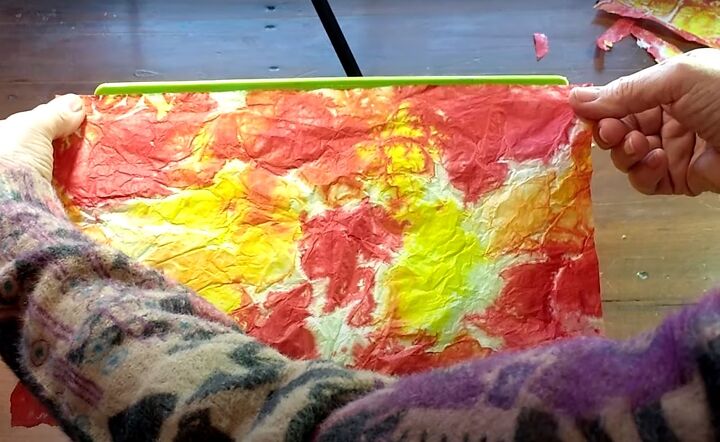
I repeated this process for each side of the bin, taking care to align the tissue paper and ensure a neat and tidy finish.
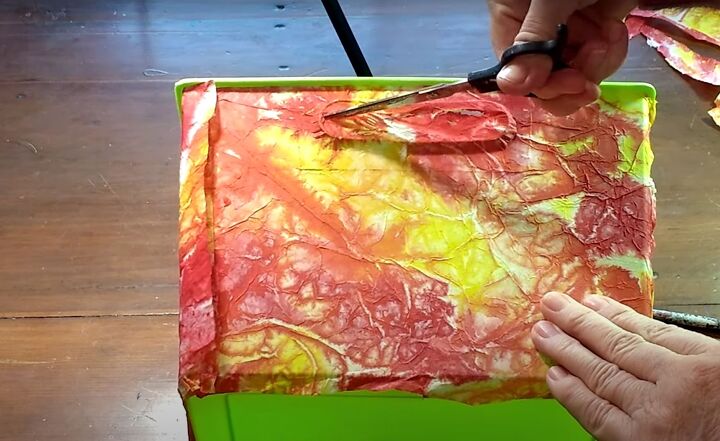
8. Cut out the handles
Now, I needed to finish off the handles. Once the paper was dry, I took a pair of scissors and stabbed the middle of my little handle. I then very carefully pulled away the tissue. You can also use a blade to slice through it.
This is also a good time to trim and neaten the edges.
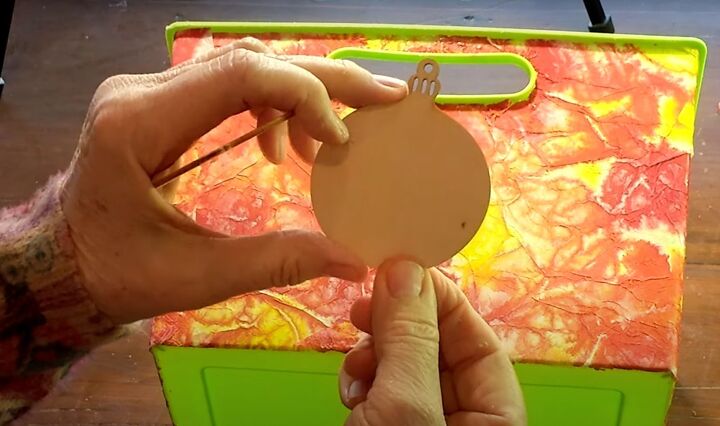
9. Make a tag
After completing the tie-dye design on my storage bin, I decided to add a finishing touch by making a tag to label it. To do this, I used some wooden ornament cutouts that I had left over from a previous project.
I covered the tag using the same white glue and paper. By using the same tie-dyed tissue paper on the tag as on the bin, I was able to create a cohesive and coordinated look for my storage solution.
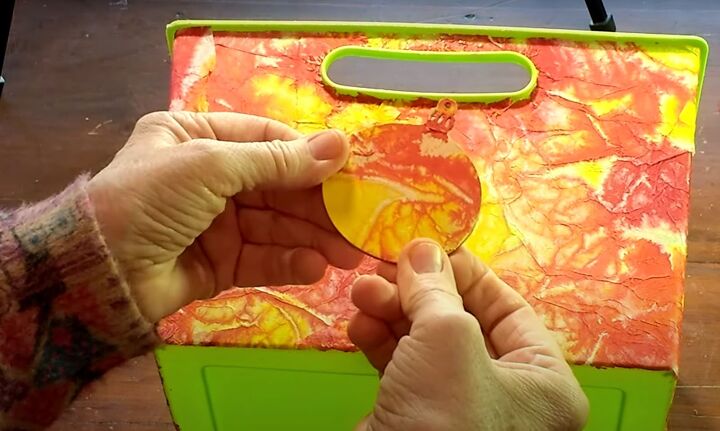
When it was dry, I labeled my tag. The wooden ornament added a decorative touch to the bin, while also providing a practical way to label and identify its contents.
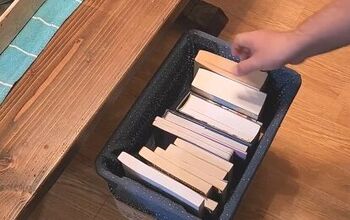
More Storage Box Makeovers
How To Tie Dye Tissue Paper
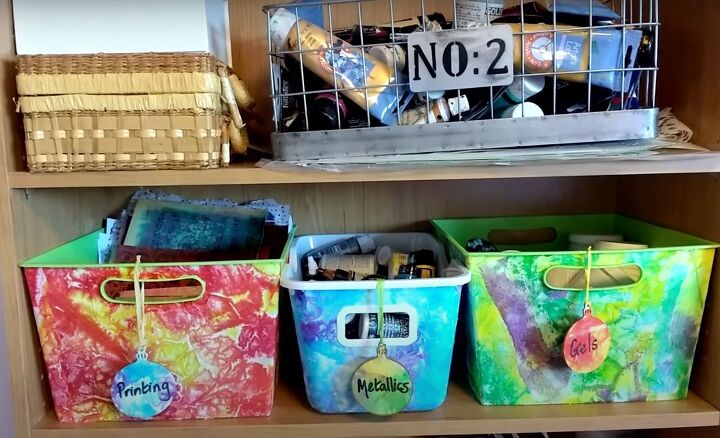
I now have three handy bins to help me organize my studio. I hope you found this tutorial on tie-dyeing tissue paper useful and enjoyable. It's a wonderful way to give an ordinary storage solution a colorful and unique makeover.
Follow the steps outlined in this tutorial and see how easy and enjoyable it can be to update your bins with this vibrant idea.
Resources for this project:


Comments
Join the conversation
-
Wow, what a creative idea!
-
Really nice work!


Frequently asked questions
Have a question about this project?
How long does it take for the colors to run together?