


Storage Cube Makeover (with an IKEA Rug!)
This post was transcribed by a member of the Hometalk editorial team from the original HometalkTV episode.
Head to IKEA and grab an inexpensive rug to make over your boring storage cubes.
Hometalk Recommends!
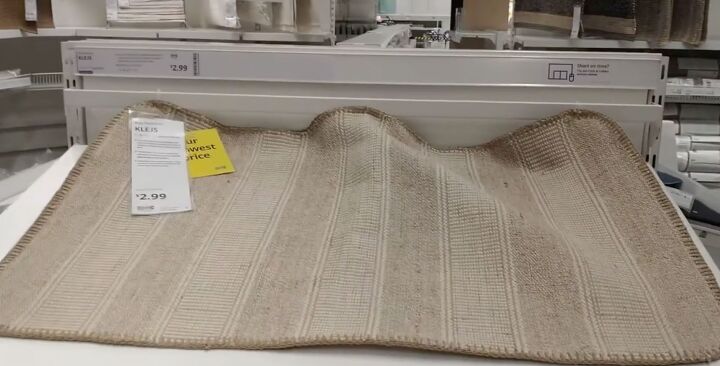
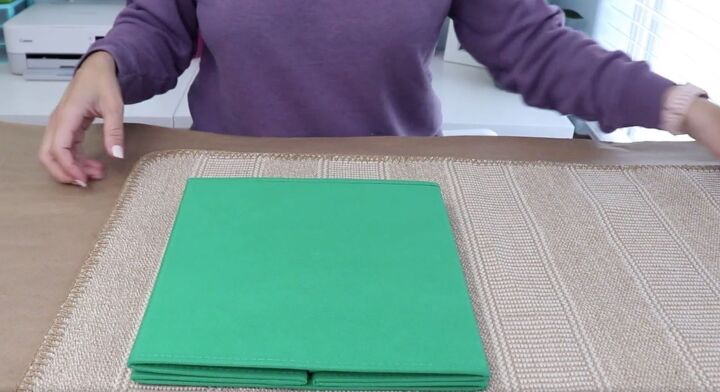
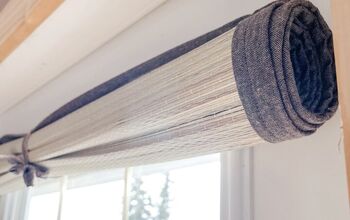
I picked up an inexpensive woven rug at Ikea, and I used it to update a couple of fabric storage bins in my home.
I started by pulling the bins out of their storage area.
Next, I laid down the rug and then put the bin on top to measure how much fabric I needed. I want this rug to overlap the sides of the bin just a little bit so that when you're looking at it from an angle, you don't know that this is only a cover.
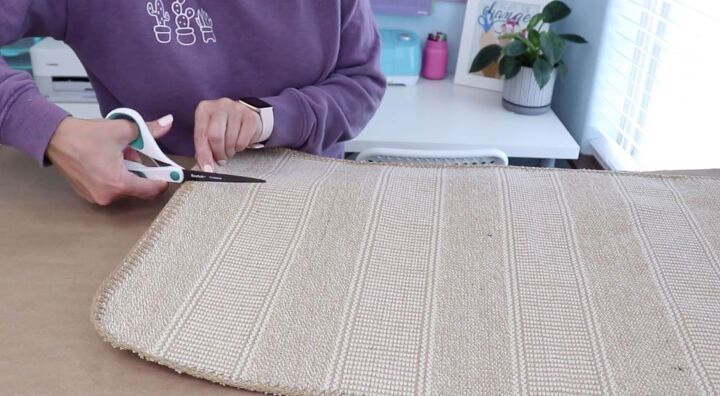
The rug was easy to cut with a pair of scissors once it was measured.
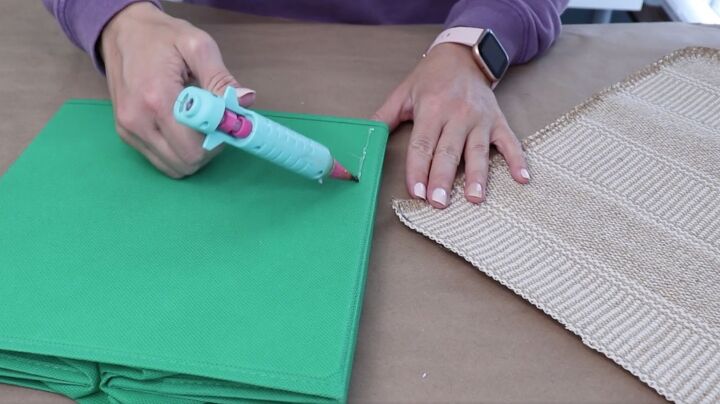
To attach the rug to the bin, I used hot glue. Since this was a woven rug and a fabric bin, the hot glue held up really well and made a nice secure bond. I glued it to the back so the handle part of the bin is going to be on the back, and this fabric is going to be on the other side.
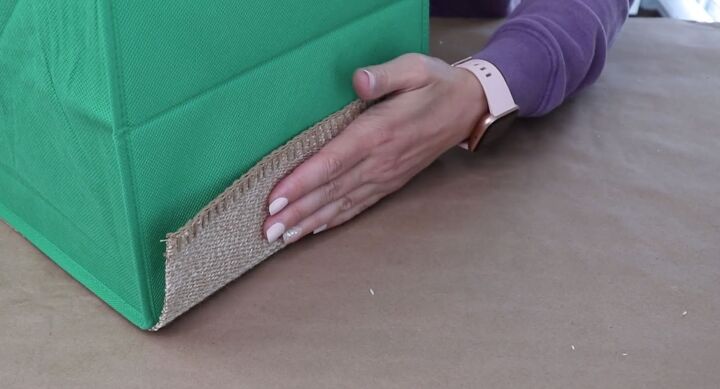
Once I had it all glued to the face of the bin, I wrapped the sides of the rug around and secured it to the sides of the bin.
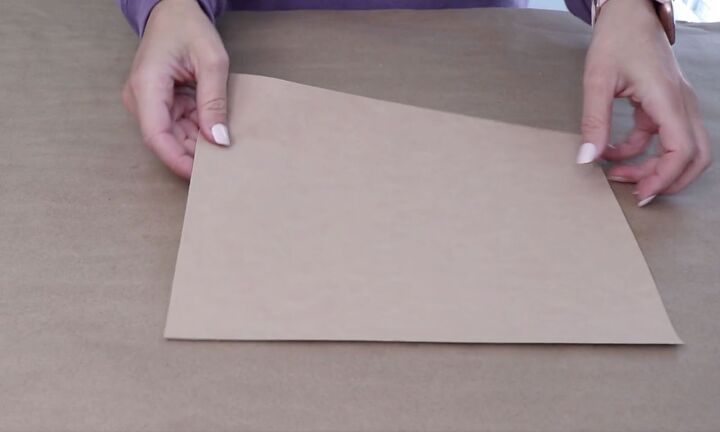
I wanted to add a handle to the bin so grabbed a piece of faux leather. You can pick this up at a craft store.
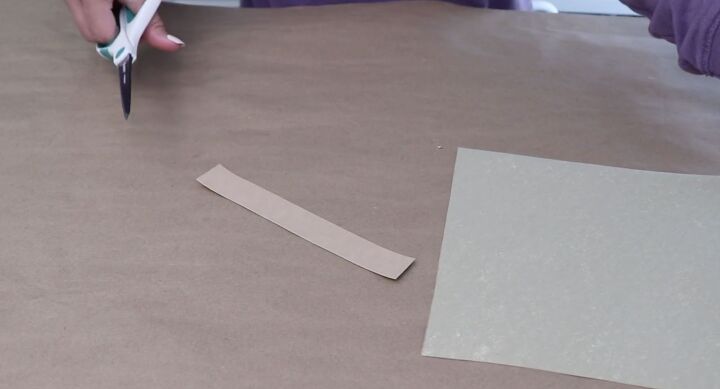
I cut a long rectangle that I measured out using the original handle from the bin.
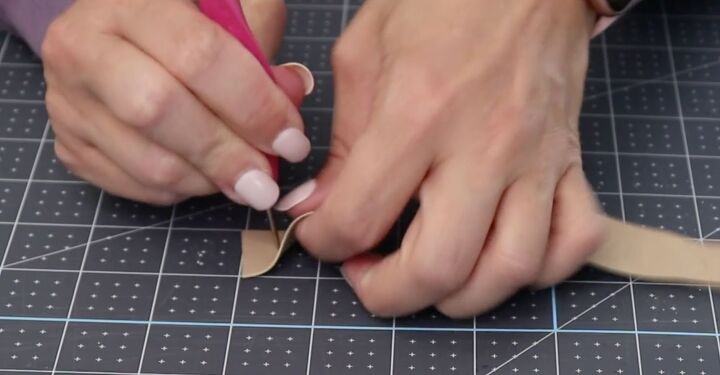
To attach it, I wanted to use two Brads so started by punching a hole at either end. You can also get the Brads and tool at a craft store.
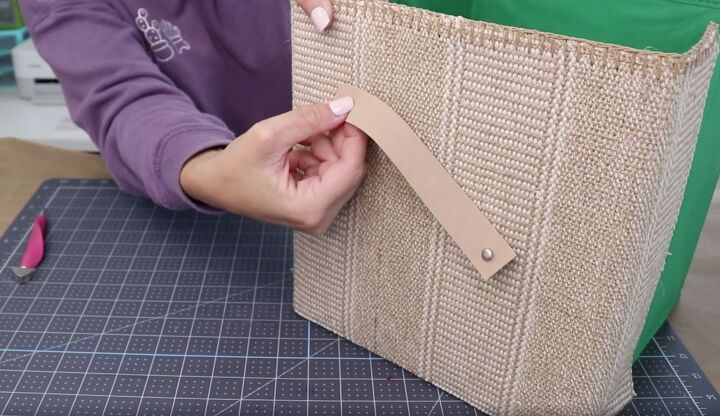
My storage bins were made out of cardboard on the inside, so it was pretty easy to stick these handles on. I used the Brad tool again and punched a hole through the rug and through the storage bin, and then push that Brad through.

Once the Brad was in place, I separated the two prons on the inside of the bin to keep it in place. This way, you can really use that handle and pull it back and forth, and it's not going anywhere.
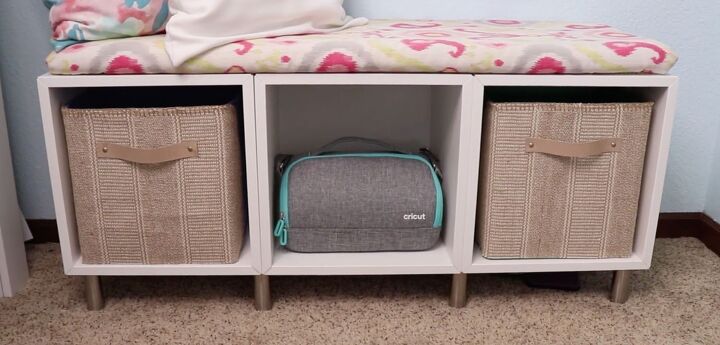
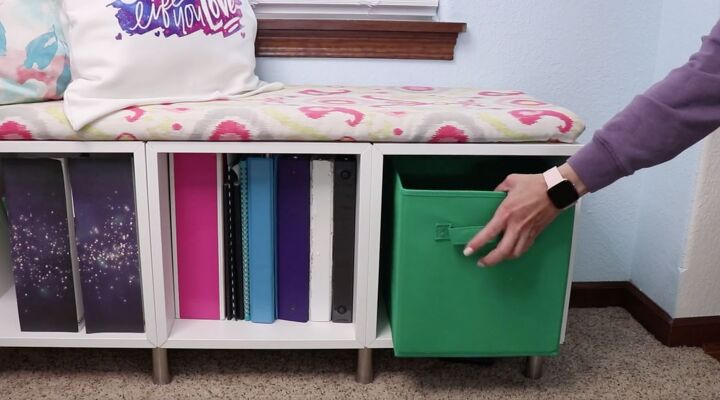
I made two of these storage bins to control some of the clutter that I had in the storage bench in my office. I still get to have all of the craft supplies and binders that I originally had under this bench but now they're stored away and they look a little
bit nicer.
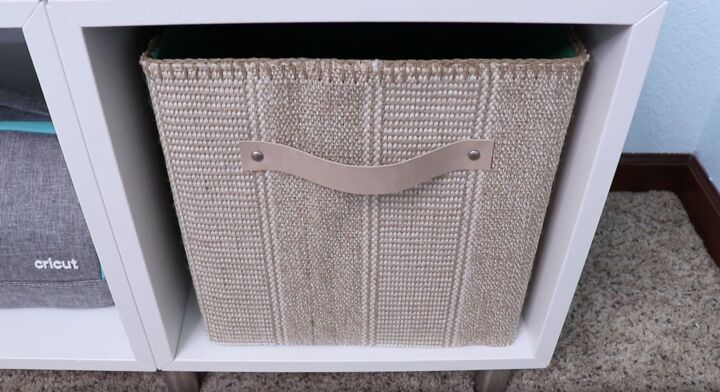
This was a really easy and inexpensive way to update a basic storage bin. Head to Ikea, and pick up a rug or you could also do this with a placemat or some funky fabric, and you can update your own bins.
See more of my DIY ideas and tutorials on my blog!
Resources for this project:
See all materials


Comments
Join the conversation
-
I have the exact same bins--great idea! Mine are inside a cabinet so covering them is less pressing than if they were on display but it would still improve how they look! Thank you for sharing!!
-
I always lack storage stuff, so I'm glad that I've found your post. In most cases, I call rev a shelf customer service and make an order there, but your guide has inspired me for a DIY project. I'll give it a try, thanks for sharing!


Frequently asked questions
Have a question about this project?
Did you cover the whole bin or just the front?