


DIY IKEA Hack Desk/Dining Table Makeover

7 Materials
$180
1 Day
Easy
Last year I was in need of some serious productive space.
I wanted a large & solid desk that would that could easily change with my needs. To accomplish this, I picked up a large desk/dining table from Ikea & customized it to fit both my style & need.
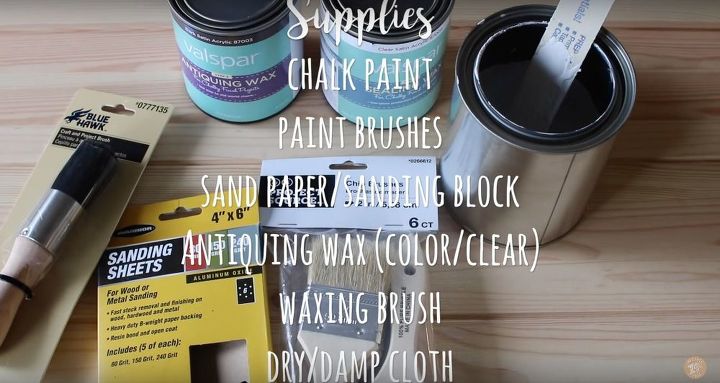
Here's a quick list of supplies however, you can always see a full list at the end of this post & with the video.
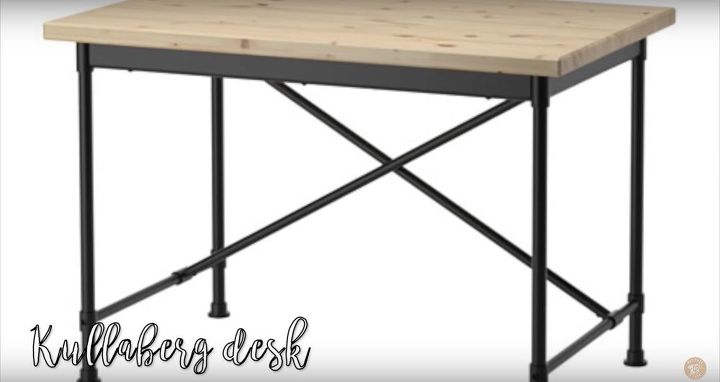
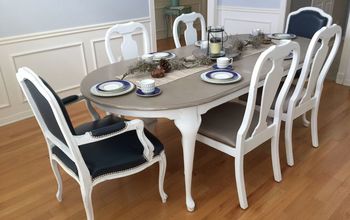
The main item you'll need for this DIY is a desk of your choice. I went with the large & budget friendly Ikea Kullaberg dining table. While this table is $150 it often goes on sale & is a great price for such a large table. This was definitely a purchase for the long haul since it's more money than I'd like to spend on a DIY.
*You can find this desk here:
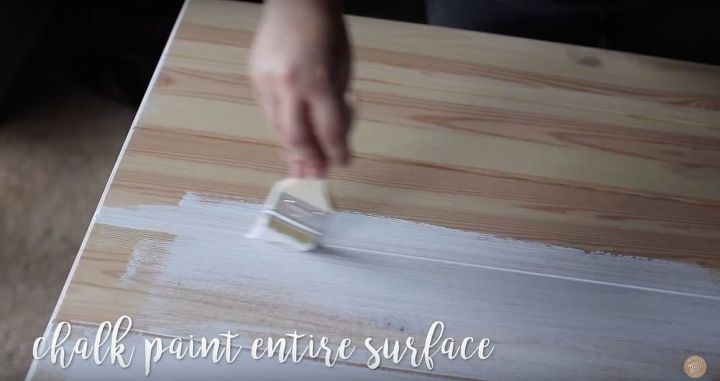
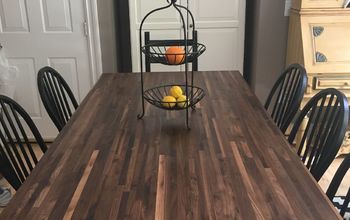
Depending on your desk surface you may want to stain or paint it. I chose to chalk paint my desk since the Kullaberg comes without a finish.
I applied 1-2 coats, allowing each coat time to dry.
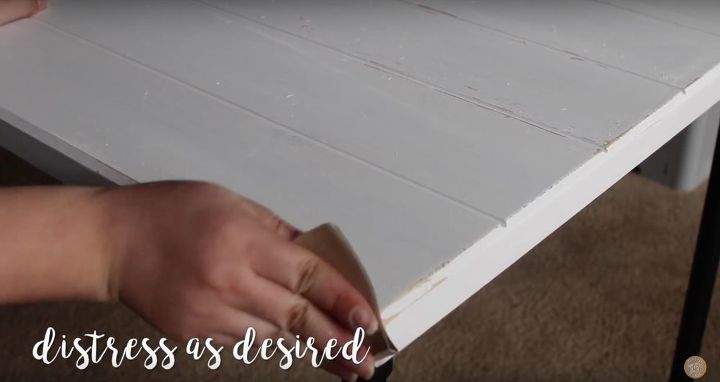
If you're going for a rustic/farmhouse look you can distress the surface of your desk. I used a piece of sandpaper to lightly remove paint along the edges & surface of my desk.
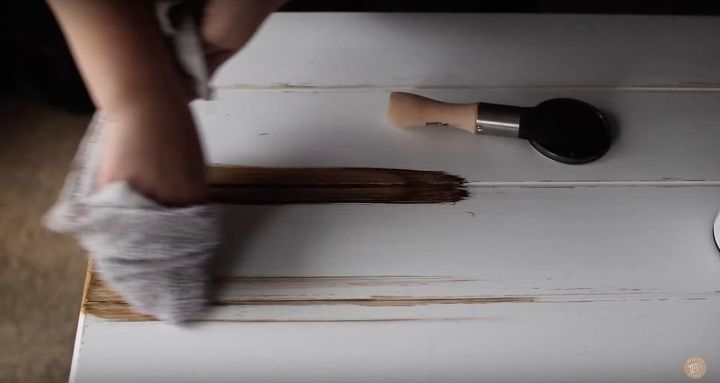
Once the surface is distressed you can add a coat of antiquing wax to age the desk. I applied antiquing wax to all of the areas I distressed along with the grooves & crevices on the surface.
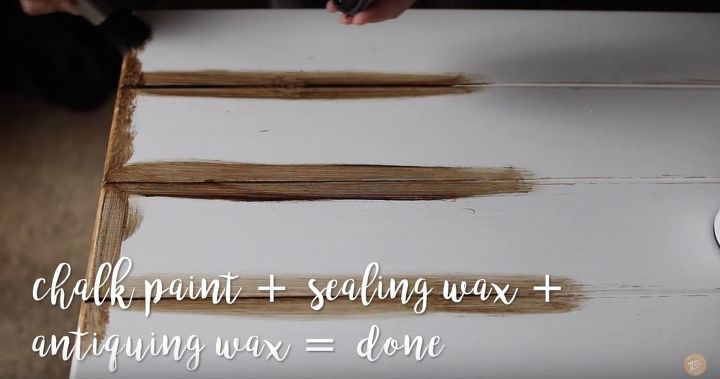
When applying antiquing wax it's usually best to also apply sealing wax. Throughout my DIY digging on the internet I've found that almost everyone has their own process of applying wax. Some follow the product instructions while others throw their own spin on it. I've found that nothing beats a coat of polycrylic so it's all up to you.
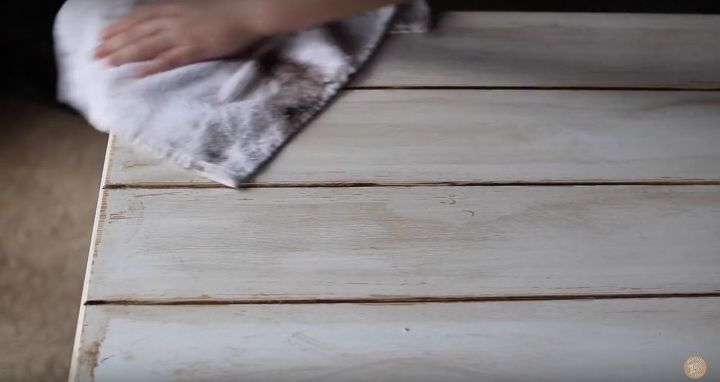
Before allowing your antiquing wax to dry or sealing it, move the wax along the surface with a dry rag. I used this time to buff the wax into all of the areas I wanted the desk to have age.
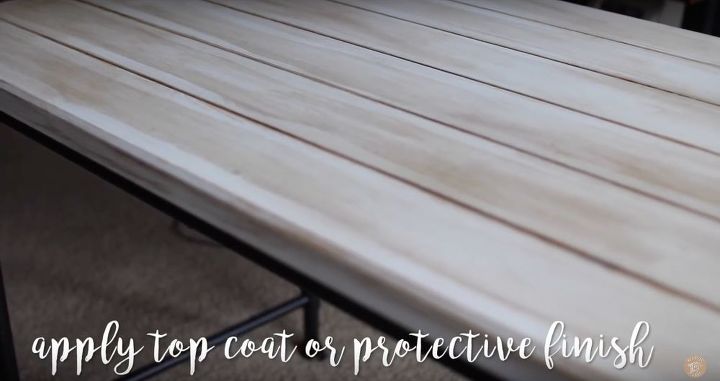
Once you're happy the way it looks you can either apply a sealing wax or apply a few coats of polycrylic to protect the finish.
Keep in mind that sealing wax will need to be reapplied periodically to truly protect the finish.
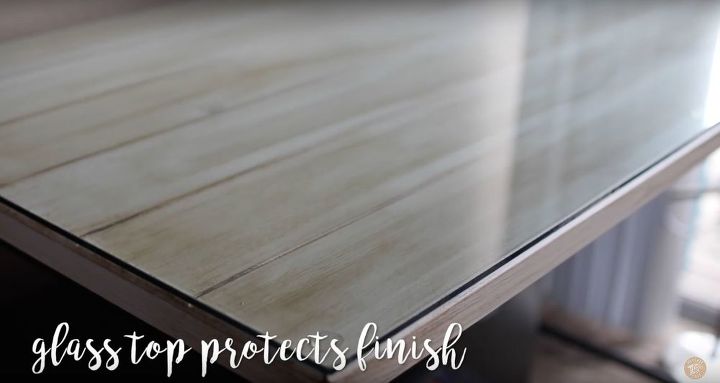
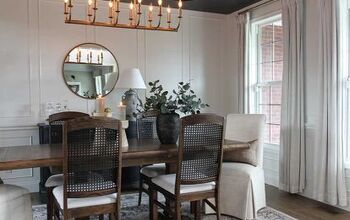
Since I was looking for a desk & finish that would last, I added a glass top for an extra layer of protection.
I called my local glass shop & was able to get a much better price than Ikea & any local hardware stores.
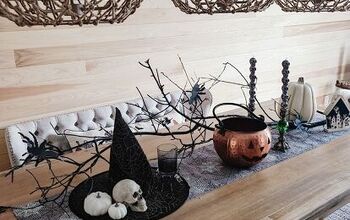
This desk lasted an entire year as my main workspace until it recently became my dining table.
{
"id": "4695113",
"alt": "",
"title": "",
"video_link": "https://www.youtube.com/embed/o2G1xvW-ucc",
"youtube_video_id": "o2G1xvW-ucc"
}
{
"width": 634,
"height": 357,
"showRelated": true
}
Feel free to leave any questions down below & check out my other corners of the internet.
YouTube: www.youtube.com/c/HeatherMoxieDIYed
Blog: www.heathermoxiediy.com
Twitter: www.twitter.com/HeatherMoxieDIY
Instagram: www.instagram.com/heathermoxiediy/
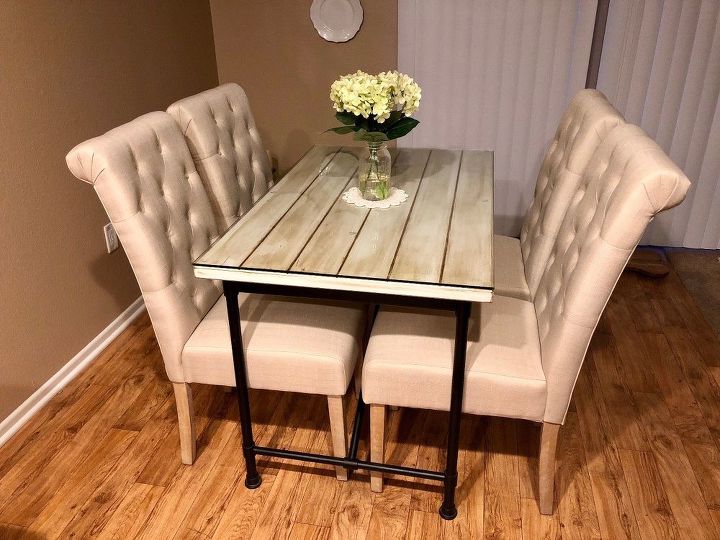
This desk lasted over a year as my main workspace until it recently became my dining table. the glass top has protected the finish so much that it still looks like the day I finished the DIY.


Frequently asked questions
Have a question about this project?