Kitchen Table Redo - Part 2 - Butcher Block IKEA Hack

by
Stacy Davis
(IC: instagram)
2 Materials
$400
3 Days
Medium
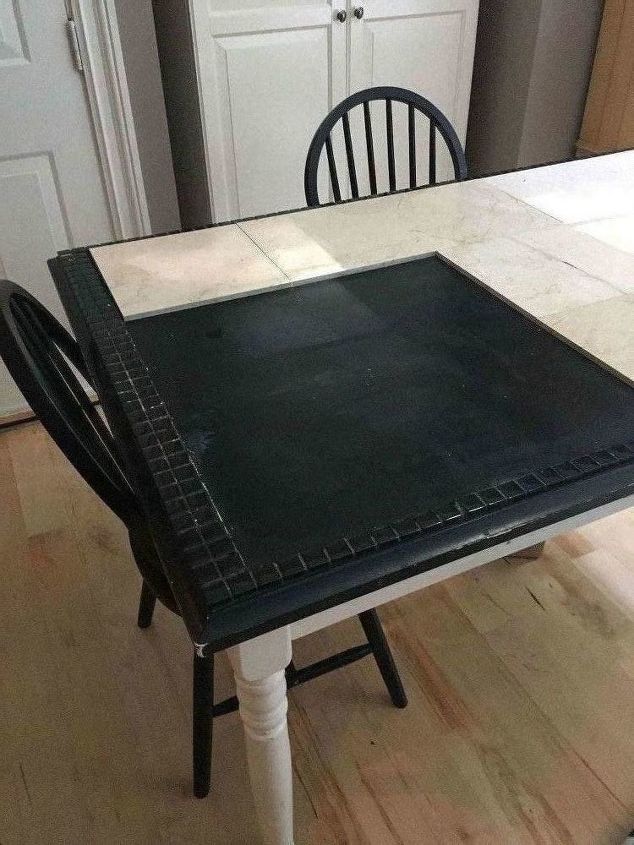
After my beloved granite tile table became damaged in our move to Virginia, I tried to replace the granite tiles with marble tiles. When the marble tiles became stained and began to crumble, I needed a quick and easy solution. But this time I wanted the replacement to last for years. I spent a lot of time researching a family friendly table top. I finally decided on a butcher block island top. I hope it will look beautiful and last for years to come. The butcher block was about $370, tung oil $10 and new orbital sander was $20. I already had the base so I didn't buy anything for that.
My over all plan was to remove the table top and reuse the apron and legs for the new table top. First, I removed the tiles from the top of my table. I then removed the screws from the braces holding the table top to the table apron. This is "When best laid plans ... go awry." I thought it would easily lift off but there must be adhesive holding it together as well. Another time, we will try to separate the top from the base but now was not the time. In the final pictures you will see what we are temporarily using for a base.
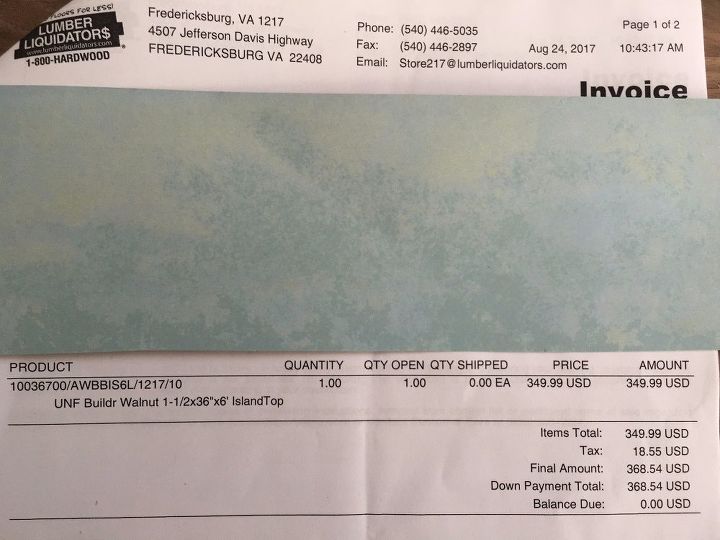
Here is the Lumber Liquidators description of the Butcher Block Island Top that I purchased. They had cheaper butcher blocks and I think this was the most expensive but worth every penny. I just loved the look of this particular butcher block.
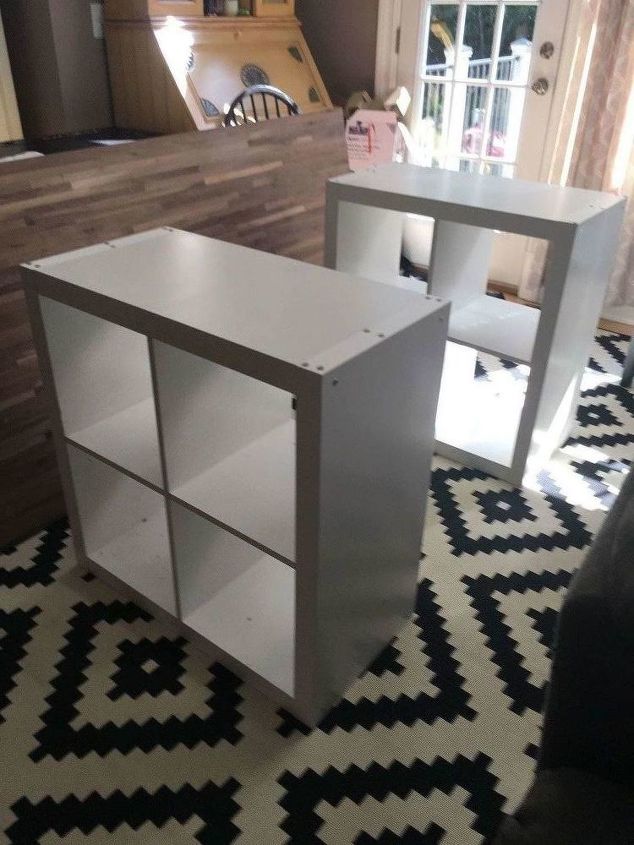
Here is our temporary base solution for a base for our table. Even though these look like IKEA shelves, these are from Walmart. I have a long IKEA Kallax shelf that I am going to swap these out for. The Kallax will provide a few more inches of leg room for the people who are sitting at the ends.
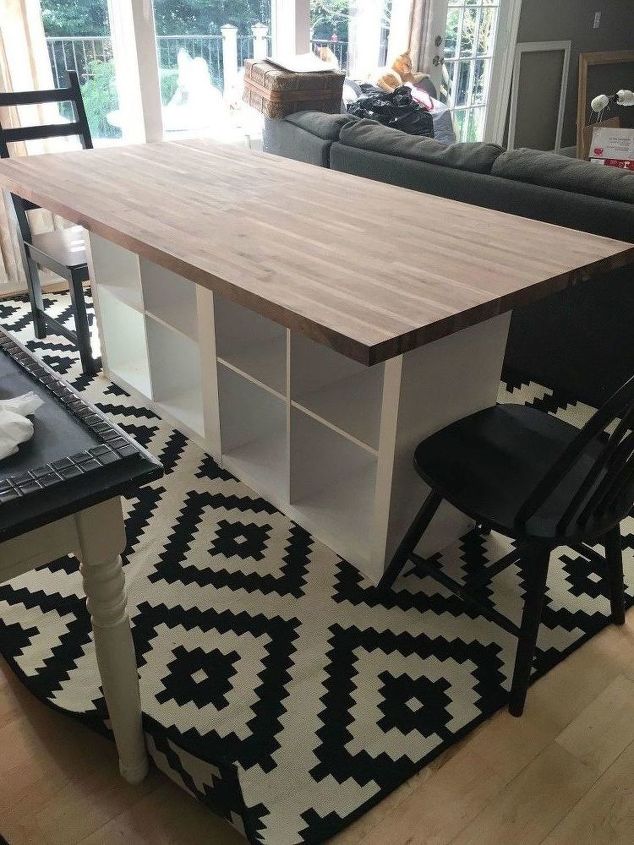
You can place them in different ways to suit your needs. To seat six people this works the best for my family.
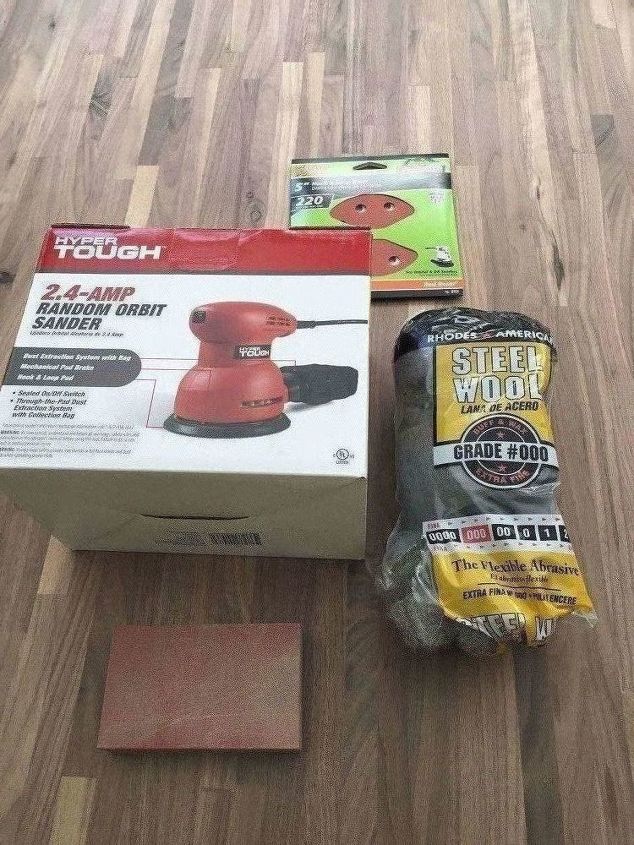
I used this sander and a variety of sand papers from 180 to 220 and then 000 steel wool to get it a bit smoother. There are many ways that you can finish and seal the butcher block. I spent a lot of time reading about these and you should too.
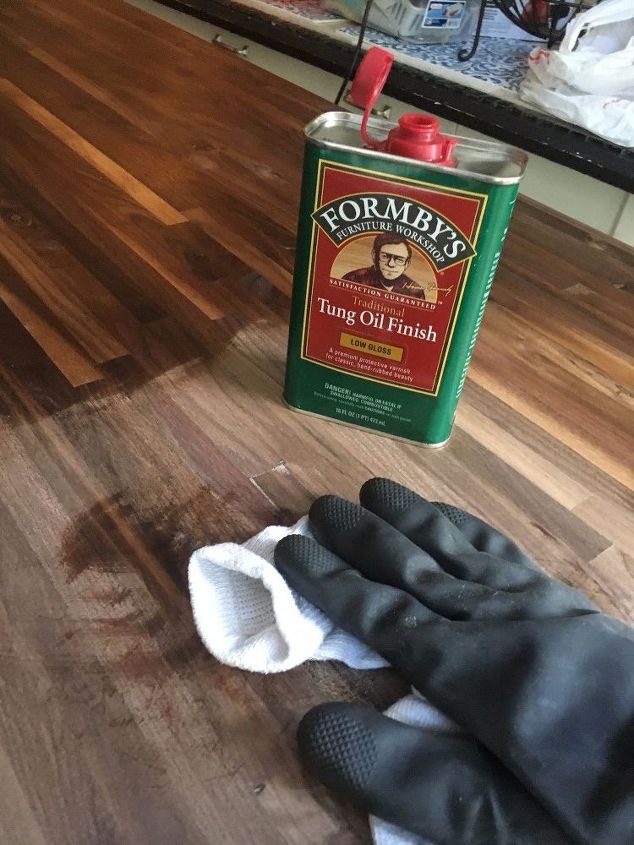
I used heavy gloves and Tung Oil to seal the butcher block top. I put on three coats. This is the first coat going on. I waited 24 hours in between coats for the oil to dry. I just used a sock to apply it like applying car wax to a car. I waited 10 minutes and removed any excess oil with another sock. Use fresh cloths for each coat. If you feel any roughness in areas in between coats, you can use a wet green scrubbie and just kind of buff it away. I found that tip floating around the internet.
This picture was taken after the second coat.
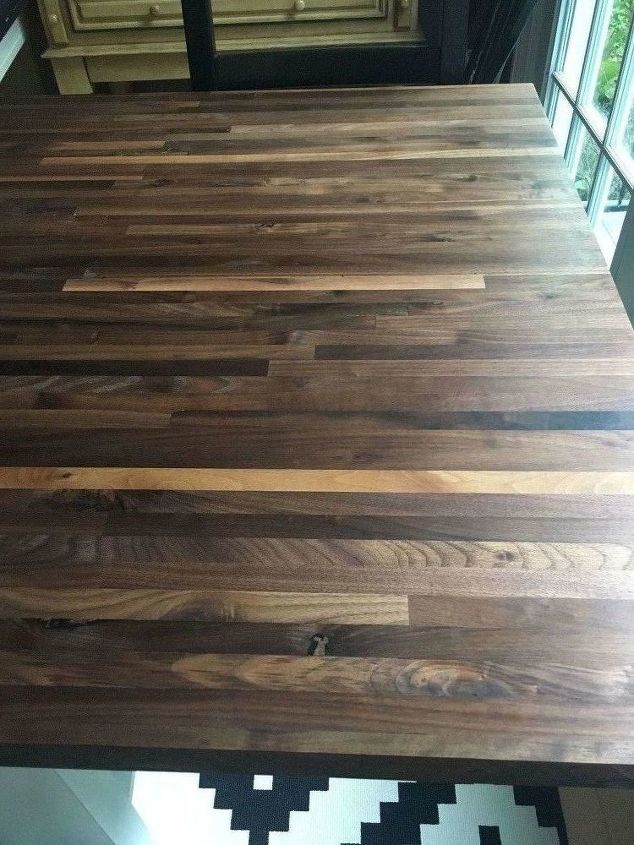
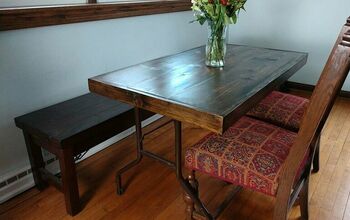
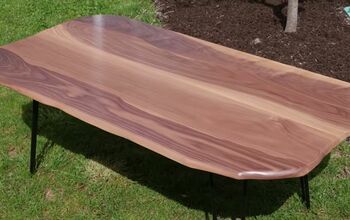
And here is the table after the third coat of tung oil.
I love the storage below. I plan to use black wrought iron shelf supports to secure the top to the base but I haven't found any yet.
I know it is a lot more expensive than a lot of the DIY farm tables that are out there but it is just what I was looking for. I love how smooth the top is. I think this will last a long time.
Enjoyed the project?
Suggested materials:
- Butcher block island top (Lumber Liquidators)
- 4 cube shelf (Walmart Ikea or Target)
Published September 12th, 2017 11:49 AM







Frequently asked questions
Have a question about this project?
what did u spend for the top?
What about food on the table is it safe?
Love this. It’s exactly what I had in mind, and it took hours of searching before I stumbled into your post! This is probably a really dumb question, but how did you attached the top to the units? I’m a creative soul with zero carpentry skills to make my ideas reality. Any guidance is appreciated :) Thank-you and great job