Origami Box for Tea Bags

I love tea so much; it relaxes me.
I appreciate the tea so much that I made boxes for it.
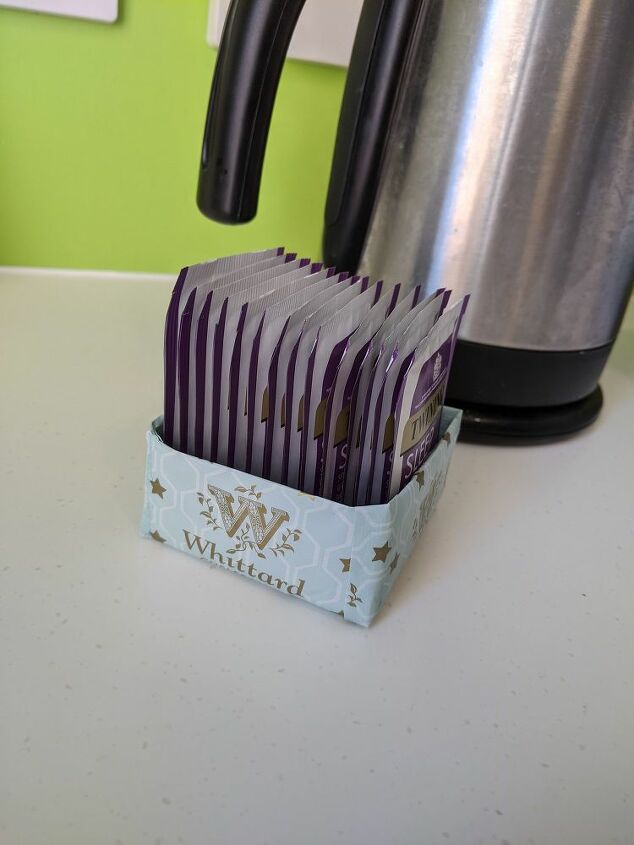
The finished product.
I took a regular A4 paper, the one I use for the printer, and made it into a square by folding on side.
Measuring using a ruler to be sure it is a perfect square, and cutting according to the line.
Then, I folded it into half, on each side. I did it to find the centre of the paper.
I flipped it over and folded the corners of the paper to the centre.
Then, I unfolded the last step and folded it and using the lines created on the previous step.
Folding it into half, to create horizontal lines.
Folding it on the 45 angle degree created. Repeating on both sides.
By holding the triangle, I "dragged" it into the centre, as it was on step 2. It created the first face of the box.
Once I repeated it in the second triangle, the box was ready to paint or cover.
I pinched the corners to make it a bit stronger.
I just adore tea bag covers.
Whittard's, for example, has a gold star on a light-blue pattern with white stripes. It also has a nice texture to it. How can I through it out?
I have a box with the covers; I thought it would be an excellent cover for my box.
Using regular white glue and an old brush, I glued the pieced of Whittard's covers.
Every face of the box got the same "treatment" with the same logo and stars.
With a strip, I covered the corners. Cutting the middle and glueing it to both sides.
Teabag covers usually have a wax seal in it; however, I decided to add a white glue layer to make it stronger.
Unfortunately, I couldn't find any Whittard tea at a reasonable price; I had to compromise and drink Twinings...
Enjoy 

Enjoyed the project?
Resources for this project:
See all materialsComments
Join the conversation
-
-
-
 Paige Mull
on Apr 26, 2020
Hello Friend, I love paper crafts. And your craft is just too cute! And a good idea! Thanks for sharing! ❤️💜💚
-












Frequently asked questions
Have a question about this project?