DIY Tea Box and Tea Tags.

This tea project was done for our dear grannies for Mother's day last year. Two variants were done. The first variant I did together with my daughter. The second variant is a printable version (I did patterns in a photo editor and printed them out, all patterns are available to download).
Materials are really simple:
- The main one is a box of tea bags which is more than easy to buy in any local supermarket.
- Paper, color markers/pens/pencils, an adhesive (double-sided tape is comfortable to work with), scissors.
- And of course a good mood because this gift is gonna be given to someone you love!
Here is my video tutorial with all details:
And a photo overview below:
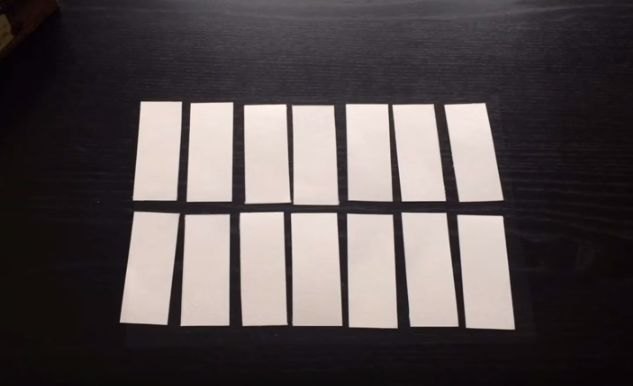
Step 1: Take A4 paper (I use thick paper but copy paper may be also ok), cut it into rectangles.
My rectangles (tea tags to be) are 3,5 cm x 9 cm.
Step 2: Fold them in half and cut off edges to make a tea bag shape.
Step 3: Let your kid decorate the tea tags.
Step 4: Take a ready tea bag, remove the tag and adhere your tag with double-sided tape.
Step 5: Now let's make a box. Take a tea box:
Step 6: And undo it:
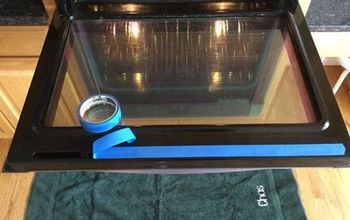
Step 7: Take thick paper A3, fix the box in place with a masking tape, trace the outline with a pencil and cut out.
Step 8: Repeat all folds and cuts using a ruler and scissors (or an empty ball pen).
Step 9: Fold up a box and glue where necessary,
Step 10: You may decorate a fresh-made tea box together with a kid.
Once the box is ready, the tea bags are ready, place tea bags in the tea box. Also I recommend to wrap the box with a clear plastic to make it look even better.
So, this project is nice to make with kids but I also made printable patterns of tea tags (you or kids may write warm wishes on them).
To download patterns just click "To see more" link below and the download link will be right in the description box on Youtube.
Thank you and happy crafting!














Frequently asked questions
Have a question about this project?