


How to Create Pretty DIY Floral Arrangements For Your Home

Hello, flower enthusiasts! I'm excited to share with you a simple and enjoyable DIY flower arrangement tutorial. Whether you're sprucing up your home decor, preparing a thoughtful gift, or simply want to get creative with flowers, this guide will walk you through the process step by step.
With just a few supplies and a touch of creativity, you'll be able to create a pretty floral arrangement that will brighten up any space. So, let's dive in and get started!
Tools and materials
- Fresh flowers of your choice
- A vessel or vase (one you don't mind parting with temporarily)
- Scotch tape
- Scissors
Steps
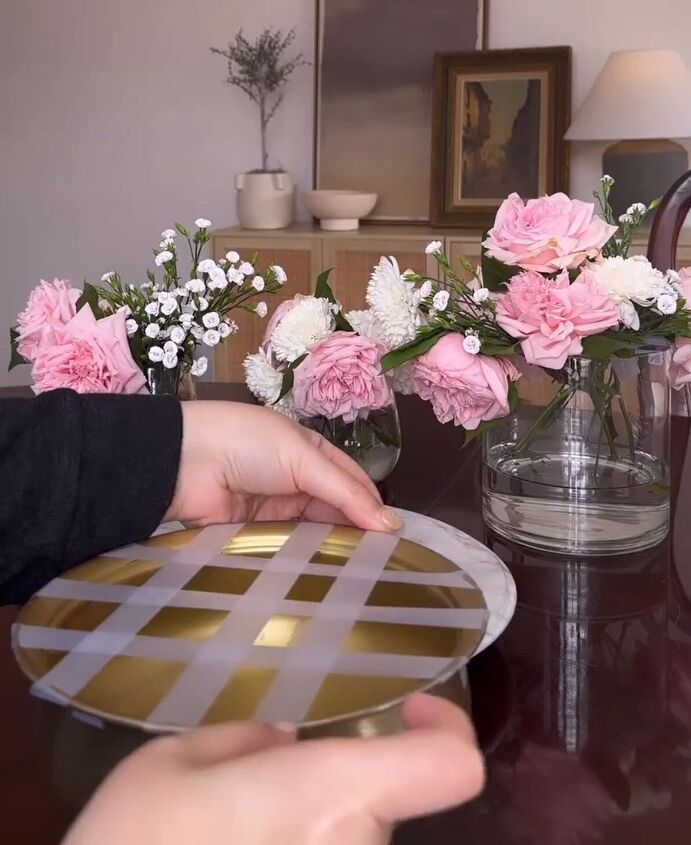
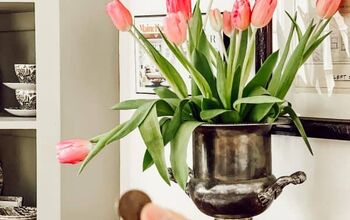
Step 1: Prepare Your Vase
To start, choose a vase or vessel that suits your style and the occasion. Make sure it's clean and dry. To create a grid to hold your flowers in place, use scotch tape. Simply crisscross the tape over the opening of the vase, creating a grid pattern. The grid will help keep your flowers in place as you arrange them.
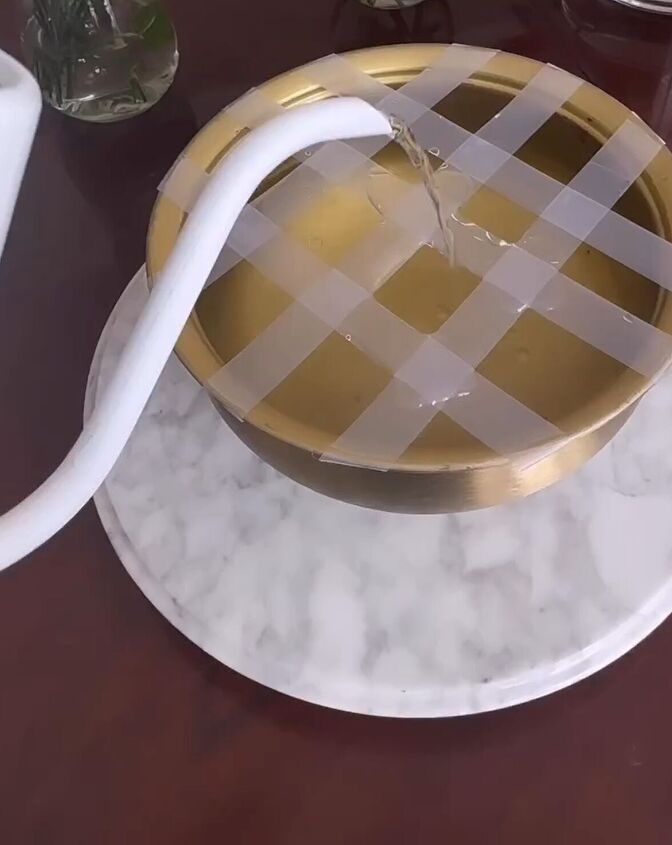
Step 2: Add Water
Fill your vase with clean, room-temperature water. The water should be at a level that allows the stems of your flowers to be submerged while still keeping the tape grid in place. Ensure that the vase is stable and won't tip over when you add the flowers.
Step 3: Prepare Your Flowers
Before cutting your flowers, consider whether you're arranging them for immediate display or a few days in advance. If you're planning ahead, select flowers that haven't fully bloomed yet. If you're creating your arrangement for the same day, fully bloomed flowers are just fine.
Next, use your scissors to trim the stems of your flowers to the desired length. It's a good practice to cut them at an angle to help the stems absorb water more effectively. You can vary the lengths to create a more dynamic arrangement.
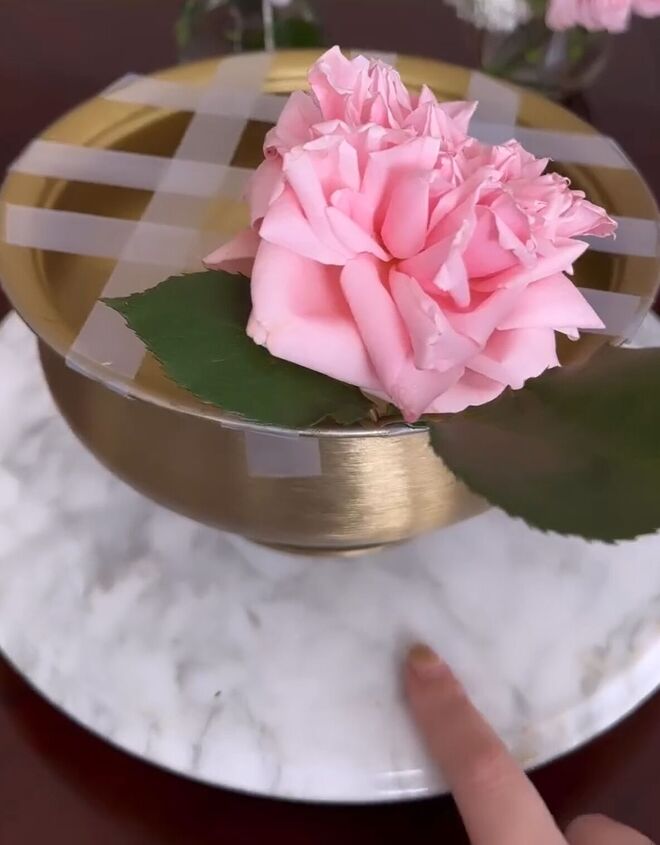
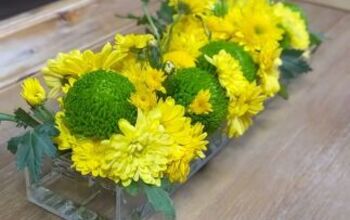
Step 4: Start Arranging
Begin placing your flowers into the grid holes you've created with the tape. Start with the largest or most prominent flowers. These will serve as your focal points. Position them evenly around the vase, creating a balanced look.

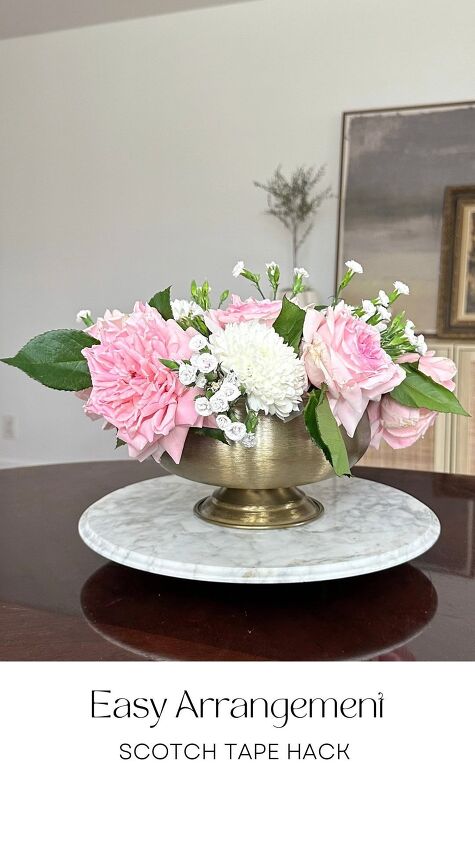
Step 5: Fill in the Gaps
After placing your larger flowers, use the remaining grid spaces to add your smaller or filler flowers. These will help fill in any gaps and create a fuller arrangement. Feel free to mix and match different types of flowers and colors for a visually appealing result.
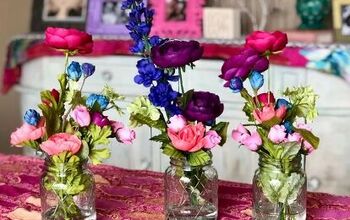
Don't be afraid to get creative! Experiment with different flower combinations, heights, and angles to achieve the desired look. Remember that it's your personal touch that makes the arrangement unique and beautiful.
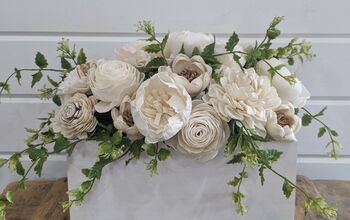
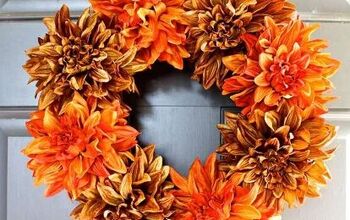
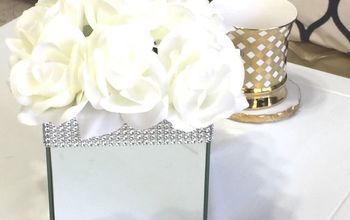
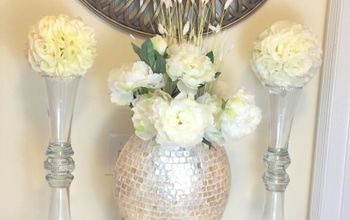
DIY floral arrangements
There you have it—a lovely DIY flower arrangement to brighten up your space or delight someone special. With just a few supplies and a bit of creativity, you can create stunning floral displays for any occasion.
Whether you're a seasoned florist or a beginner, this step-by-step guide has you covered. So, gather your supplies, let your imagination run wild, and enjoy the beauty of your handcrafted floral masterpiece! Happy arranging!
Follow @refreshingyourhome on Instagram for more DIY ideas.


Frequently asked questions
Have a question about this project?