


DIY Memory Quilt - Created From Clothes Destined for the Donate Bin!

It is Time to Donate my Serious Attorney Work Clothes...Semi-Retiring and Working from Home has its benefits!

BUT, many of these clothes hold special memories and are difficult to part with.
Let's Preserve the Memories with an Easy, Fast, and Fun to Create Memory Quilt!
First: Purge your closet - organize all the clothes that you will never wear again...
Rather than organizing the clothes by style/type (dress, skirt, coat, pants, sweaters). Separate the clothes by the Fabrics, Colors and Textures that You Love...Place these in the Keep Pile.
Separate the rest to Donate. Wave Good Bye!

What You Need to Design a Memory Quilt:
- 6 x 6 inch Fabric Squares.
- Sewing Scissor and Rotary Cutter Set to Cut the Squares.
- Critical Eye to Separate the Keeps from the Discards.
A Memory Quilt can be designed with All Different Types of Clothes - Coats, Sweaters, Dresses, Skirts.
Ready?? Let's Go!!
Step 1: Decide what size quilt you want to make.
Dimensions of a Queen Size: 60 inches wide...80 inches long.
Step 2: To Design a Queen Quilt of 6-inch Squares:
10 Squares per row.
14 rows.
These dimensions will fit on the Top of the Queen Mattress. For overhang, Add More Squares and Rows.
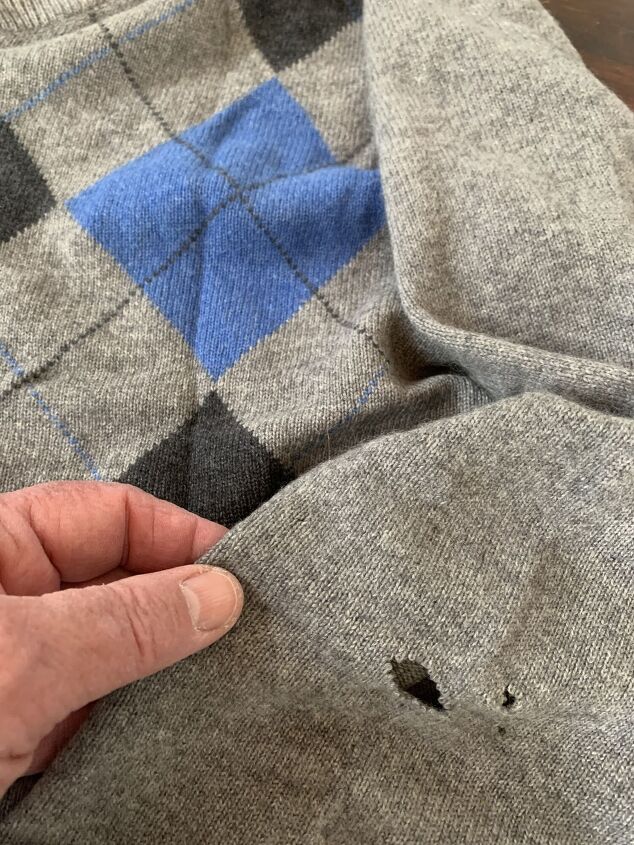
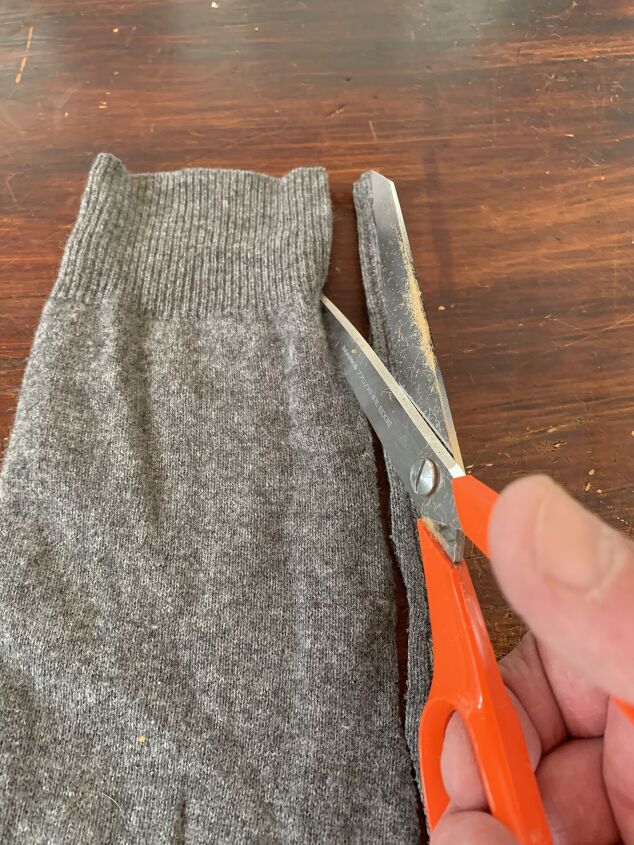
Cashmere Argyle Sweater...body and arms ready to cut.
This was the scary part...what am I doing??? But after the First Cut, It got easy...
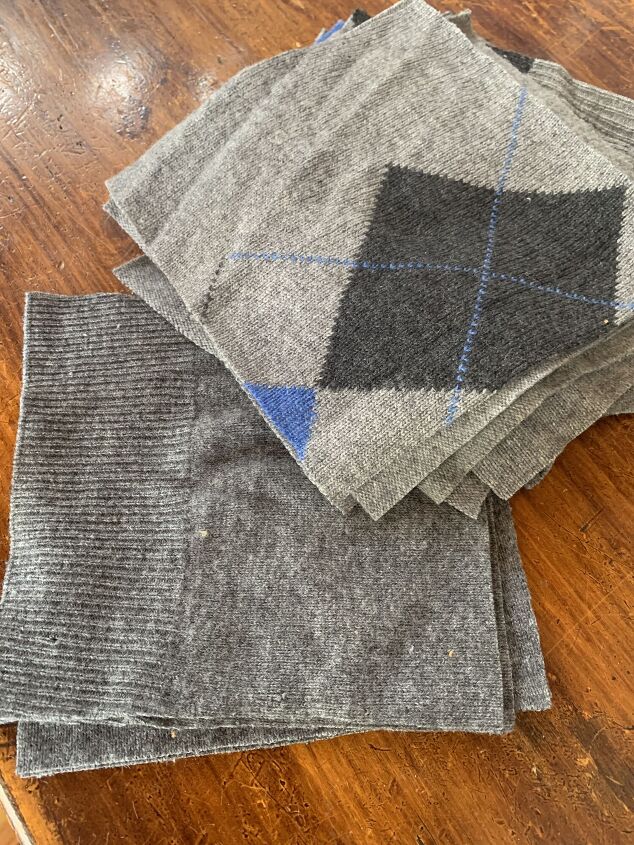
Luxurious Cashmere 6 inch Squares...Delicious!
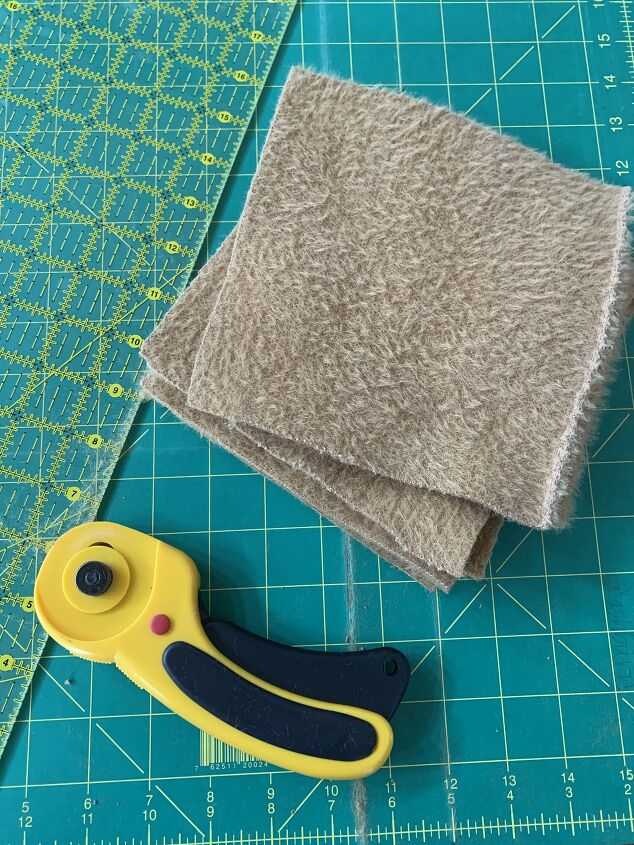
A Rotary Cutter and Cutting Mat Make the Cutting Easy and Fast...
Rotary Cutter Set...Amazon LINK.
36 x 24 Large Cutting Mat Set...Amazon LINK.
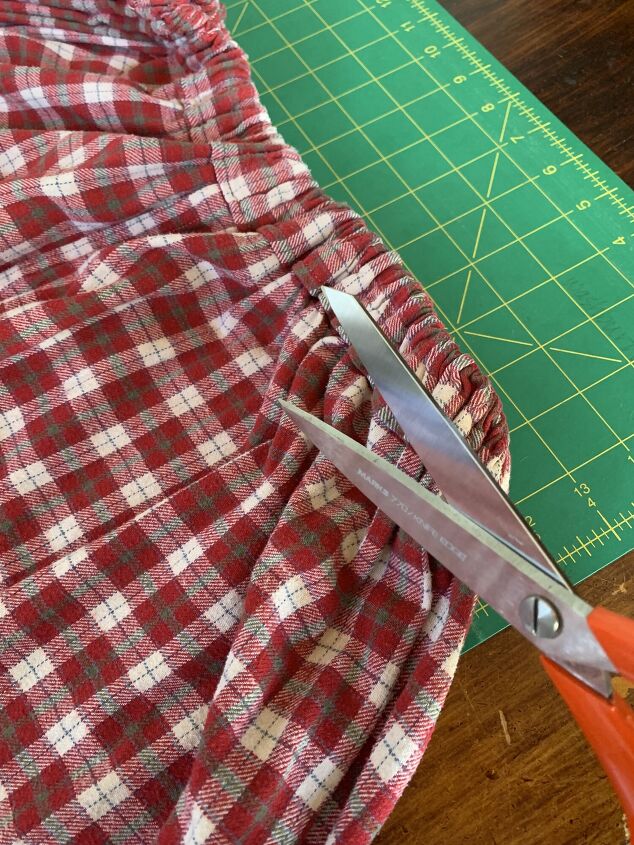
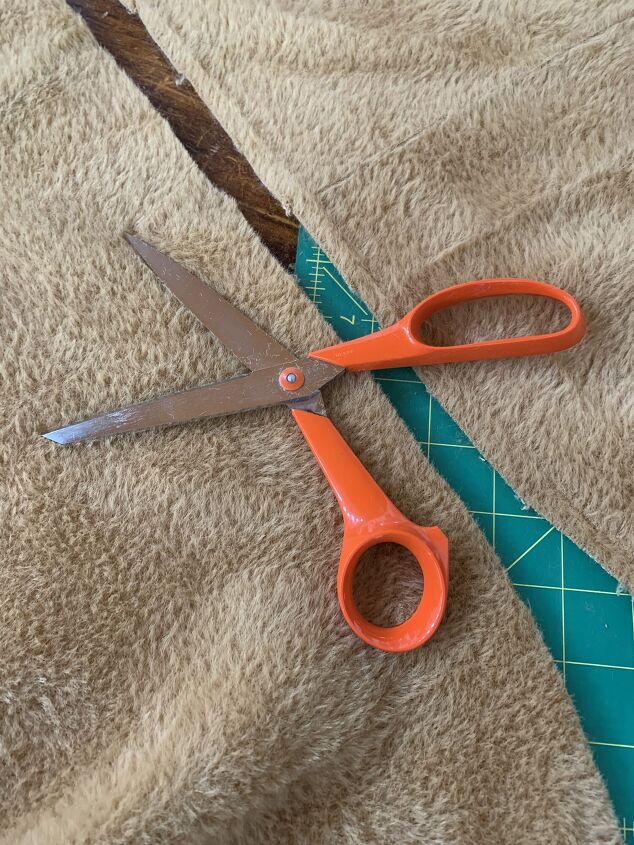
Step 3: Cutting the Skirts - Cut the waistband off the skirt so that you have a large swarth of fabric to measure and cut the squares.
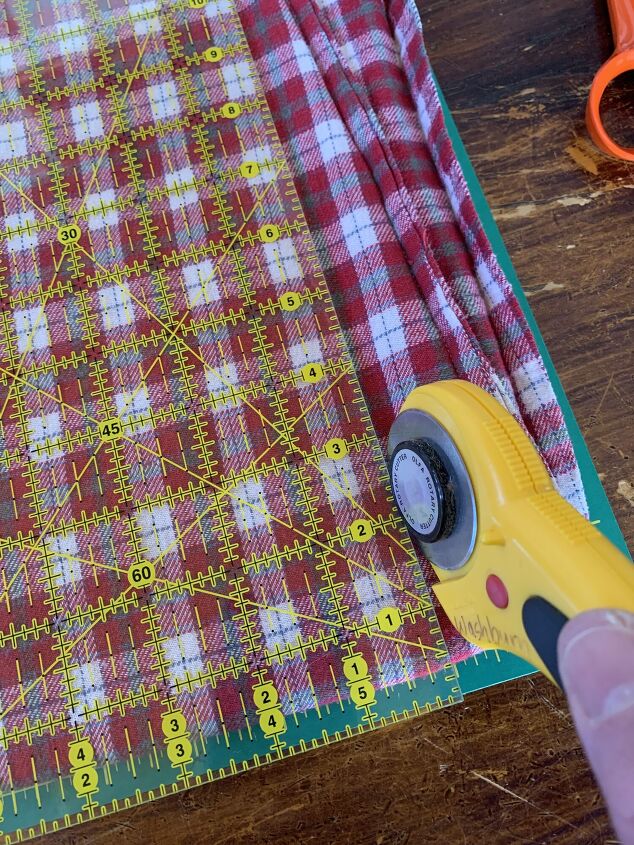
With the cutting board and rotary cutter...measure 6 inches by 6 inches for each square.
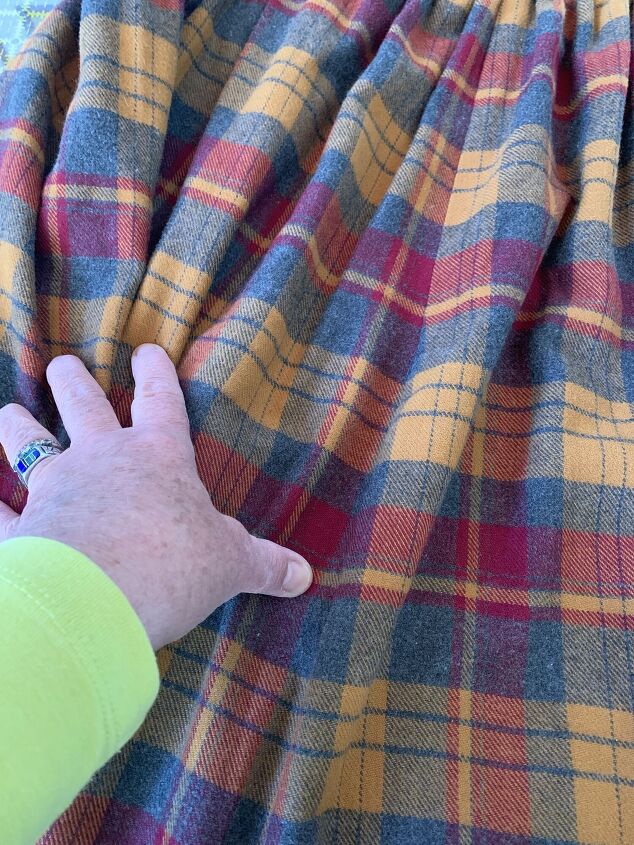
Wool Tartan Skirt - Ready to Cut...
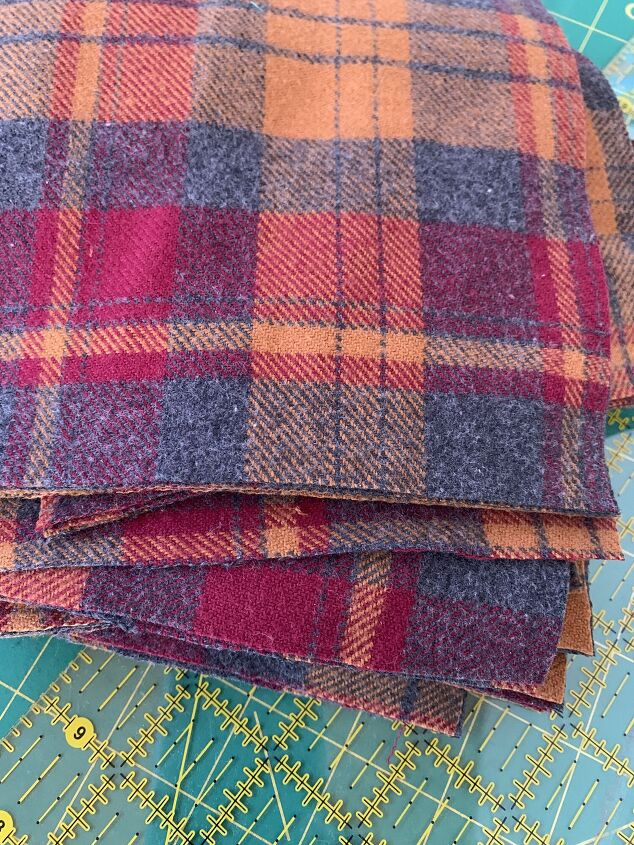
Capturing Autumn in Lovely 6 inch Squares...
The Square Cutting is Done...Now to Design and Create the Pattern.
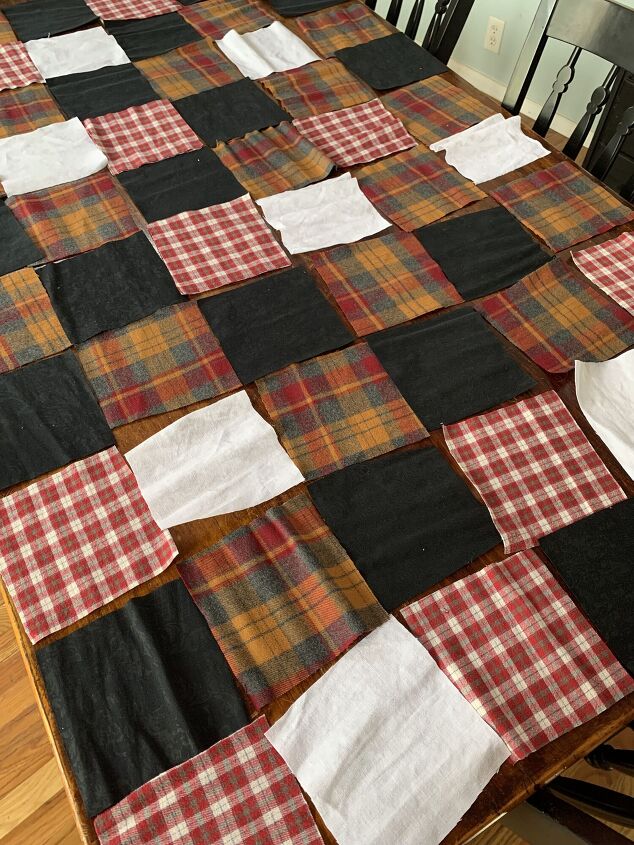
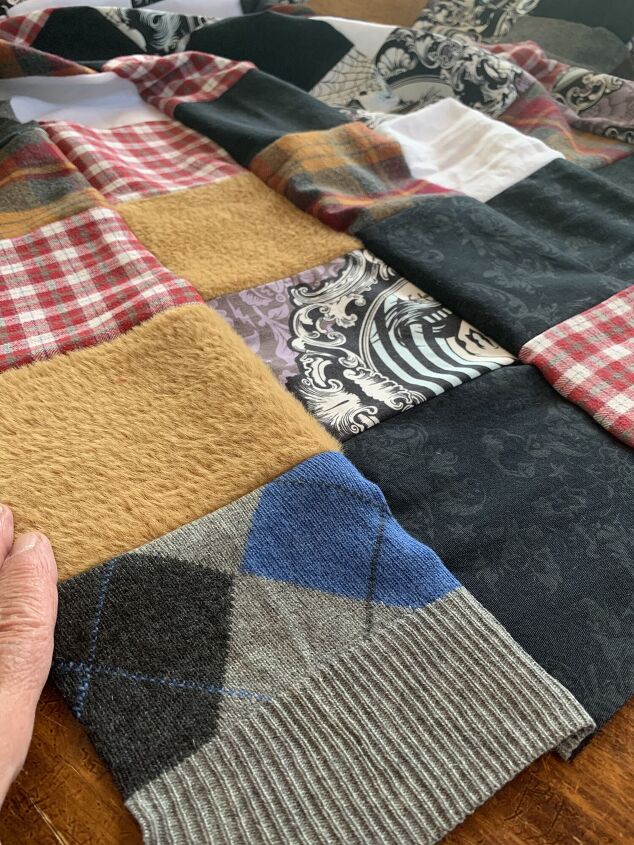
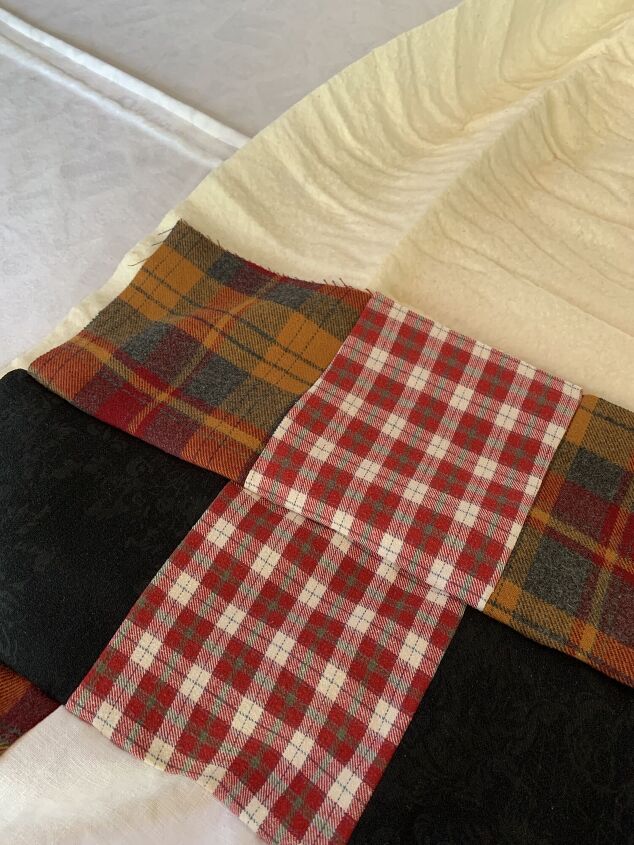
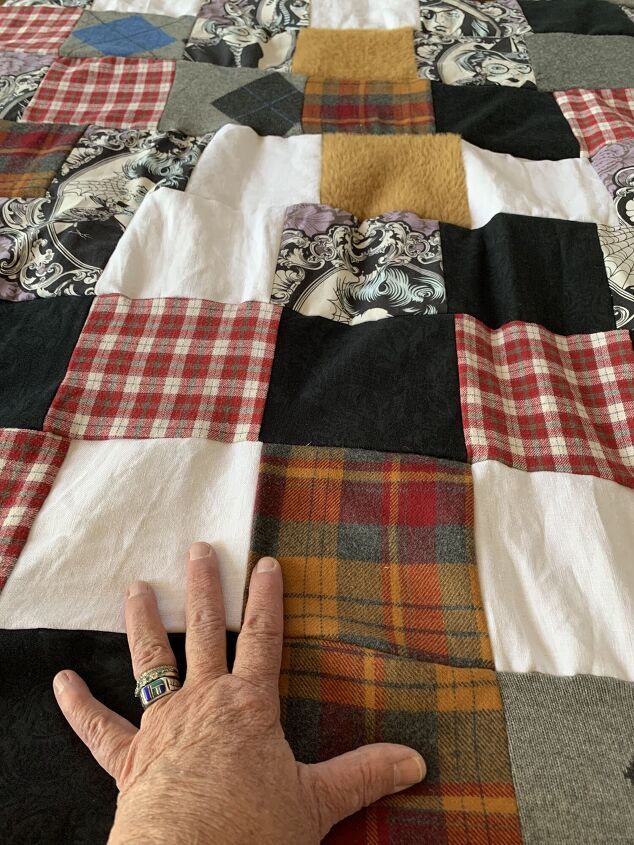
Step 4: Assemble the Squares...Cashmere, Wool Tartan, Flannel Tartan, White Linen, Black on Black Cotton, and Faux-Camelhair...All Will Live Together in this Memory Quilt!
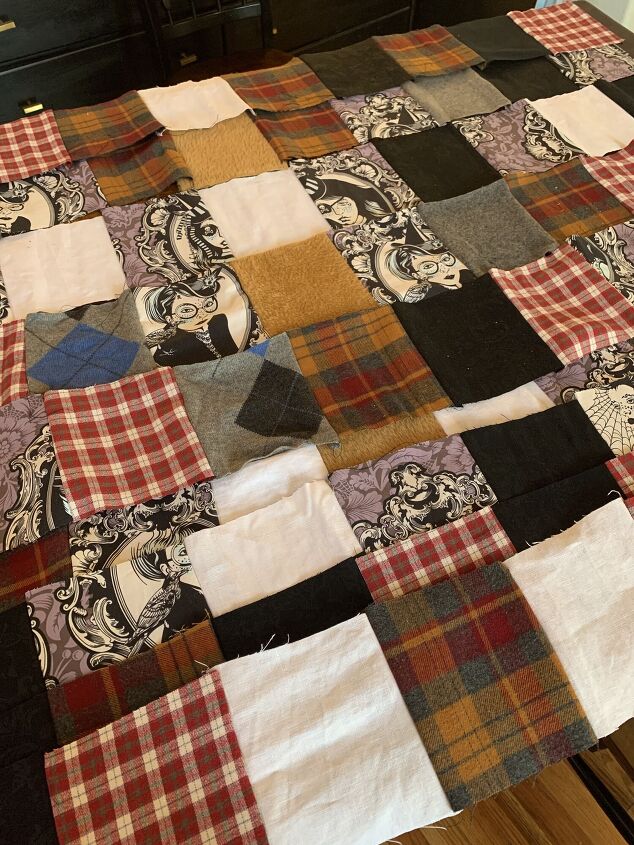
There are a million ways to lay out a quilt...have fun with this part...
Placing Dark Squares next to Light for Movement in the Quilt.

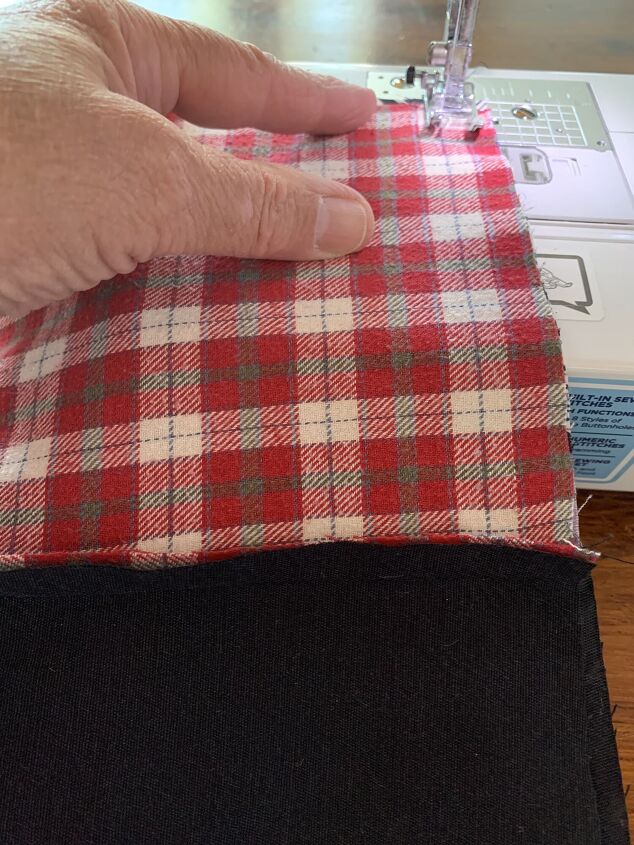
Step 5: Sew. Now Sew the Strips together to Build the Quilt...
The only Memory Quilts I have seen were done with Tee Shirts...I wasn't sure a Quilt of Different Textures and Fabrics would Work...But I am Loving this!
The completed Quilt Top measures 55 inches x 72 inches.
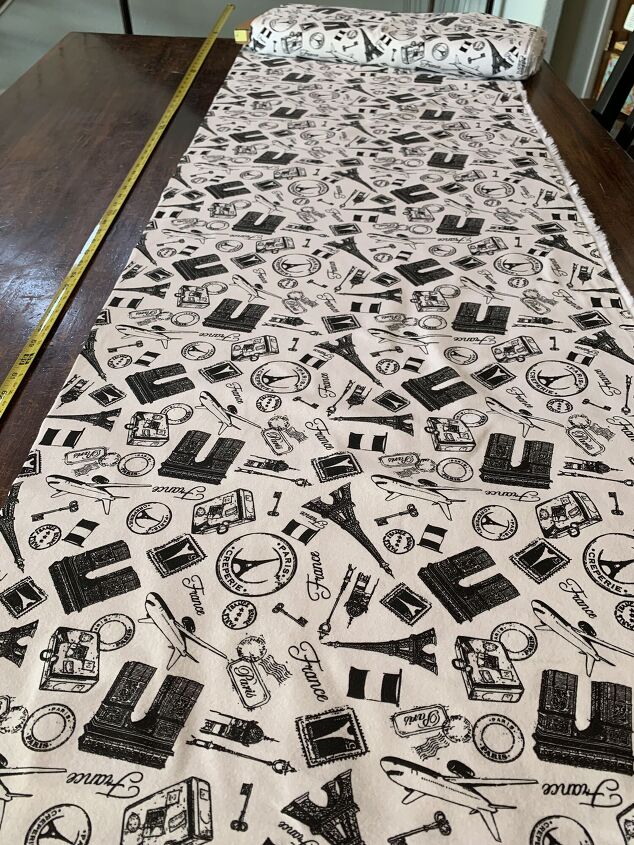
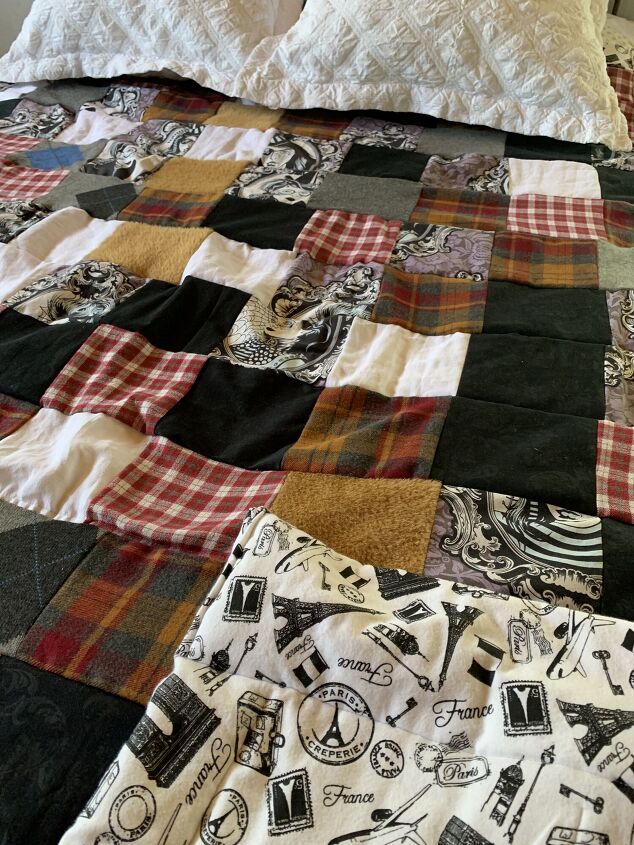
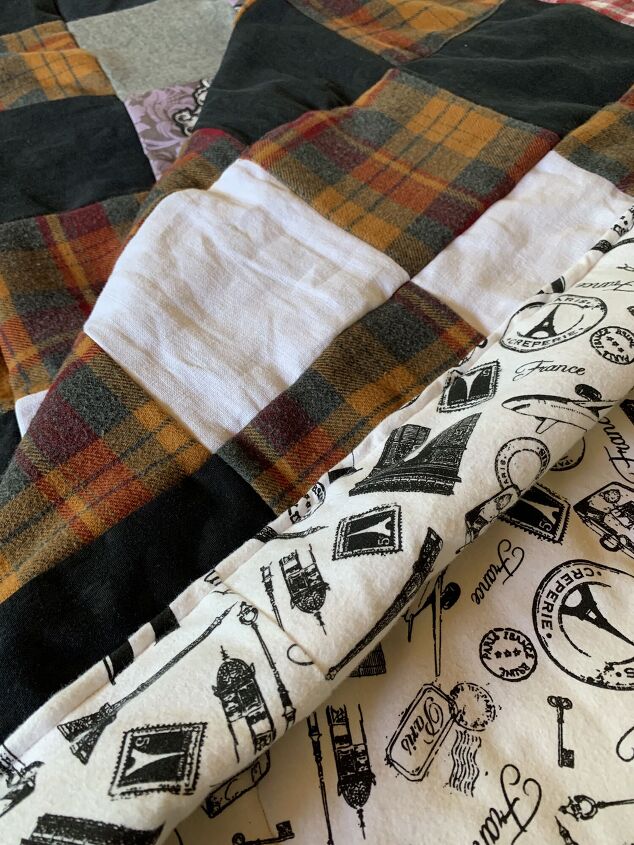
Step 6: Now for the Quilt Back - I found a Fun Black and White Travel to France Cotton Flannel - Measures 44 inches wide. I bought 6 Yards - the entire bolt. With the leftover fabric, I think some Pillows Will be Fabulous.
The Back of the Quilt Will Wrap around to the Quilt Top creating Borders...You will need 2 pieces to make the Quilt Back (82 inches long...88 inches wide)
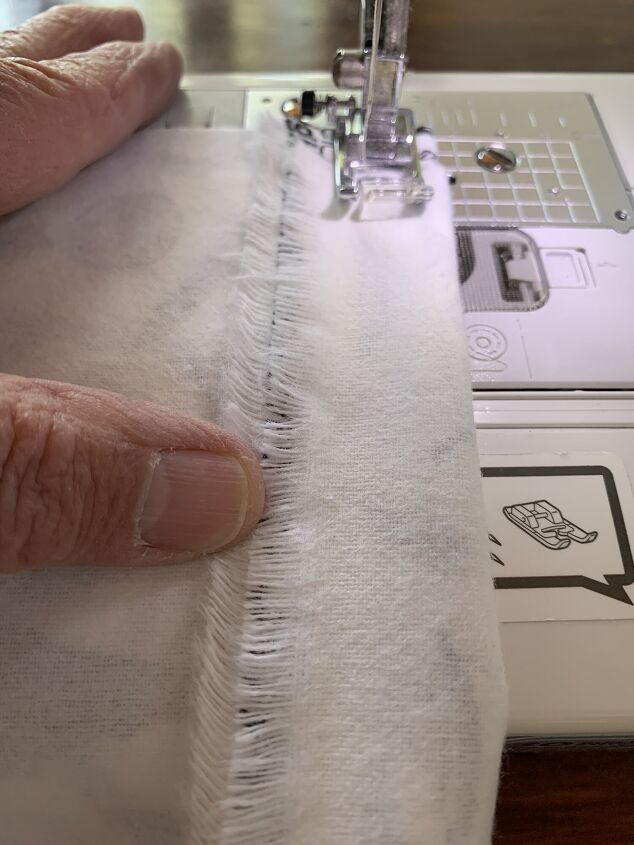
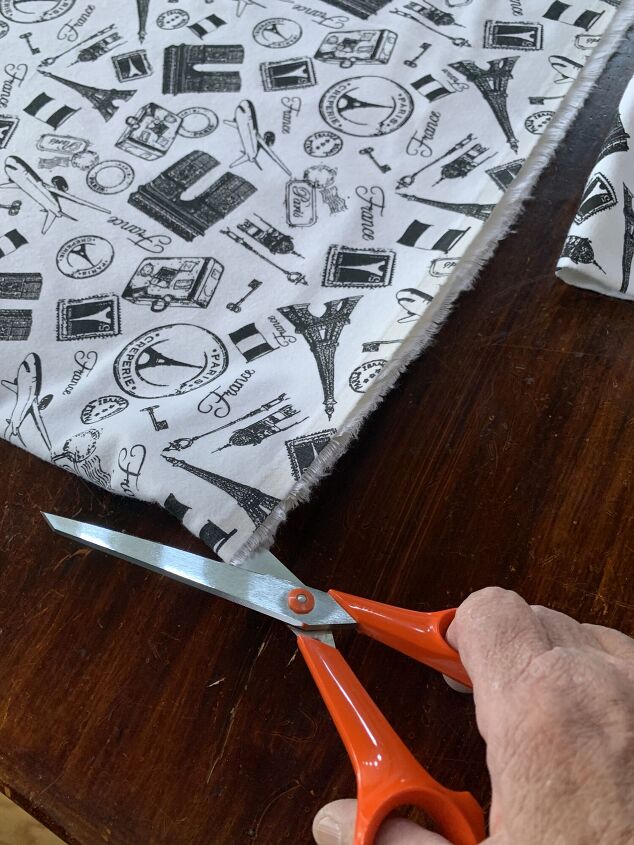
To Create the Width for the Flannel Back, Fold and Sew the Flannel on the Selvage Edge (raw edge of the fabric).
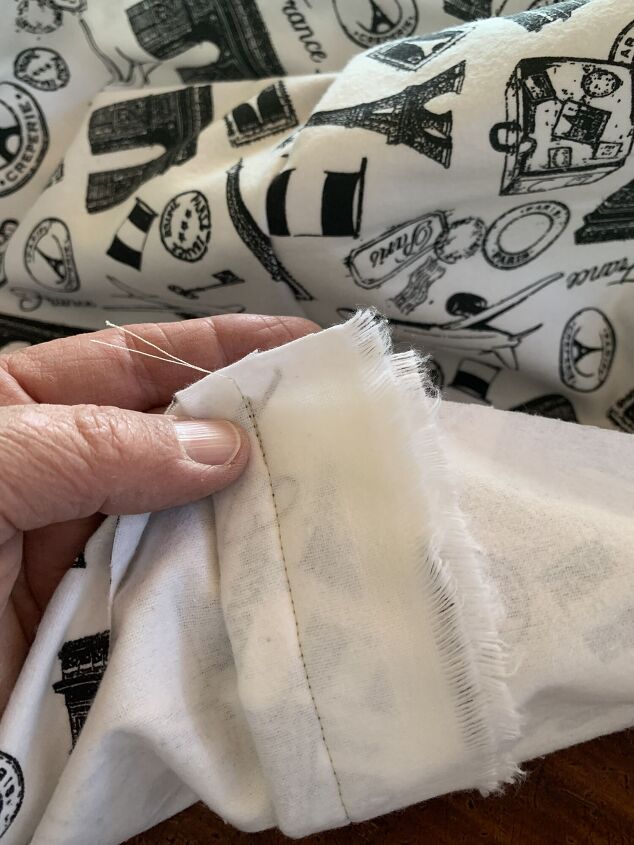
You now have one large piece of Flannel for the Quilt Back - 88 inches wide x 82 inches length.
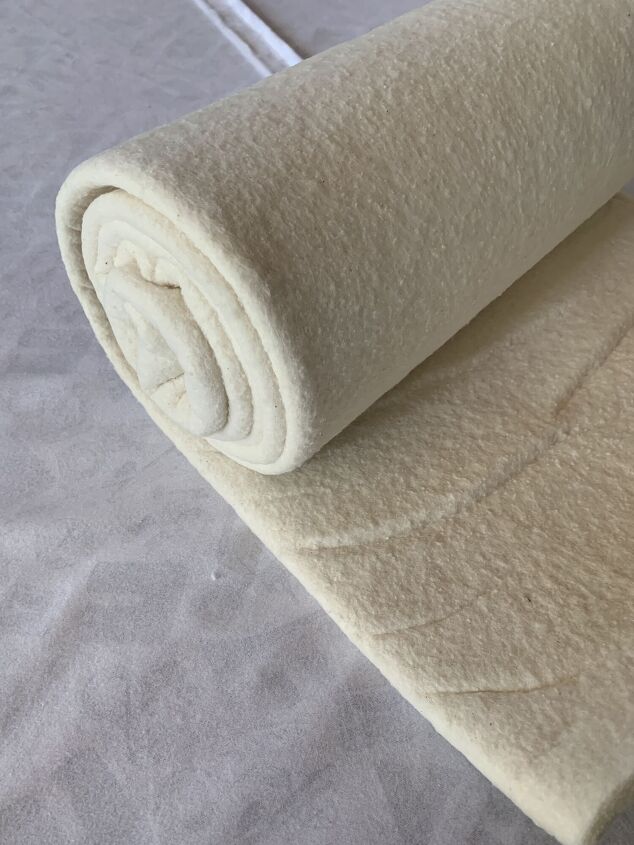
The Cotton Batting is the Middle of the Quilt "sandwich". This batting is thin, but warm, and pre-cut for a Queen Size Quilt.
Step 7: Layer the Flannel Back, Batting, and Quilt Top.
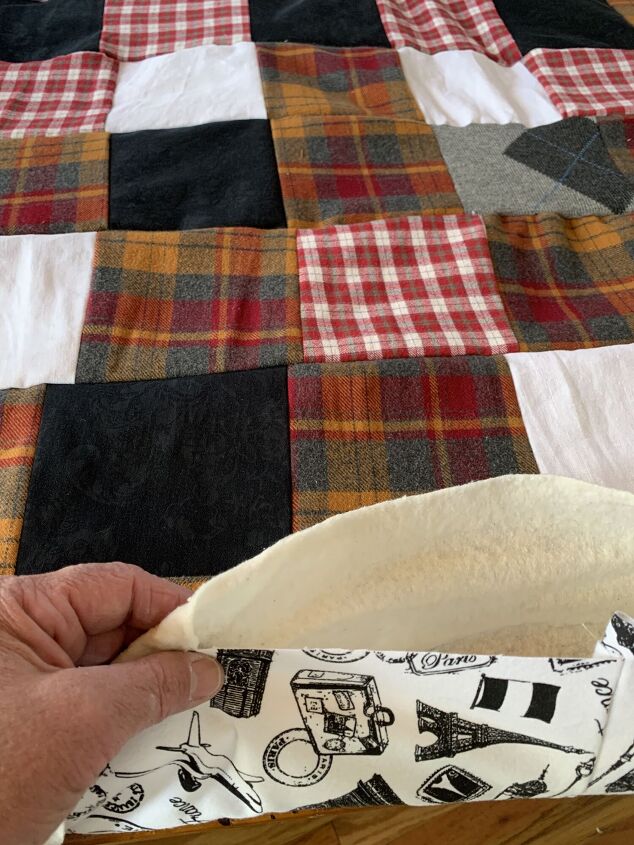
Smooth out the Squares...
Pretty...
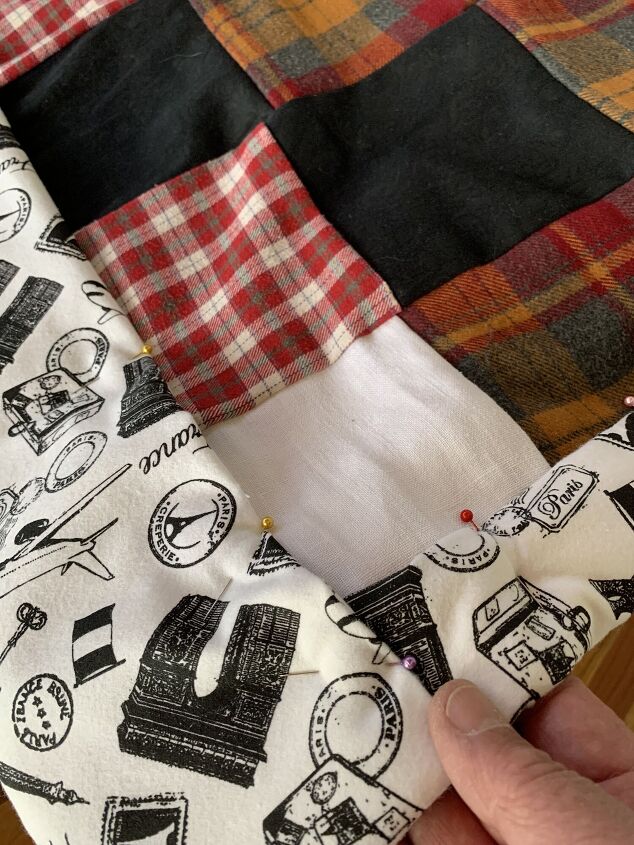
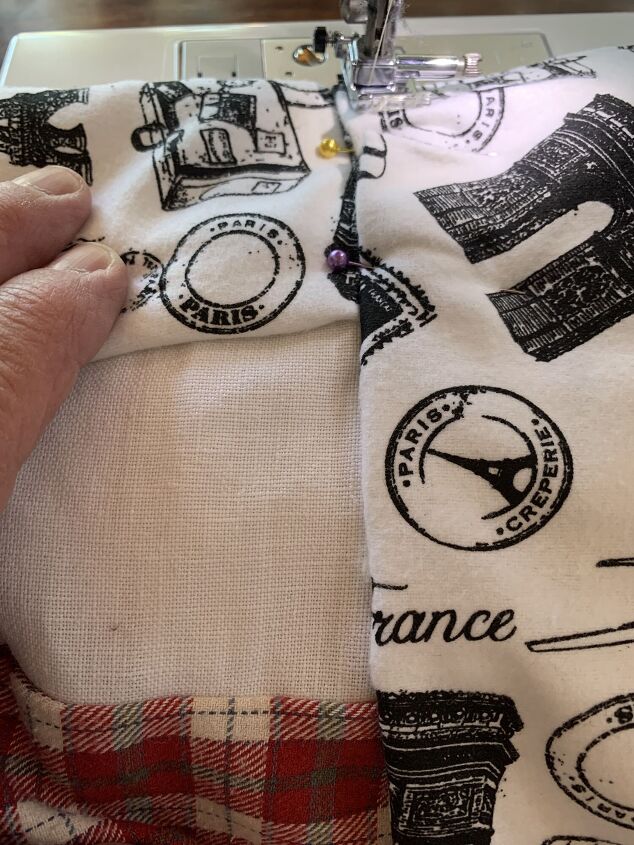
Step 8: Wrap the Quilt Borders. Fold the Flannel Back edges to the Quilt Top to create the Borders....Like a Fabric Picture Frame framing the Quilt Top.
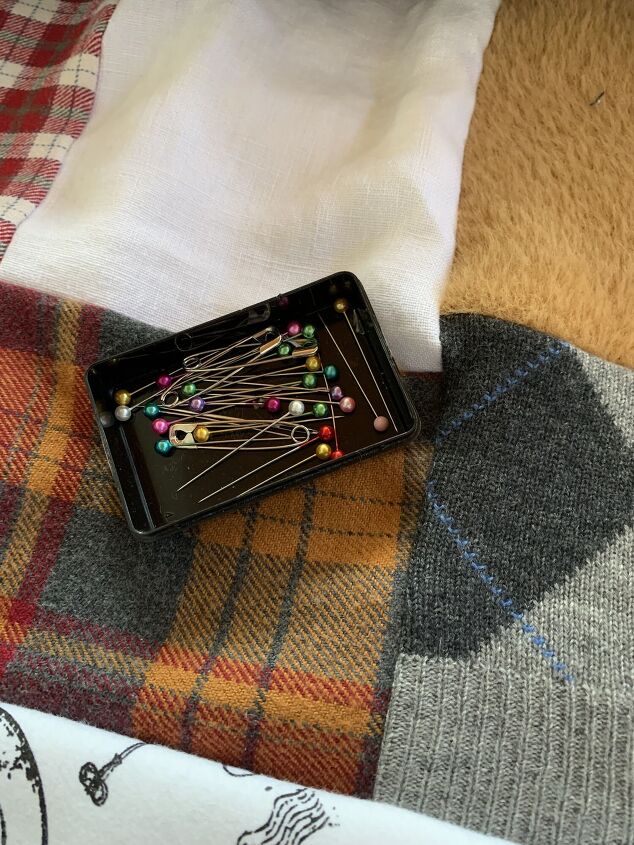
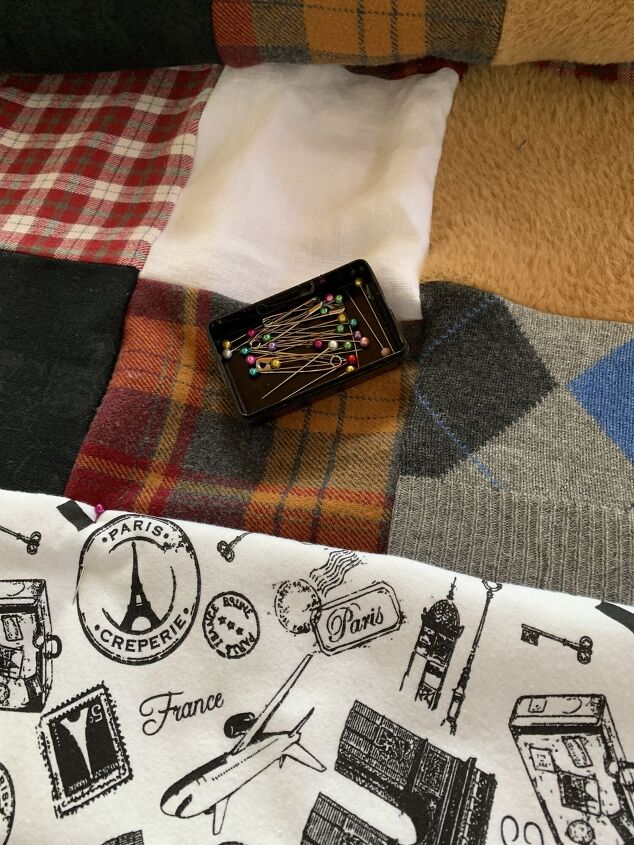
Take Your Time....Pin the "sandwich" layers to create the borders...
Now Sew the borders...Top, Bottom, and Sides.

I wasn't sure that the Wild Patterned Black and White Flannel would work with the Crazy Quilt Top...but the Textures and Feel of the fabrics look beautiful together...
And the Flannel Back is So Soft - I Love It!
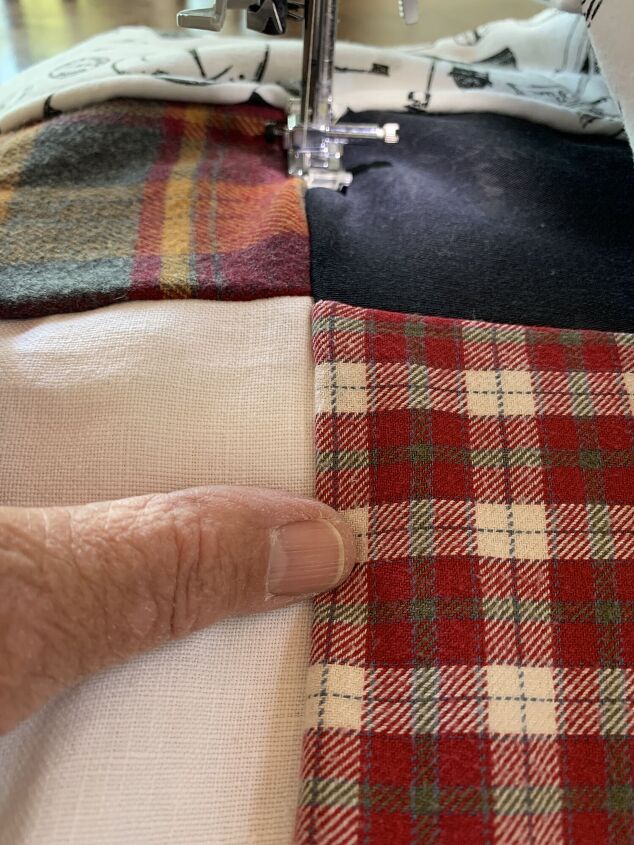
Step 9: Last Step...Stitch in the Ditch. Sew the Quilt Top Rows to Secure the Flannel Back, Batting, and Quilt Top.
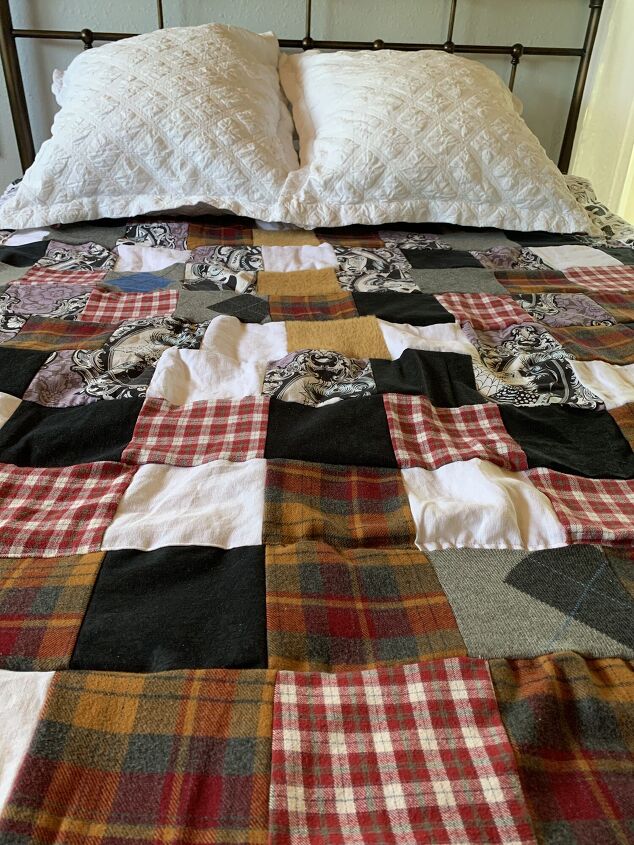
Done!! Can't Wait for the Fall!
So Toasty and Fun - Filled with Memories of Many Hard Working Years as a Lawyer...
Ahh...Thanks for the Memories!
The Memory Quilt! Are You Ready to Save some Memories?
For All the Magic - Jeanne of Doodle T and Me!
Resources for this project:
See all materials


Comments
Join the conversation
-
So lovely to hear, DBCervi - Have fun creating your own special memories! And...Happy Retirement! Jeanne of Doodle T and Me!
-
Lovely! Just a tip, if you use an iron on stabilizer on the back of the stretchy/knit fabrics it will help keep your squares true and make quilting it much, much easier 💕


Frequently asked questions
Have a question about this project?
I liked how you stiched-in-the-ditch. I love making quilts but the "quilting" part is tedious. Did you iron all your seams in one direction before stitching them to the backing?